What is GNS3?
GNS3 (Graphical Network Simulator) is an open source software that simulate complex networks while being as close as possible to the way real networks perform. All of this without having dedicated network hardware such as routers and switches.
This software provides an intuitive graphical user interface to design and configure virtual networks, it runs on traditional PC hardware and may be used on multiple operating systems, including Windows, Linux, and MacOS X.
In order to provide complete and accurate simulations, GNS3 actually uses the following emulators to run the very same operating systems as in real networks:
- Dynamips, the well known Cisco IOS emulator.
- VirtualBox, runs desktop and server operating systems as well as Juniper JunOS.
- Qemu, a generic open source machine emulator, it runs Cisco ASA, PIX and IPS
Who can use it?
GNS3 is an excellent alternative or complementary tool to real labs for network engineers, administrators and people studying for certifications such as Cisco CCNA, CCNP and CCIE as well as Juniper JNCIA, JNCIS and JNCIE. Open source networking is supported too.
It can also be used to experiment with features or to check configurations that need to be deployed later on real devices.
Their programs includes exciting features, for instance connection of your virtual network to real ones or packet captures using Wireshark.
Where do I start?
In most situations, to use GNS3 you first need to provide your own copy of a network operating system, like Cisco IOS, PIX, ASA, IPS or Juniper JunOS. GNS3 also suggest ready to use non-copyrighted appliances.
Once you have your operating system, start reading the GNS3 documentation and learn how to use GNS3. Watching video tutorials is also a good way to better understand the program.
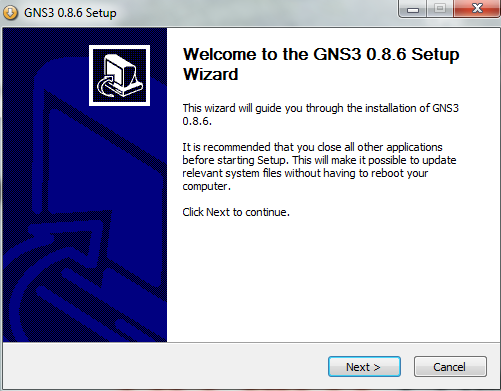
Installing GNS3
- Double click on the installer
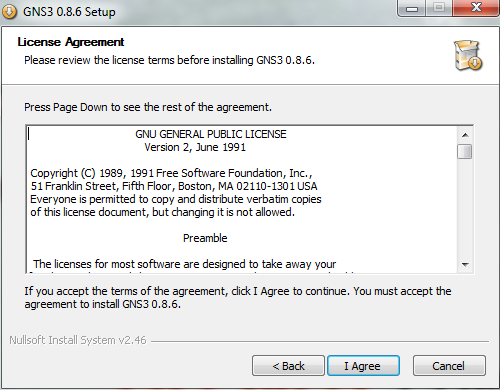
- Accept the license agreement
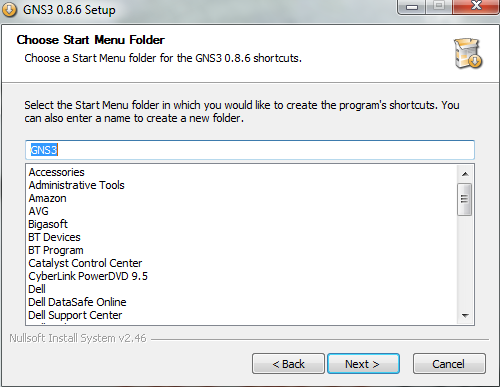
- Choose Start Menu Folder
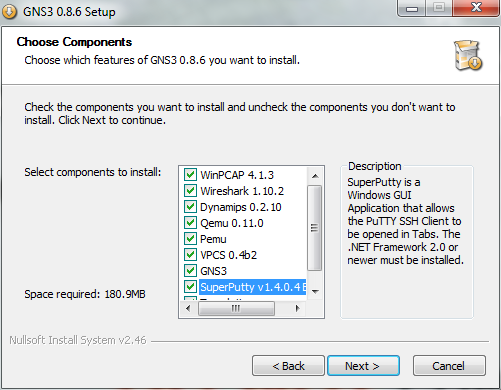
- Choose Components
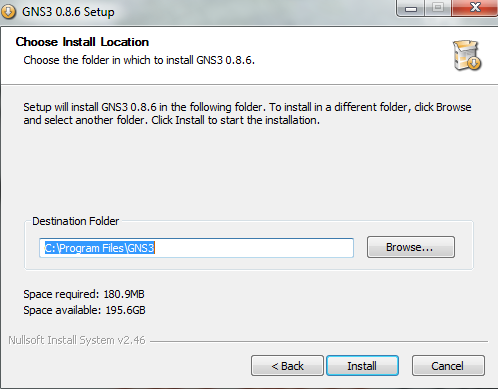
- Choose Install Location
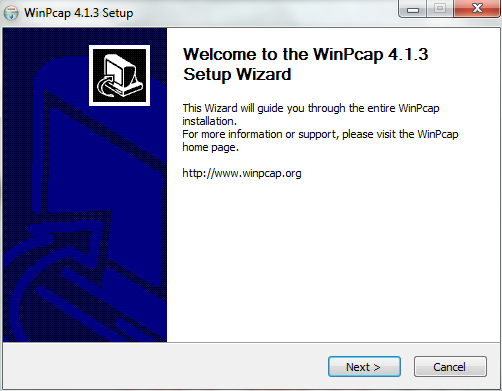
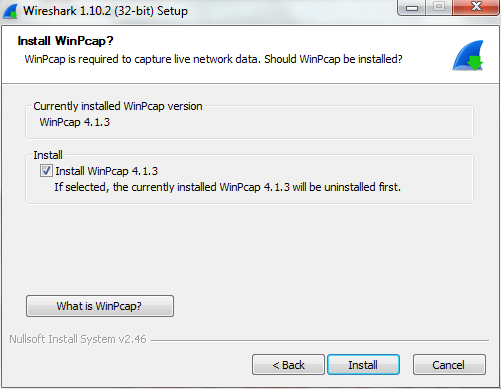
- The installer will launch into the WinPcap Setup Wizard
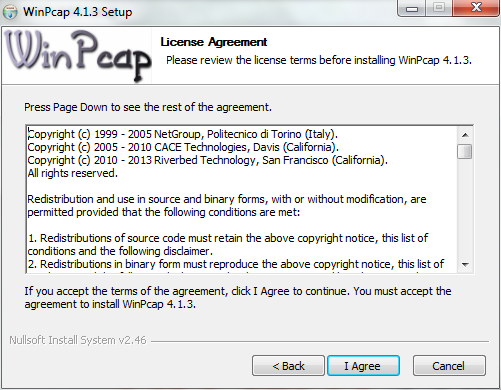
- Accept the License Agreement
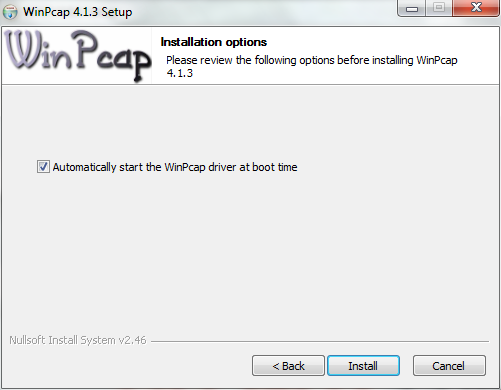
- Click Install
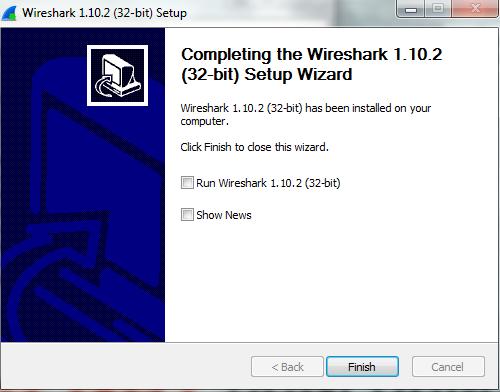
- Click Finish
- Next the Wireshark installer will begin
- Accept the License Agreement

- Choose Components

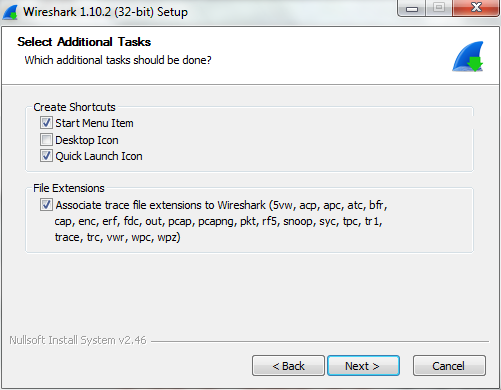
- Select Additional Tasks
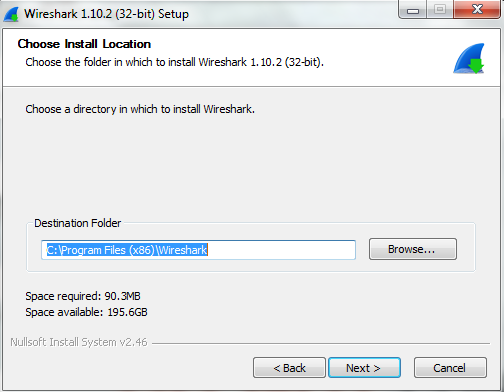
- Choose Install Location
- Next Untick Install WinPcap as it is already installed
- Wireshark will now complete
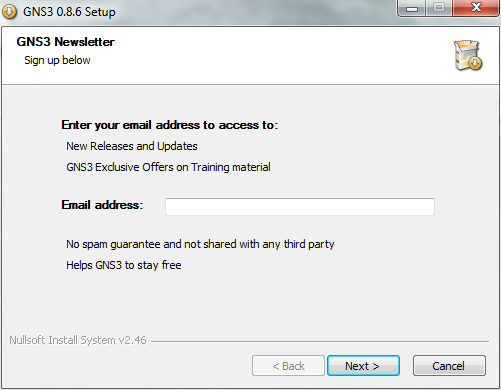
- GNS3 Setup will now continue

- Enter your email address
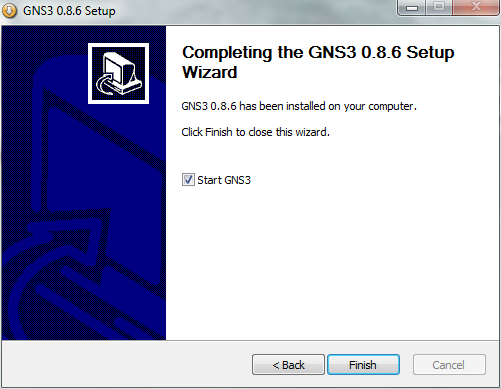
- Finish and Start GNS3
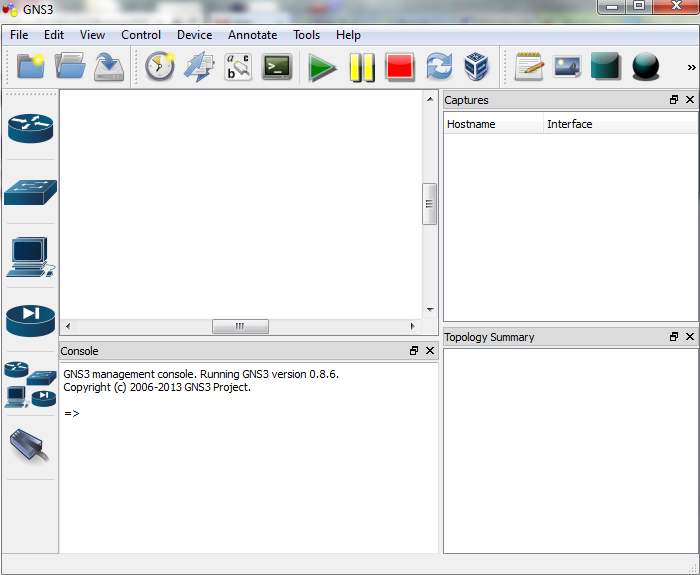
- This is the first screen you will see
- As mentioned earlier, you must provide your own Cisco IOS to use with GNS3 due to licensing issues
- Once you have obtained your own copy of a Cisco IOS for one of the supported platforms, you are ready to continue. Supported platforms are Cisco 7200, 3600 series (3620, 3640 and 3660), 3700 series (3725, 3745) and 2600 series (2610 to 2650XM, 2691)
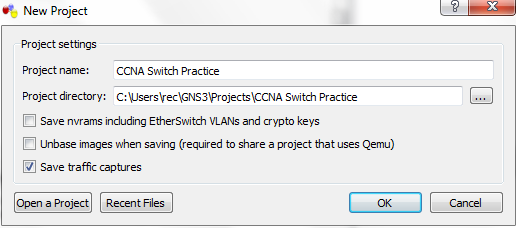
- When you open GNS3, You may get a Project Prompt as per below screenprint
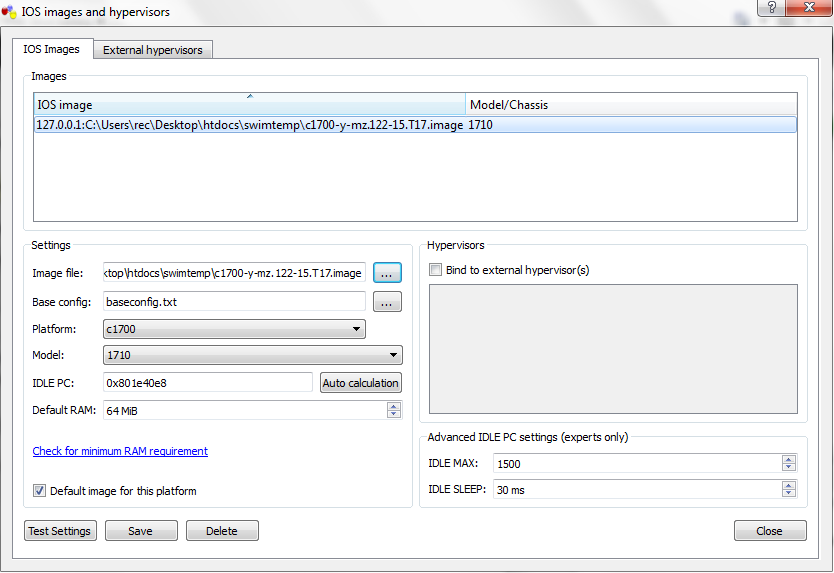
- On the Edit menu, choose IOS image and hypervisors. Then under the IOS Images tab, click … and then find your Cisco IOS file and click Open. The file will appear as your Image file. Next, click the drop-down arrow next to Platform and choose the platform that corresponds to your IOS file

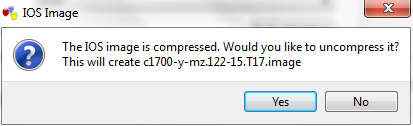
- You may get a message about decompressing the file
- Now click the drop-down arrow next to Model and choose the model corresponding to your IOS file. I am using C1700 and a model of C1710For now, we’ll accept the default values that remain. However, there is a very important value called the IDLE PC value that we will want to include. We’ll get to that later. Click the Save button and then the Close button. This will return you to the default GNS3 window
- If you get a message about Dynamips when you click Save, then go to Tools, Dynamips Server and click on it.. it will start and then prompt you about a Firewall issue which you can select to allow for your network.
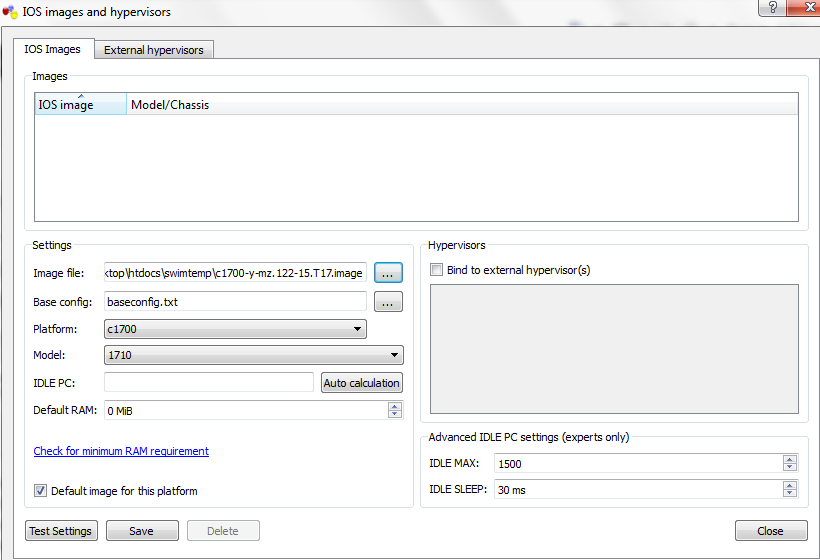
- Just a note on the IDLE PC value you can see in the screen above. We will need to learn how to find an IDLE PC value for the IOS we are using. This is a very important step. When an IOS is running, it will consume up to 100% of your CPU time. This will cause your computer to become very sluggish and will prevent building more complex topologies. However, if we use an IDLE PC value, we can reduce CPU usage dramatically. It puts the IOS into a sleep state when it is not in active use and wakes it up only when it is necessary.
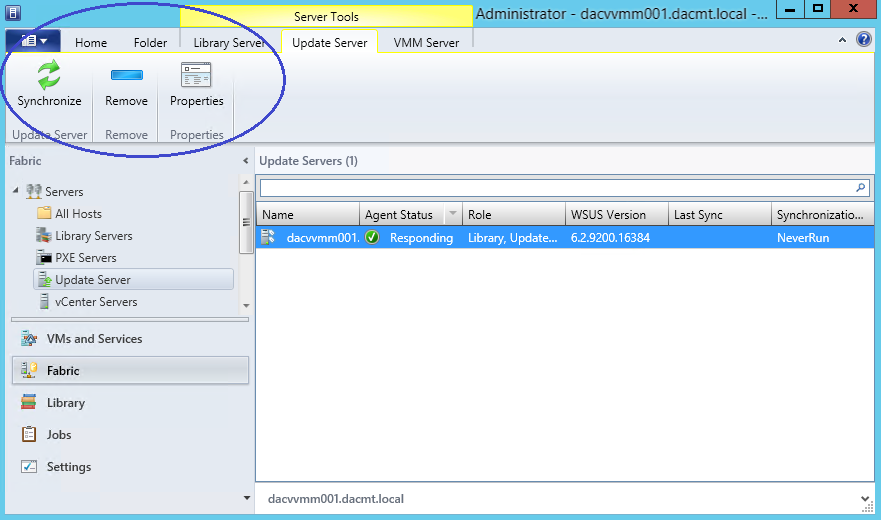
- So click on your router in the pane circled below and click the Green Run arrow

- Now it’s time to choose a idlepc value. Be sure you can see the prompt of your router in Putty window. Right-click R1 and choose IDLE PC. GNS3 will spend a moment calculating an Idle PC value
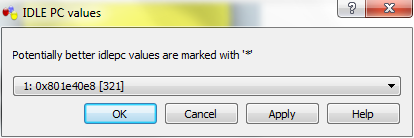
- Next it will show you the screen below. If you click the drop-down arrow, you see a list of possible IDLE PC values. Potentially better IDLE PC values are marked with an asterisk. Choose one of the values with an asterisk (in our example, we will choose number 1) and click OK.
- If you choose IOS images and hypervisors on the Edit menu, and double-click on the image under the IOS Images tab, you’ll see the new IDLE PC value displayed under Settings
- Next Right click on your router (On the icon in the middle panel) and select Console

- Now you are ready to have a play! 🙂
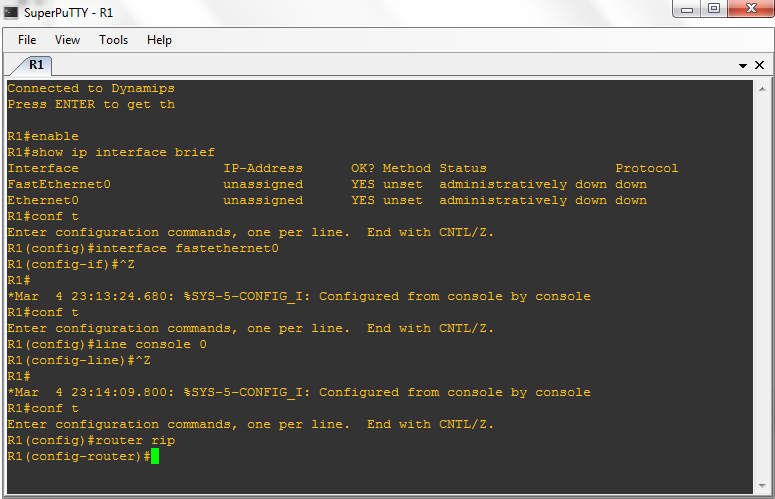
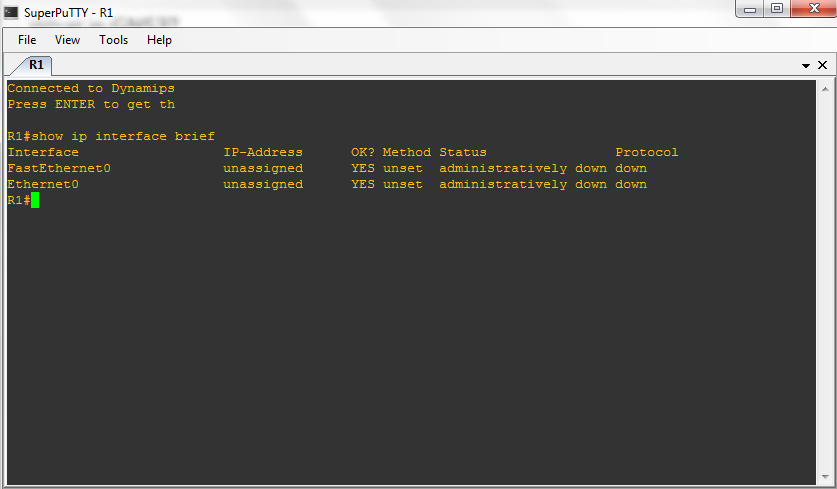
- If you issue the show ip interface brief command as shown, you’ll see the designations.
- Carry on seeing what you can do especially if you are doing your CCNA and have exercises you can do. Some examples below
- The first mode you will be presented with is known as the User Mode or User Exec Mode. This has a limited set of commands
- enable will take you into the next mode known as Privileged Mode or Privileged Exec Mode useful for looking at the entire configuration, statistics and modules you have attached to the router
- show ip interface brief will show you the interfaces you have
- conf t will take you into the Global Configuration Mode
- interface fastethernet0 will take you into the interface configuration mode
- line console 0 will allow you to make changes to the console, Telnet or auxiliary ports
- Ctl+Z will take you back to the previous mode