Tag Archive for gpo

Software rollout via Group Policy

Softwareicon

How can we install software remotely from Group Policy?

  • Assigning Software

You can assign a program distribution to users or computers. If you assign the program to a user, it is installed when the user logs on to the computer. When the user first runs the program, the installation is completed. If you assign the program to a computer, it is installed when the computer starts, and it is available to all users who log on to the computer. When a user first runs the program, the installation is completed. Assigned means that the application appears on the start menu.

  • Publishing Software

You can publish a program distribution to users. When the user logs on to the computer, the published program is displayed in the Add or Remove Programs dialog box, and it can be installed from there

What type of software file can we deploy?

The Group Policy Management Console’s job is to deploy MSI files. GPMC can also deploy other kinds of files, but I’m going to skip over that for today and focus only on MSI files.

Remember: MSI files are application packages that come from manufacturers (or, you can also create them yourselves with 3rd party MSI repackaging tools.

Step 1 Create a Distribution Point

  • Log on to the server as an administrator (I am using my Test Lab)
  • Create a shared network folder where you will put the Microsoft Windows Installer package (.msi file) that you want to distribute

SoftwareDistribution

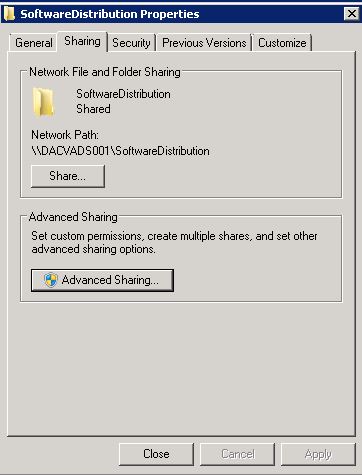
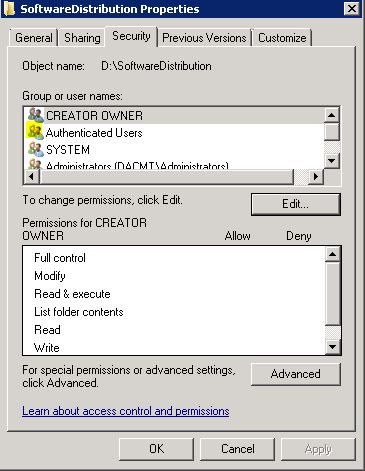
  • Set permissions on the share to allow access to the distribution package.
  • You must add Authenticated Users with Read Access to the Share and NTFS permissions if you are applying this to Computer OUs as Computers are Authenticated Users in AD

authusers

  • Copy or install the package to the distribution point.
  • I’m going to use the Google Chrome 32bit .msi

Step 2 Create a Group Policy Object

  • I am just going to test this on a Windows 7 machine
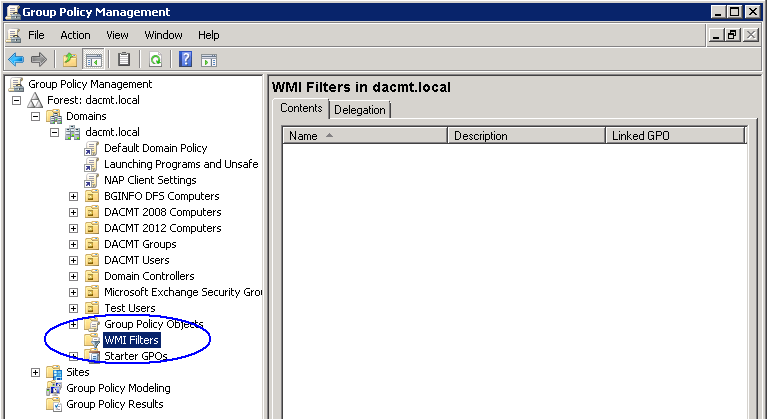
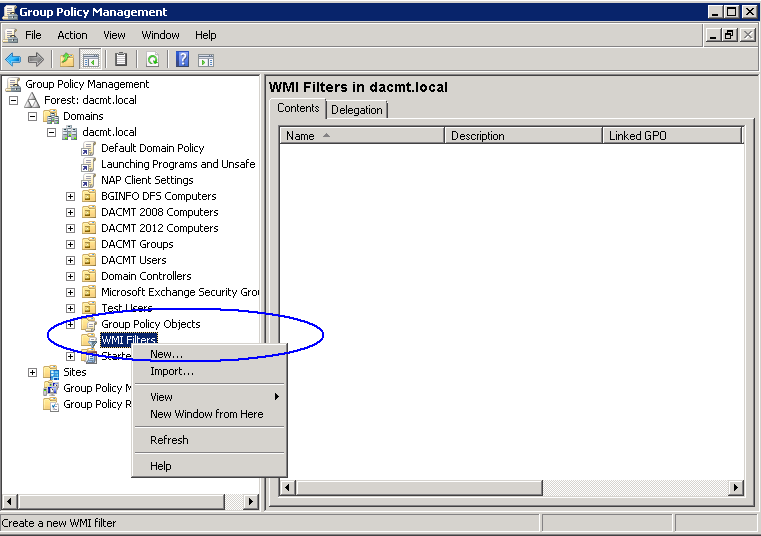
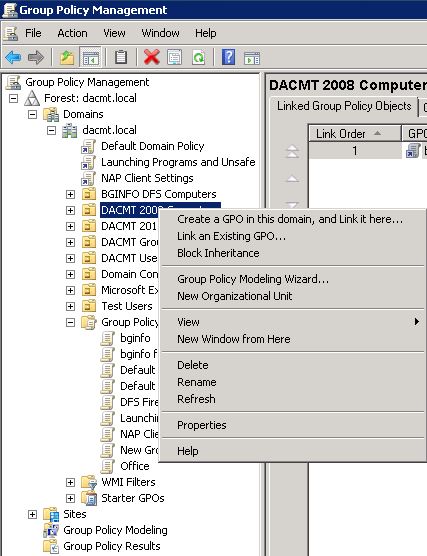
  • Open Group Policy Management Console
  • Find the OU which contains the computer/computers you want to apply the policy to and right click and select Create a GPO in this domain and link it here

CreateanewGPO

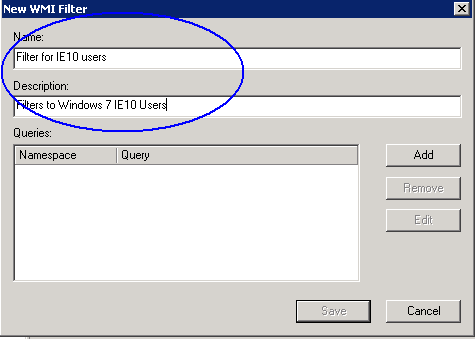
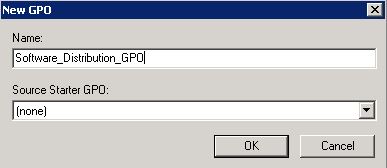
  • Put in a name. Mine is Software_Distribution_GPO

NameGPO

  • Click on the policy and select it.
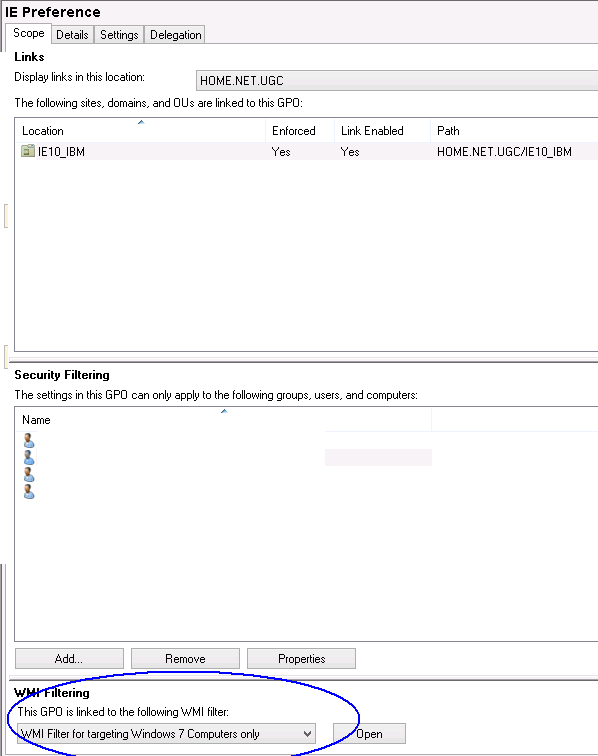
  • In my policy I am going to set the security filtering to just my Windows 7 test machine (dacvmed001)

GPOSecurityFiltering

  • Click Edit on your GPO
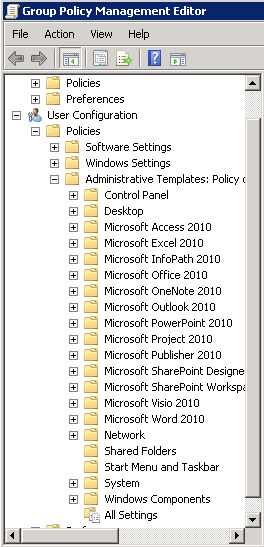
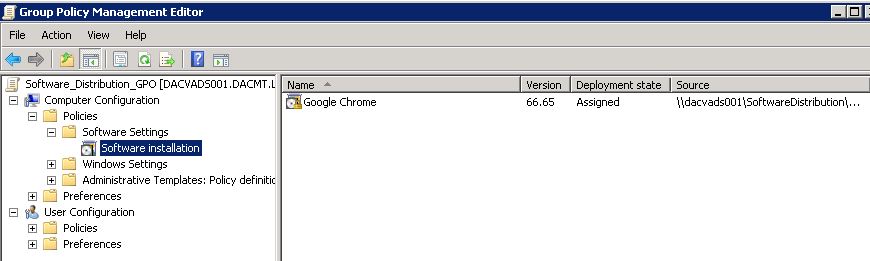
  • Under Computer Configuration expand Policies to see Software Settings

SoftwareSettings

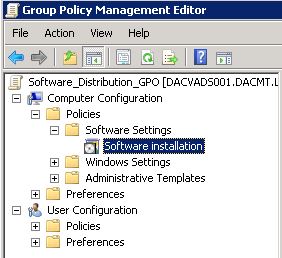
  • Right click and select New Package
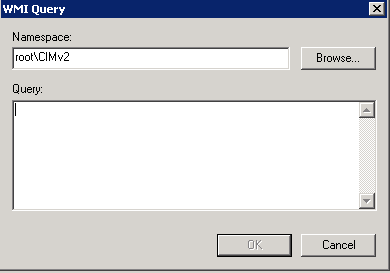
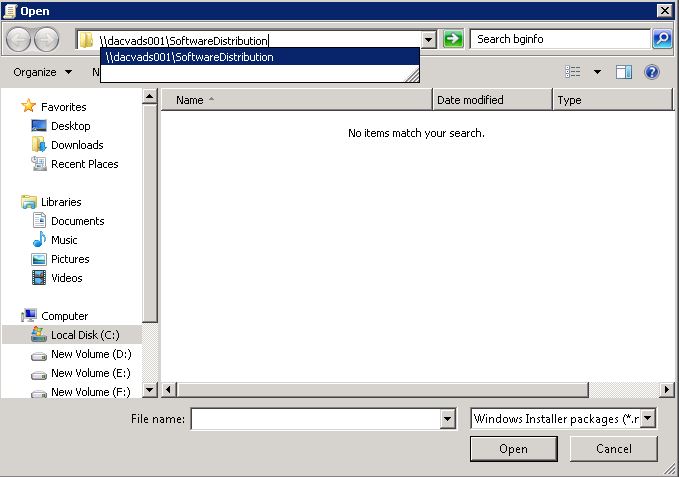
  • Type in the full (UNC) path to your Software Distribution share. In my case \\dacvads001\SoftwareDistribution

SelectSoftware

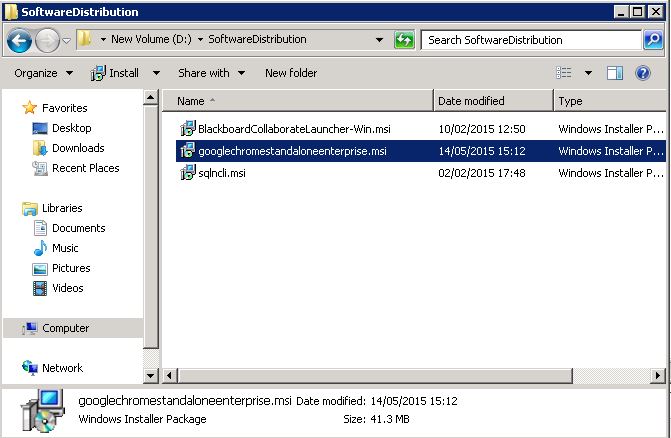
  • You should now see your .msi software

softwarerepository

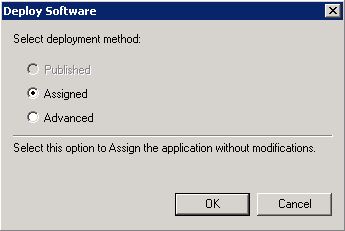
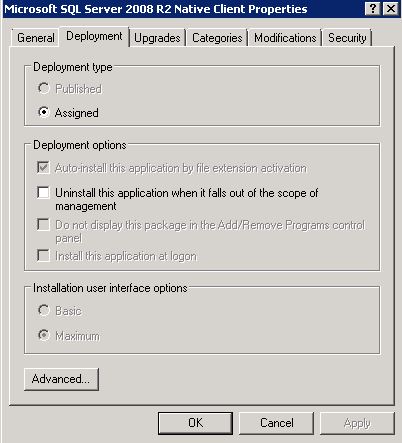
  • Click Assigned. If you click Advanced, it gives you options to configure Published or Assigned Options and to apply modifications to a package
  • NOTE: The Published option is greyed out as it is only available if I deploy my package to a User Container. Software deployed to computers does not support publishing

DeploySoftware

  • You can now see your package in your GPO

gposoftware

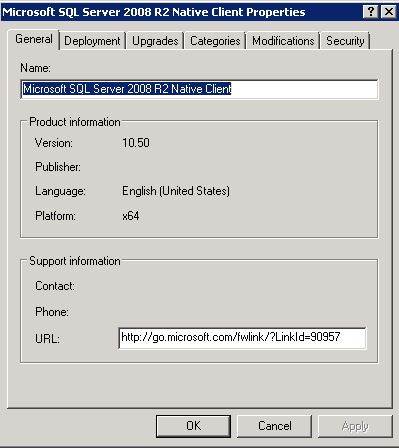
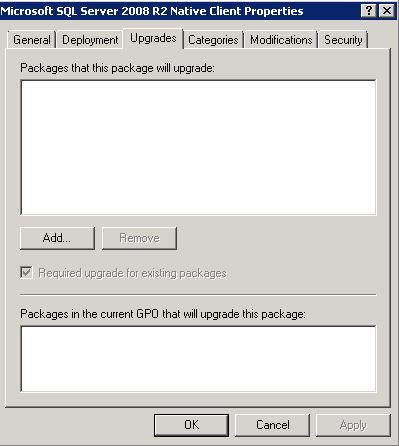
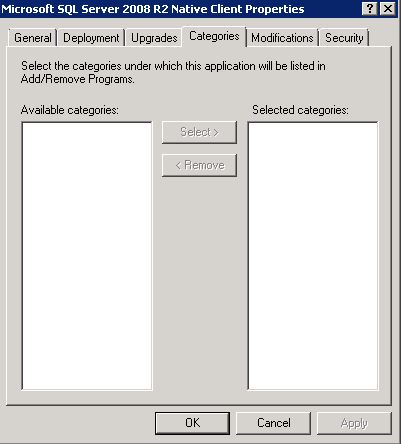
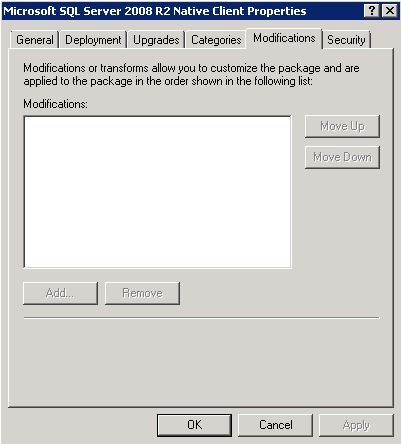
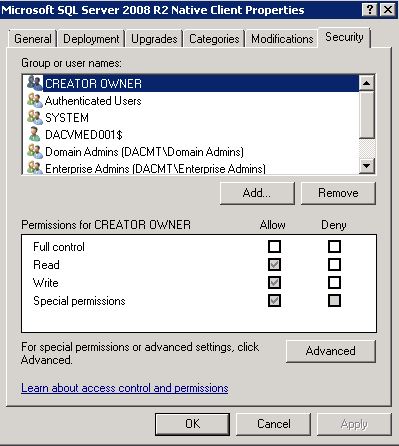
  • If you right click on your package and select Properties, you can see further information. Note I have screenprinted the properties of the SQL Client
  • The General Tab

Properties1

  • The Deployment tab
  • Basic means that the user will see few / no screens when the application installs.
  • Maximum means that the user will have full interaction when the application installs.
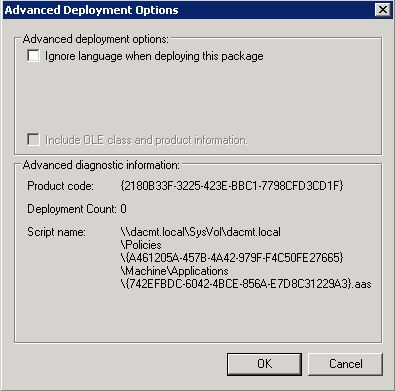
Properties2

  • Advanced Options

Properties3

  • Upgrades

Properties4

  • Categories

Properties5

  • Modifications

Properties6

  • Security

Properties7

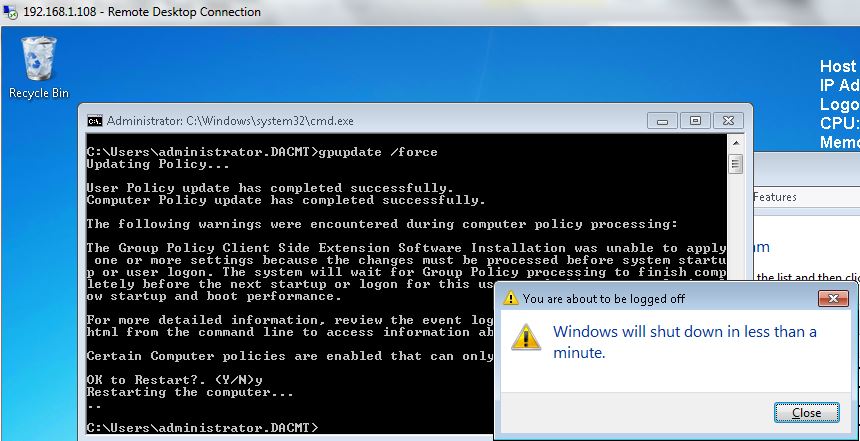
  • Next do a gpupdate /force on the Domain Controller and reboot your PC.

gpupdate

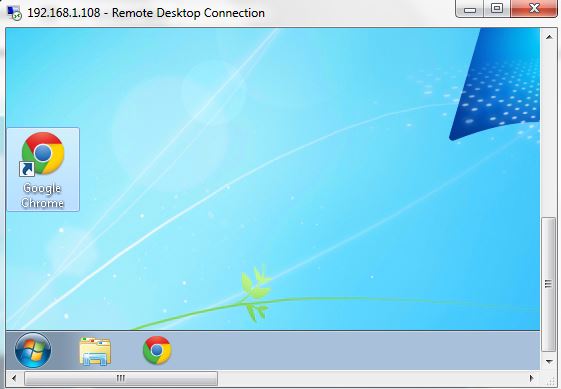
  • Check that the software has been installed in Control Panel > Programs and Features

chrome

Redeploy a MSI package

Sometimes you may need to redeploy a package (for example when doing an upgrade). For redeploying a package you can follow these steps:

  • Open Group Policy tab, select the object you used to deploy the package and click Edit
  • Expand the Software Settings element (per-user or per-machine) which contains the deployed package
  • Expand the Software Installation element which contains the deployed package
  • Right-click the package in the right pane of the Group Policy window
  • Select the All Tasks menu and click Redeploy application
  • Click the Yes button for reinstalling the application wherever it is installed
  • Close the Group Policy snap-in, click OK and exit the Active Directory Users and Computers snap-in

Remove an MSI package

Group Policy also allows you to remove packages which have been deployed in the past. Here are the steps for removing a package:

  • Open Group Policy, select the object you used to deploy the package and click Edit
  • Expand the Software Settings element (per-user or per-machine) which contains the deployed package
  • Expand the Software Installation element which contains the deployed package
  • Right-click the package in the right pane of the Group Policy window
  • Select the All Tasks menu and click Remove
  • Select from the following options:
    • Immediately uninstall the software from users and computers
    • Allow users to continue to use the software but prevent new installations
  • Click the OK button to continue
  • Close the Group Policy snap-in, click OK and exit the Active Directory Users and Computers snap-in

What can we do about .exe’s that we want to turn into usable .msi’s?

You will need to get a packaging utility to turn that .exe file into .msi file. Many of them are available for instant download from internet

One of the best one’s I have trialled is http://www.exetomsi.com/

Tips and Advice on EXE to MSI Repackaging

http://exe-to-msi.com/

Using WMI Filters in Group Policies

filtericon

What are WMI Filters?

Windows Management Instrumentation (WMI) filters allow you to dynamically determine the scope of Group Policy objects (GPOs) based on attributes of the target computer. When a GPO that is linked to a WMI filter is applied on the target computer, the filter is evaluated on the target computer.

When a GPO that is linked to a WMI filter is applied on the target computer, the filter is evaluated on the target computer. If the WMI filter evaluates to false, the GPO is not applied (except if the client computer is running Windows 2000, in which case the filter is ignored and the GPO is always applied). If the WMI filter evaluates to true, the GPO is applied.

WMI makes data about a target computer available for administrative use. Such data can include hardware and software inventory, settings, and configuration information. For example, WMI exposes hardware configuration data such as CPU, memory, disk space, and manufacturer, as well as software configuration data from the registry, drivers, file system, Active Directory, the Windows Installer service, networking configuration, and application data.

GPOs are processed in the following order

The WMI filter is a separate object from the GPO in the directory.

To apply a WMI filter to a GPO, you link the filter to the GPO. This is shown in the WMI filtering section on the Scope tab of a GPO. Each GPO can have only one WMI filter, however the same WMI filter can be linked to multiple GPOs.

WMI filters, like GPOs, are stored on a per-domain basis. A WMI filter and the GPO it is linked to must be in the same domain.

  •     The local GPO is applied.
  •     GPOs linked to sites are applied.
  •     GPOs linked to domains are applied.
  •     GPOs linked to organizational units are applied. For nested organizational units, GPOs linked to parent organizational units are applied before GPOs linked to child organizational units are applied

A practical GPO and WMI example.

We had a requirement to have separate GPOs for Windows 7 Internet Explorer 10 users than Windows XP Internet Explorer 8 users. This is where we can have a policy which is filtered by Windows 7.

  • First of all log into your Group Policy Management Console
  • Create a new Group policy which will need to be assigned at the domain level, OU level or sub OU level depending on your design.
  • Modify the Group Policy with the settings you require
  • Now have a look at where WMI Filters are located by scrolling down to the bottom of the GPMC

wmi1

  • Right click and select New

wmi2

  • Put in a name and description

wmi3

  • Next Click Add and you will get a new box where we can then add our WMI filter code

wmi4

It is probably worth talking a little about the Namespace and WMI language at this point.  The queries are written using the WMI Query Language (WQL), a SQL-like language. Queries can be combined with AND and OR logical operators to achieve whatever effect the administrator wants. Each query is executed against a particular WMI namespace. When you create a query, you must specify the namespace. The default is root\CIMv2, which is appropriate for most WMI queries.

I downloaded a small free program from Microsoft called WMI Code Creator. The tool also allows you to browse through the available WMI namespaces and classes on the local computer to find their descriptions, properties, methods, and qualifiers.

As an example below, I can look at the Operation System properties and find the version and also the name if I look at the Caption Properties

wmi5

Note: This piece of software is useful for delving into the WMI information but you need to be able to use the WMI query in a way Active Directory understands.

SELECT [property] from [wmi class]

  • Have a look at the table below. Both Windows Server 2012 and Windows 8 return version numbers that begin with 6.2. To   differentiate between the client and server versions, include the clause to check the ProductType field. This value returns 1 for client versions of Windows such as Windows 8, 2 for server versions of Windows operating as domain controllers, and 3 for server versions of Windows that are not operating as domain controllers.

wmi6

  • You can also create combination filters when required by your design. The following table shows query statements for common operating system combinations.

wmi7

  • As an example we wanted our policy to apply to Windows 7, Windows 8 and Windows 8.1 so this was our filter

wmi8

  • Click Save and go back to your Group Policy
  • Click on Scope and look at the bottom of the Scope Page where you will see WMI Filters
  • Here you will need to select your WMI Filter and apply it

wmi10

  • Next click start run and type gpupdate /force on your DC to push out the settings.
  • If you want to test that your GPO and WMI filters work then you can go back to your Group policy management console and look right down the bottom again where you have an option – Group Policy Results

wmi11

  • Right click and select Group Policy Results wizard and you can run through this and select a target computer and user to test whether then WMI works.
  • At the end you will get a Summary, Details and Policy Events and you want to scroll down and check Details where it will say whether the WMI Filter came out as True or False!

wmi13

  • And that’s it. It’s worth having a look through the many ways you can filter and write queries.

An interesting point to finish

What takes precedence when multiple, conflicting GPOs apply to the same OU?

“Links to a specific site, domain, or organizational unit are applied in reverse sequence based on link order. For example, a GPO with Link Order 1 has highest precedence over other GPOs linked to that container.”

What takes precedence when multiple, conflicting enforced GPOs apply to the same OU?

Setting a GPO to enforced effectively moves it to the end of the processing order, meaning it always wins. If you have multiple conflicting Enforced GPOs they go in reverse order. (The ‘higher’ one in the OU structure wins,) But if it ever got that complex, you would need to rethink your overall GPO strategy in the long term.

Standard GPO Inheritance Rules in Organizational Units

Any unconfigured settings anywhere in a GPO are ignored, and only configured settings are inherited. There are three possible scenarios:

  • A higher-level GPO has a value for a setting, and a lower-level GPO does not.
  • A GPO linked to a parent OU has a value for a setting, and a GPO linked to a child OU has a non-conflicting value for the same setting.
  • A GPO linked to a parent OU has a value for a setting, and a GPO linked to a child OU has a conflicting value for the same setting.

If a GPO has settings configured for a parent organizational unit and the same policy settings are unconfigured for a child organizational unit, the child inherits the parent’s GPO settings. That makes sense.

If a GPO has settings configured for a parent organizational unit that do not conflict with the settings in a GPO configured for a child organizational unit, the child organizational unit inherits the parent GPO settings and applies its own GPOs as well. A good example of this is two logon scripts; these scripts don’t conflict, so both are run

If a GPO has settings configured for a parent organizational unit that conflict with the same settings in another GPO configured for a child organizational unit, the child organizational unit does not inherit those specific GPO settings from the parent organizational unit. The settings in the GPO child policy take priority

Logon script to copy 2 folders into a user’s Roaming Profile

Script

The Task

Our users are logging into several Terminal Server Farms where they are running a TM1 application client which connects to the main TM1 Server. On opening the client it is meant to put 2 folders in their profile under the AppData folder. This is a folder called Applix which also contains another folder called TM1.

We have roaming profiles where we have a profile drive and a home drive and the AppData folder is redirected to the user’s Home Drive. It seems that this application does not cope well with creating the Applix folder on the redirected Home Folder location

However we have found it works fine when you have a straight roaming profile with no redirected folders!

So what do we need to happen?

  1. A user logs on to a Terminal Server Farm
  2. At logon a GPO containing a PowerShell script to do this task will run
  3. The script will test that the folder path exists first \\ServerXYZ\Home\Username\AppData\Roaming and if it does, it will do nothing
  4. If the path doesn’t exist, it will put a folder called Applix in the following path \\ServerXYZ\Home\Username\AppData\Roaming
  5. Note, we put the Applix folder on the Terminal Servers as C:\Applix and the script picks this up for copying from this location

The PowerShell Script

if (!(Test-path “\\ServerXYZ\Home\$env:USERNAME\AppData\Roaming\Applix”))
{
Copy-Item -path “C:\Applix” -Recurse -Destination “\\ServerXYZ\Home\$env:USERNAME\AppData\Roaming\Applix” -Container
}


Putting desktop shortcuts on via Group Policy

Shortcut

Putting desktop shortcuts on via Group Policy

Today’s blog has come up as someone asked me about putting a folder shortcut on our Terminal Server for a subset of users who log in. It turns out you can do a whole lot more with different types of shortcuts and even customise them with different icons to make them stand out.

The Task

Certain users will log into the Terminal Server and will see an icon on the desktop which is basically a shortcut to a shared folder held elsewhere on another server. This a Windows Server 2008 R2 Server with Service Pack1. The Domain Controller is also a Windows Server 2008 R2 Server.

Instructions

  • Share the folder you want to create a shortcut to on the other server to the terminal server and assign the necessary Share and Security permissions
  • Open your Group Policy Management Console either on the DC or via an MMC
  • Right click on the Terminal Server OU and select Create a GPO in this domain and link it here
  • Put a name in for the Policy
  • Click on the new policy and go to the Scope tab
  • In the scope, click Add and select the users or group you want the policy to apply to
  • Right click on new policy and select Edit
  • Navigate to Computer Configuration>Administrative Templates>System>Group Policy and Enable Group Policy loopback processing mode to Enabled and Replace

gpo1

  • Go to User Configuration > Preferences > Windows Settings > Shortcuts. Right click on Shortcuts and select New Shortcut
  • You will see the following default screen

gpo2

  • In Action, Select Create
  • In Name, Put in a relevant name for your shortcut
  • Now you have 3 options

gpo3

  • If you are using a Windows path (such as a file, folder, drive, share, or computer), click File System Object.
  • If you are using a URL (such as a Web page, Web site, or FTP site), click URL.
  • If you are using an object within the Windows shell (such as a printer, desktop or control panel item, file, folder, share, computer, or network resource), click Shell Object
  • For our option today, I will be using File System Object
  • In Location, you will see the below options. Choose Desktop

gpo4

  • In Target Path put in the Server and Sharename. E.g \\ServerA\SharedFolder
  • If you want to have a look at the other options, please click Help at the bottom of the Properties box. For now leave everything as it is except the bottom option where you can change the Icon File Path
  • Click the Radio button and a collection of icons will appear
  • You cannot put your own icons in the location %SystemRoot%\system32\SHELL32.dll

gpo5

  • Choose an icon
  • Now you should have a Properties box which looks like the following

gpo6

  • Click OK
  • On the Domain Controller, click on Start > Run and type gpupdate /force
  • On the Terminal Server, click on Start > Run and type gpupdate /force
  • Test logging in as a user who the policy should apply to and check the desktop shortcut appears with the icon

gpo7


Group Policy and Microsoft Office Templates on Server 2008 R2

Policy

Managing Group Policy ADMX Files

Microsoft Windows Vista® and Windows Server 2008 introduce a new format for displaying registry-based policy settings. Registry-based policy settings (located under the Administrative Templates category in the Group Policy Object Editor) are defined using a standards-based, XML file format known as ADMX files. These new files replace ADM files, which used their own markup language. The Group Policy tools; Group Policy Object Editor and Group Policy Management Console remain largely unchanged. In the majority of situations, you won’t notice the presence of ADMX files during day-to-day Group Policy administration tasks.

ADMX files provide an XML-based structure for defining the display of the Administrative Template policy settings in the Group Policy tools. The Group Policy tools will recognize ADMX files only if you are using a Windows Vista–based or Windows Server 2008–based computer.

Unlike ADM files, ADMX files are not stored in individual GPOs. For domain-based enterprises, administrators can create a central store location of ADMX files that is accessible by anyone with permission to create or edit GPOs. Group Policy tools will continue to recognize custom ADM files you have in your existing environment, but will ignore any ADM file that has been superseded by ADMX files: System.adm, Inetres.adm, Conf.adm, Wmplayer.adm, and Wuau.adm. Therefore, if you have edited any of the these files to modify existing or create new policy settings, the modified or new settings will not be read or displayed by the Windows Vista–based Group Policy tools.

The Group Policy Object Editor automatically reads and displays Administrative Template policy settings from ADMX files that are stored either locally or in the optional ADMX central store. The Group Policy Object Editor will automatically read and display Administrative Template policy settings from custom ADM files stored in the GPO. You can still add or remove custom ADM files with the Add/Remove template menu option. All Group Policy settings currently in ADM files delivered by the Windows Server 2003, Windows XP, and Windows 2000 will also be available in Windows Vista and Windows Server 2008 ADMX files.

Note: I have tested the Co-Existence of the 2007 Microsoft Office Templates and the 2010 Microsoft Office Templates and they seem to work together nicely. See pic below. The same process applies to adding a second lot of templates

Office2007templates

Procedure

officegpo11

  • The central store is a folder structure created in the Sysvol directory on the domain controllers in each domain in your organization. You will need to create the central store only once on a single domain controller for each domain in your organization. The File Replication service then replicates the central store to all domain controllers in a domain. However, it is recommended that you create the central store on the primary domain controller. Group Policy Management Console and Group Policy Object Editor can use ADMX files more quickly because Group Policy tools connect to the primary domain controller by default.
  • Create a subfolder of \\dacmt.local\sysvol\domain\Policies\PolicyDefinitions\en-us for each language your Group Policy administrators will use. Each subfolder is named after the appropriate ISO-style Language/Culture Name. E.g %domain%\sysvol\domain\policies\PolicyDefinitions\en-us

officegpo12

  • Run the Office 2010 Administrative Template exe as per below and save the 3 folders into a temp folder

officegpo1

  • Save into a temp folder for now

officegpo2

  • You should now see the following 3 folders

officegpo3

  • Go to your downloaded Office 2010 files and copy the admx files into the %domain%\sysvol\domain\policies\PolicyDefinitions folder
  • Go to your downloaded files and copy the adml files into the %domain%\sysvol\domain\policies\PolicyDefinitions\EN-US Folder
  • You now need to go to c:\Windows\Policy Definitions and copy what is in here into the \\dacmt.local\sysvol\domain\Policies\PolicyDefinitions\ folder and the \\dacmt.local\sysvol\domain\Policies\PolicyDefinitions\en-us folder as this will allow you to see the existing Administrative Templates along with the new Office ones

officegpo13

  • Open Group Policy Management console and you should now see the following

officegpo14

If you then navigate into each Office Setting. For example, go into Microsoft Office, you can suppress the initial box which pops up saying Welcome to Microsoft Office etc

officegpo10

  • And this is the Group Policy below which will stop the above screen

officegpo9

  • Now you can go through any which you need to apply
  • Voila 🙂

Useful Links

http://technet.microsoft.com/en-us/library/cc748955%28v=ws.10%29.aspx

http://technet.microsoft.com/en-us/library/gg490629%28v=office.14%29.aspx