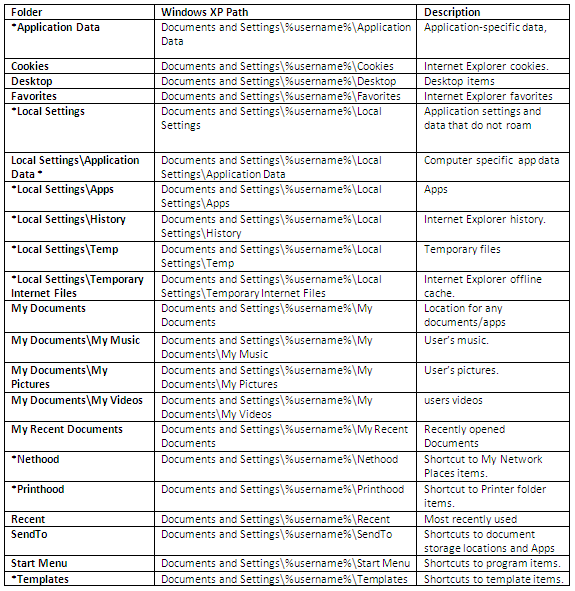
What is a Mandatory Roaming Profile?
A mandatory user profile is a special type of pre-configured roaming user profile that administrators can use to specify settings for users. With mandatory user profiles, a user can modify his or her desktop, but the changes are not saved when the user logs off. The next time the user logs on, the mandatory user profile created by the administrator is downloaded. There are two types of mandatory profiles: normal mandatory profiles and super-mandatory profiles.
User profiles become mandatory profiles when the administrator renames the NTuser.dat file (the registry hive) on the server to NTuser.man. The .man extension causes the user profile to be a read-only profile.
User profiles become super-mandatory when the folder name of the profile path ends in .man; for example, \\server\share\mandatoryprofile.man\.
Super-mandatory user profiles are similar to normal mandatory profiles, with the exception that users who have super-mandatory profiles cannot log on when the server that stores the mandatory profile is unavailable. Users with normal mandatory profiles can log on with the locally cached copy of the mandatory profile.
Only system administrators can make changes to mandatory user profiles.
This has advantages and disadvantages
Advantages
- Since mandatory profiles are read-only, a single mandatory profile can be used for large groups of users. Storage requirements are minimal – a single mandatory profile is kept on the file servers instead of thousands of roaming profiles.
- Users cannot interfere with a mandatory profile. As soon as they log off and back on, everything is reset to its original created state.
- Because a mandatory profile can be used for large groups of users, very few mandatory profiles are needed. This makes manual customization possible. Adding a link here and changing a registry value there poses no problems at all. Compare this to thousands of roaming profiles – carefully fine tuning each profile is out of the question for the huge amount of work involved.
- Mandatory profiles must not contain user-specific data. That makes them very small. As a result, logons are fast since the amount of data that needs to be copied over the network is negligible
Disadvantages
- Users like to customize their own work environment in some way or another. These customizations are stored in the user profile. With mandatory profiles, any changes are discarded upon logoff. This can tend to annoy users who have saved work only to find it gone on their next logon but with education this can be a business process that everyone should adhere to
- Mandatory profiles are difficult to create. Although the process looks pretty straightforward at first, it is hard to get exactly right. Do not underestimate the amount of tuning required.
Instructions on setting up a Mandatory Roaming Profile
- Create a folder called Profiles on one of your servers
- Right click on the folder and select Properties
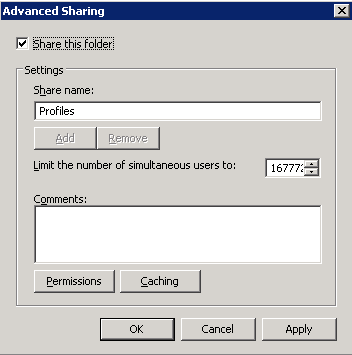
- Click Sharing > Advanced Sharing
- Put a tick in Share this folder
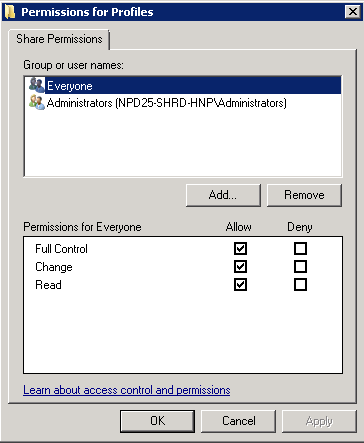
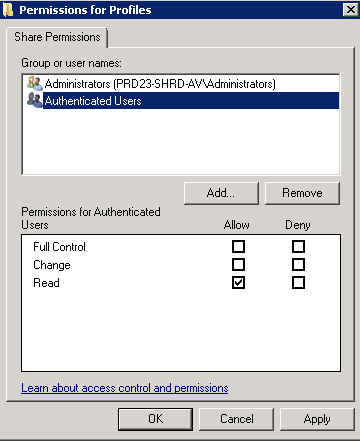
- Select permissions and remove the Everyone Group and add Authenticated User with Read Permissions and Administrators with Full Control
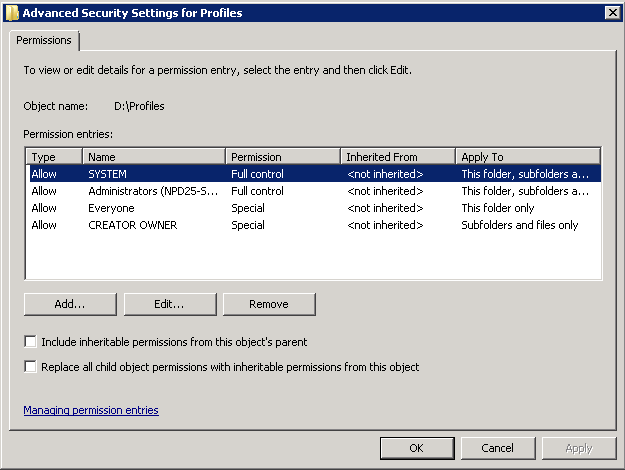
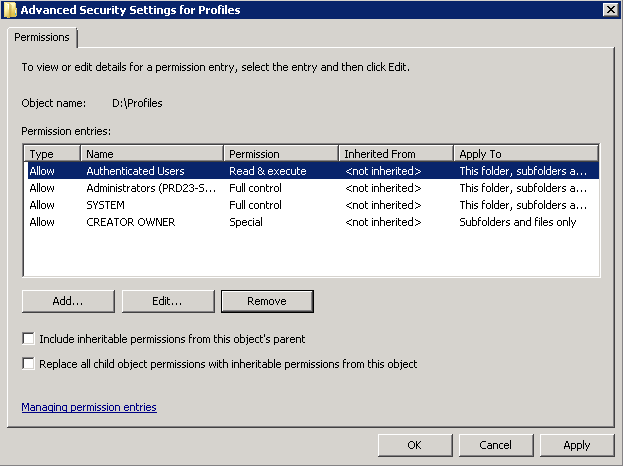
- Click OK and click Security to set the NTFS Permissions on the folder
- System should have Full Control
- Administrators should have Full Control
- Authenticated Users should have Read and Execute
- Inside the Profiles folder you need to create a folder which will house your Mandatory Roaming Profile Account. See below. It needs to have .v2 added on to the end of it

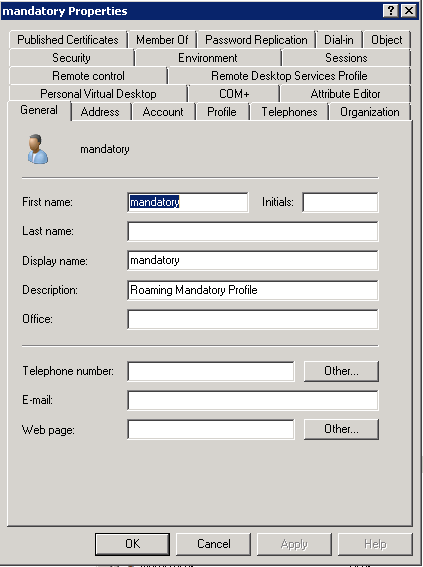
- Create a new Profile in Active Directory. I called mine Mandatory
- Add the security groups you need for this account
- Next you will need to log on to a server as your mandatory profile and configure the necessary customisations. For example put shortcuts on the desktop, pin applications to the Start menu and open applications and configure settings etc
- When you have finished customising then you will need to log off
- Next log on with a different Administrator account
- Click Start > Right click on My Computer and select Properties. Select Advanced System Settings
- Click Settings under User Profiles

- You will then see your profiles. I have left my mandatory one highlighted for visibility.
- Then I encountered a problem. It turns out in Windows 2008 R2 and Windows 7, Microsoft has disabled the “Copy To” button on the User Profiles screen. See link below for more information but carry on for now. You can read this later as well.
- http://support.microsoft.com/kb/973289

- I have found a way to get round this by using a piece of software called Windows Enabler. You will need to download and extract this to the server where the profile is. Should look like the below screenprint

- Right click on Windows Enabler and select Run as Administrator
- Once you have started the Windows Enabler application you will notice a new icon in the system tray.
- Make sure you click on it once to enable the application. You will see a small message appear on the icon when you have enabled it
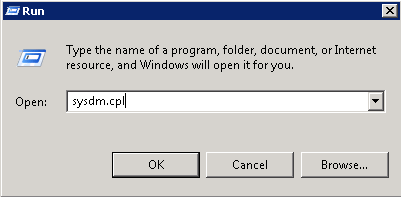
- Click Start > Run and type sysdm.cpl
- Navigate to the Advanced tab | User profiles | Settings
- Click on the desired profile and you will notice that ‘Copy To‘ button is disabled
- Click on the Copy To button and you will notice it will become enabled
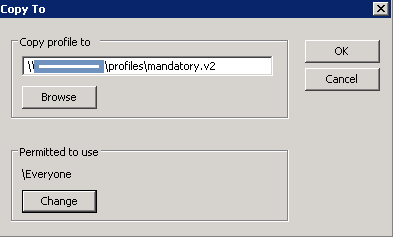
- Click Copy To and the following box will pop up
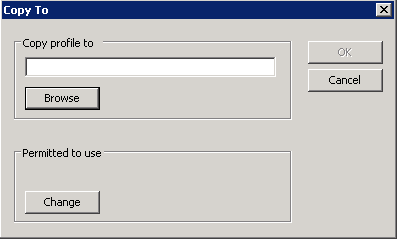
- Click Browse and browse or type the location where you set up the folder share \\server\profiles\mandatory.v2
- Click on Permitted to use > Change and select Everyone
- You will get a message come up as per below screenprint

- If it errors after this message then the account you are trying to use to copy the profile does not have access to the \\server\profiles\mandatory.v2 folder
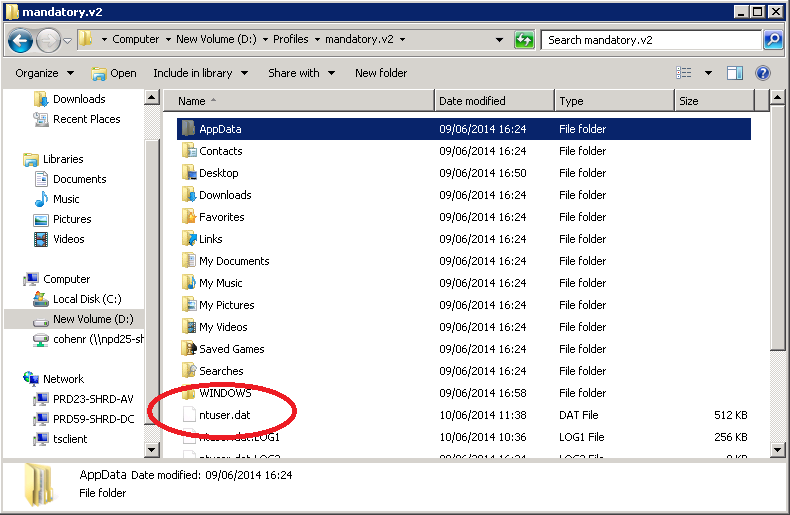
- When it has copied, have a look at the share and check you have all your user profile folders there

- Next you need to look for a file called NTUSER.DAT in the profile folder
- You may need to open Folder Options and deselect Show Hidden folders, Files and Drives and possibly Hide Protected Operating System Files
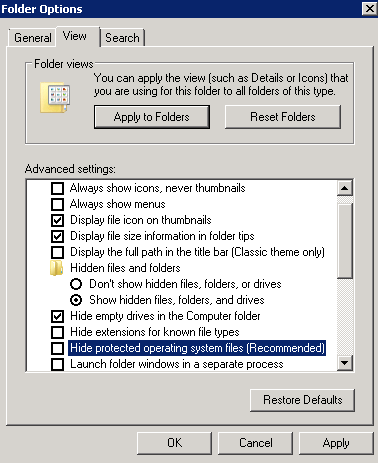
- You will then see it in the Profile folder
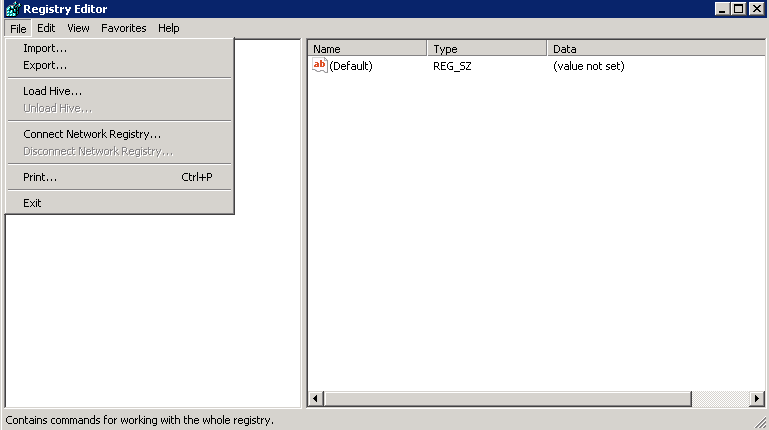
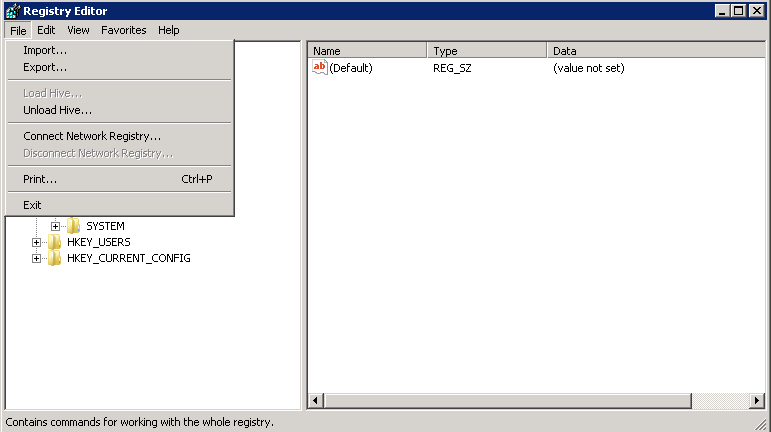
- Leave this for now and go Start > Run > regedit and highlight HKEY_LOCAL_MACHINE
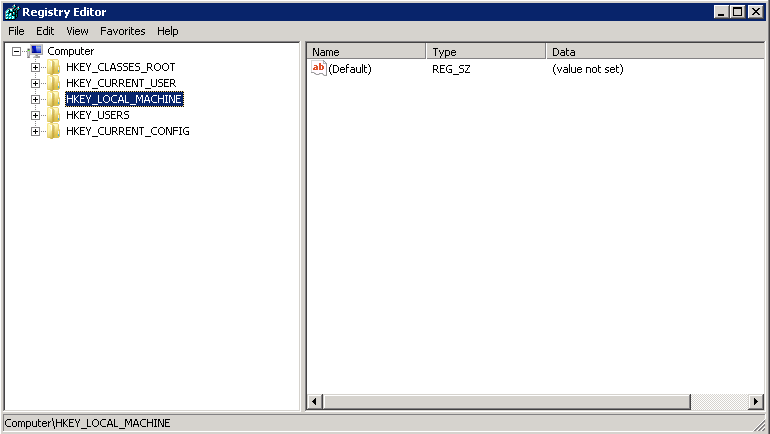
- Click File > Load Hive > Select ntuser.dat
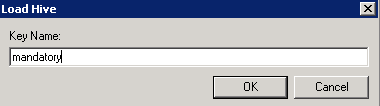
- In Load Hive put in your username which is mandatory
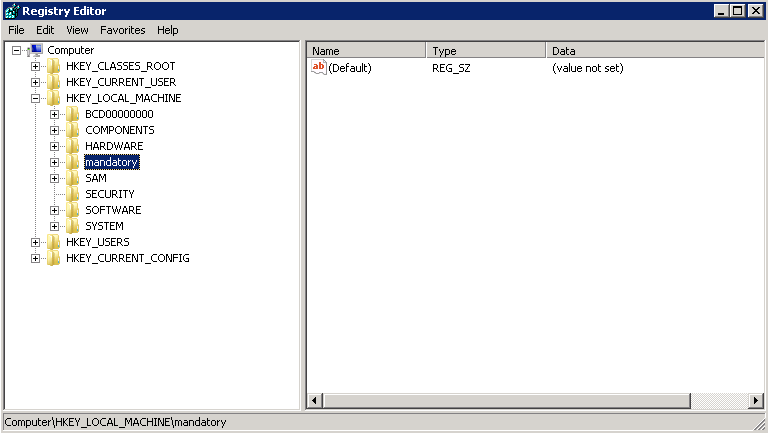
- You will see the profile as per below screenprint
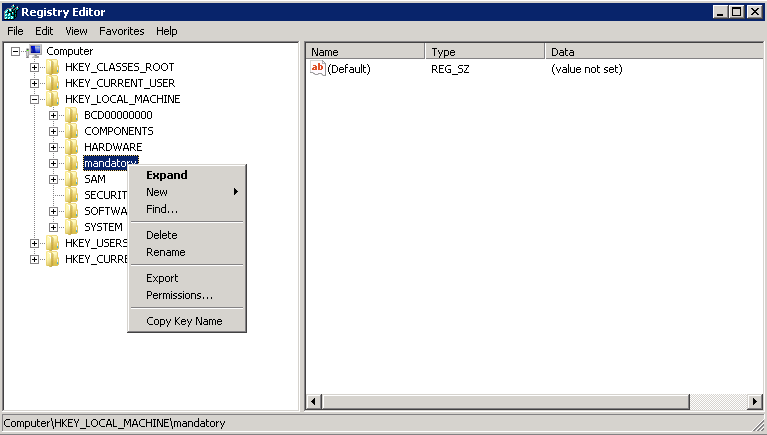
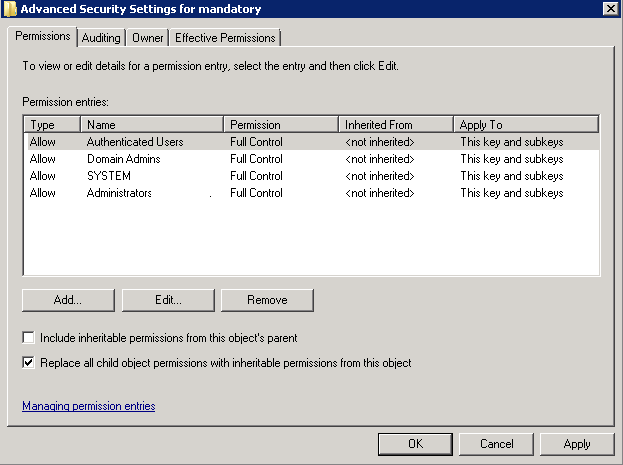
- Right click on the mandatory key and select Permissions
- You need to add Domain Admins Full Control and replace all child object permissions with inheritable permissions from this object and replace all child object permissions
- You need to add Authenticated Users Full Control and replace all child object permissions
- You need to add Domain Admins Full Control and replace all child object permissions
- See screenprint below
- Now we need to unload the hive. Go to File Unload Hive
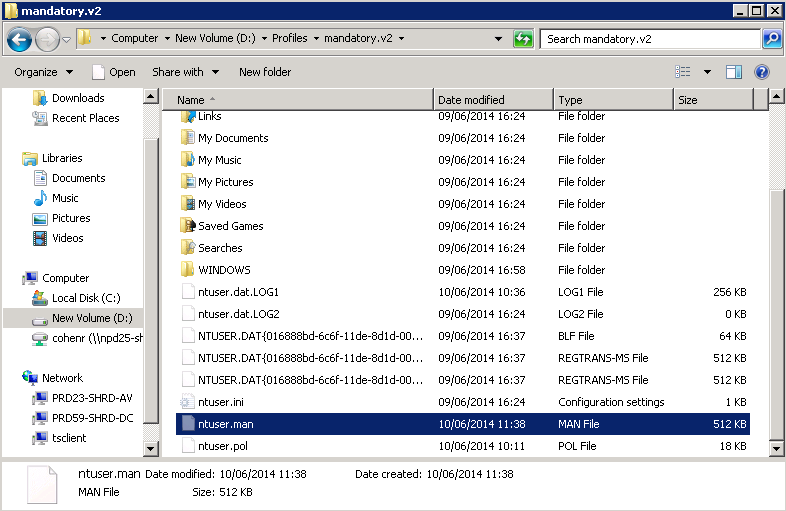
- Now go back to your mandatory profile folder and we need to rename ntuser.dat to ntuser.man. When you have renamed it, it should look like the below (ntuser.man)
- Next Delete the Local and LocalLow folders from the AppData folder if they exist. They are Local profile folders and uneeded
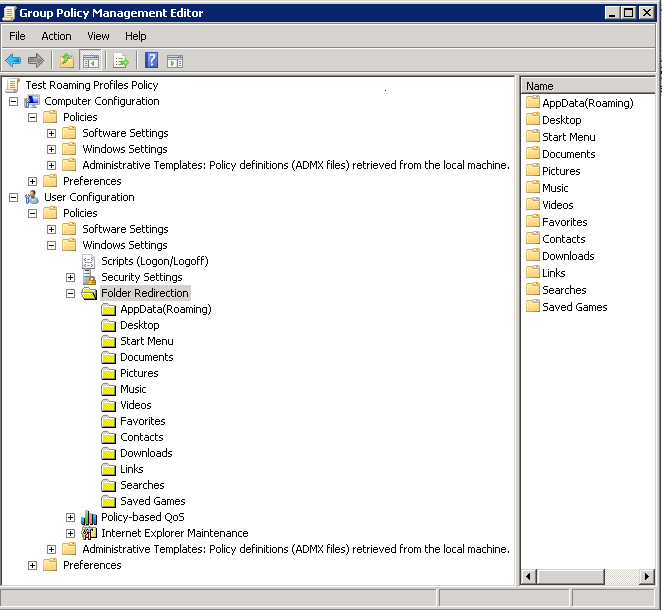
- Next we need to configure a Group Policy to enable the mandatory profile for Remote Desktop Services
- Open up GPMC
- Create a new GPO and attach it to your Terminal Server/RDS OU
- Add the RDS Servers into the scope along with Authenticated Users
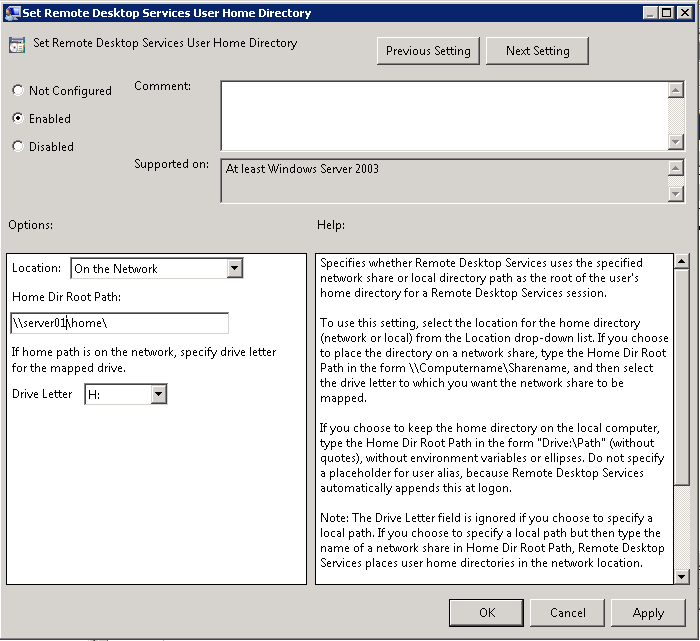
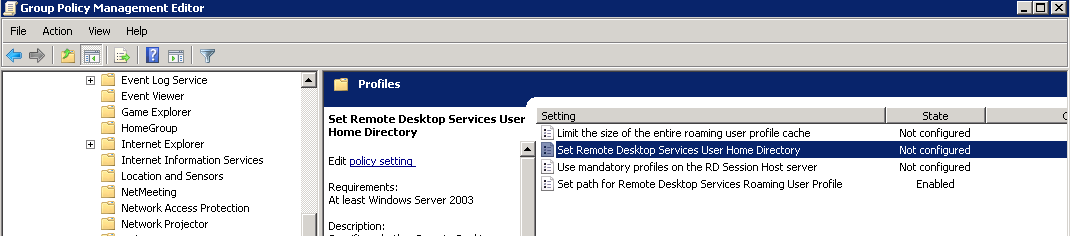
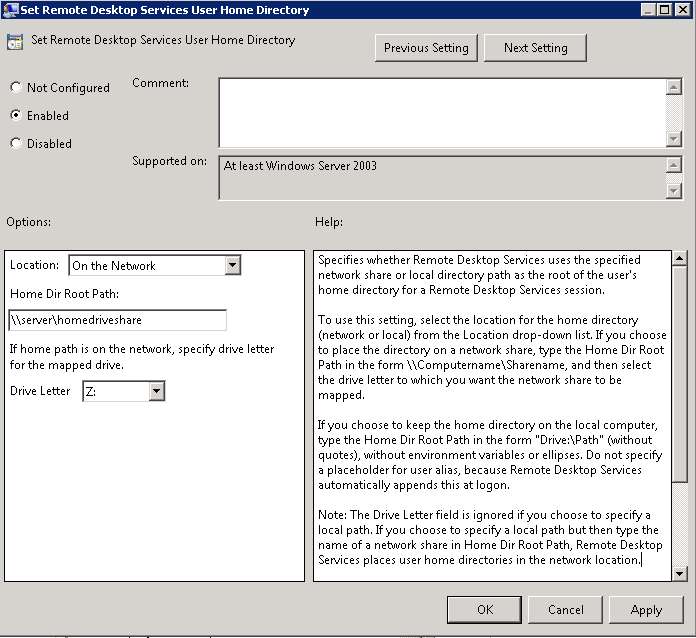
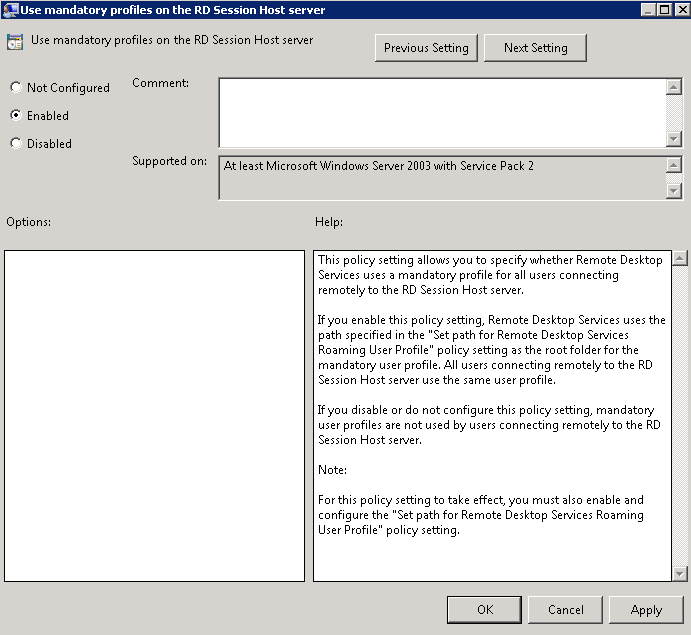
- Navigate to Computer Configuration > Policies > Administrative Templates > Windows Components > Remote Desktop Services > Remote Desktop Session Host > Profiles > Use Mandatory Profiles on the RD Session Host Server
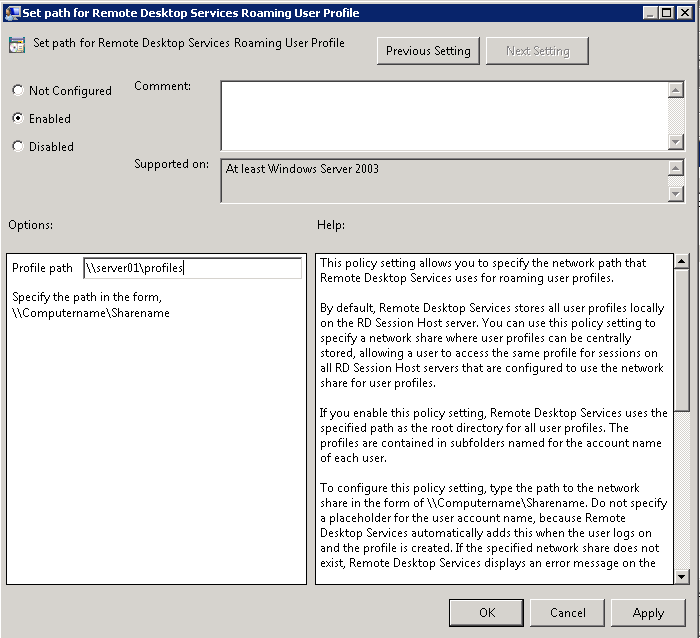
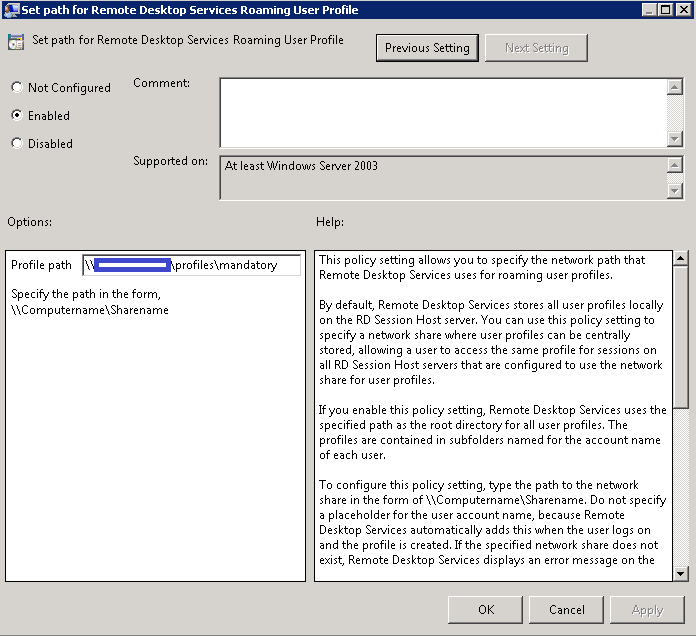
- Navigate to Computer Configuration > Policies > Administrative Templates > Windows Components > Remote Desktop Services > Remote Desktop Session Host > Profiles >Set Path for Remote Desktop Services Roaming User Profile > Enabled
- Navigate to Computer Configuration > Policies > Administrative Templates > Windows Components > Remote Desktop Services > Remote Desktop Session Host > Profiles >Set Path for Remote Desktop Services Roaming User Profile > \\servername\profiles\mandatory (Do not include the .v2 on the end of the profile folder name)
- You now need to run a gpupdate /force on the Domain Controller and on the Terminal/RDS Servers to refresh Group policy
- Now test logging on to an RDS Server and note you will be able to save a doc say into My Documents but try logging off and logging on again and you will find it has gone
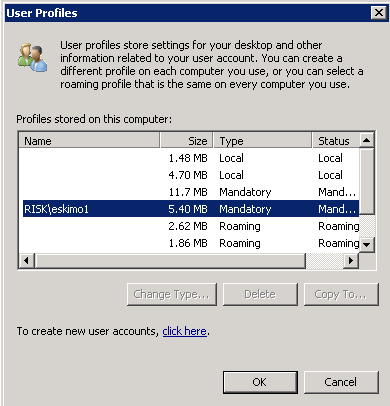
- If you go Start > Run sydm.cpl > Advanced > User Profiles > Settings > Check your user profile which you have logged on with (In my case Eskimo1) you should see that the type of profile is now mandatory
- Congratulations. You have set up a Mandatory Roaming Profile 🙂