
vSAN Load Testing Tool: HCIBench
*Note* HCIBench is now on v1.6.6 – Use this version.
VMware has a vSAN Stress and Load testing tool called HCIBench, which is provided via VMware’s fling capability. HCIbench can be run in versions 5.5 and upwards today as a replacement for the vSAN Proactive tests which are inbuilt into vSAN currently. I am running this against vSphere 6.5/vSAN 6.6 today. HCIBench provides more flexibility in defining a target performance profile as input and test results from HCIBench can be viewed in a web browser and saved to disk.
HCIBench will help simplify the stress testing task, as HCIBench asks you to specify your desired testing parameters (size of working set, IO profile, number of VMs and VMDKs, etc.) and then spawns multiple instances of Vdbench on multiple servers. If you don’t want to configure anything manually there is a button called Easyrun which will set everything for you. After the test run is done, it conveniently gathers all the results in one place for easy review and resets itself for the next test run.
HCIBench is not only a benchmark tool designed for vSAN, but also could be used to evaluate the performance of all kinds of Hyper-Converged Infrastructure Storage in vSphere environment.
Where can I can find HCI Bench?
There is a dedicated fling page which will provide access to HCIBench and its associated documentation. A zip file containing the Vdbench binaries from Oracle will also be required to be downloaded which can be done through the configuration page after the appliance is installed. You will need to register an account with Oracle to download this file but this doesn’t take long.
HCIBench Download: labs.vmware.com/flings/hcibench
HCIBench User Guide: https://download3.vmware.com/software/vmw-tools/hcibench/HCIBench_User_Guide.pdf
Requirements
- Web Browser: IE8+, Firefox or Chrome
- vSphere 5.5 and later environments for both HCIBench and its client VMs deployment
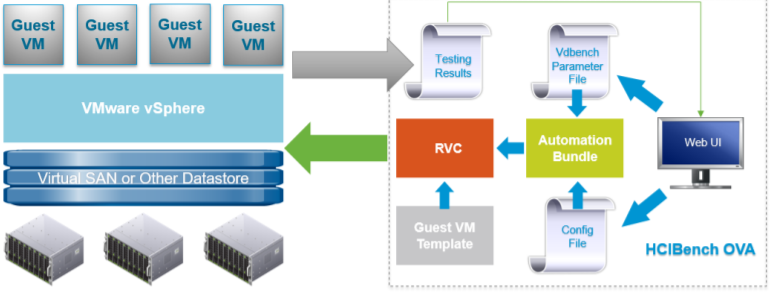
HCIBench Tool Architecture
The tool is specifically designed for running performance tests using Vdbench against a vSAN datastore.
It is delivered in the form of Open Virtualization Appliance (OVA) that includes the following components:
The test Controller VM is installed with:
- Ruby vSphere Console (RVC)
- vSAN Observer
- Automation bundle
- Configuration files
- Linux test VM template
The Controller VM has all the needed components installed. The core component is RVC (https://github.com/vmware/rvc) with some extended features enabled. RVC is the engine of this performance test tool, responsible for deploying Vdbench Guest VMs, conducting Vdbench runs, collecting results, and monitoring vSAN by using vSAN Observer.
VM Specification Controller VM
- CPU: 8 vCPU
- RAM: 4GB
- OS VMDK: 16GB
- Operating system: Photon OS 1.0
- OS Credential: user is responsible for creating the root password when deploying the VM.
- Software installed: Ruby 2.3.0, Rubygem 2.5.1, Rbvmomi 1.8.2, RVC 1.8.0, sshpass 1.05, Apache 2.4.18, Tomcat 8.54, JDK 1.8u102
Vdbench Guest VM
- CPU: 4 vCPU
- RAM: 4GB
- OS VMDK: 16GB
- OS: Photon OS 1.0
- OS Credential: root/vdbench
- Software installed: JDK 1.8u102, fio 2.13 SCSI Controller Type: VMware Paravirtual
- Data VMDK: number and size to be defined by user
Pre-requisites
Before deploying this performance test tool packaged as OVA, make sure the environment meets the following requirements:
The vSAN Cluster is created and configured properly
- The network for Vdbench Guest VMs is ready, and needs to have DHCP service enabled; if the network doesn’t have DHCP service, “Private Network” must be mapped to the same network when HCIBench being deployed.
- The vSphere environment where the tool is deployed can access the vSAN Cluster environment to be tested
- The tool can be deployed into any vSphere environment. However, we do not recommend deploying it into the vSAN Cluster that is tested to avoid unnecessary resource consumption by the tool.
What am I benchmarking?
This is my home lab which runs vSAN 6.6 on 3 x Dell Poweredge T710 servers each with
- 2 x 6 core X5650 2.66Ghz processors
- 128GB RAM
- 6 x Dell Enterprise 2TB SATA 7.2k hot plug drives
- 1 x Samsung 256GB SSD Enterprise 6.0Gbps
- Perc 6i RAID BBWC battery-backed cache
- iDRAC 6 Enterprise Remote Card
- NetXtreme II 5709c Gigabit Ethernet NIC
Installation Instructions
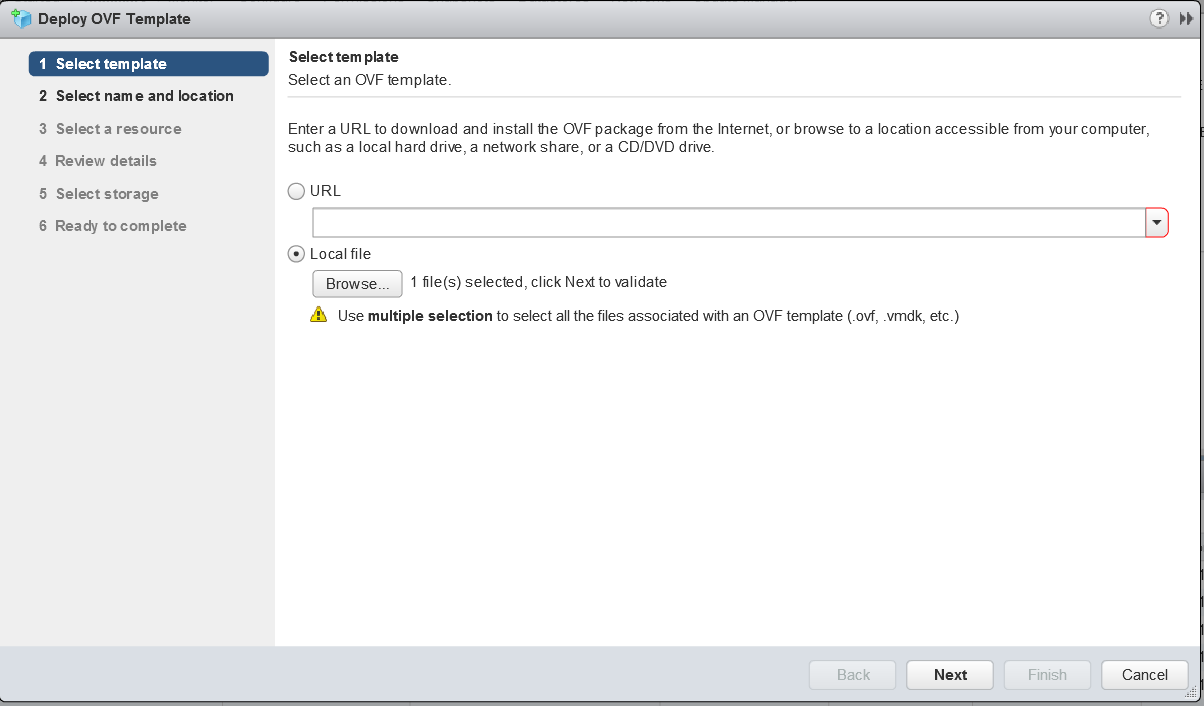
- Download the HCIBench OVA from https://labs.vmware.com/flings/hcibench and deploy it to your vSphere 5.5 or later environment.
- Because the vApp option is used for deployment, HCIBench doesn’t support deployment on a standalone ESXi host, the ESXi host needs to be managed by a vCenter server.
- When configuring the network, if you don’t have DHCP service on the VLAN that the VDBench client VMs will be deployed on, the “Private Network” needs to be mapped to the same VLAN because HCIBench will be able to provide the DHCP service.
- Log into vCenter and go to File > Deploy OVF File
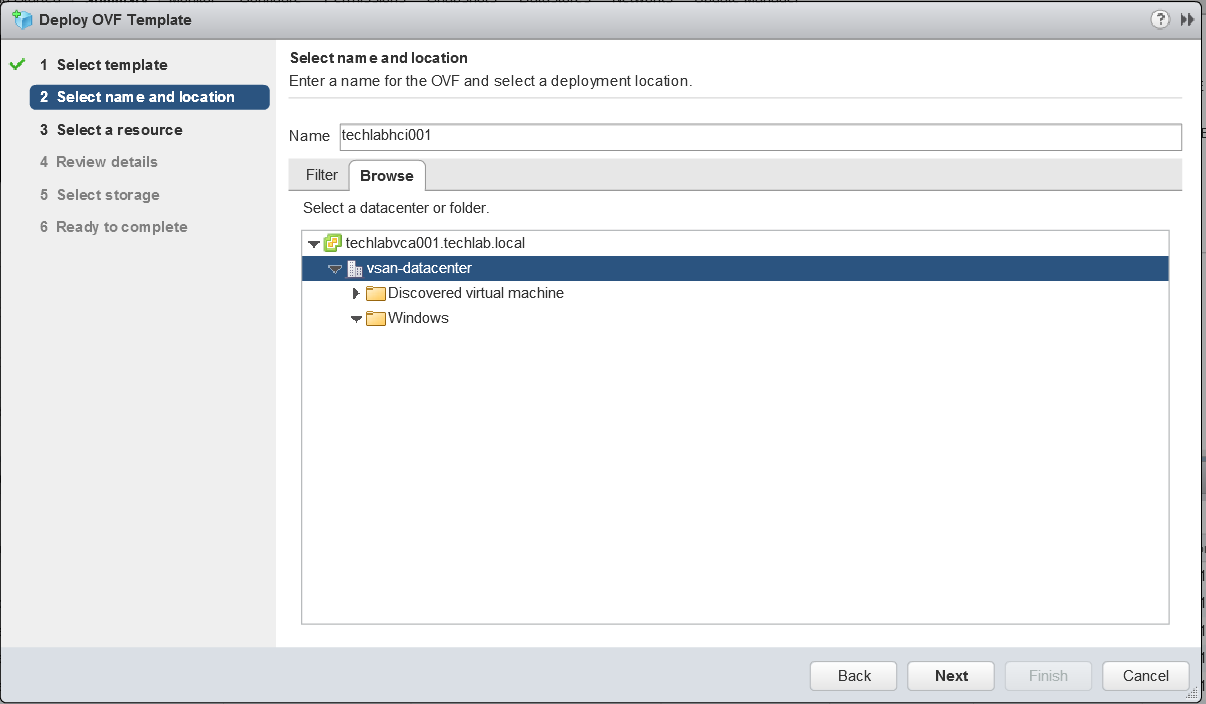
- Name the machine and select a deployment location
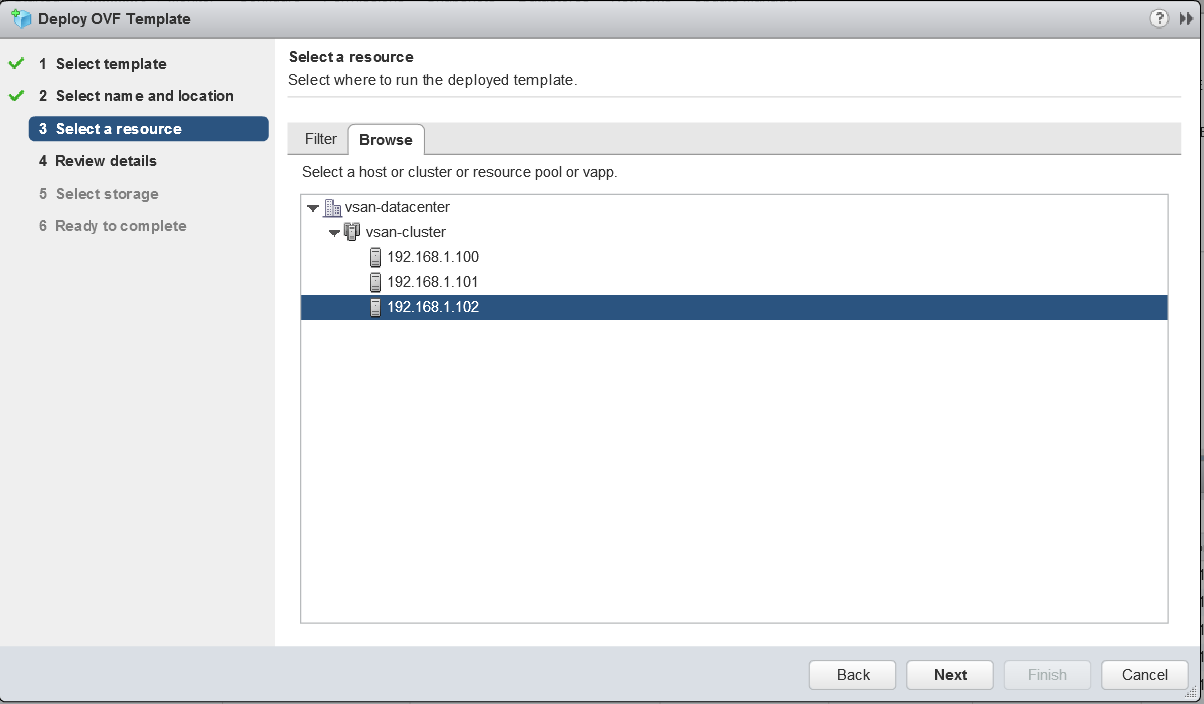
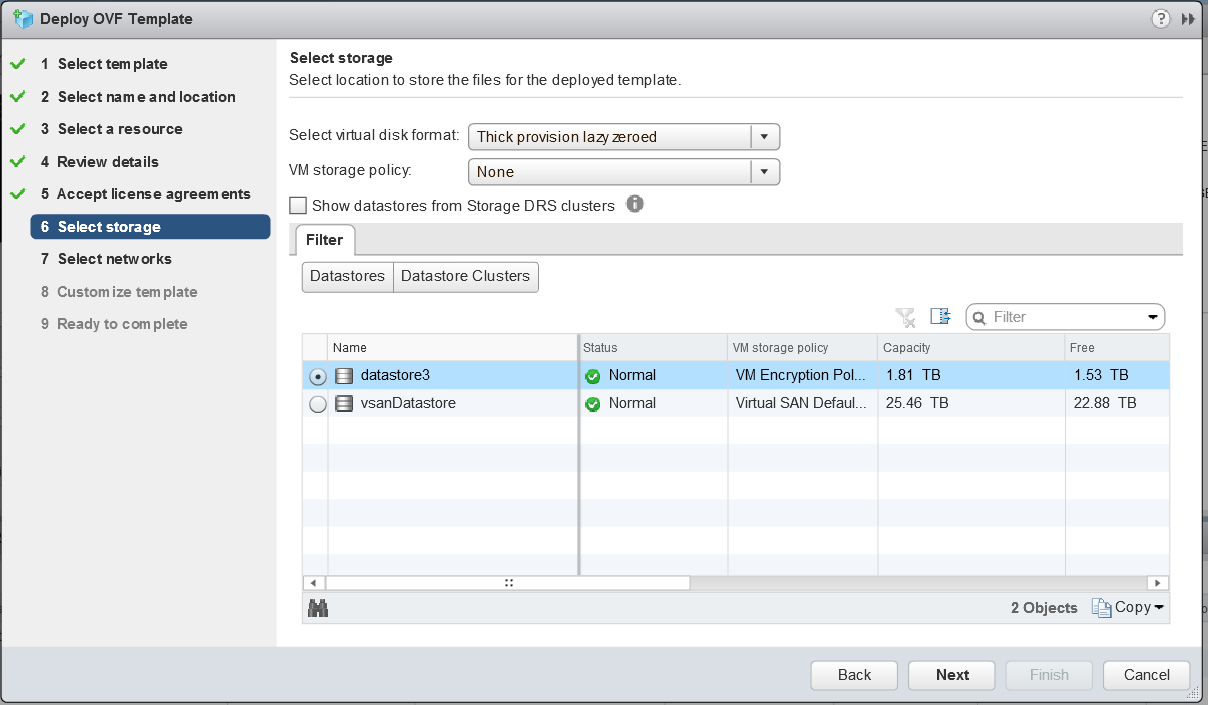
- Select where to run the deployed template. I’m going to run it on one of my host local datastores as it is recommended to run it in a location other than the vSAN.
- Review the details
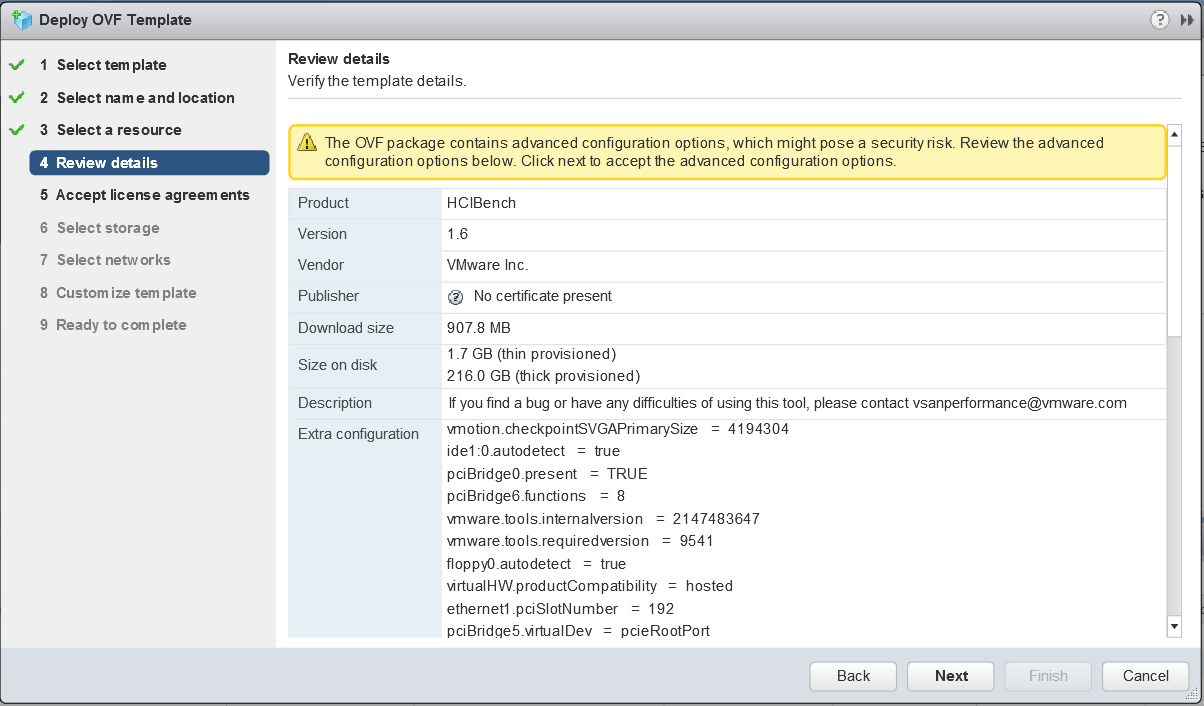
- Accept the License Agreement
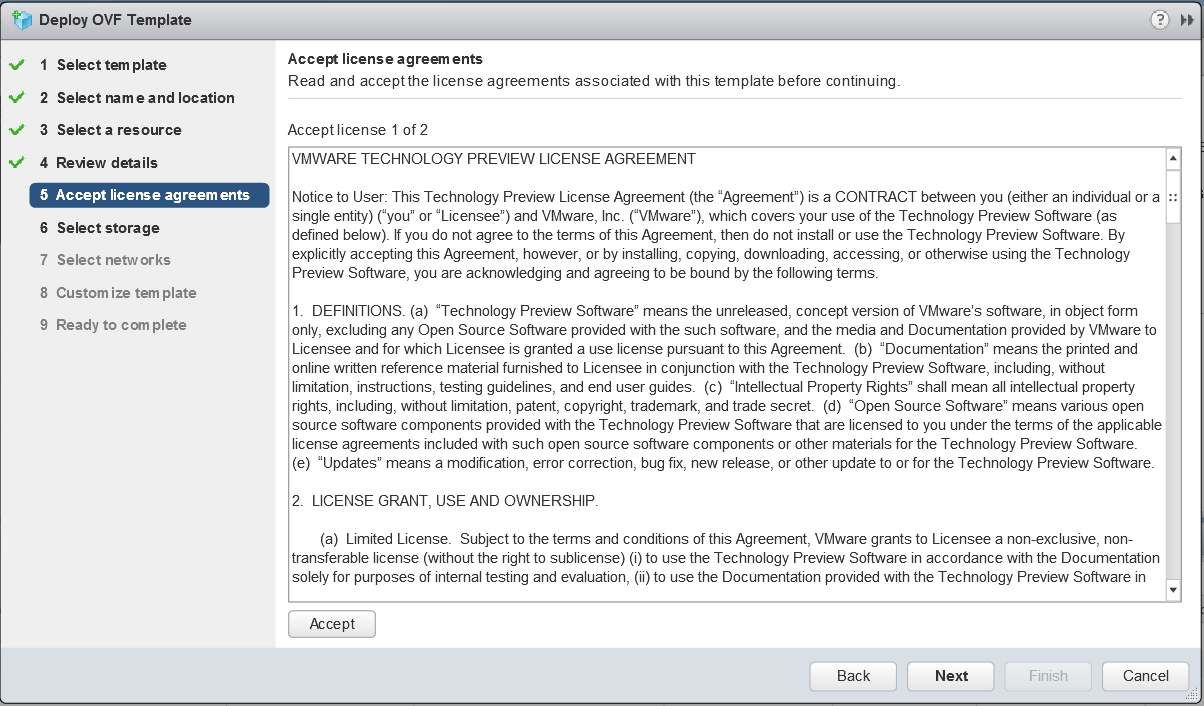
- Select a storage location to store the files for the deployed template
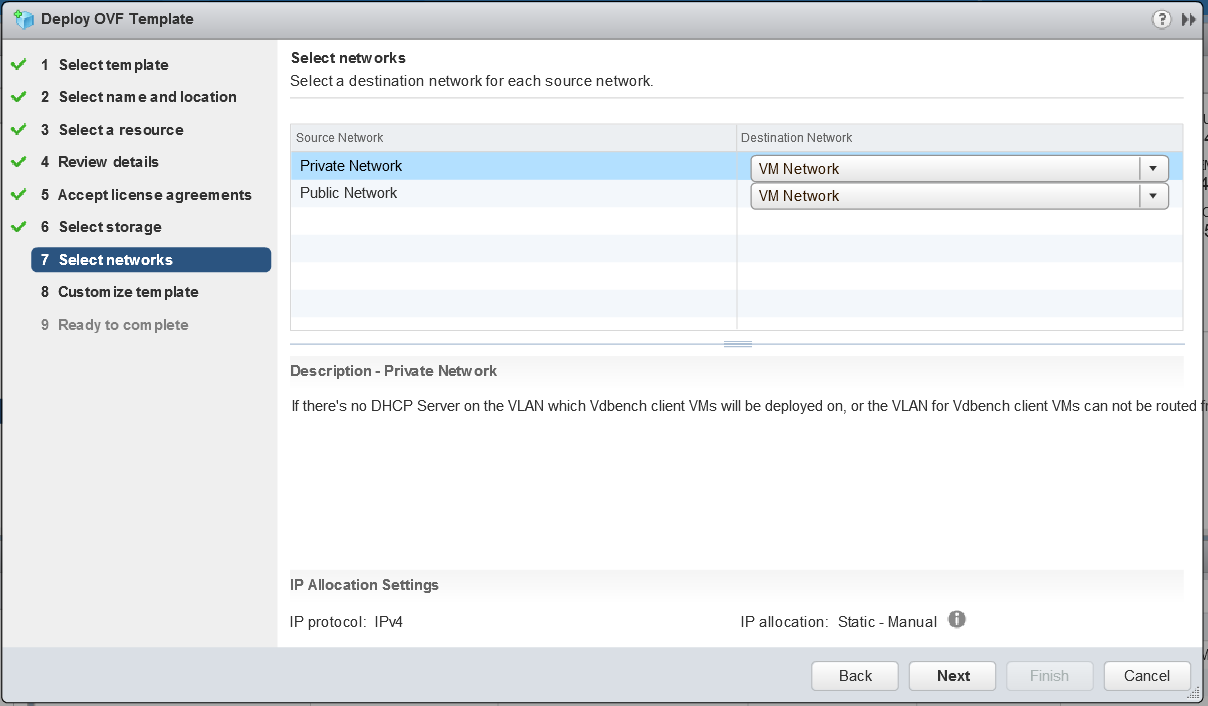
- Select a destination network for each source network
- Map the “Public Network” to the network which the HCIBench will be
accessed through; if the network prepared for Vdbench Guest VM doesn’t have DHCP service, map the “Private Network” to the same network, otherwise just ignore the “Private Network”.
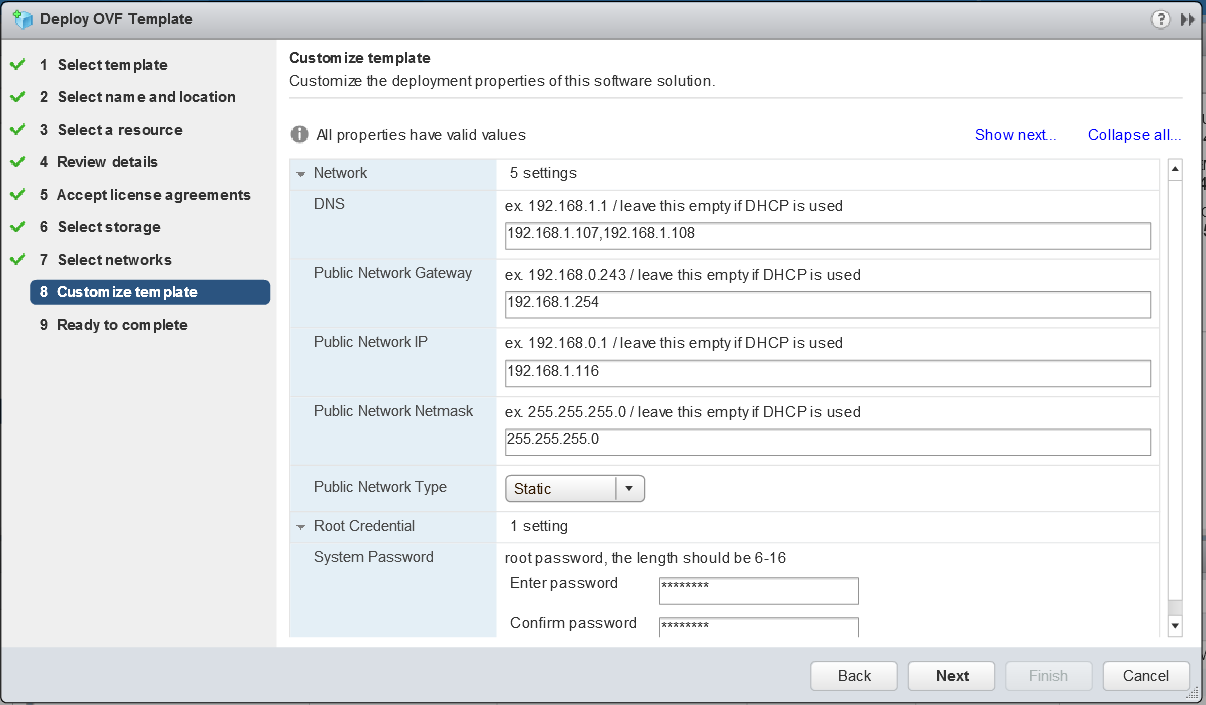
- Enter the network details. I have chosen static and filled in the detail as per below. I have a Windows DHCP Server on my network which will issue IP Addresses to the worker VMs.
- Note: I added the IP Address of the HCIBench appliance into my DNS Server
- Click Next and check all the details
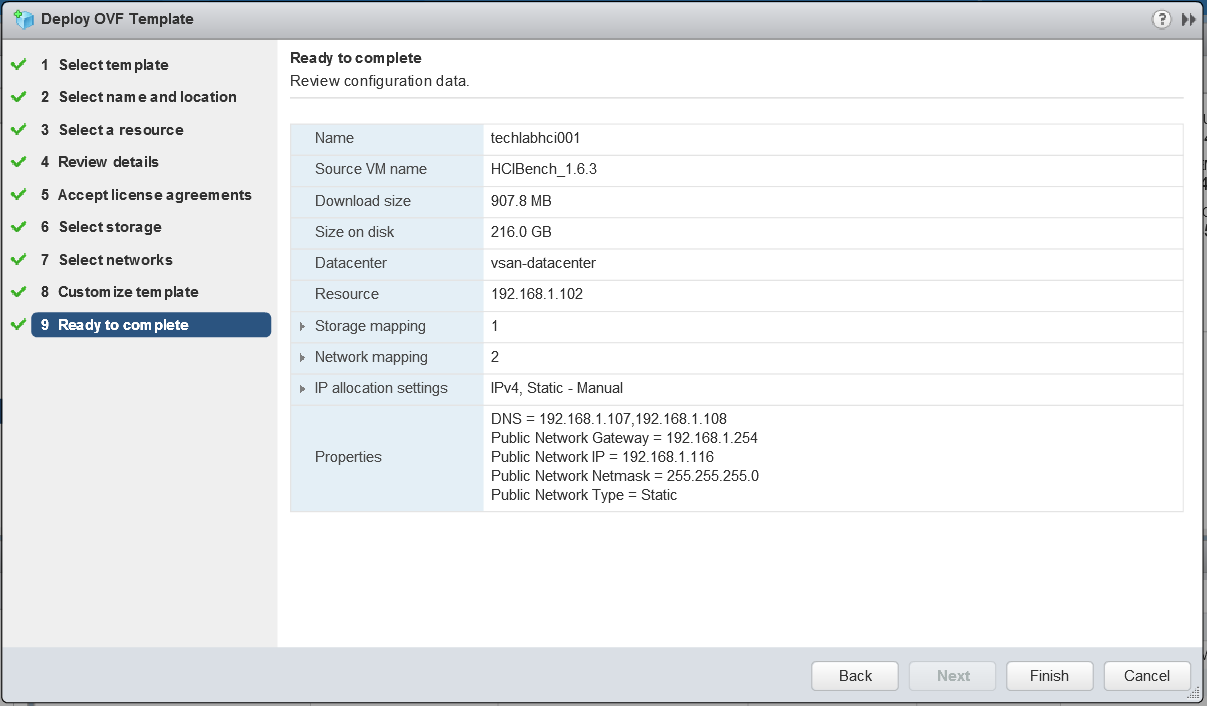
- The OVF should deploy. If you get a failure with the message. “The OVF failed to deploy. The ovf descriptor is not available” then redownload the OVA and try again and it should work.

- Next power on the Controller VM and go to your web browser and navigate to your VM using http://<Your_HCIBench_IP>:8080. In my case http://192.168.1.116:8080. Your IP is the IP address you gave it during the OVF deployment or the DHCP address it picked up if you chose this option. If it asks you for a root password, it is normally what you set in the Deploy OVF wizard.
- Log in with the root account details you set and you’ll get the Configuration UI
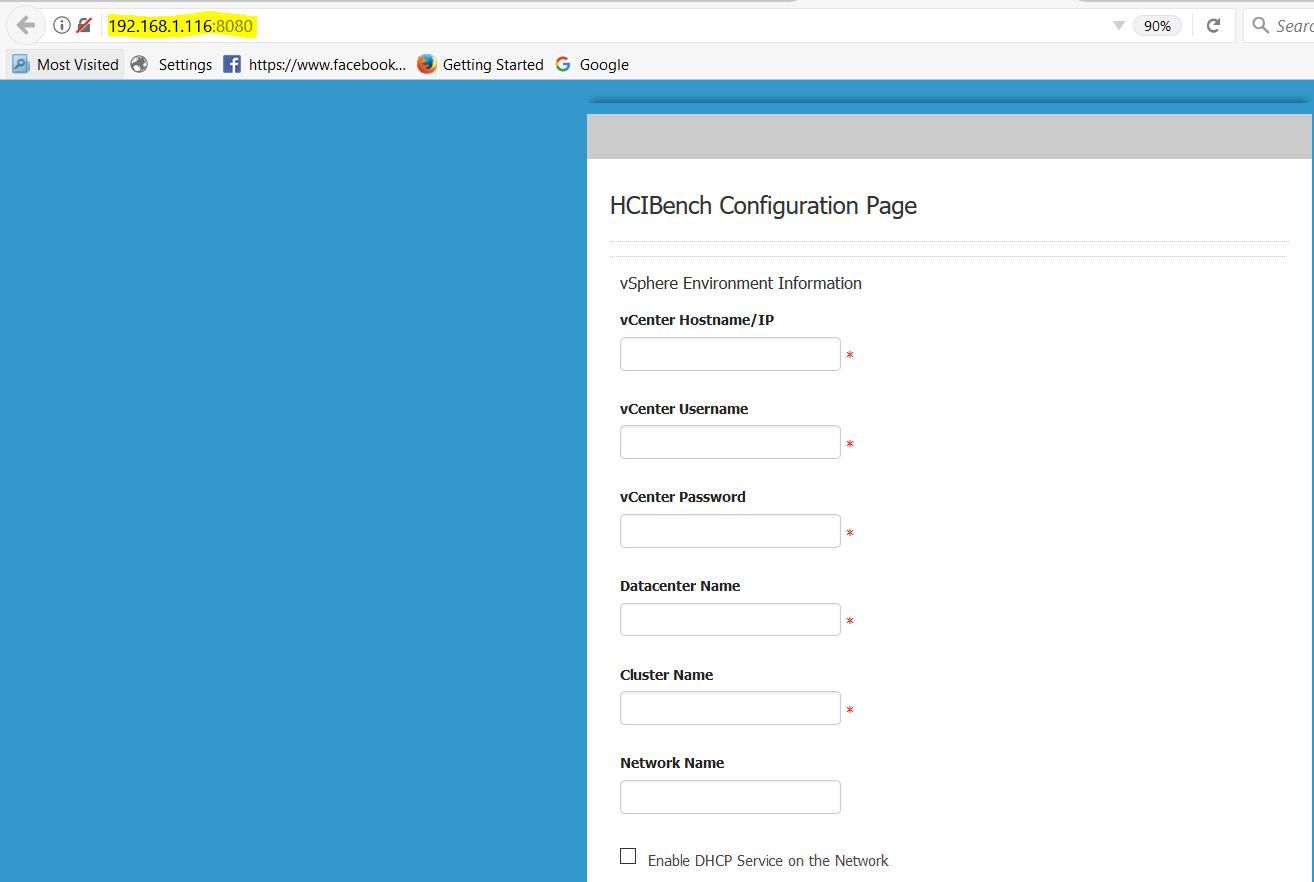
- Go down the whole list and fill in each field. The screen-print shows half the configuration
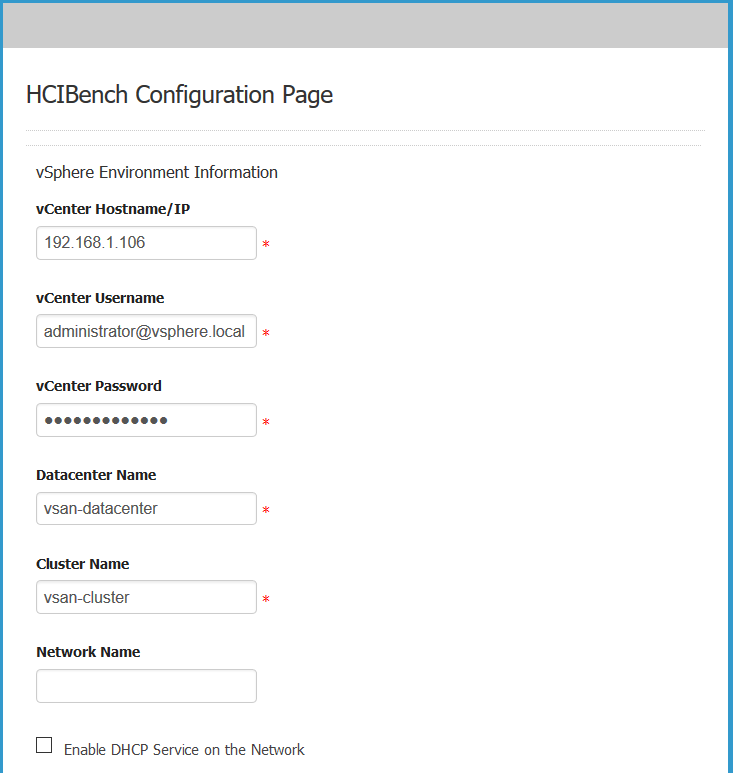
- Fill in the vCenter IP or FQDN
- Fill in the vCenter Username as username@domain format
- Fill in the Center Password
- Fill in your Datacenter Name
- Fill in your Cluster Name
- Fill in the network name. If you don’t fill anything in here, it will assume the “VM Network” Note: This is my default network so I left it blank.
- You’ll see a checkbox for enabling DHCP Service on the network. DHCP is required for all the Vdbench worker VMs that HCIBench will produce so if you don’t have DHCP on this network, you will need to check this box so it will assign addresses for you. As before I have a Windows DHCP server on my network so I won’t check this.
- Next enter the Datastore name of the datastore you want HCIBench to test so for example I am going to put in vsanDatastore which is the name of my vSAN.
- Select Clear Read/Write Cache Before Each Testing which will make sure that test results are not skewed by any data lurking in the cache. It is designed to flush the cache tier prior to testing.
- Next you have the option to deploy the worker VMs directly to the hosts or whether HCIBench should leverage vCenter
If this parameter is unchecked, ignore the Hosts field below, for the Host Username/Password fields can also be ignored if Clear Read/Write Cache Before Each Testing is unchecked. In this mode, a Vdbench Guest VM is deployed by the vCenter and then is cloned to all hosts in the vSAN Cluster in a round-robin fashion. The naming convention of Vdbench Guest VMs deployed in this mode is
“vdbench-vc-<DATASTORE_NAME>-<#>”.
If this parameter is checked, all the other parameters except EASY RUN must be specified properly.
The Hosts parameter specifies IP addresses or FQDNs of hosts in the vSAN Cluster to have Vdbench Guest VMs deployed, and all these hosts should have the same username and password specifed in Host Username and Host Password. In this mode, Vdbench Guest VMs are deployed directly on the specified hosts concurrently. To reduce the network traffic, five hosts are running deployment at the same time then it moves to the next five hosts. Each host also deploys at an increment of five VMs at a time.
The naming convention of test VMs deployed in this mode is “vdbench-<HOSTNAME/IP>-<DATASTORE_NAME>-batch<VM#>-<VM#>”.
In general, it is recommended to check Deploy on Hosts for deployment of a large number of testVMs. However, if distributed switch portgroup is used as the client VM network, Deploy on Hosts must be unchecked.
EASY RUN is specifically designed for vSAN user, by checking this, HCIBench is able to handle all the configurations below by identifying the vSAN configuration. EASY RUN helps to decide how many client VMs should be deployed, the number and size of VMDKs of each VM, the way of preparing virtual disks before testing etc. The configurations below will be hidden if this option is checked.
- You can omit all the host details and just click EASYRUN

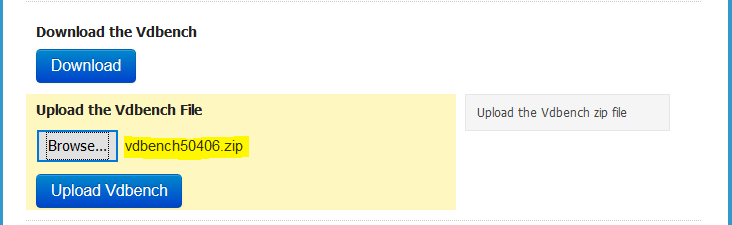
- Next Download the vDBench zip file and upload it as it is. Note: you will need to create yourself an Oracle account if you do not have one.

- It should look like this. Click Upload
- Click Save Configuration

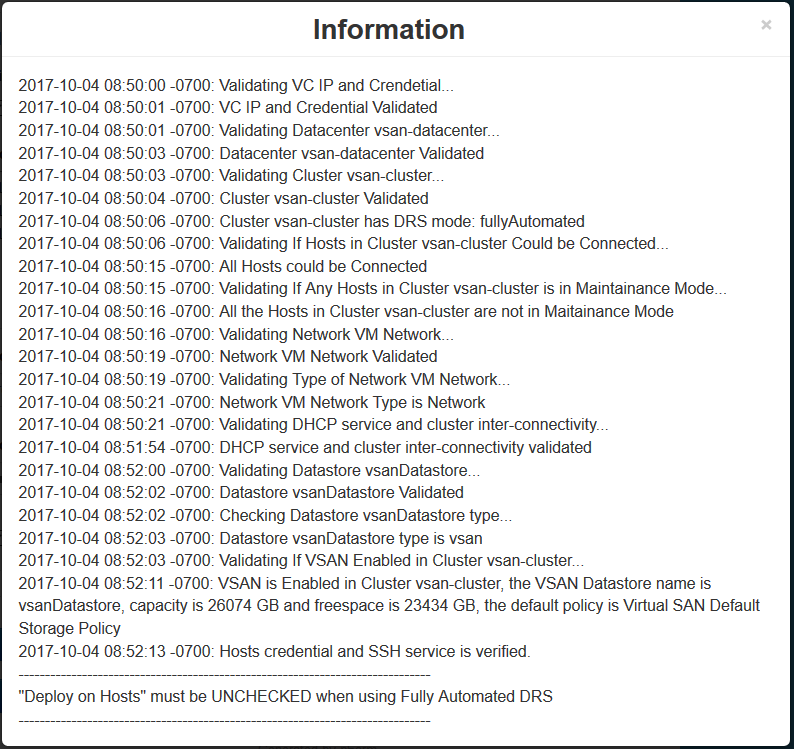
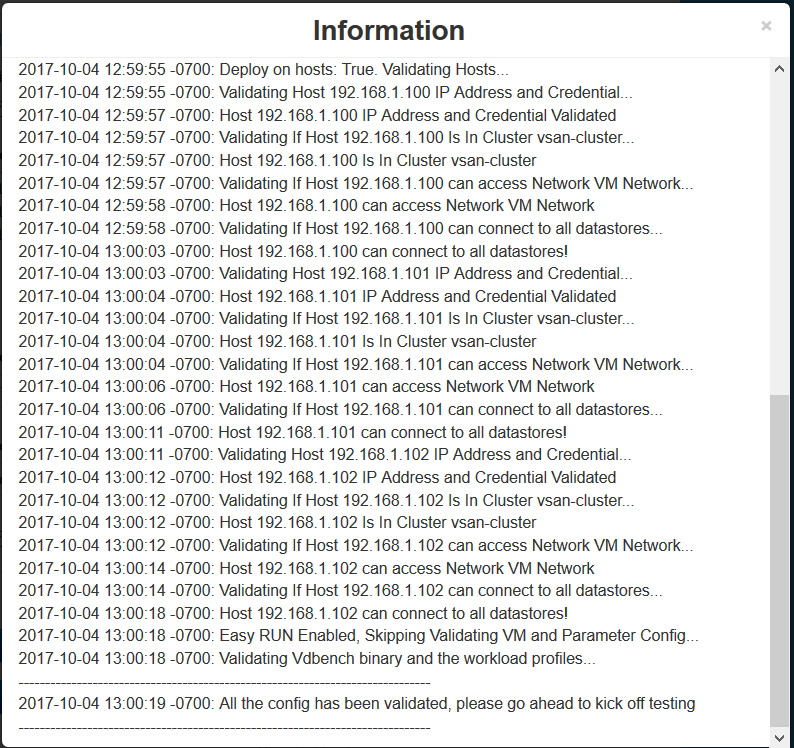
- Click Validate the Configuration.Note at the bottom, it is saying to “Deploy on hosts must be unchecked” when using fully automated DRS. As a result I changed my cluster DRS settings to partially automated and then I got the correct message below when I validated again.
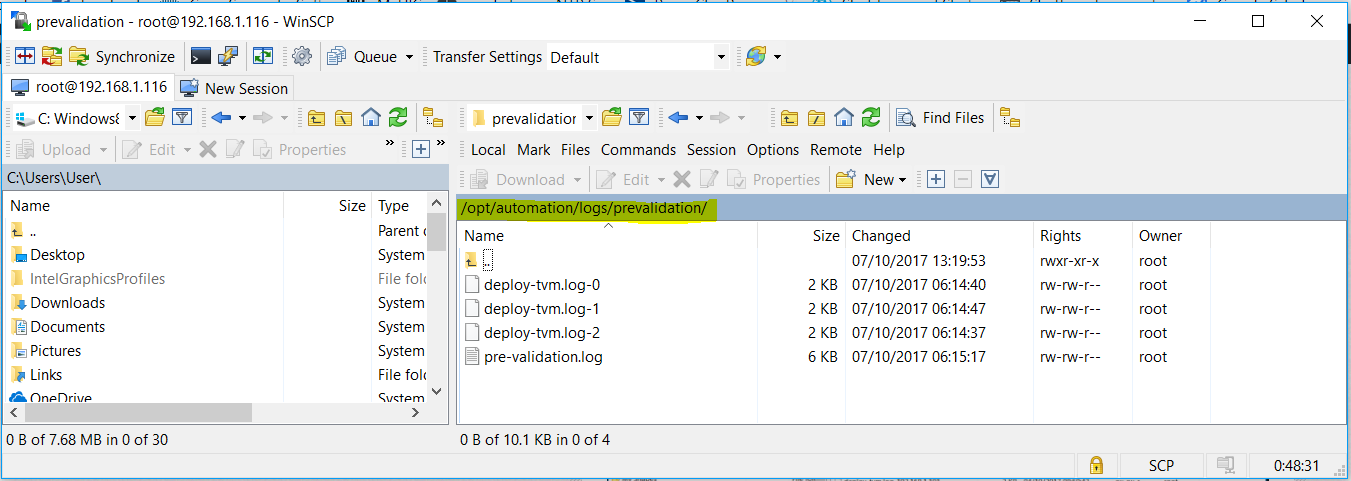
- If you get any issues, please look at the Pre-validation logs located here – /opt/automation/logs/prevalidation
- Next we can start a Test. Click Test
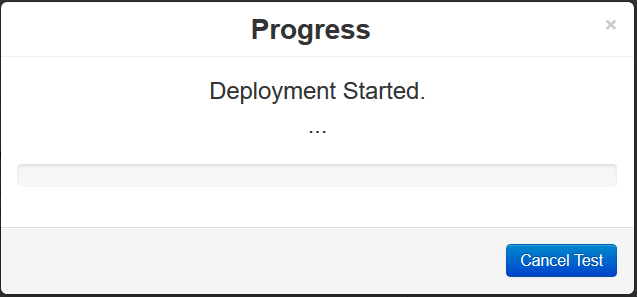
- You will see the VMs being deployed in vCenter
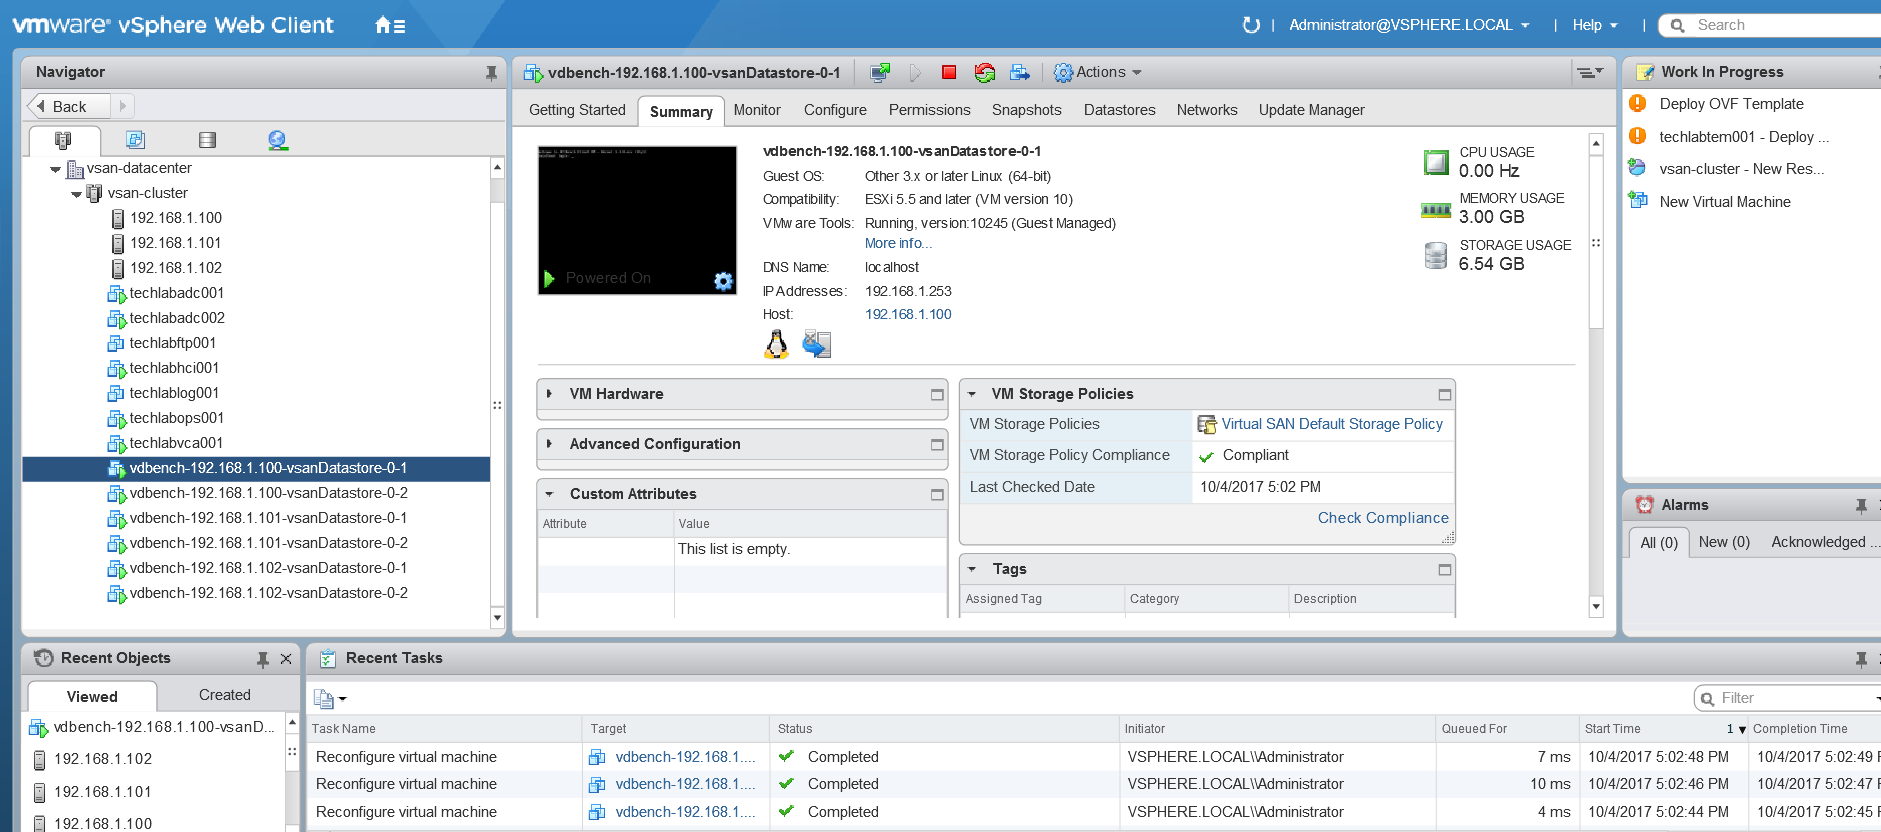
- And more messages being shown
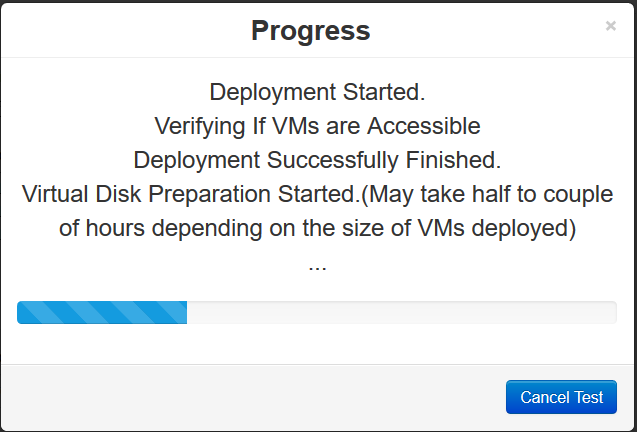
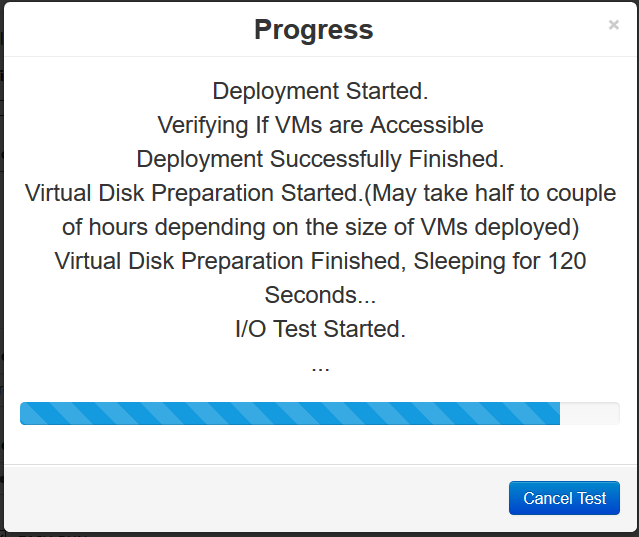
- It should finish and say Test is finished

Results
- Just as a note after the first test, it is worth checking that the Vms are spread evenly across all the hosts you are testing!
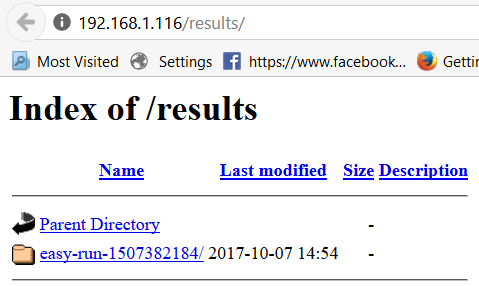
- After the Vdbench testing finishes, the test results are collected from all Vdbench instances in the test VMs. And you can view the results at http://HCIBench_IP/results in a web browser and/or clicking the results button from the testing window.
- You can also click Save Result and save a zip file of all the results
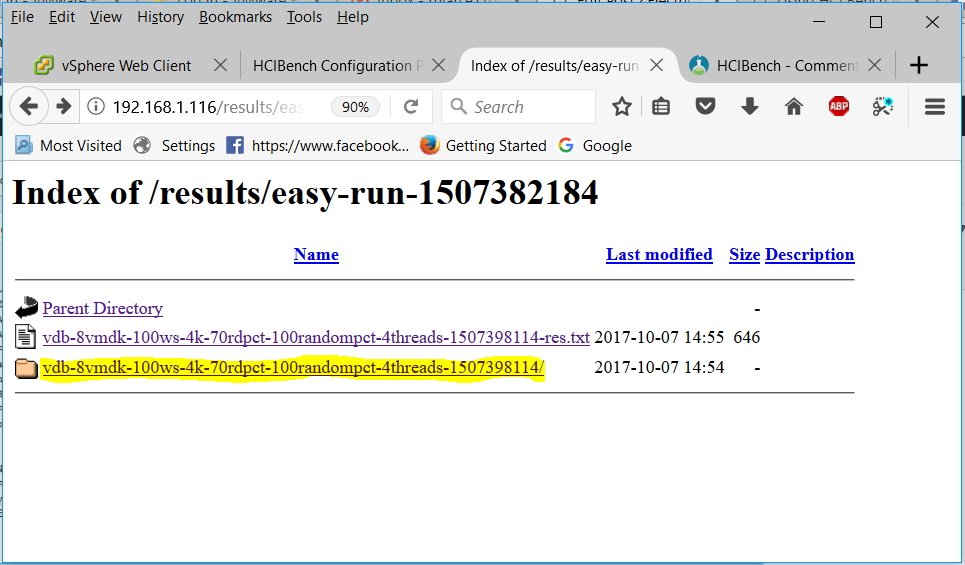
- Click on the easy-run folder
- Click on the .txt file
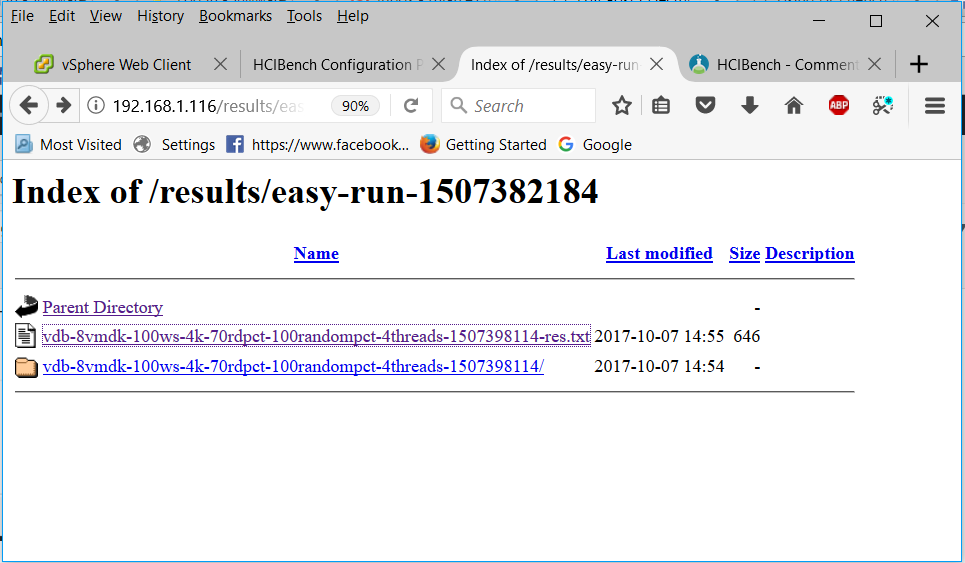
- You will get a summarized results file
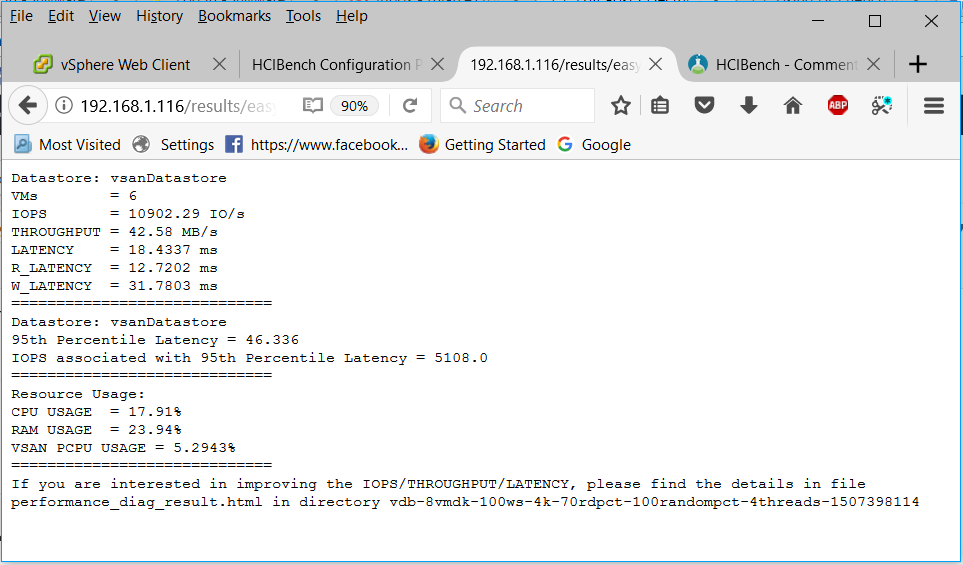
- Just as a note in the output above, the 95th Percentile Latency can help the user to understand that during 95% of the testing time, the average latency is below 46.336ms
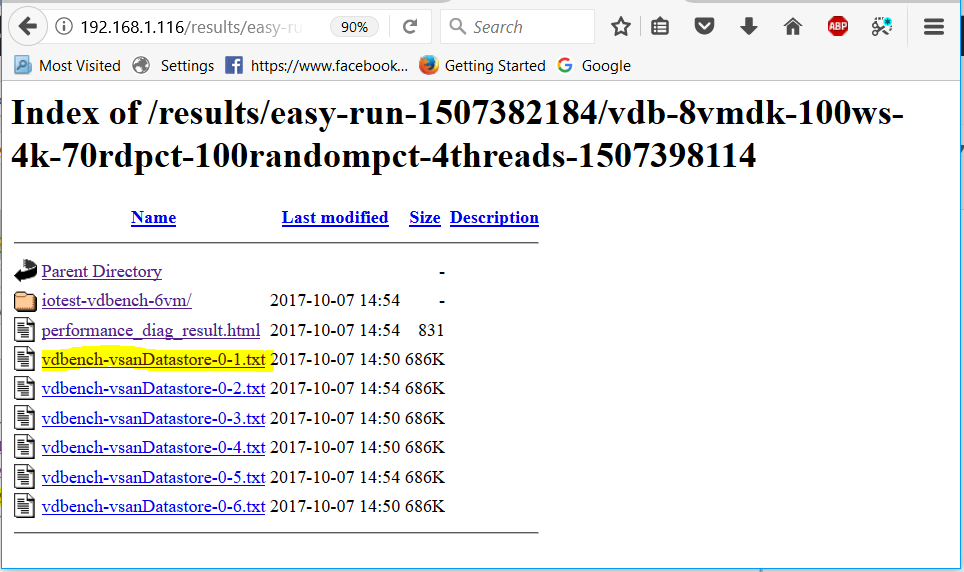
- Click on the other folder
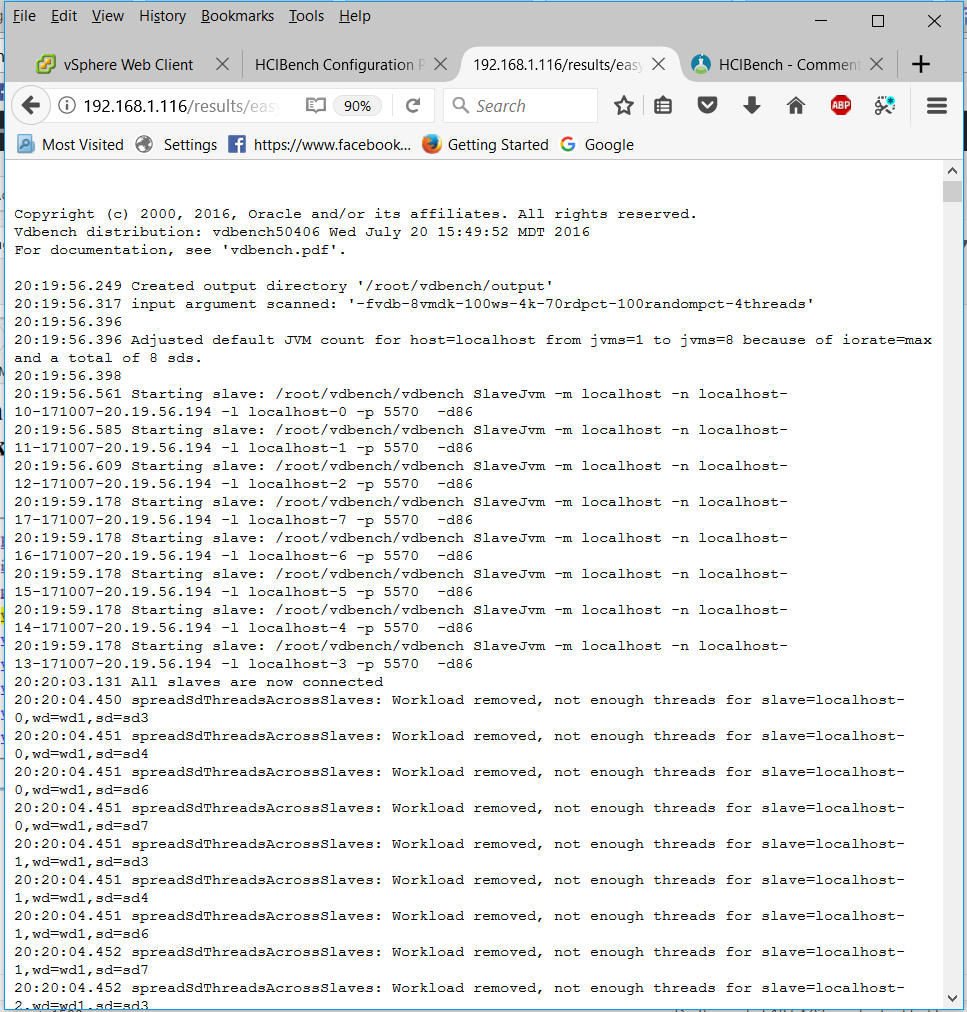
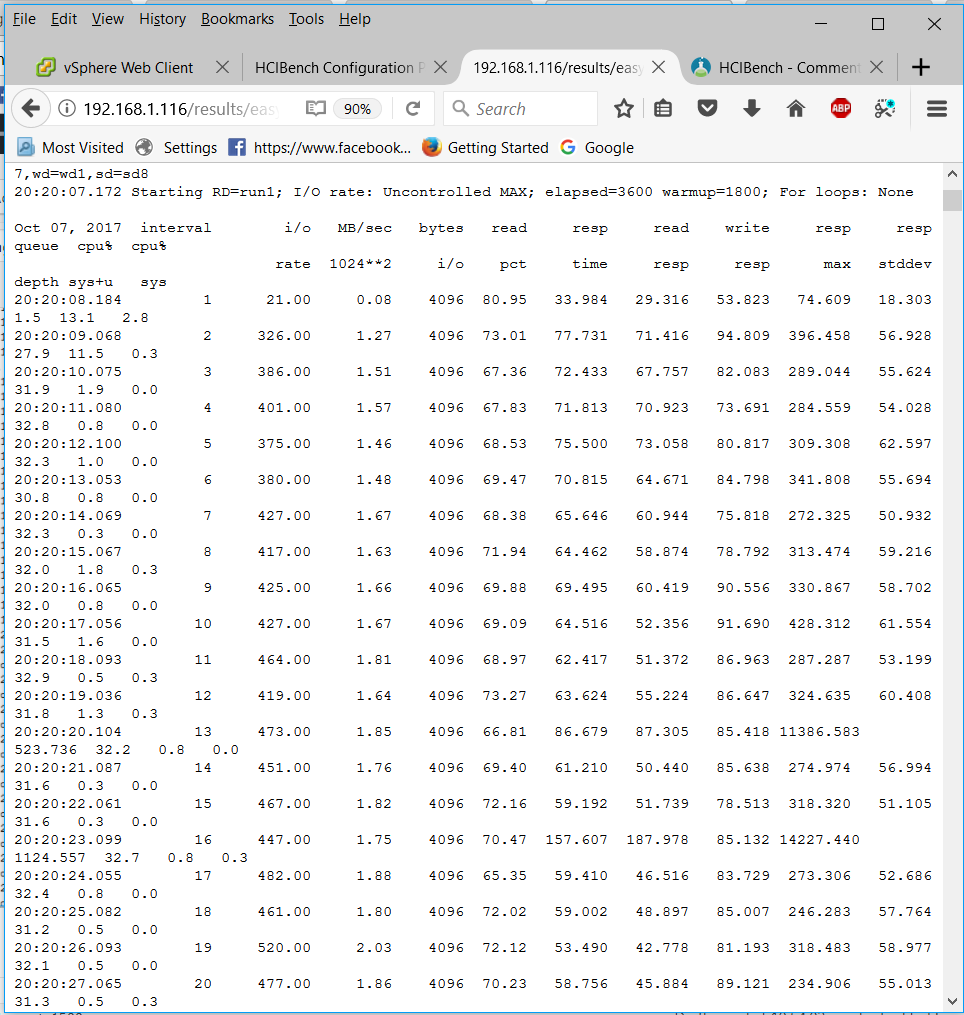
- You can also see the individual vdBench VMs statistics by clicking on
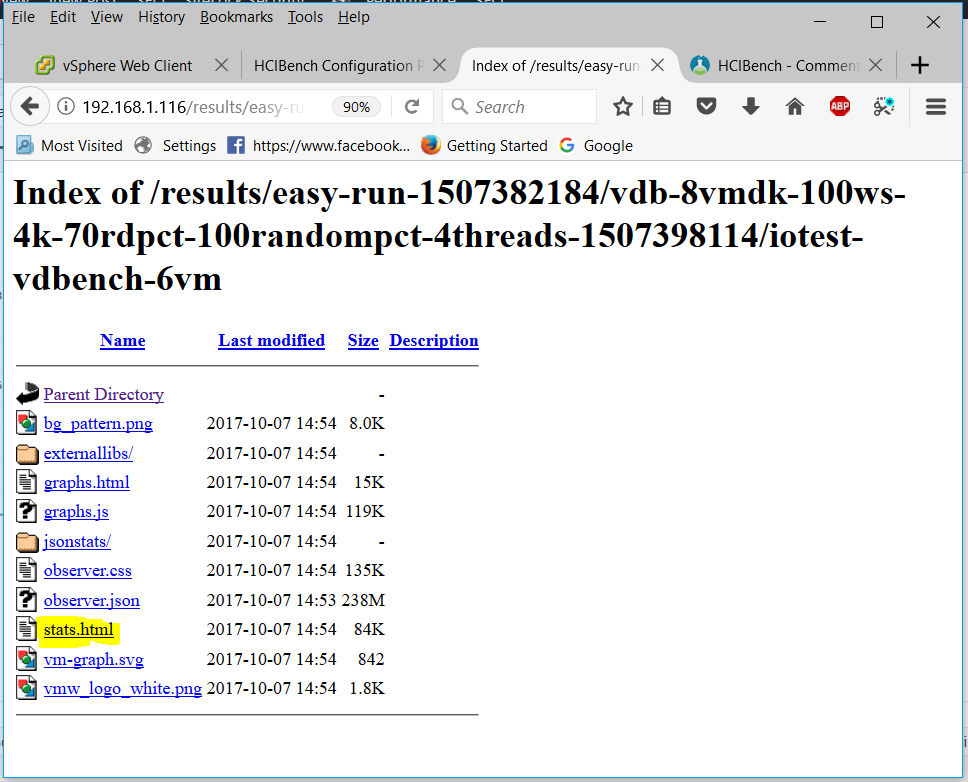
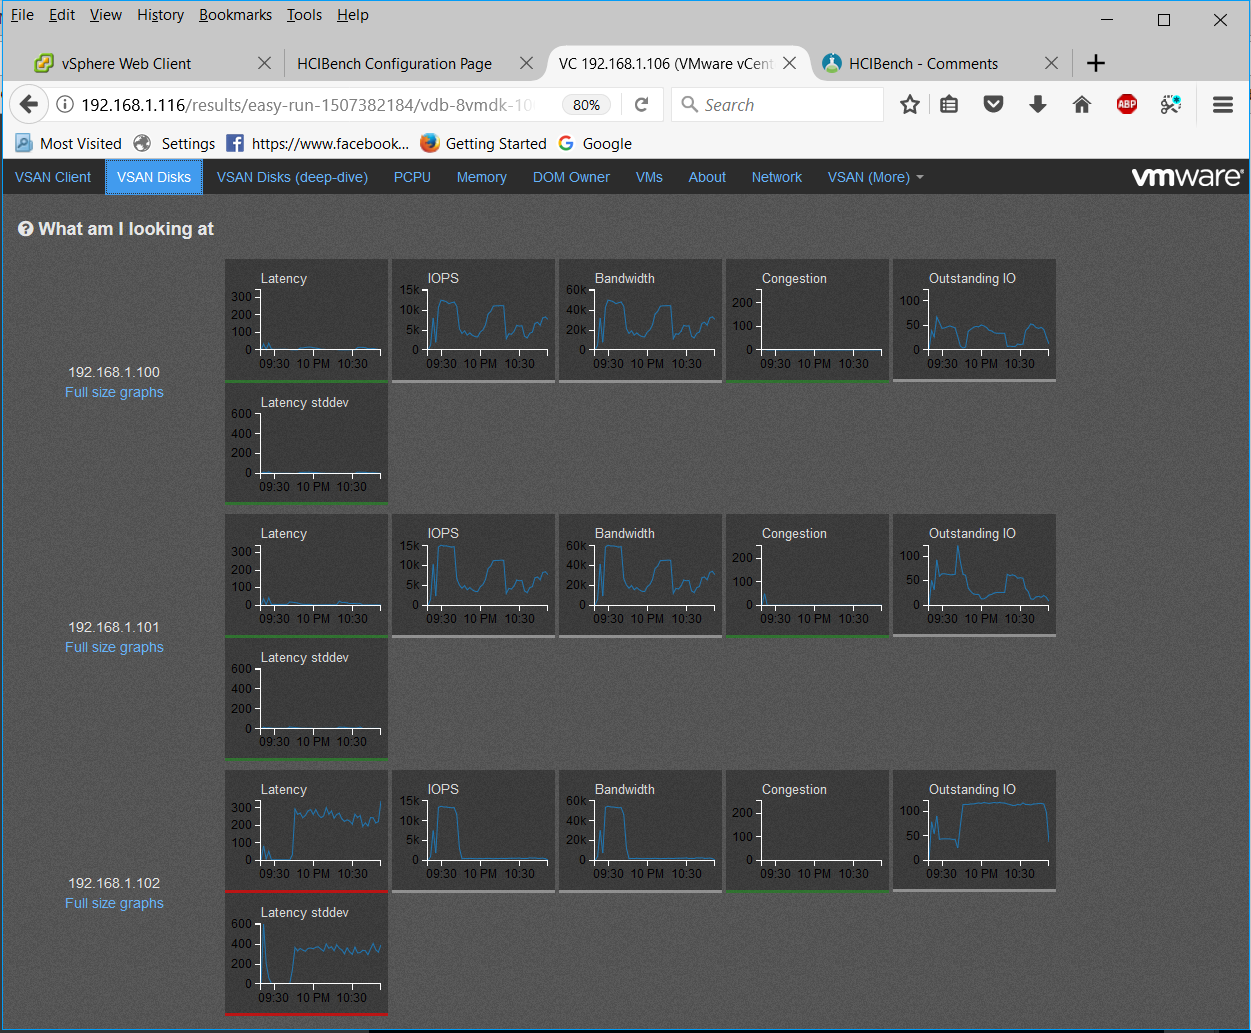
- You can also navigate down to what is a vSAN Observer collection. Click on the stats.html file to display a vSAN Observer view of the cluster for the period of time that the test was running
- You will be able to click through the tabs to see what sort of performance, latency and throughput was occurring.
- Enjoy and check you are getting the results you would expect from your storage
- The results folder holds 200GB results so you may need to delete some results if it gets full. Putty into the appliance, go to /opt/output/results and you can use rm -Rf “filename”
Useful Links
- Comments from the HCIBench fling site which may be useful for troubleshooting
https://labs.vmware.com/flings/hcibench/comments
- If you have questions or need help with the tool, please email VSANperformance@vmware.com
- Information about the back-end scripts in HCIBench thanks to Chen Wei
https://blogs.vmware.com/virtualblocks/2016/11/03/use-hcibench-like-pro-part-2/
An interesting point about VMs and O/S alignment – Do we still need this on vSAN and are there performance impacts?
https://blogs.vmware.com/vsphere/2014/08/virtual-san-block-alignment.html

