Installing vCenter HA
The vCenter High Availability architecture uses a three-node cluster to provide availability against multiple types of hardware and software failures. A vCenter HA cluster consists of one Active node that serves client requests, one Passive node to take the role of Active node in the event of failure, and one quorum node called the Witness node. Any Active and Passive node-based architecture that supports automatic failover relies on a quorum or a tie-breaking entity to solve the classic split-brain problem, which refers to data/availability
inconsistencies due to network failures within distributed systems maintaining replicated data. Traditional architectures use some form of shared storage to solve the split-brain problem. However, in order to support a vCenter HA cluster spanning multiple datacenters, our design does not assume a shared storage–based deployment. As a result, one node in the vCenter HA cluster is permanently designated as a quorum node, or a Witness node. The other two nodes in the cluster dynamically assume the roles of Active and Passive nodes.
vCenter Server availability is assured as long as there are two nodes running inside a cluster. However, a cluster is considered to be running in a degraded state if there are only two nodes in it. A subsequent failure in a degraded cluster means vCenter services are no longer available.
A vCenter Server appliance is stateful and requires a strong, consistent state for it to work correctly. The appliance state (configuration state or runtime state) is mainly composed of:
• Database data (stored in the embedded PostgreSQL database)
• Flat files (for example, configuration files).
The appliance state must be backed up in order for VCHA failover to work properly. For the state to be stored inside the PostgreSQL database, we use the PostgreSQL native replication mechanism to keep the database data of the primary and secondary in sync. For flat files, a Linux native solution, rsync, is used for replication.
Because the vCenter Server appliance requires strong consistency, it is a strong requirement to utilize a synchronous form of replication to replicate the appliance state from the Active node to the Passive node
![]()
Installing vCenter HA
- Download the relevant vCenter HA iso from the VMware download page
- Mount the iso from a workstation or server
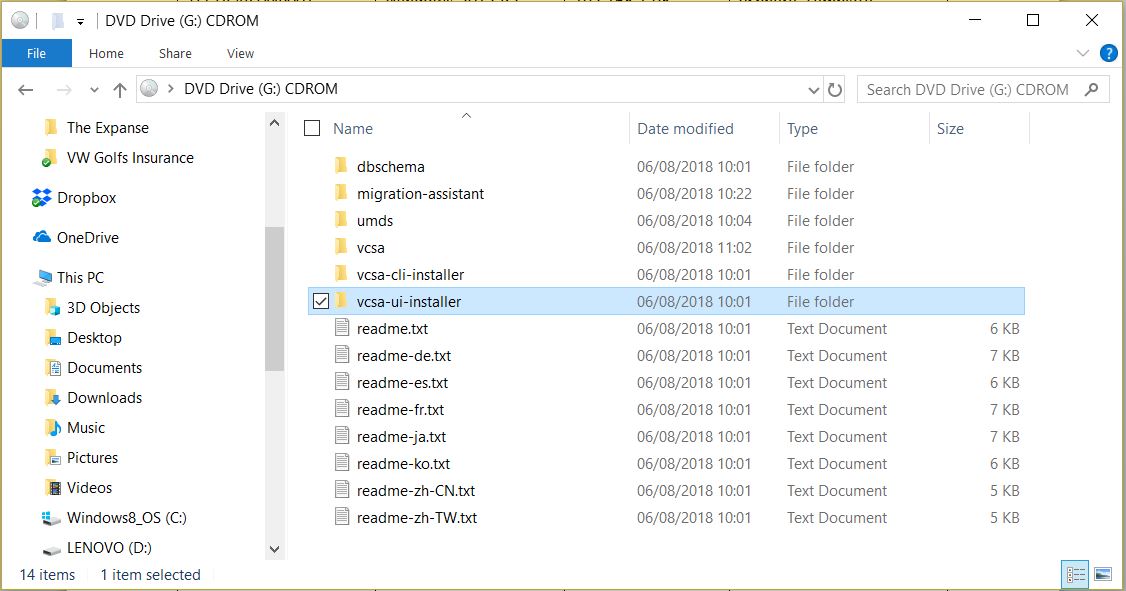
- We’ll now go through the process of installing the first vCenter Server. I have mounted the iso on my Windows 10 machine
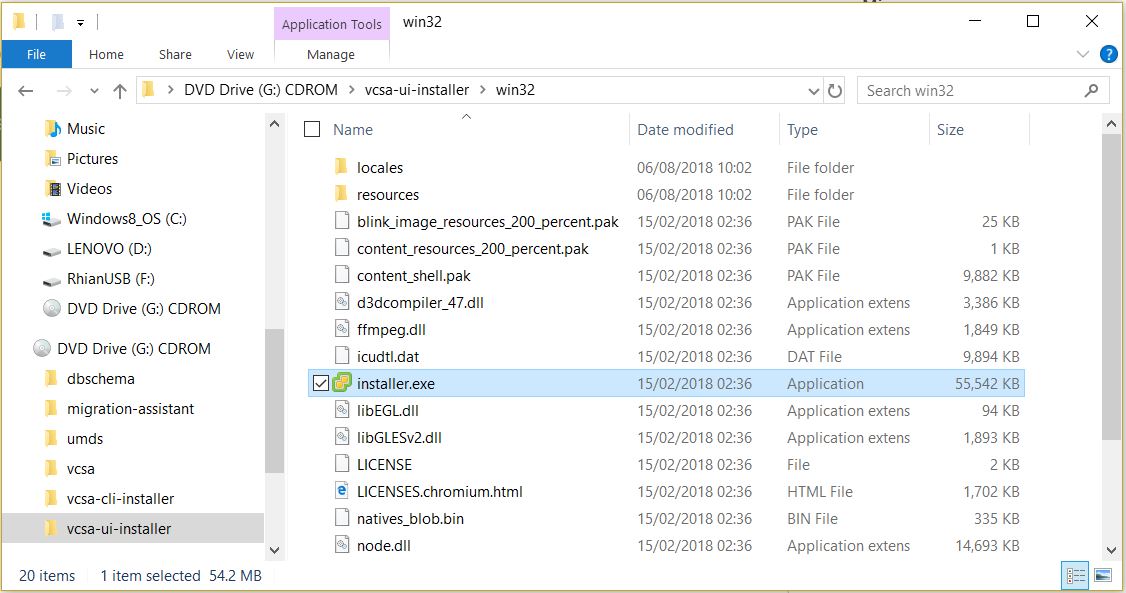
- Go to vcsa-ui-installer > win32 > installer.exe
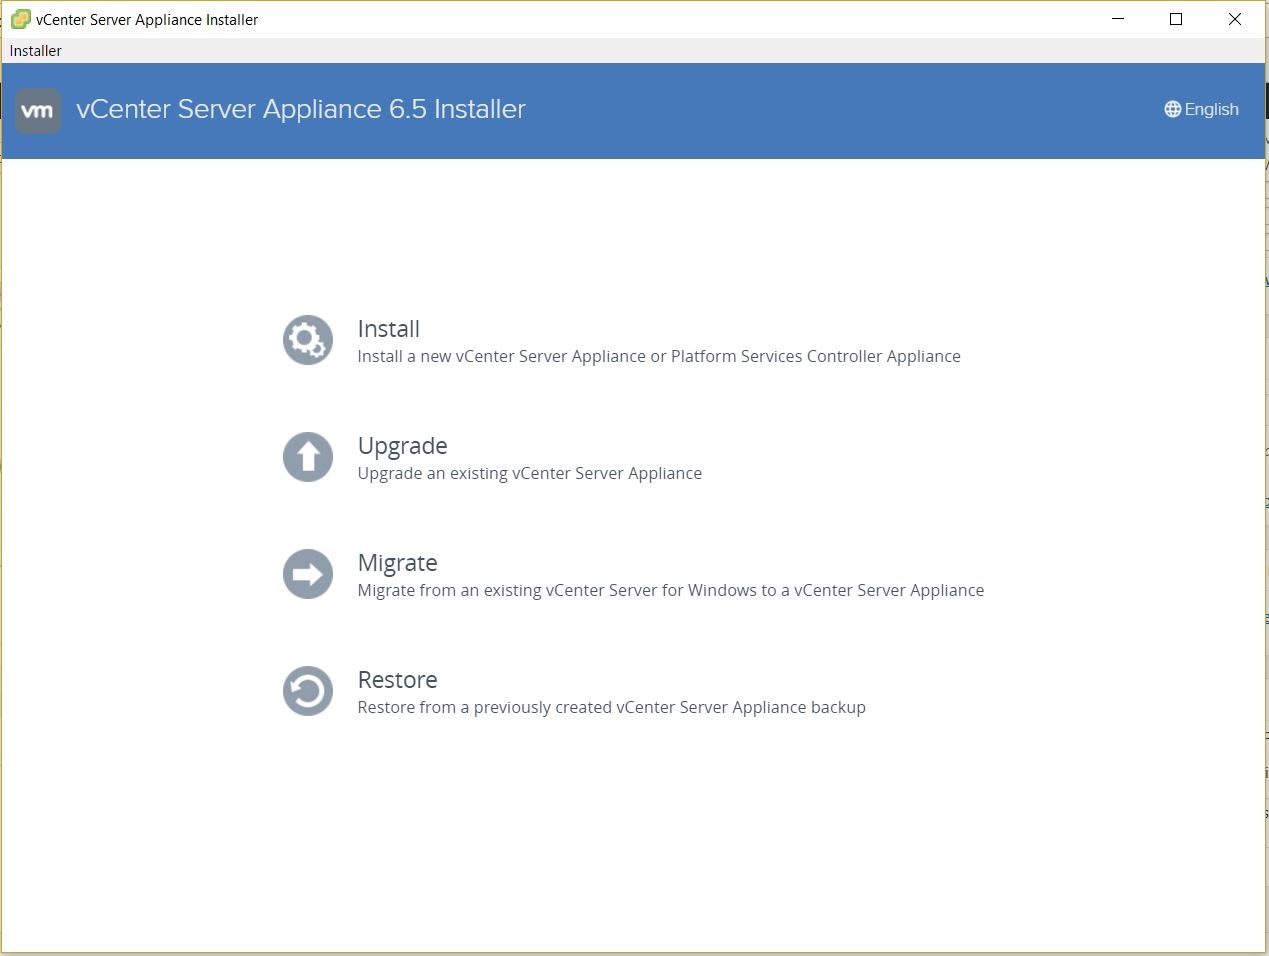
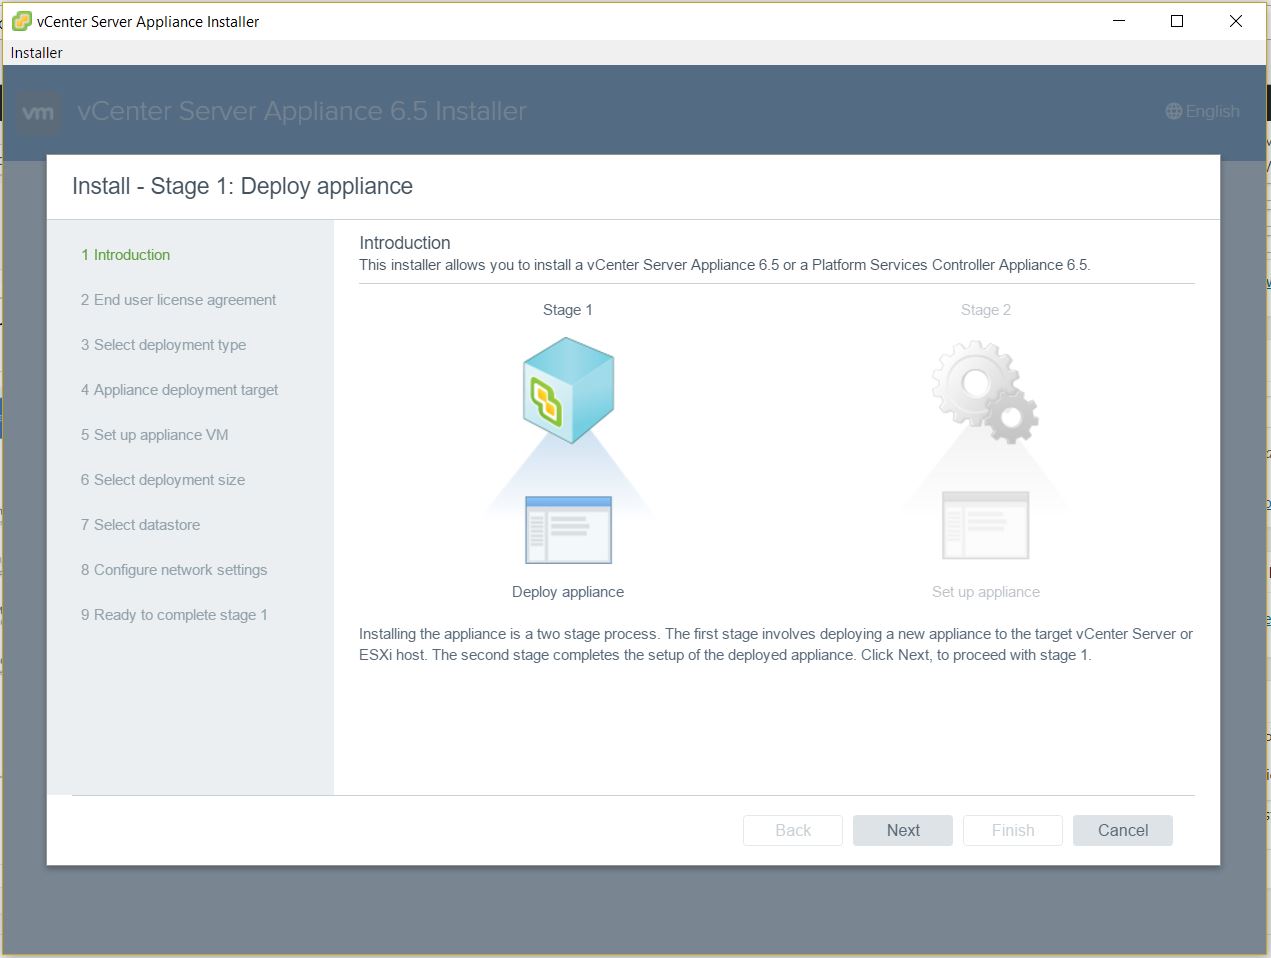
- Click Install
- Click Next
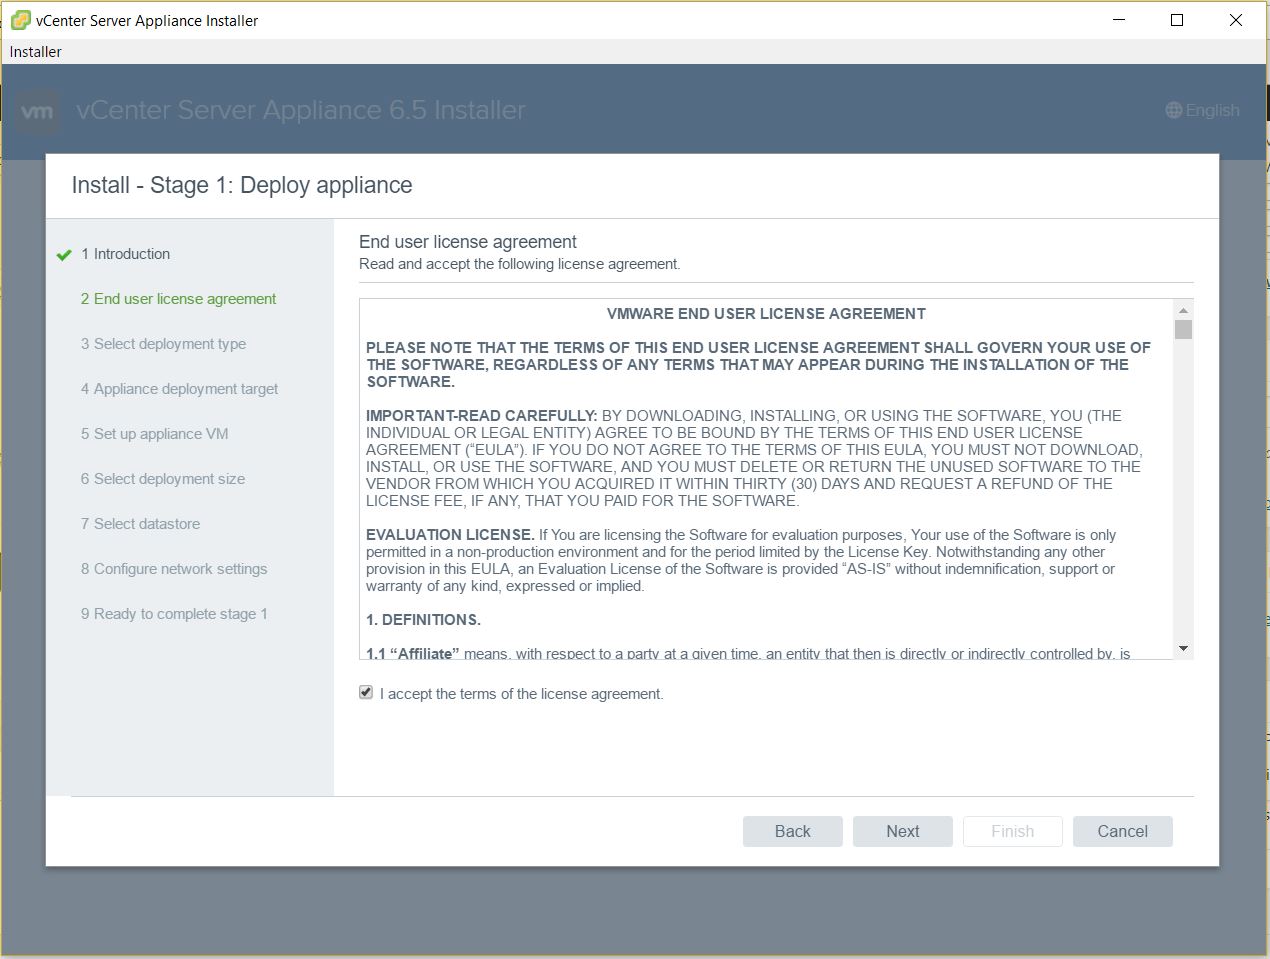
- Click Accept License Agreement
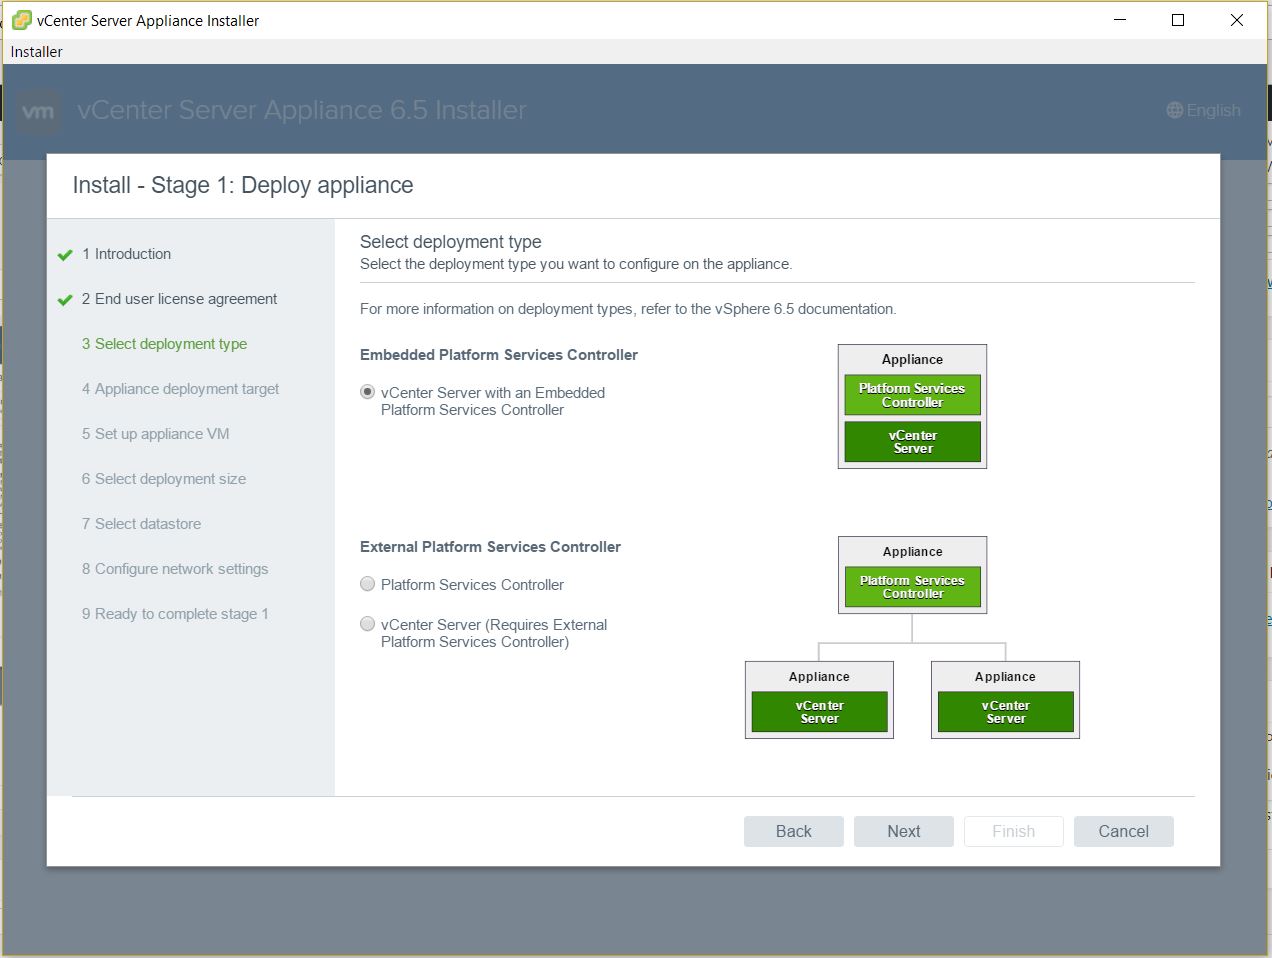
- Select Embedded Platform Services Controller. Note you can deploy an external PSC. I am doing the install this way as I want to test the embedded linked mode functionality now available in 6.5U2+ between embedded platform services controllers (This will require the build of another vCenter HA with an embedded PSC which I’ll try and cover in an another blog)
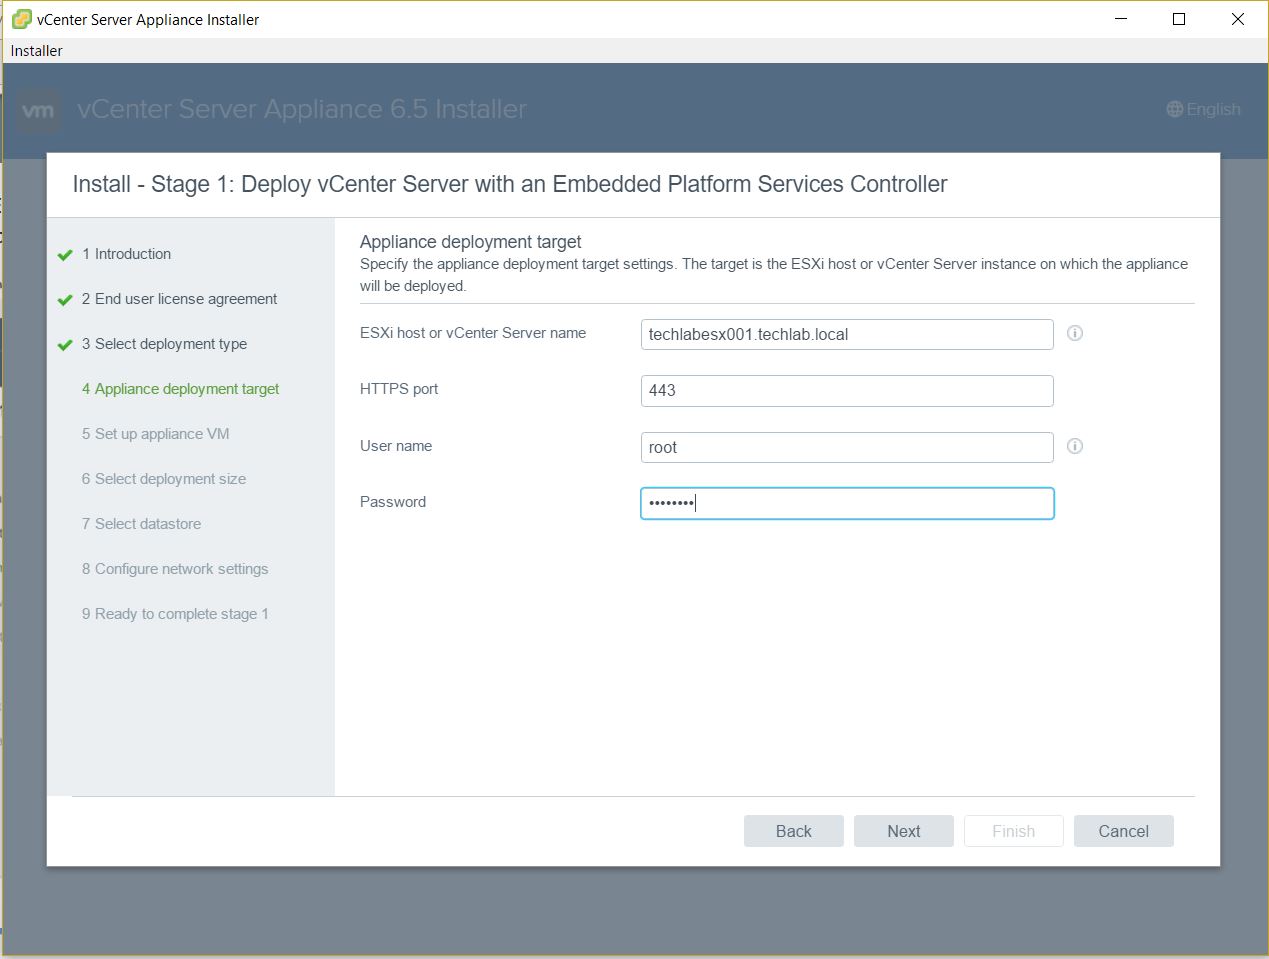
- Next put in the details for a vCenter or host as the deployment target
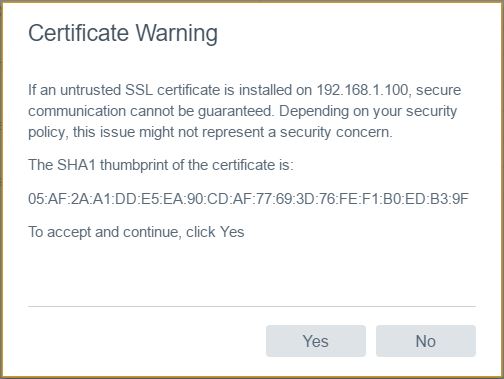
- Select the Certificate
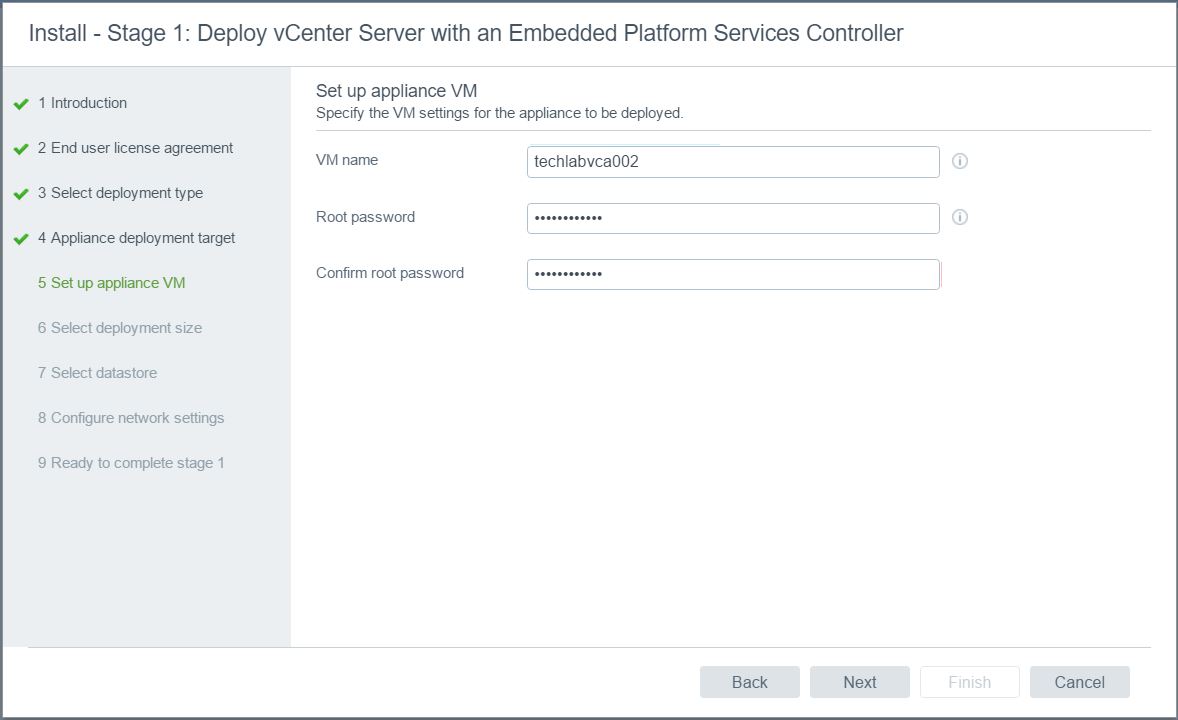
- Put in an appliance, username and password for the new vCenter appliance
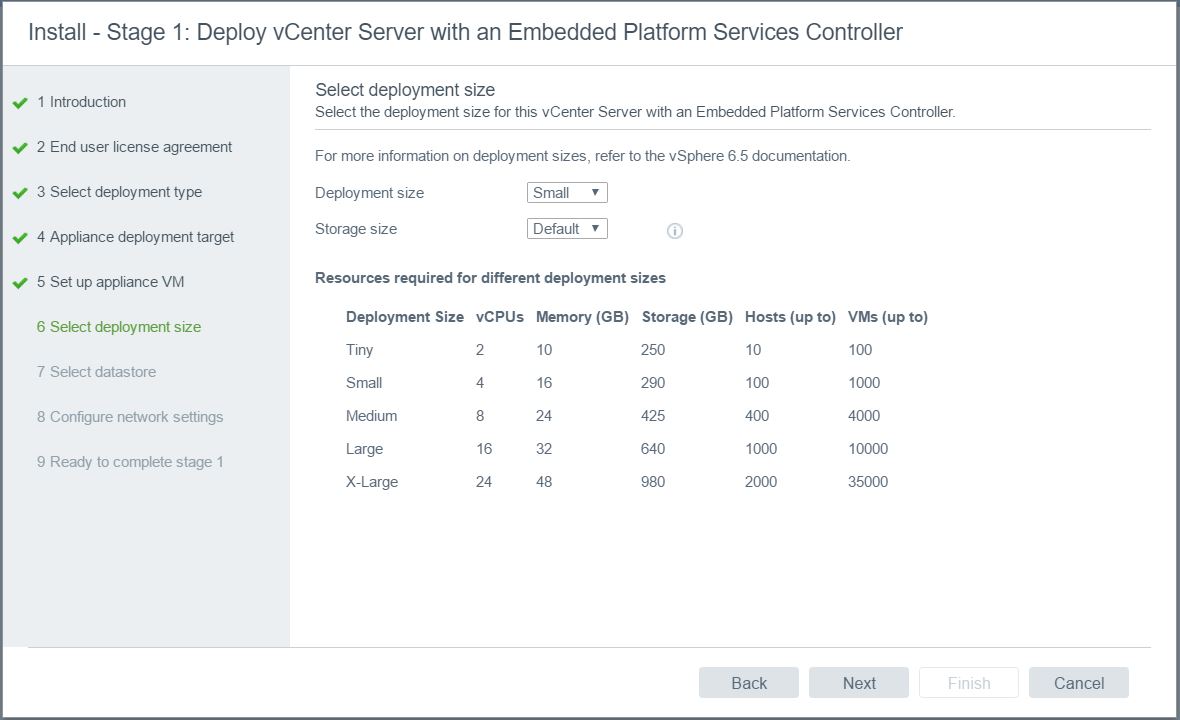
- Choose the deployment size and the Storage Size. Click Next
- Choose the datastore to locate the vCenter on. Note: I am running vSAN.

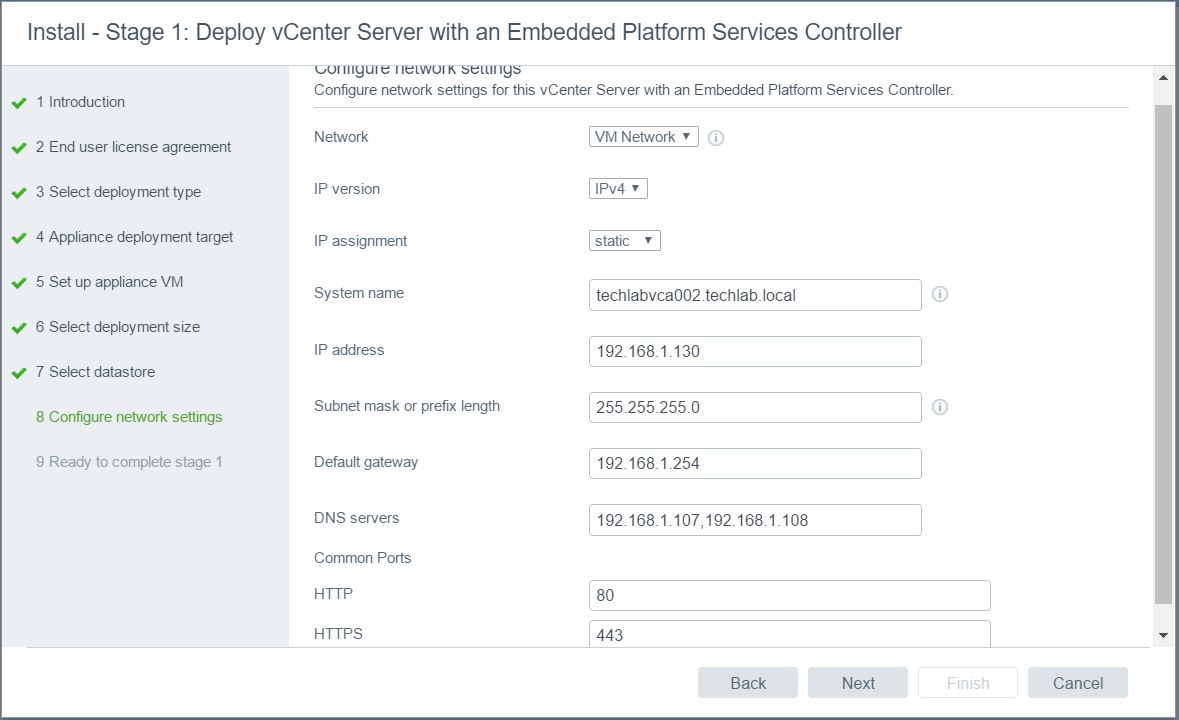
- Configure network settings. Note: As I chose a host to deploy to, it does not give me any existing vDS port groups. I have chosen to deploy to a host rather than an existing vCenter as I am testing this for a Greenfield build at work which does not have any existing vCenters etc to start with, just hosts.
- Note: It would be useful at the point to make sure you have entered the new vCenter name and IP address into DNS.
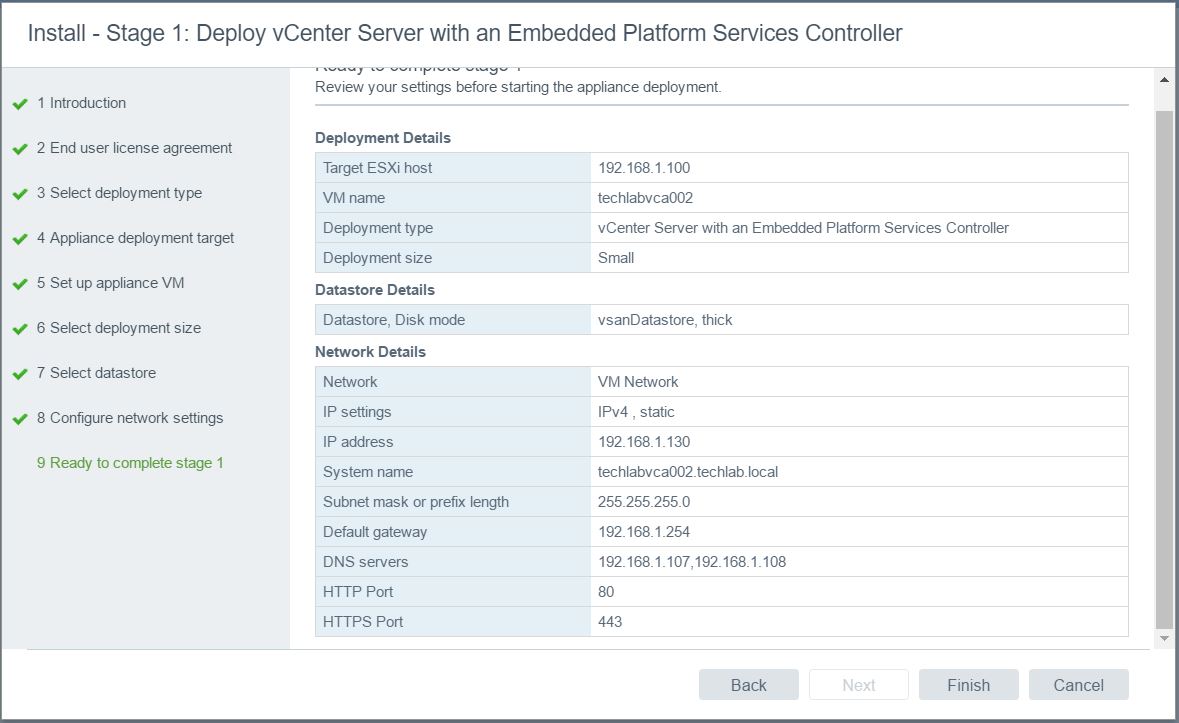
- Check all the details are correct
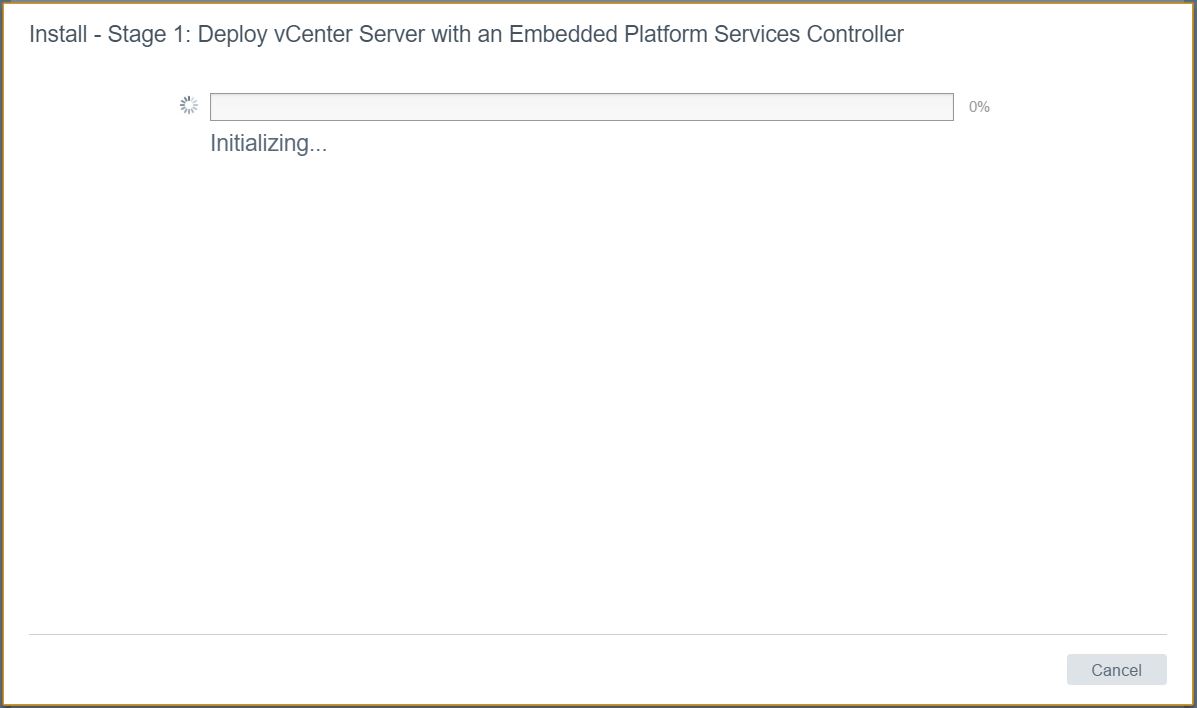
- Click Finish. It should now say Initializing and start deploying
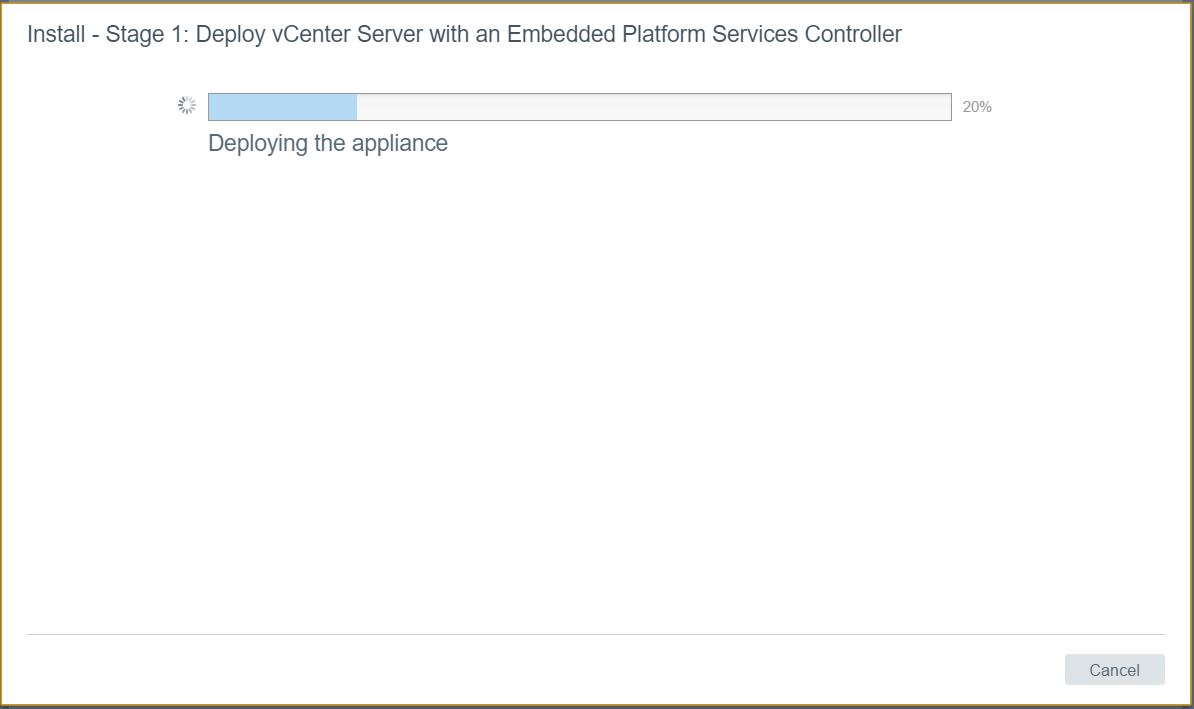
- You should see the appliance is being deployed.
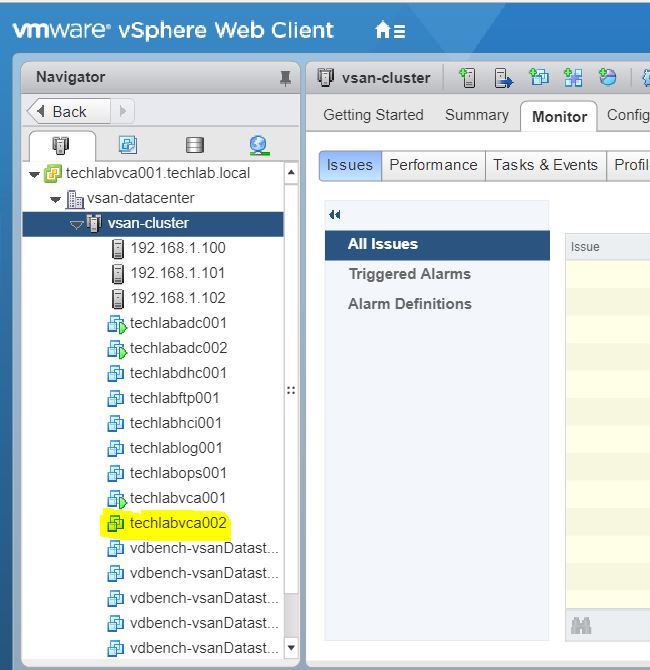
- When the deployment has finished, you should see this screen.
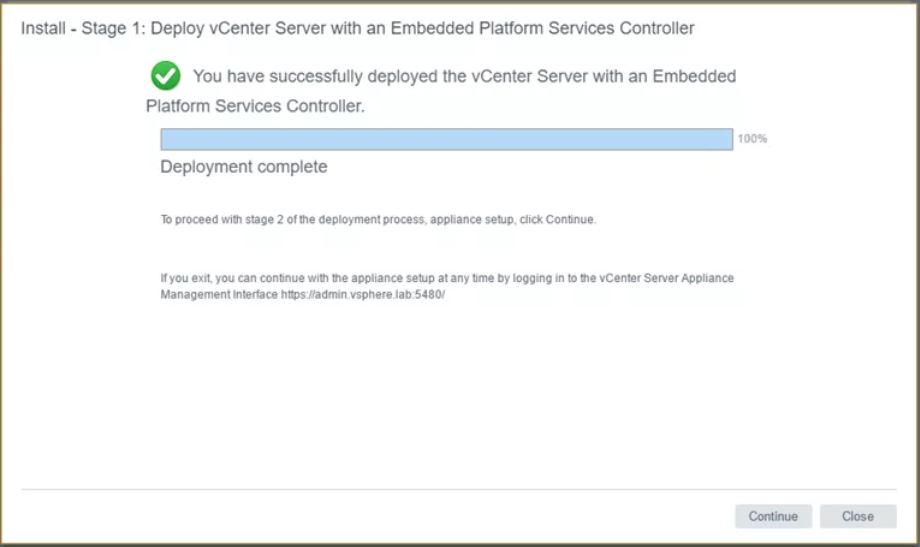
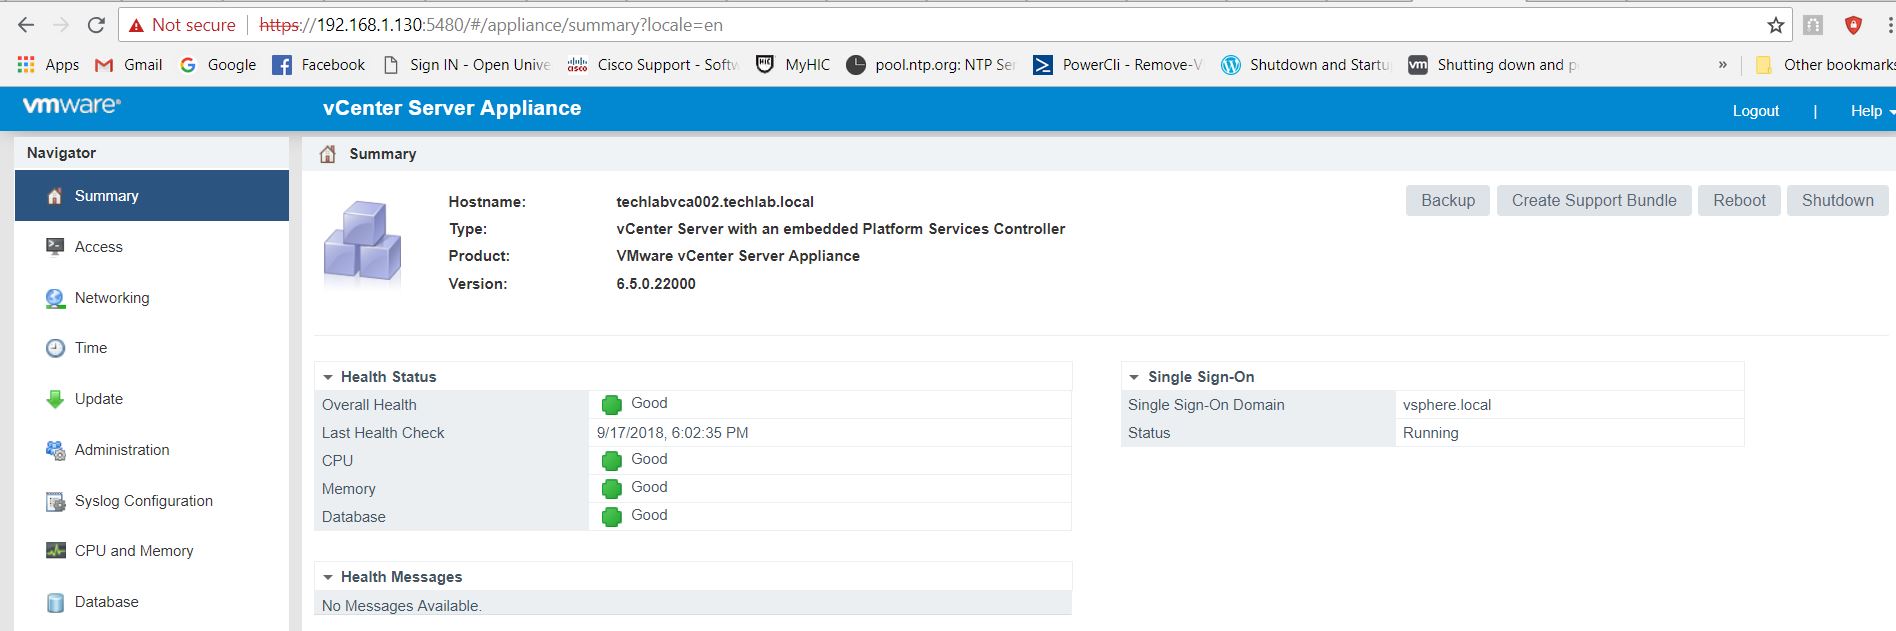
- You can carry on with Step 2 at this point but I closed the wizard at this point and I’m now going to log in to my vCenter and configure the appliance settings on https://techlabvca002.techlab.local:5480
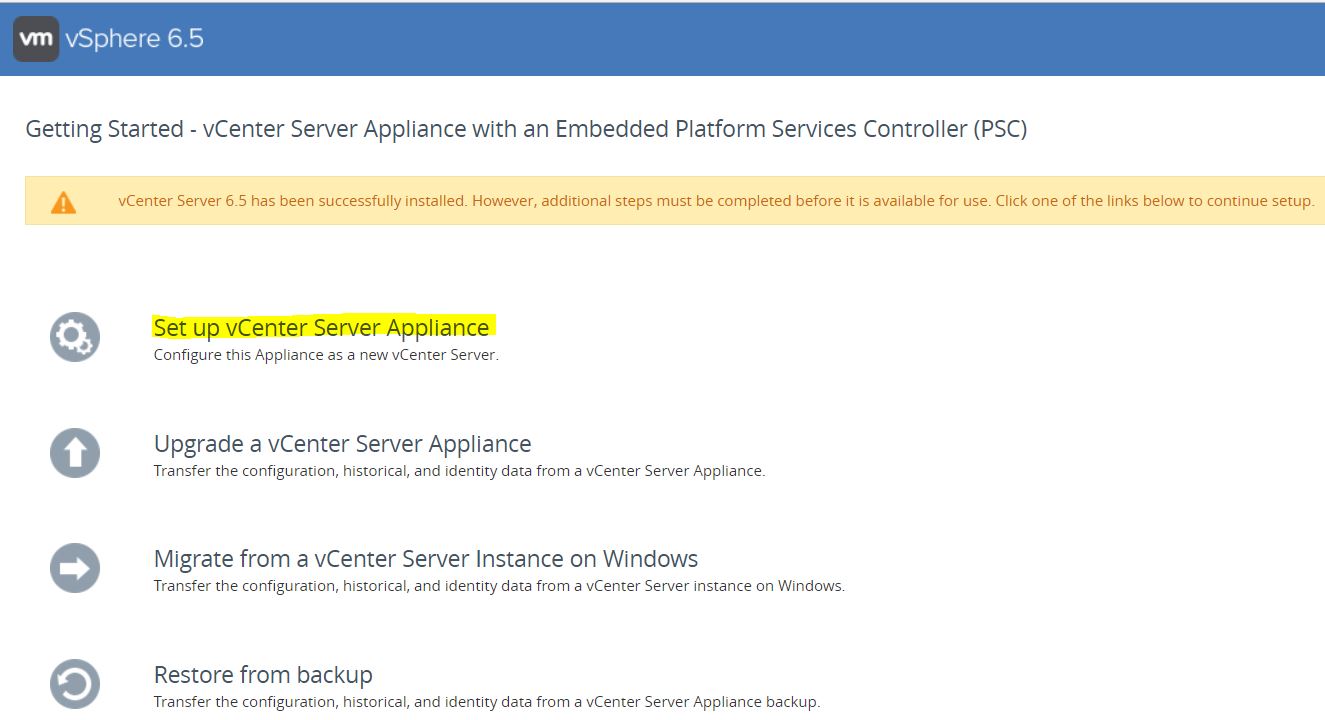
- Click Set up vCenter Server Appliance
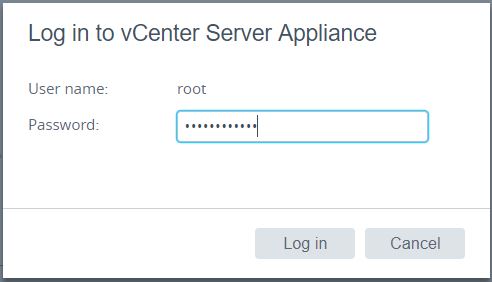
- Log in to the vCenter
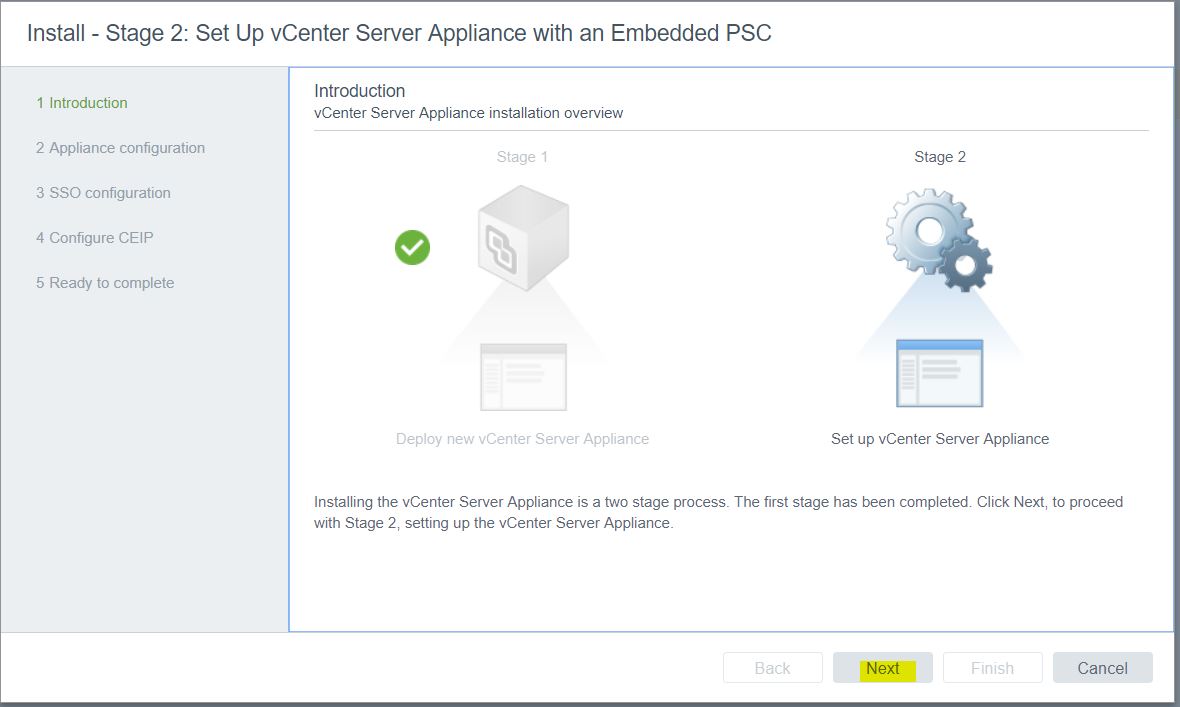
- The below screen will pop up. Click Next
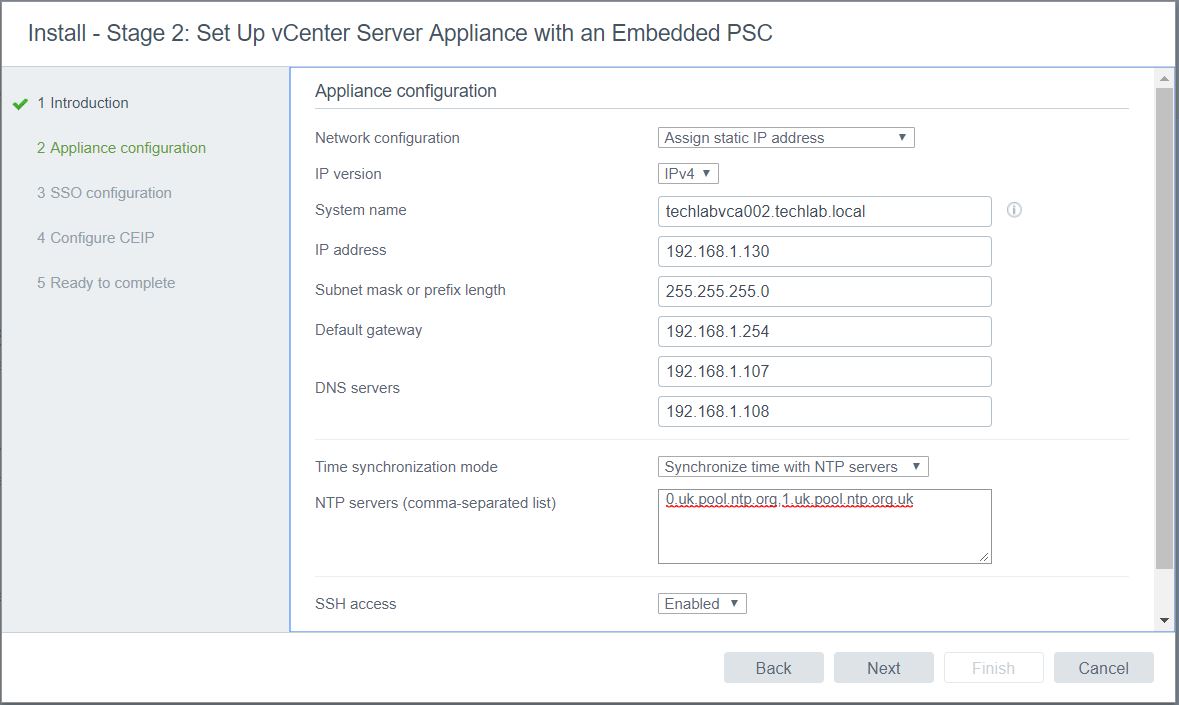
- Check all details
- Put in time servers. I’m connected to the internet through my environment so I use some generic time servers
- Enable SSH if you need to – can be turned off again after configuration for security.
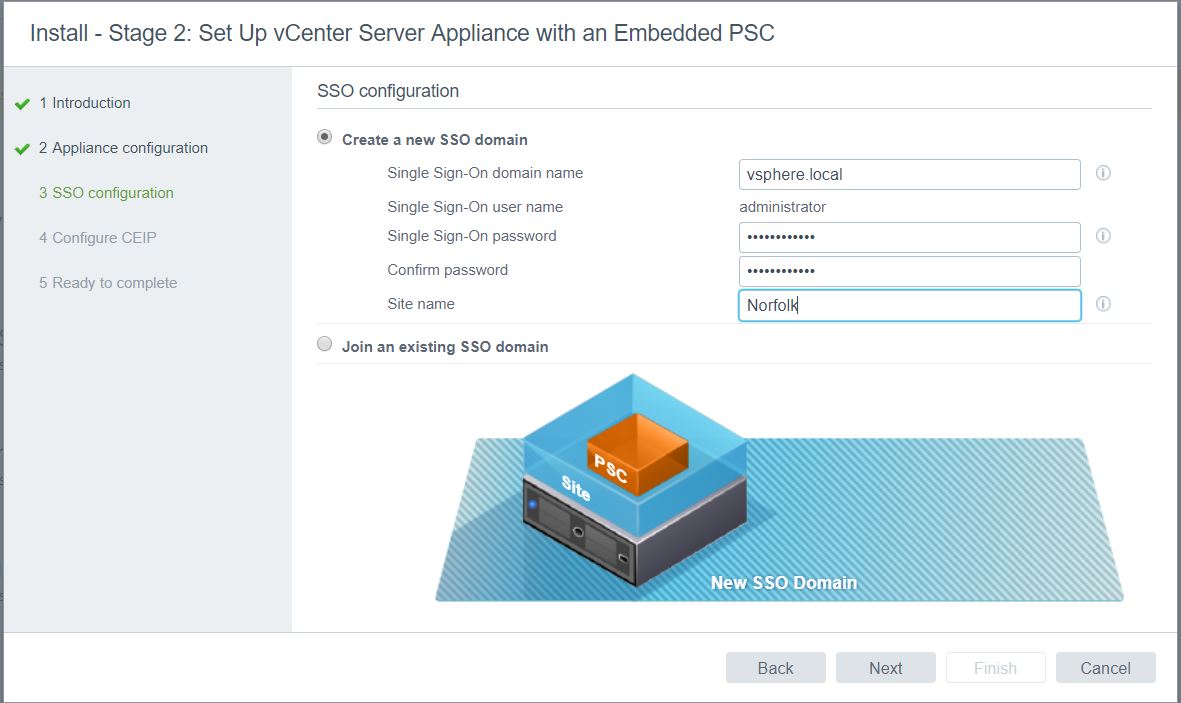
- Put in your own SSO configuration
- Click Next
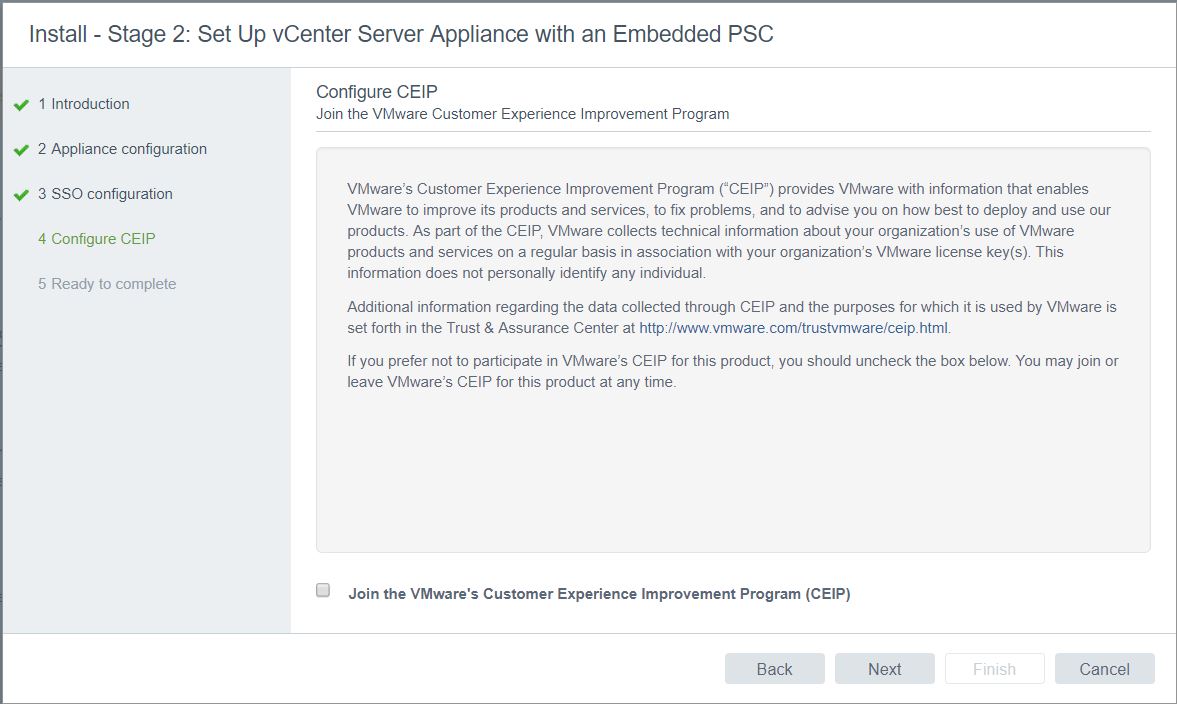
- Select or unselect the CEIP
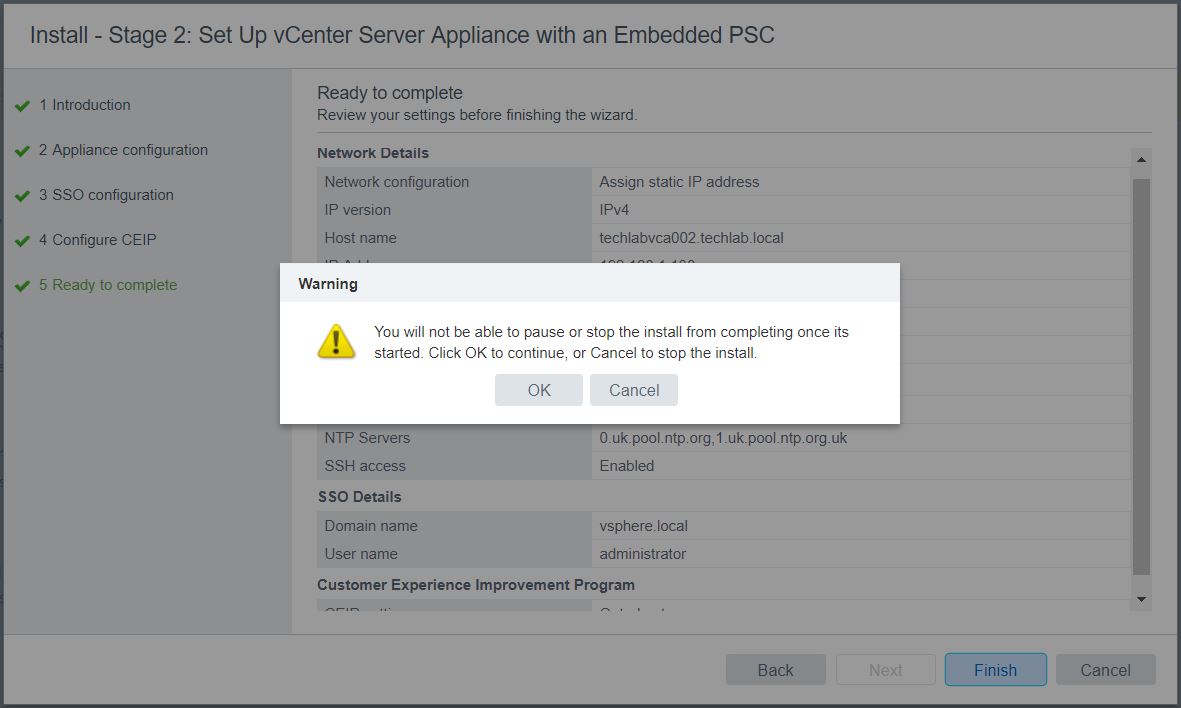
- Check all the details and click Finish

- A message will pop up
- The vCenter Appliance will begin the final installation
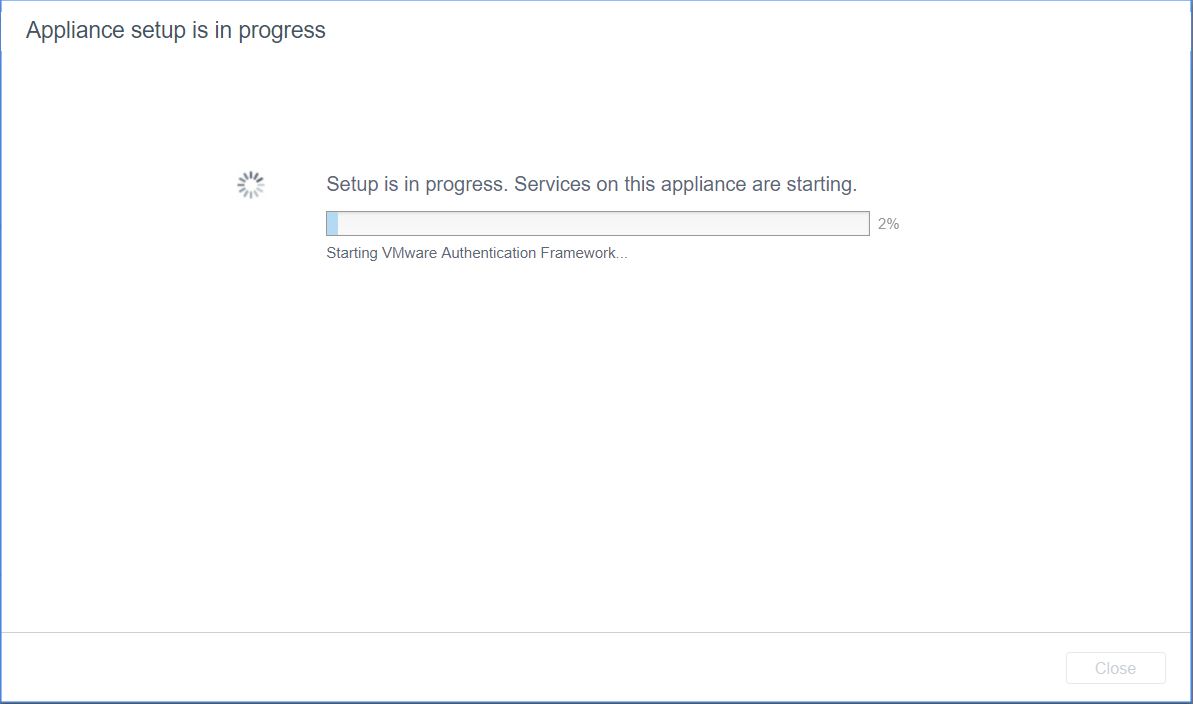
- When complete, you should see the following screen
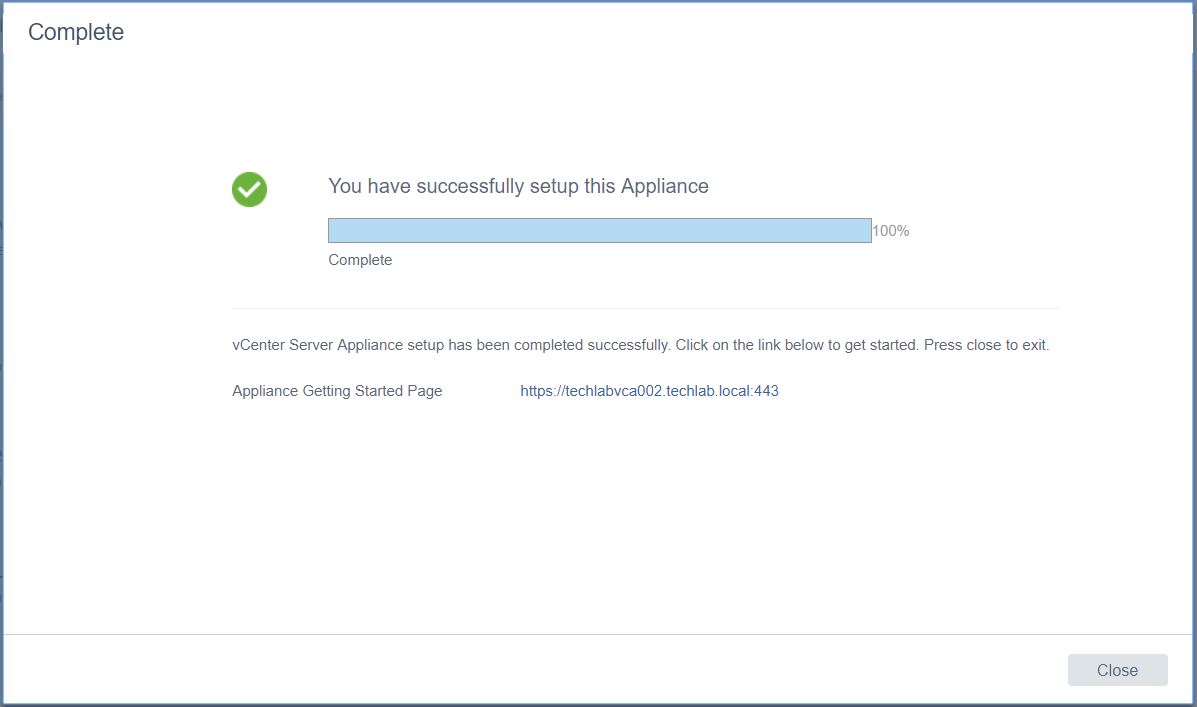
- You can now connect to the vCenter Appliance on the 5480 port and the Web Client
- Note: at this point I actually changed to enable VCHA on my normal first built vCenter called techlabvca001 as I should have added my second vCenter into the same SSO domain as techlabvca001 but I actually set it up as a completely different vCenter so it wouldn’t let me enable VCHA in the way I set it up. Log into the vSphere Web Client for techlabvca001
- Highlight vCenter
- Click the Configure tab
- Choose Basic
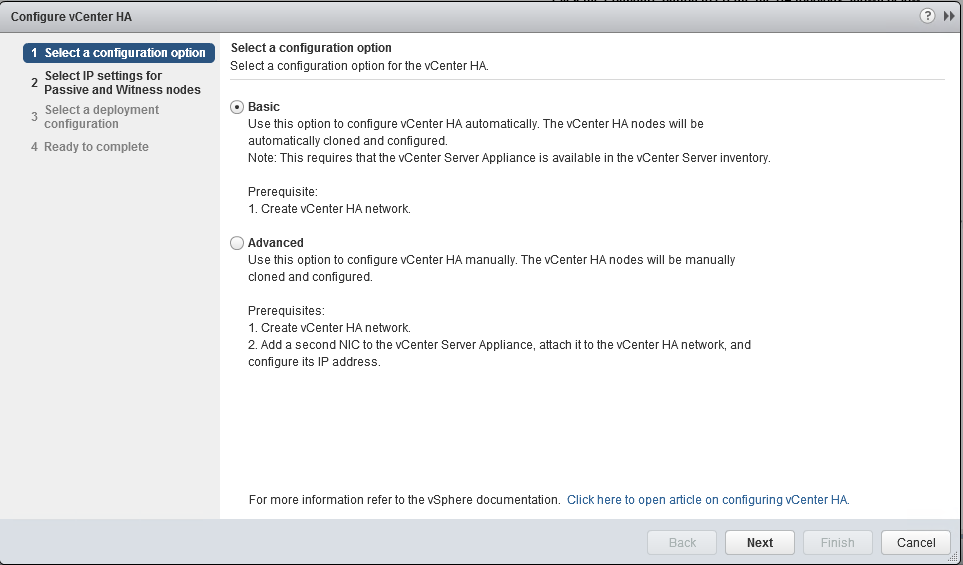
- Put in the Active vCenters HA address and subnet mask
- Choose a port group
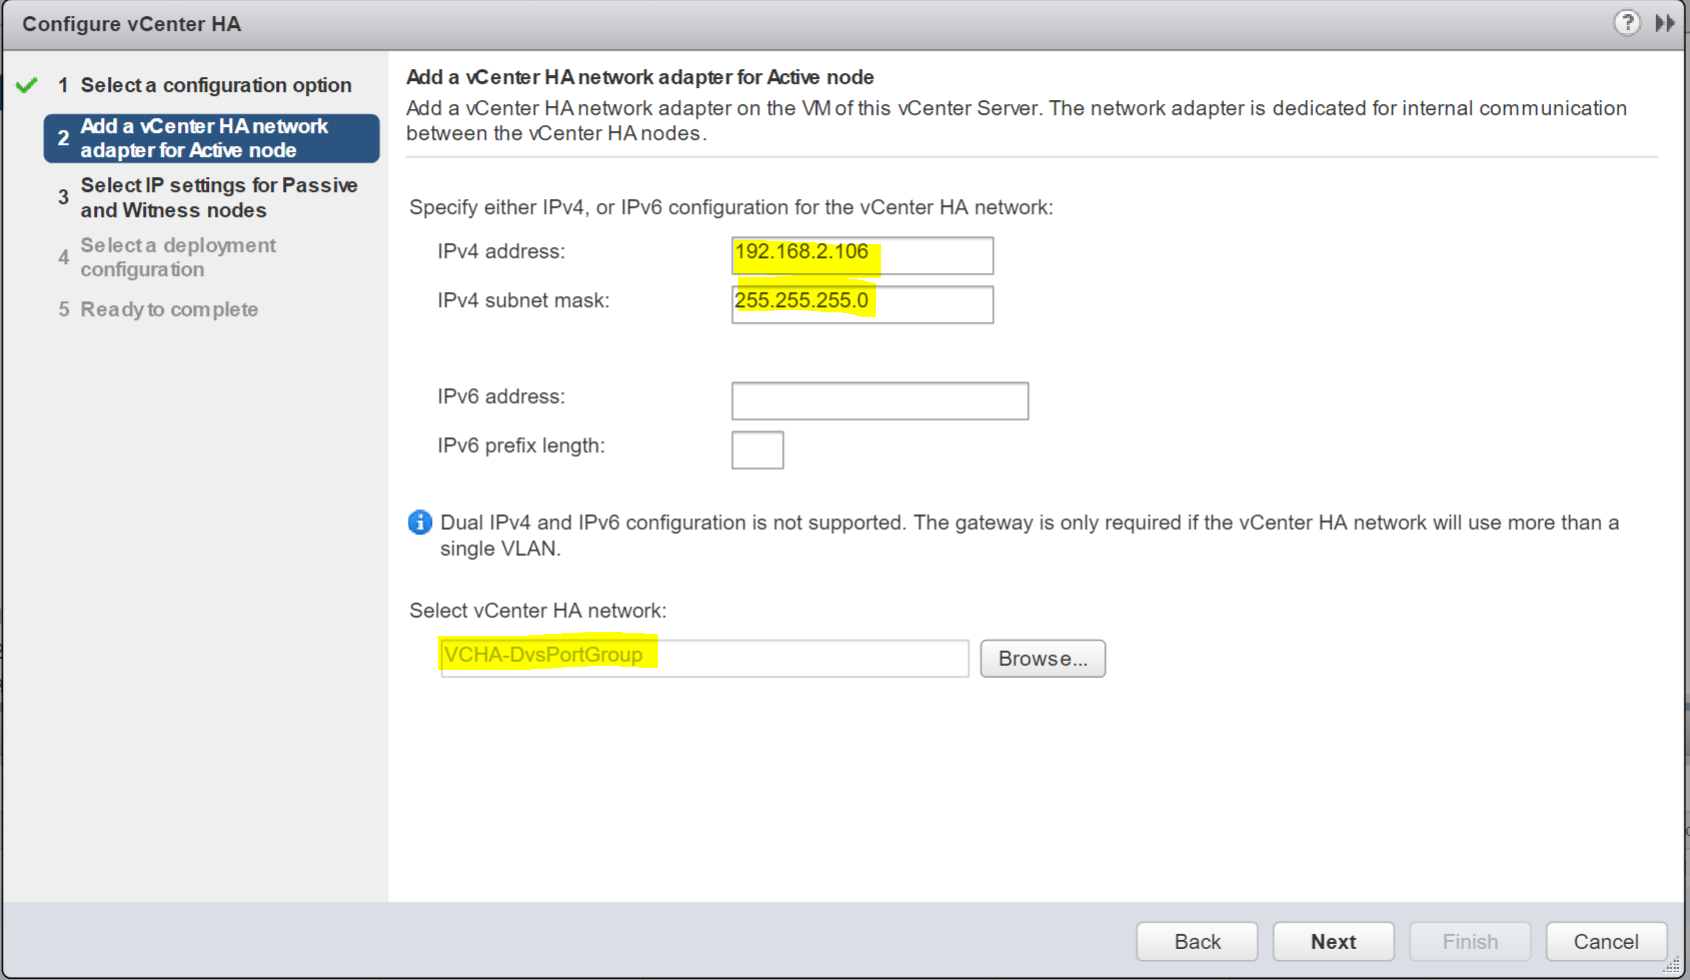
- Click Next
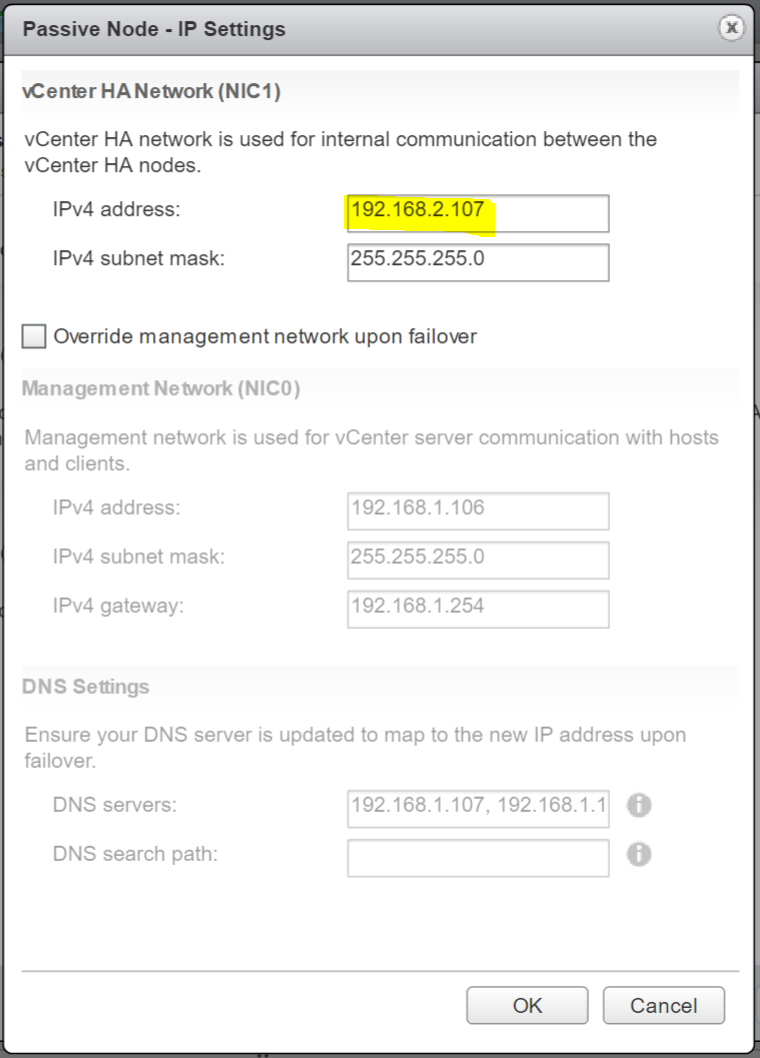
- Select Advanced and change the IP settings to what you want

- Passive Node
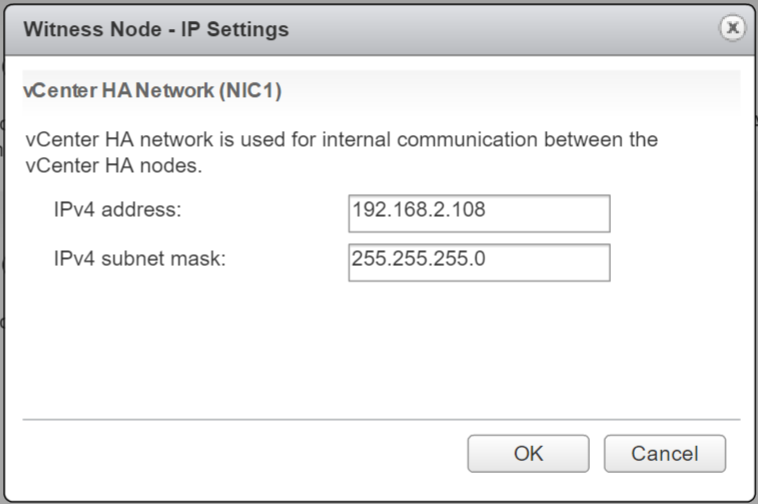
- And the Witness Node
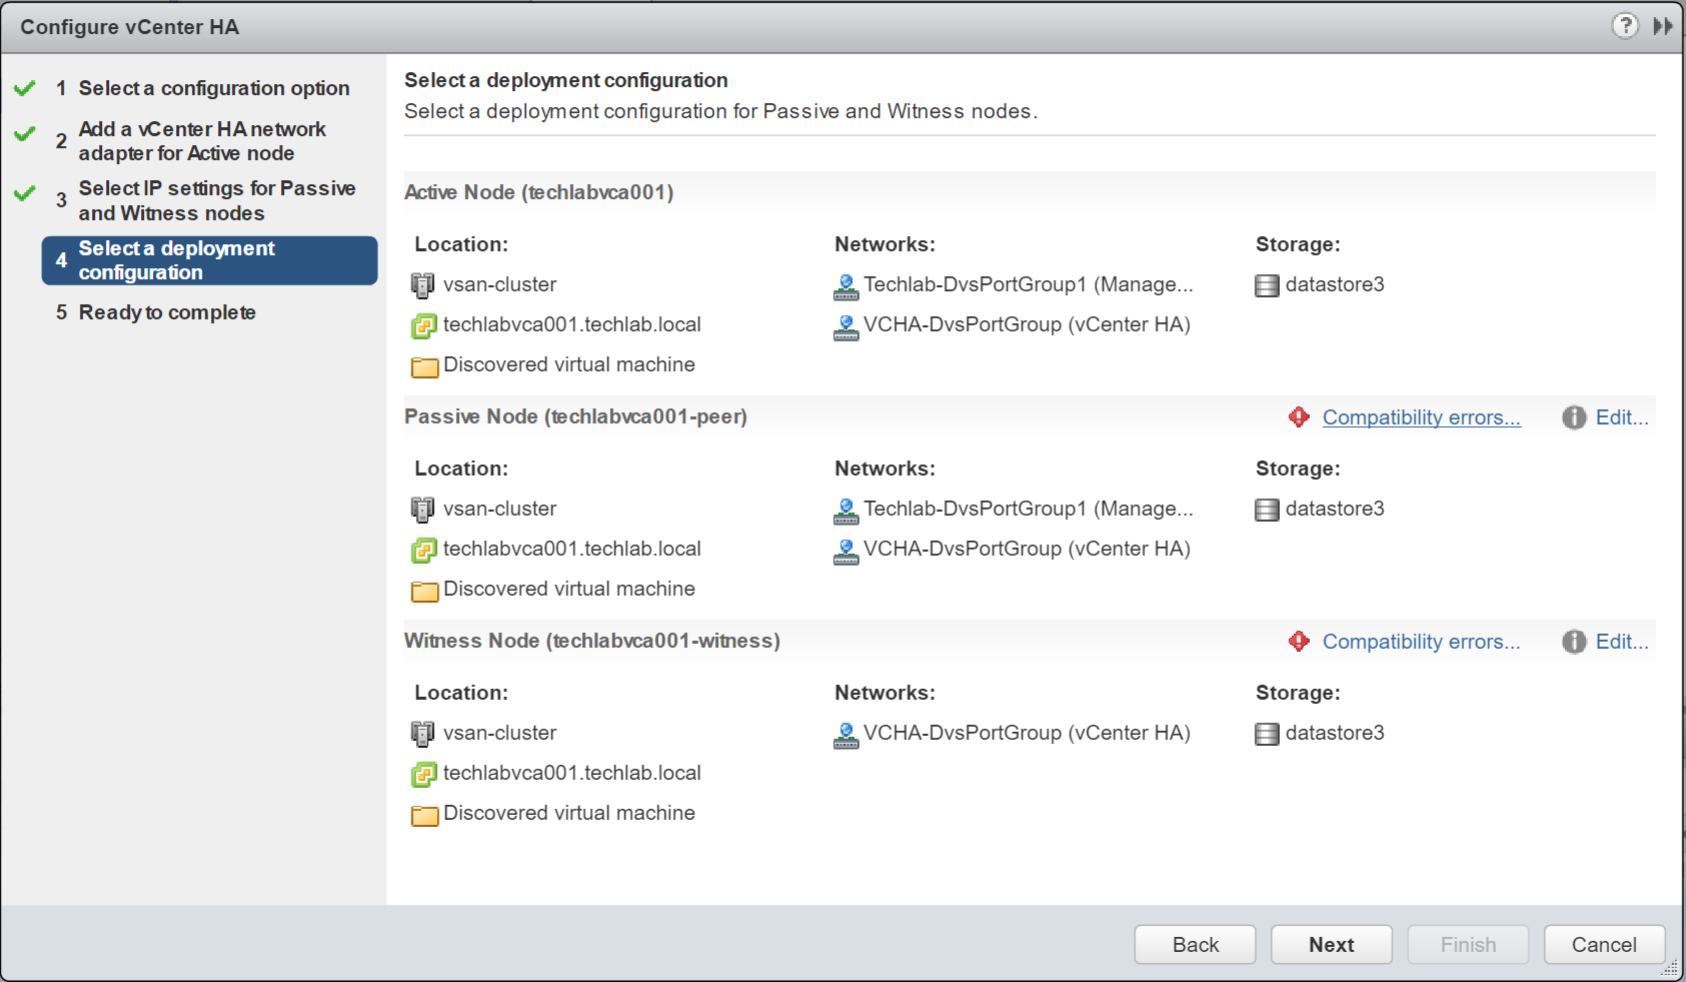
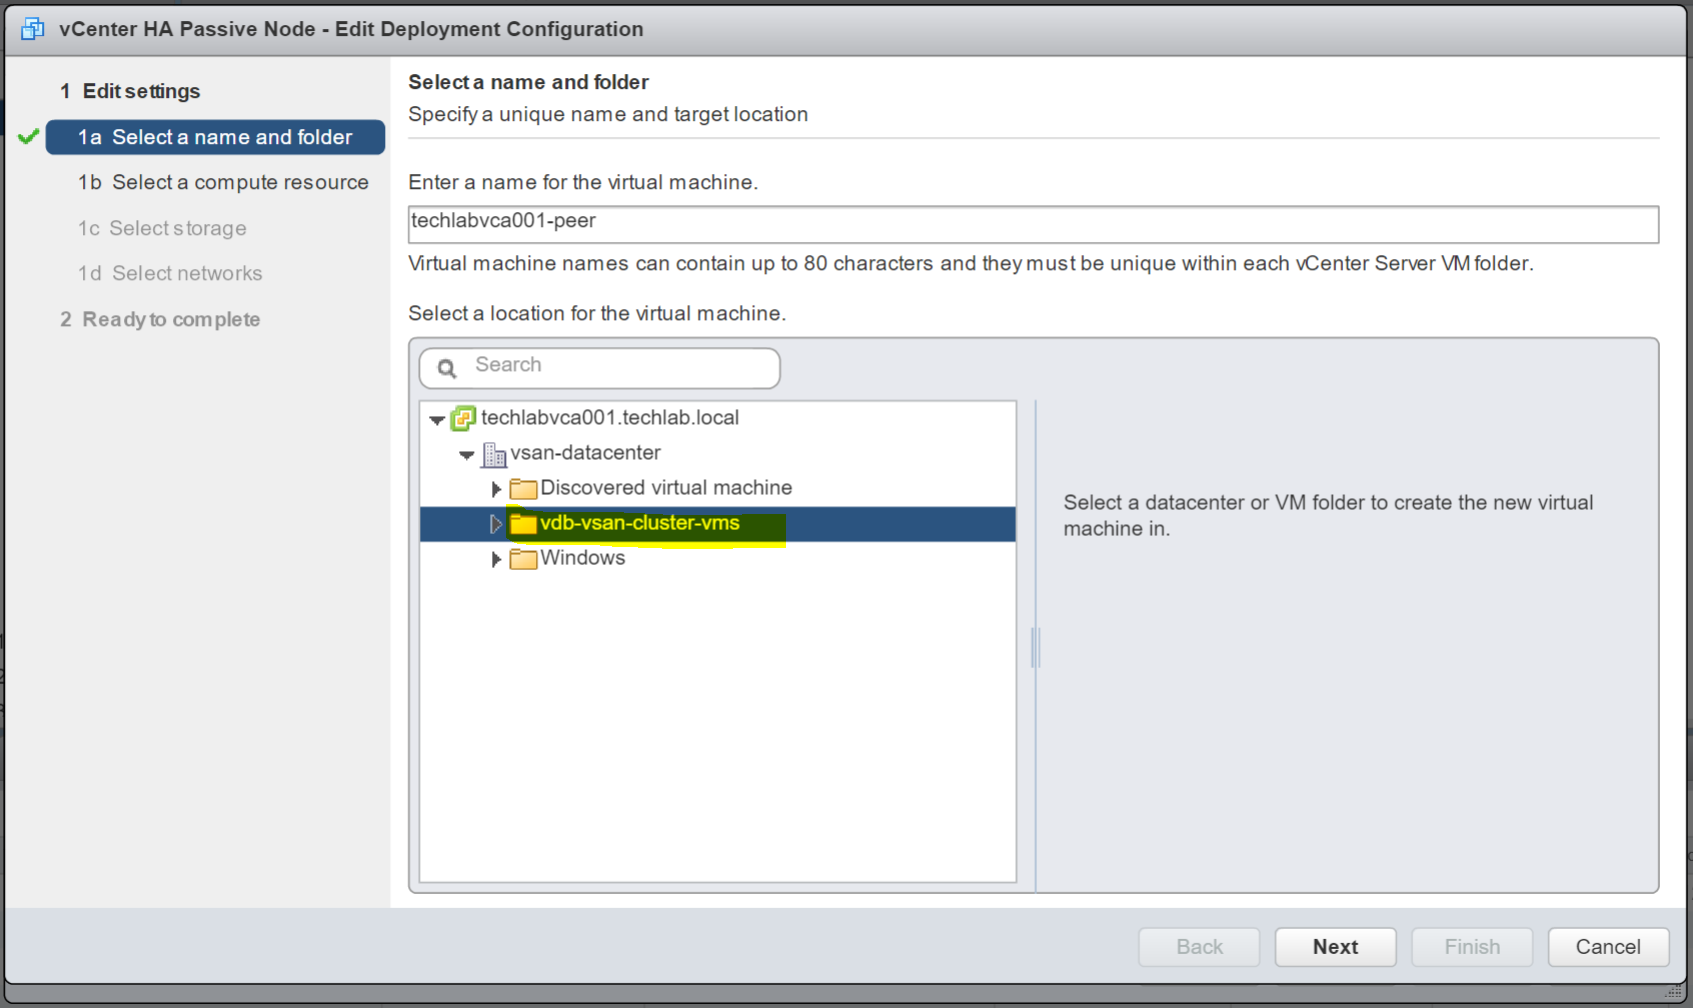
- Click Next and you will be on the next screen which allows you to specify what location and datastores you can use to place the nodes
- Click Edit on the Passive Node
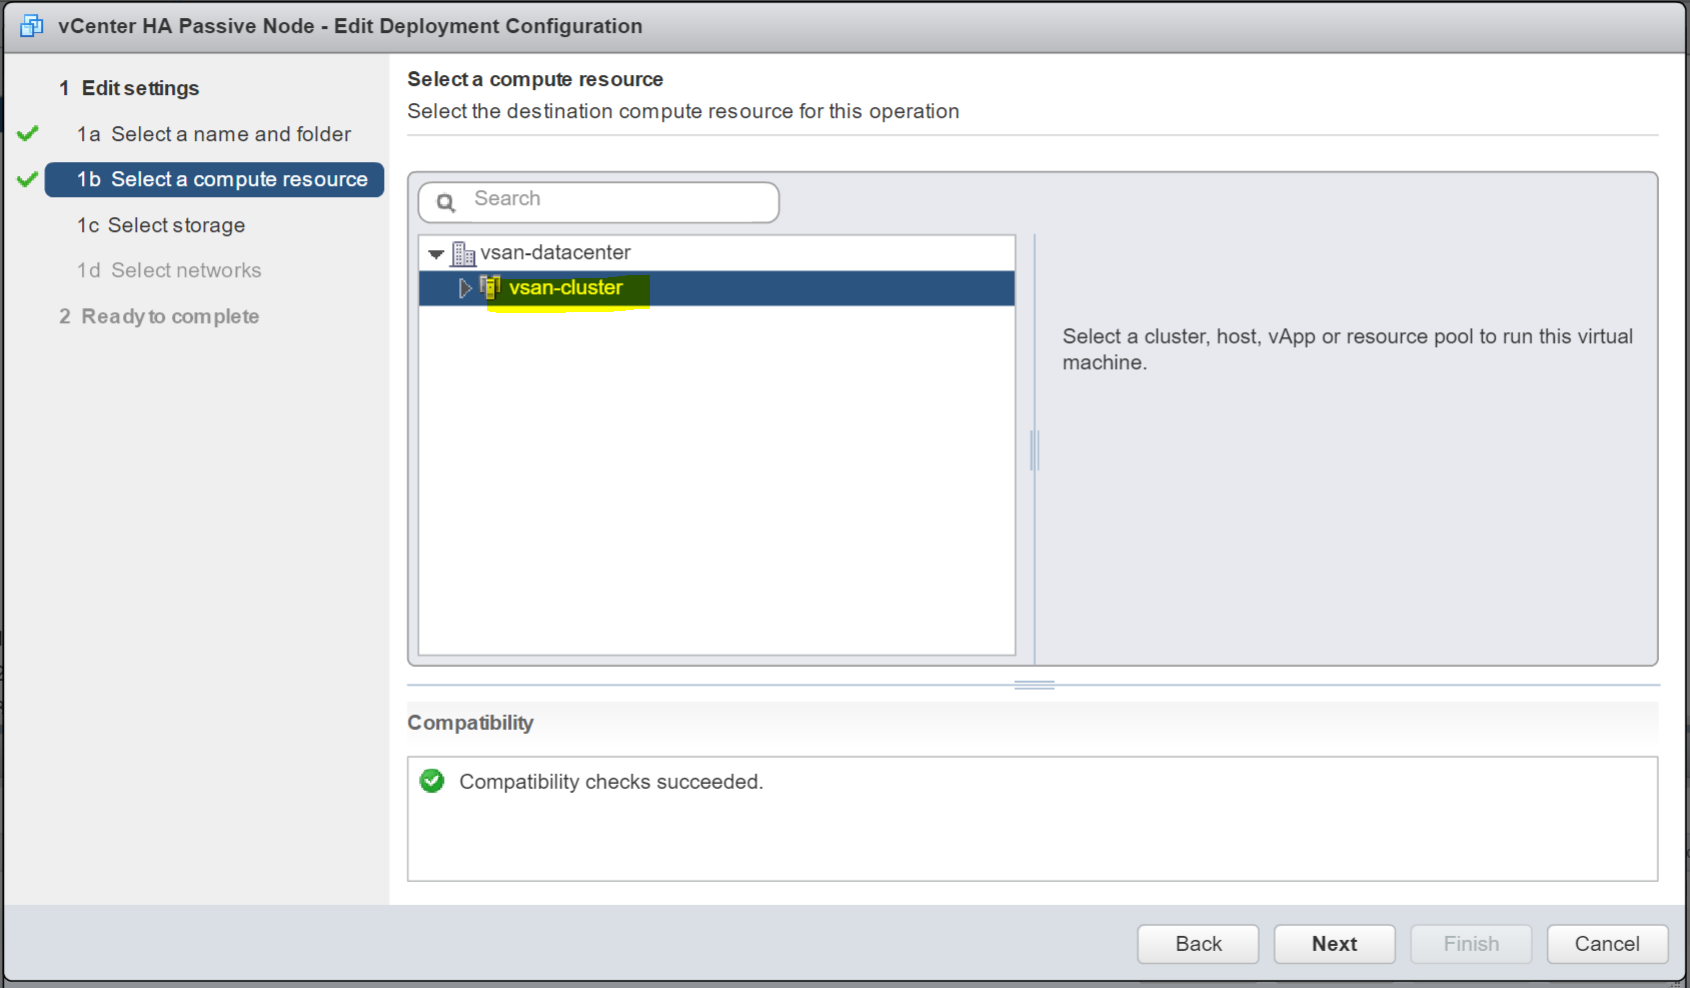
- Select the Compute Resource
- Choose a datastore – In my case this will be my vSAN
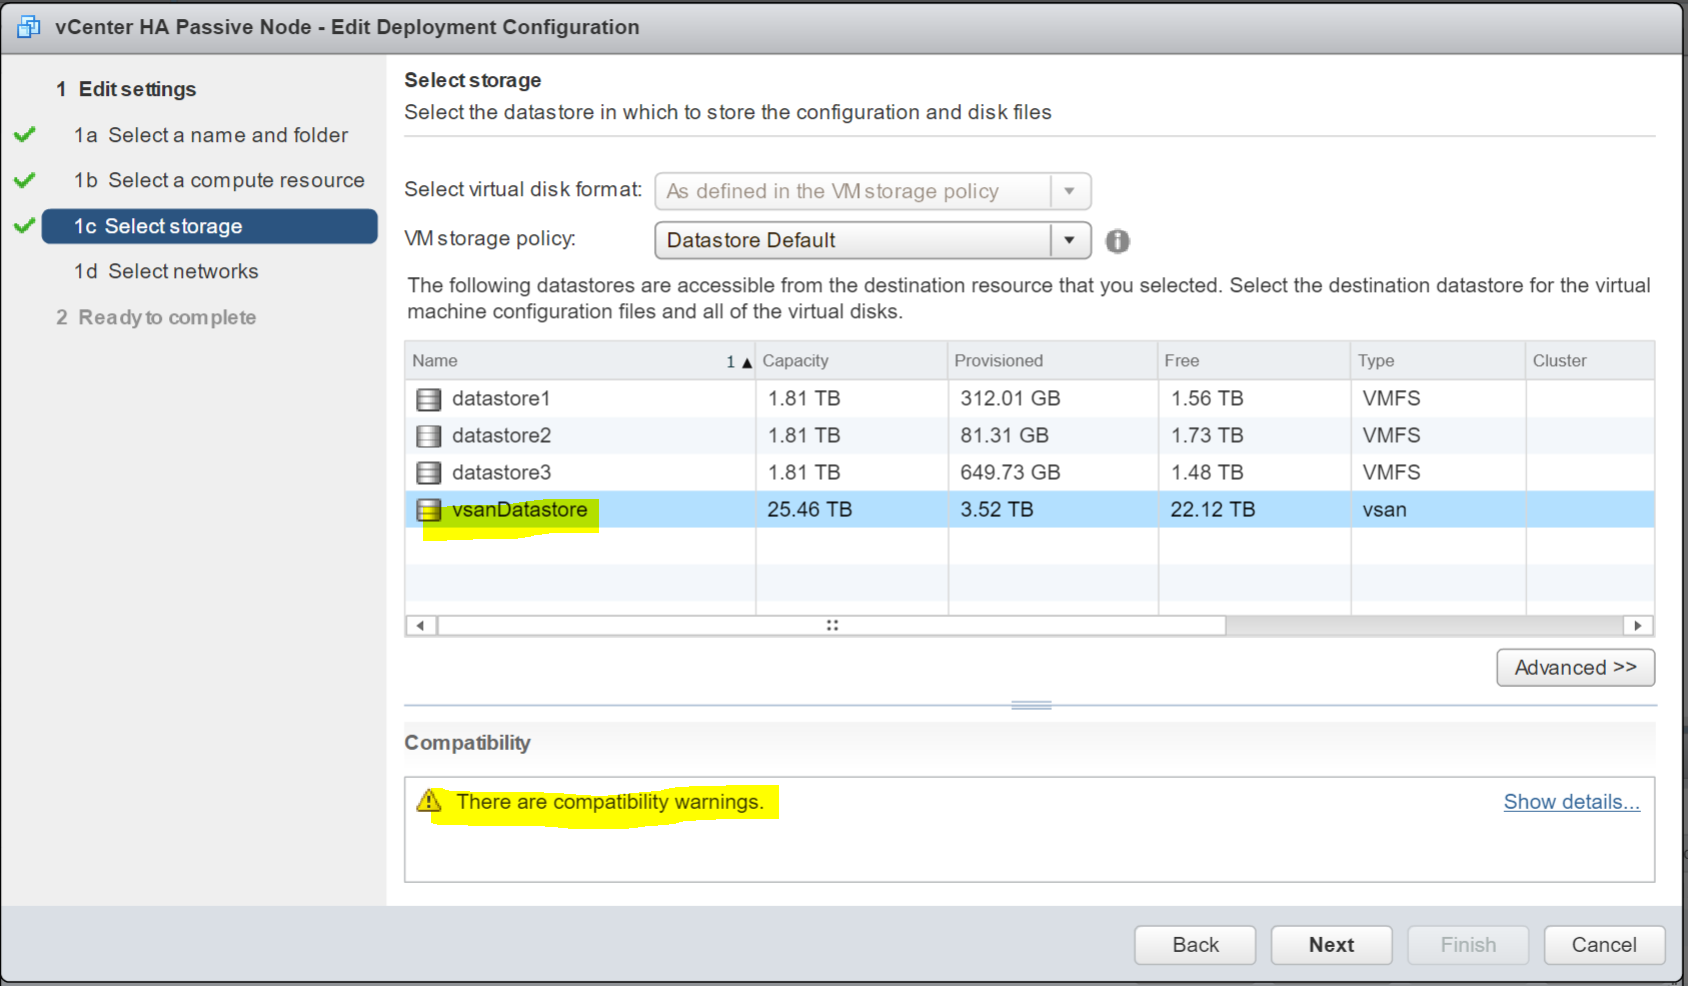
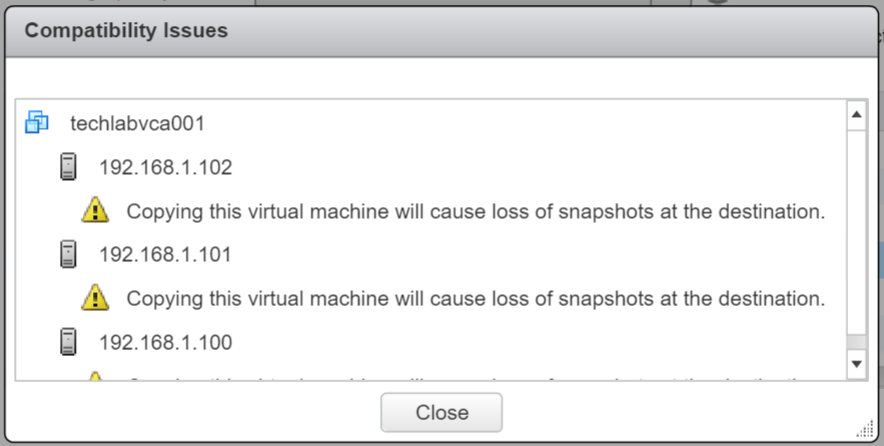
- Check the Compatibilty checks – In my case it is just notifying me about snapshots being lost when this created.
- Next adjust the Witness settings – I am not going to go through them all again as they will be the same as the Passive node we just did.

- Check the Management network and vCenter HA networks
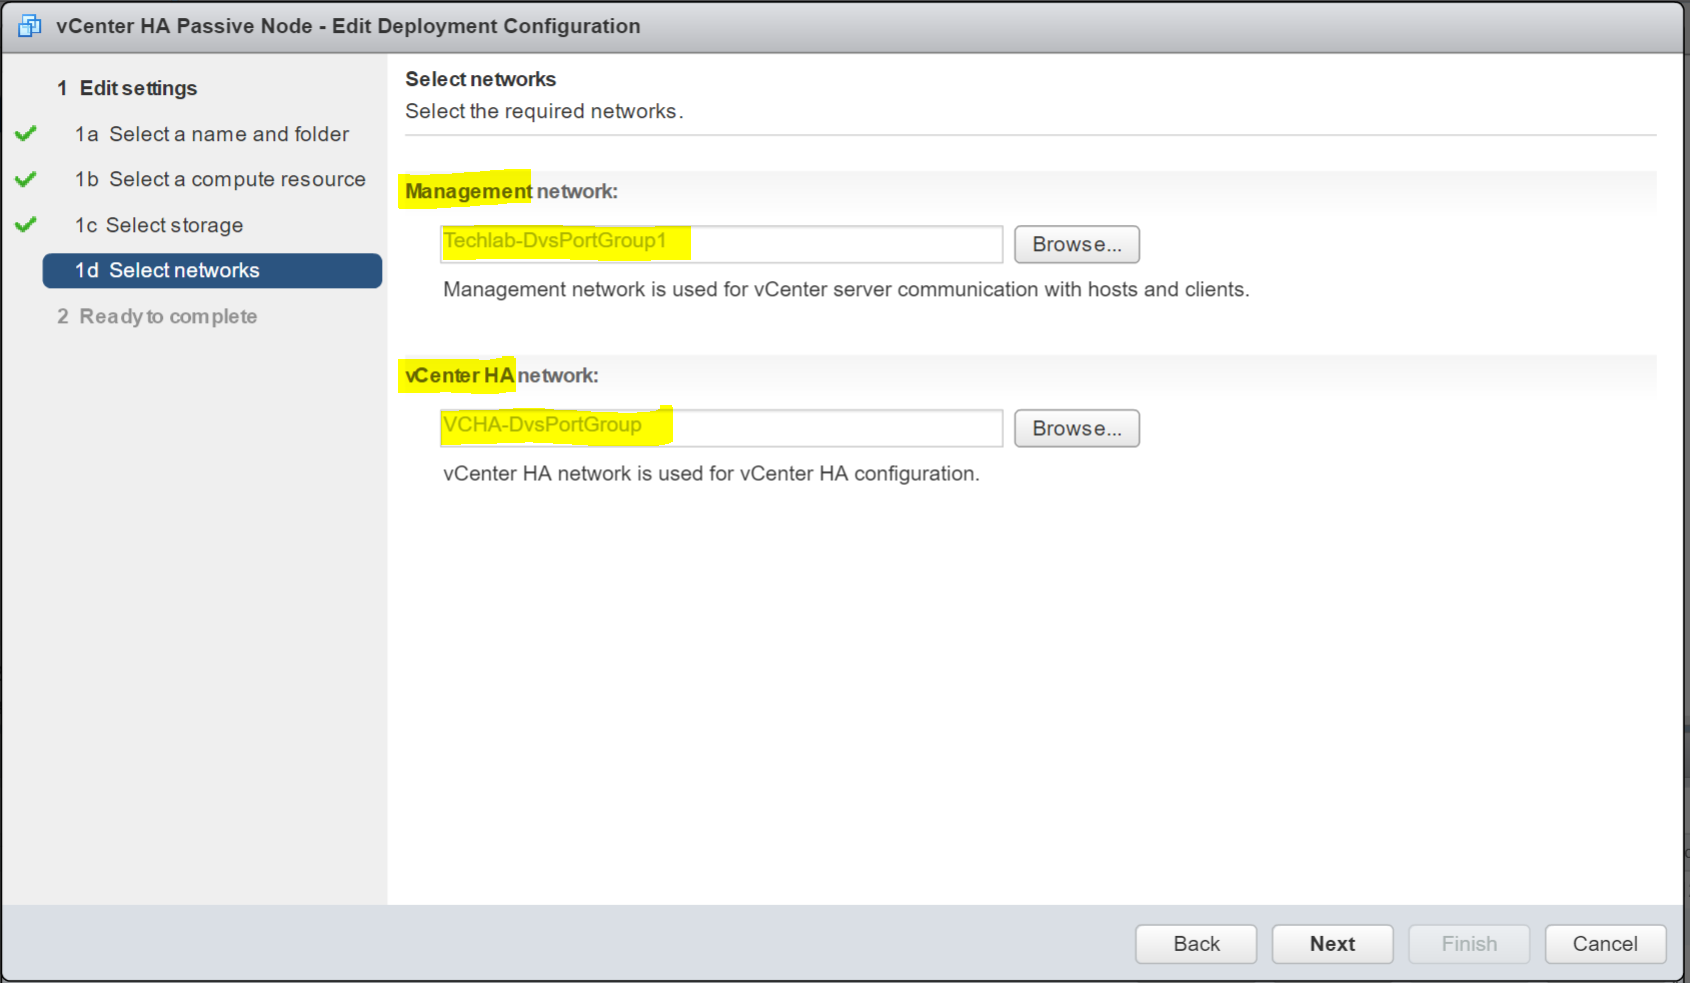
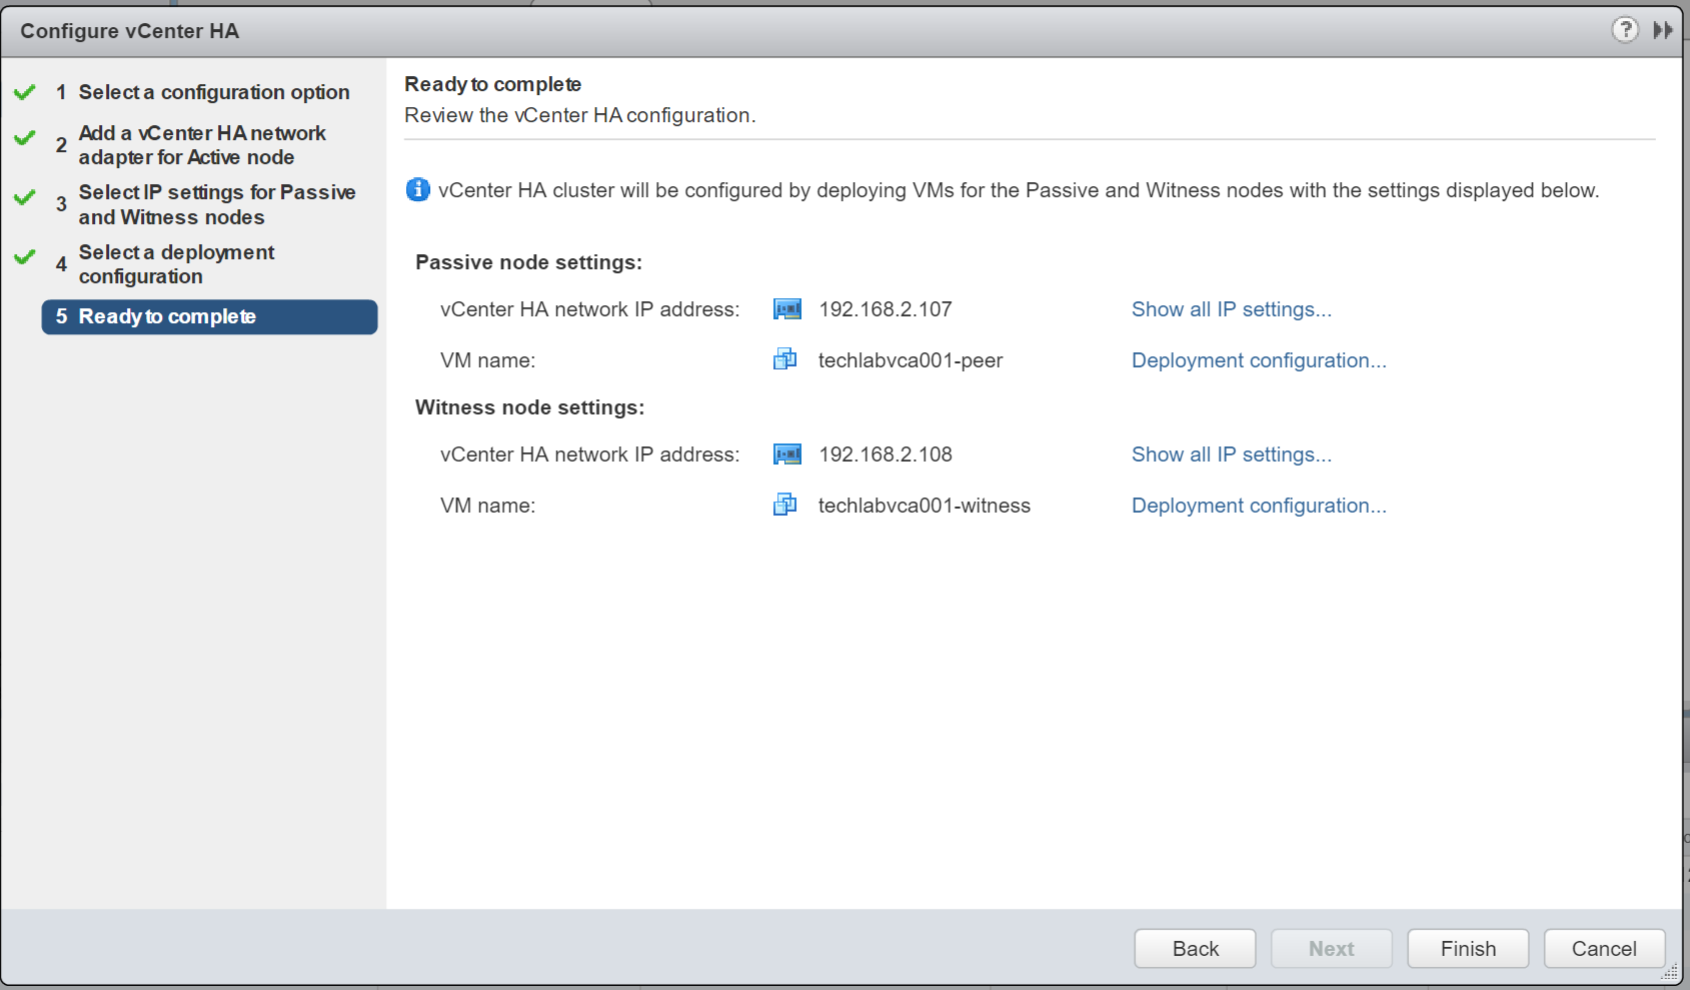
- Next and check the final details and click Finish
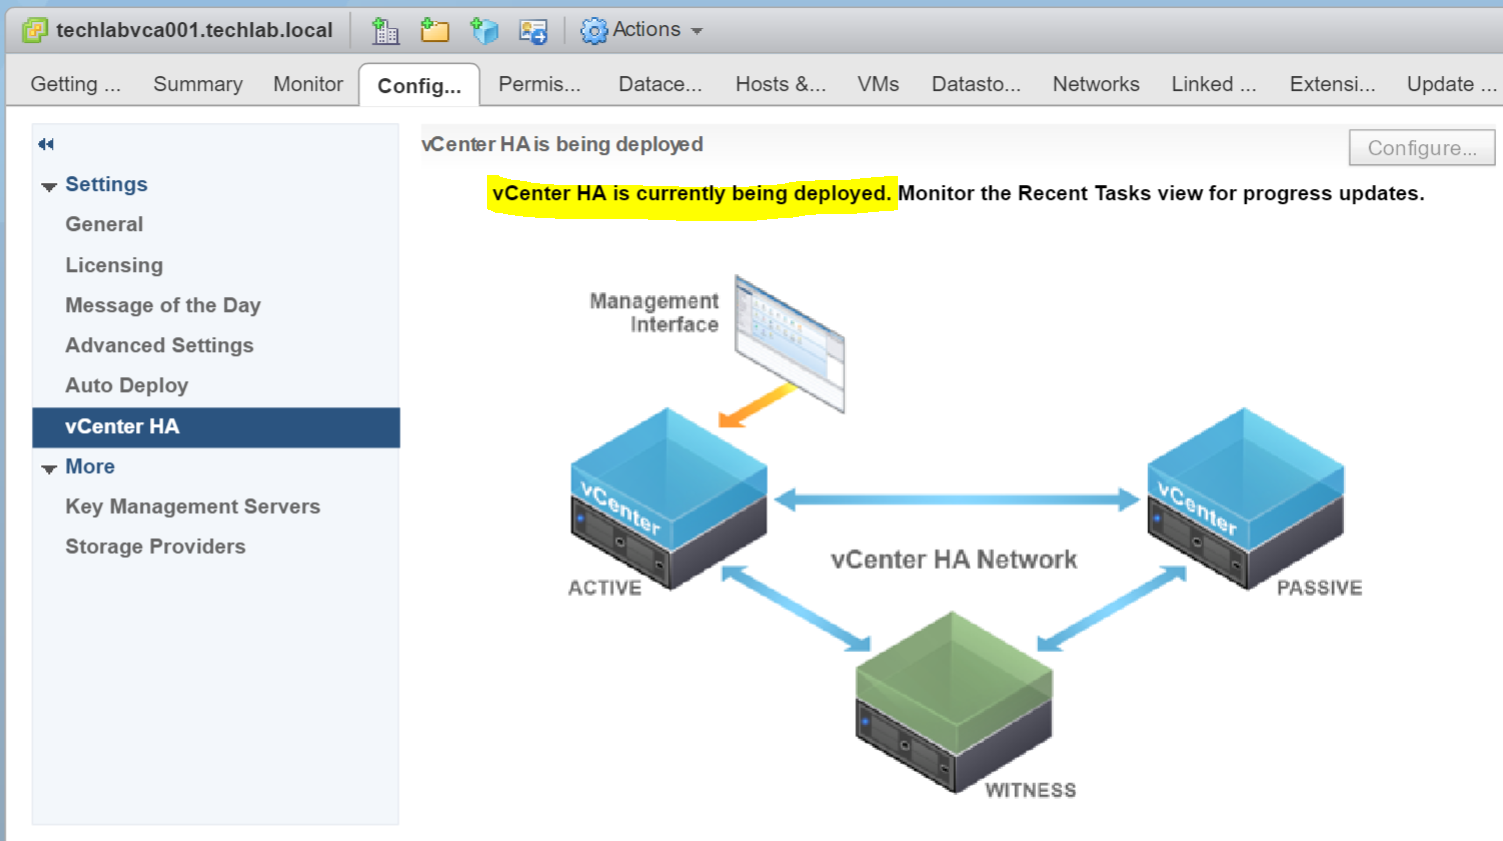
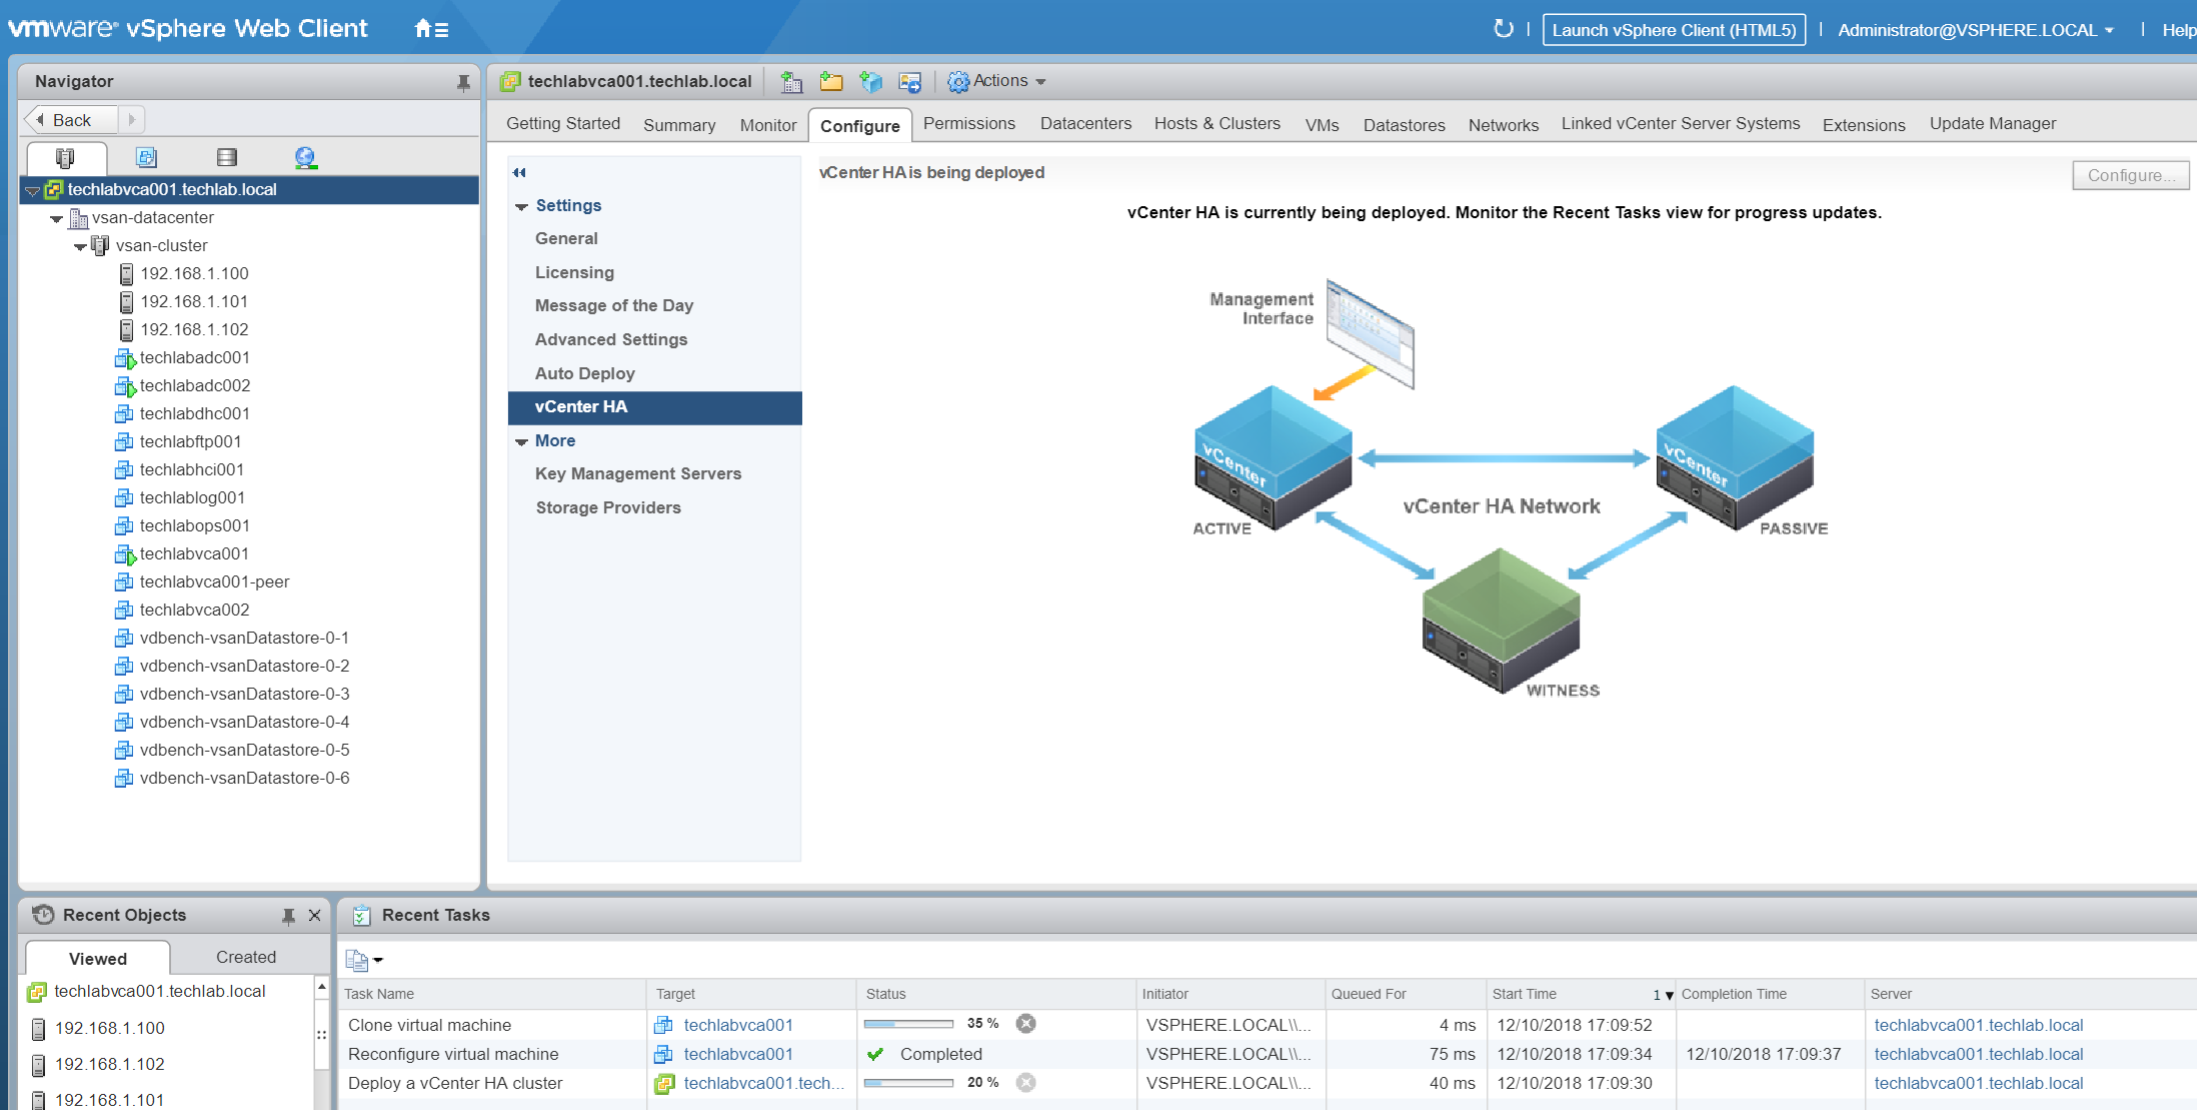
- It will now say vCenter HA being deployed in the vSphere Web client
- You should see a Peer machine and a Witness machine being deployed
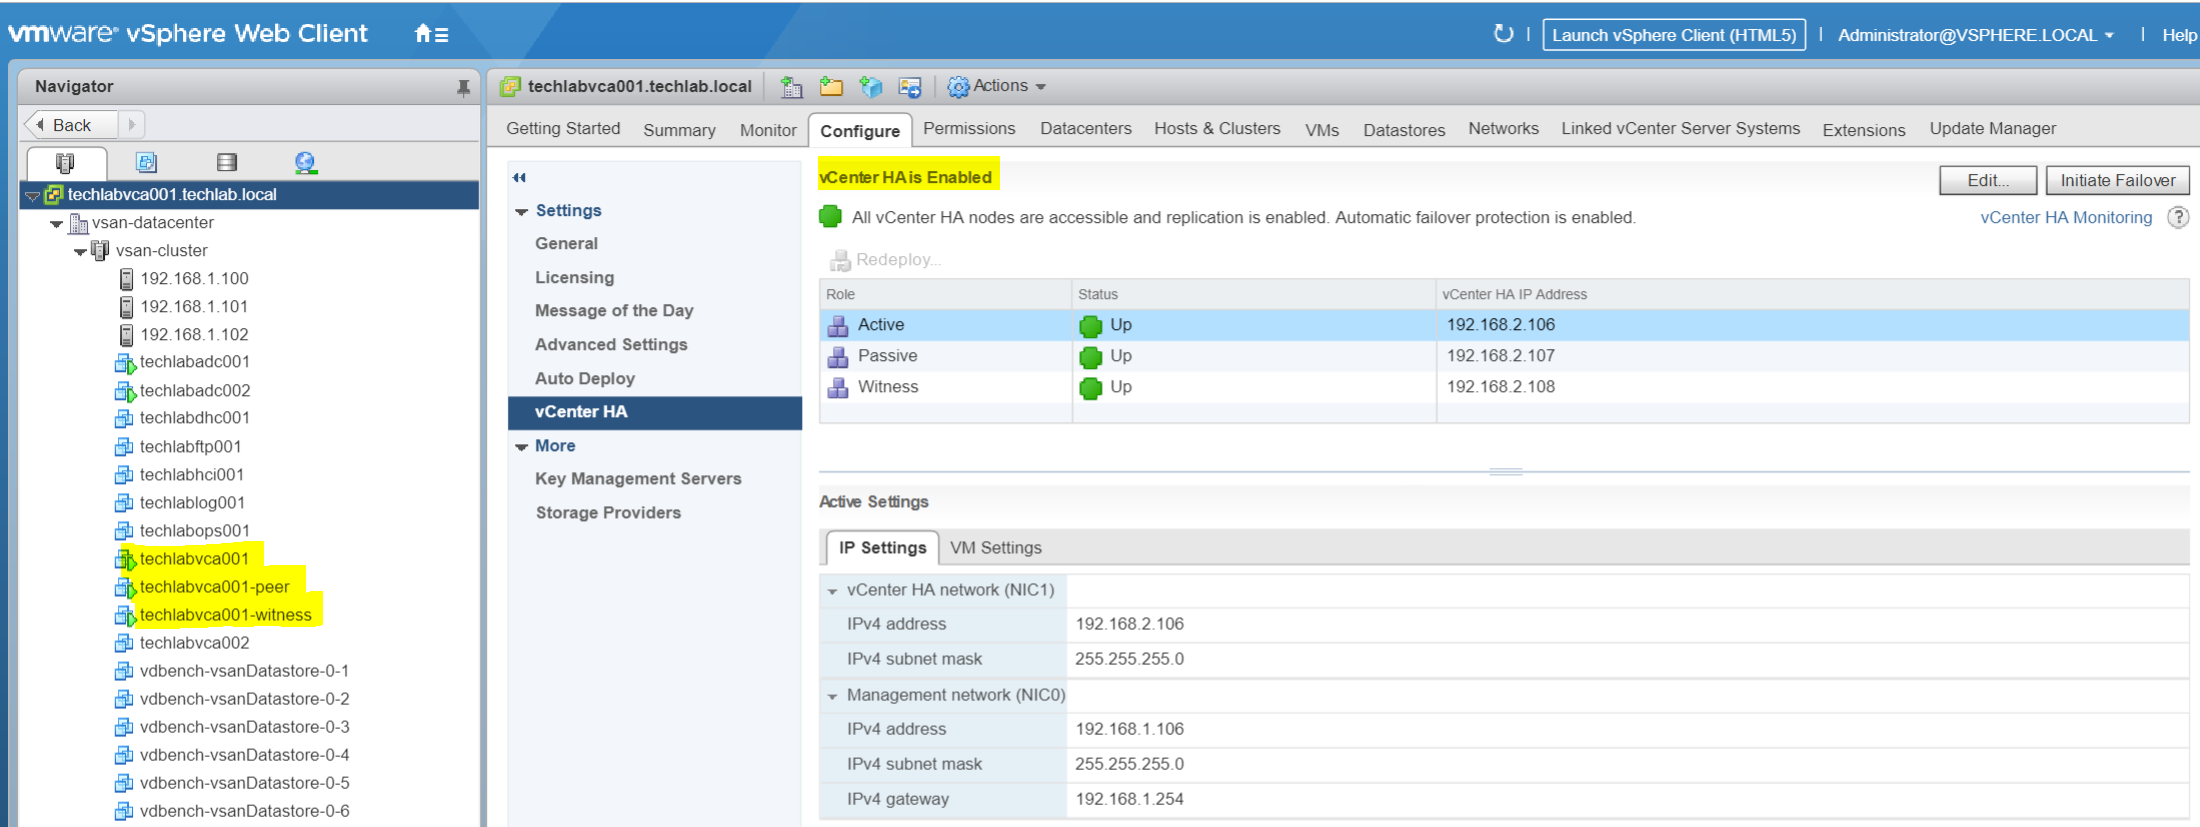
- Once complete you will see VCHA is enabled and you should see your Active vCenter, Passive vCenter and Witness
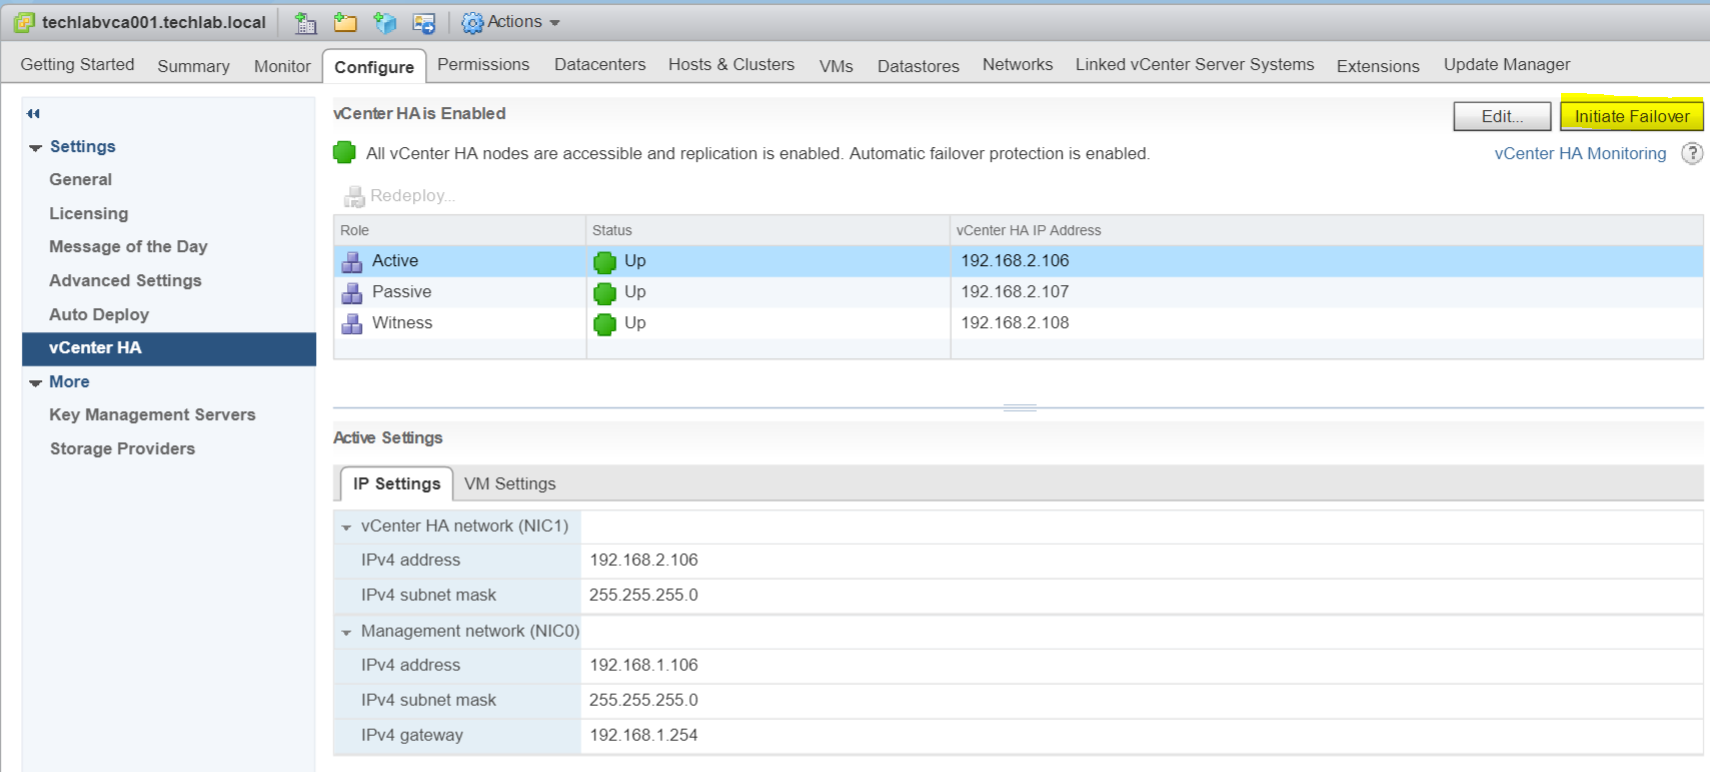
- Click the Test Failover to check everything is working as expected
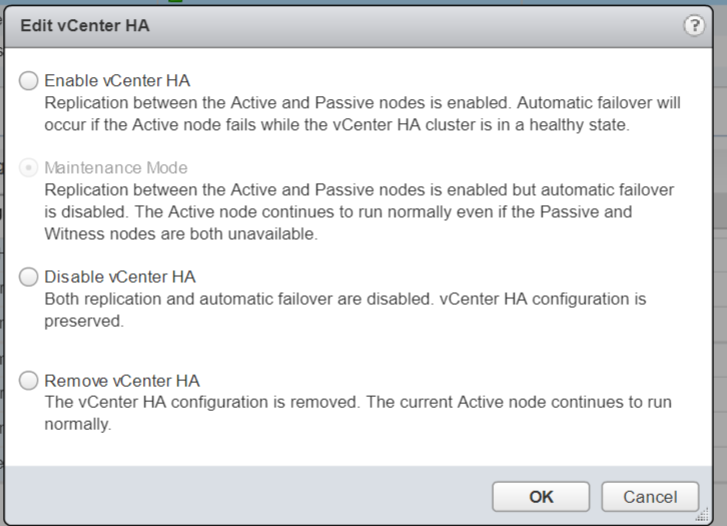
- You can also place the HA Cluster in several modes