
Happy New Year and Welcome to the first blog of 2014!
What is RemoteApp?
RemoteApp enables you to make programs that are accessed remotely through Remote Desktop Services appear as if they are running on the end user’s local computer. These programs are referred to as RemoteApp programs. Instead of being presented to the user in the desktop of the Remote Desktop Session Host (RD Session Host) server, the RemoteApp program is integrated with the client’s desktop. The RemoteApp program runs in its own resizable window, can be dragged between multiple monitors, and has its own entry in the taskbar. If a user is running more than one RemoteApp program on the same RD Session Host server, the RemoteApp program will share the same Remote Desktop Services session.
Users can access RemoteApp programs several ways. They can:
- Access a link to the program through RemoteApp and Desktop Connection by using Remote Desktop Web Access (RD Web Access).
- Double-click a Remote Desktop Protocol (.rdp) file that has been created and distributed by their administrator.
- Double-click a program icon on their desktop or Start menu that has been created and distributed by their administrator with a Windows Installer (.msi) package.
- Double-click a file where the file name extension is associated with a RemoteApp program. This can be configured by their administrator with a Windows Installer package.
Why use RemoteApp?
RemoteApp can reduce complexity and reduce administrative overhead in many situations, including the following:
- Branch offices, where there may be limited local IT support and limited network bandwidth.
- Situations where users need to access programs remotely.
- Deployment of line-of-business (LOB) programs, especially custom LOB programs.
- Environments, such as “hot desk” or “hoteling” workspaces, where users do not have assigned computers.
- Deployment of multiple versions of a program, particularly if installing multiple versions locally would cause conflicts
Instructions for Configuring a RD Session Host Server to Host RemoteApp Programs
First Install the RD Session Host Role Service on your server. RemoteApp Manager is installed as part of the Remote Desktop Session Host (RD Session Host) role service.
- On the computer on which you want to install the RD Session Host role service, open Server Manager. To open Server Manager, click Start, point to Administrative Tools, and then click Server Manager
- Under Roles Summary, click Add Roles.
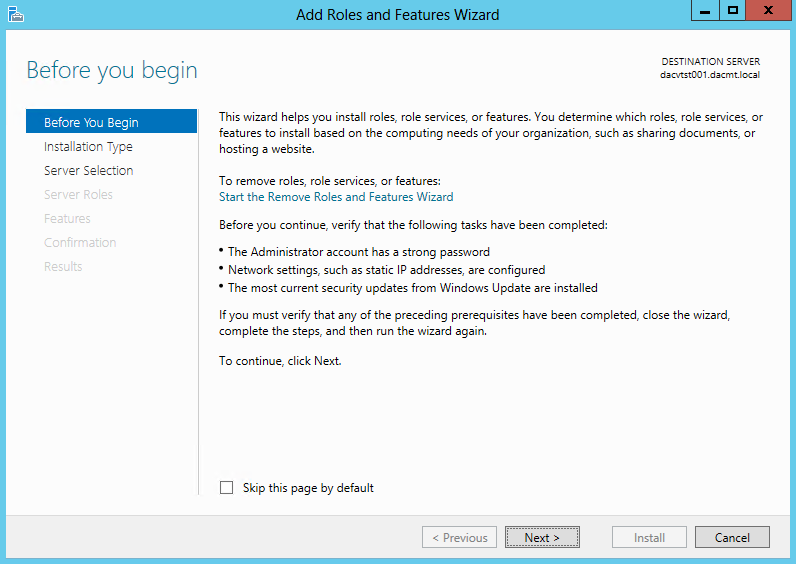
- On the Before You Begin page of the Add Roles Wizard, click Next
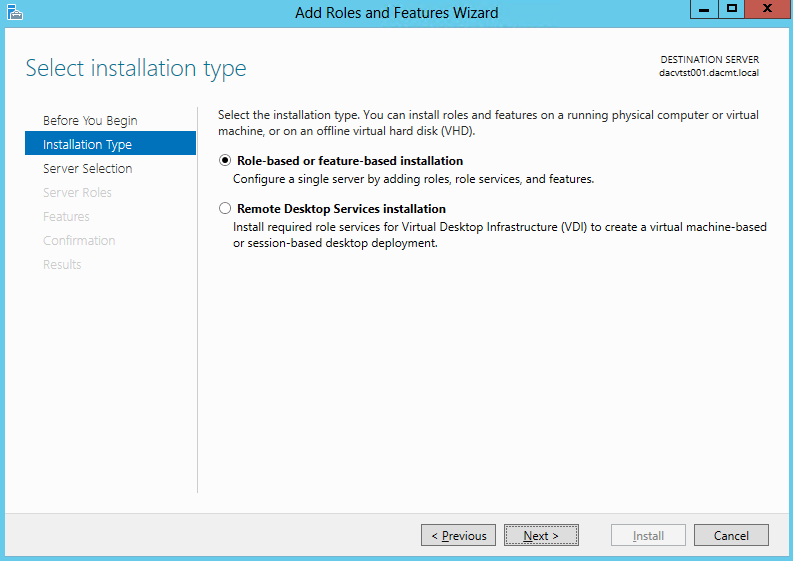
- On the Select Server Roles page, select the Role based or Feature based installation
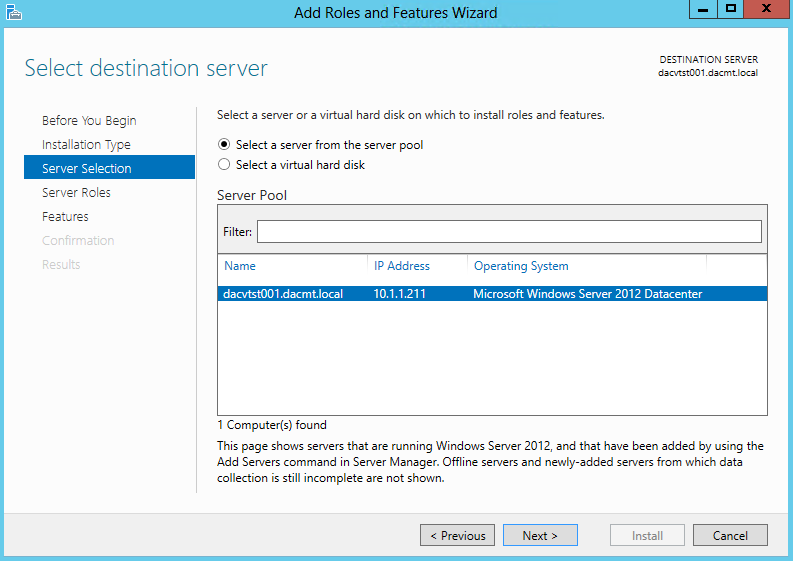
- Check your Server is selected and click Next
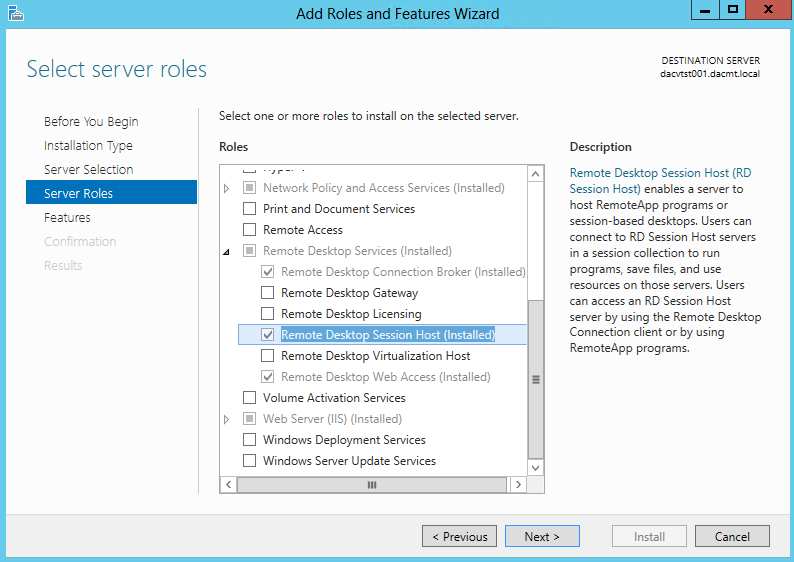
- On Select Server Roles. select Remote Desktop Session Host. Note: Mine is already installed previously. This is just to show you the wizard
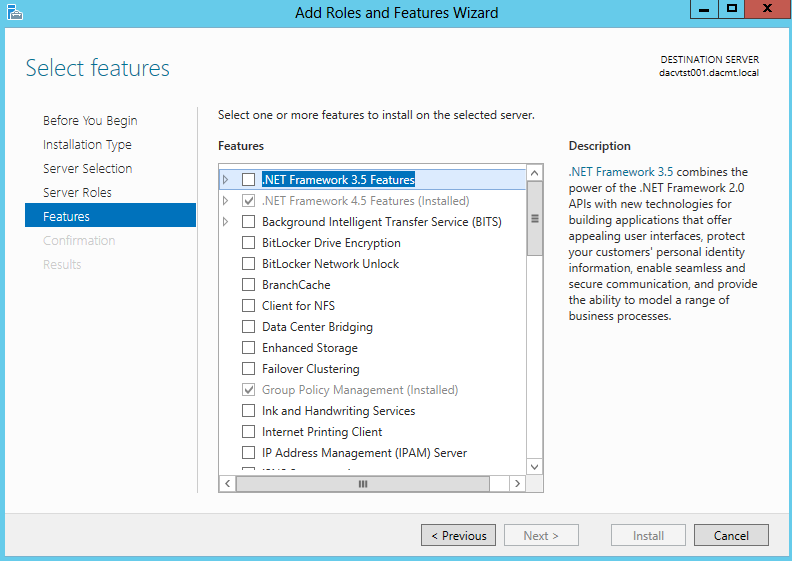
- Click Next on Select Features
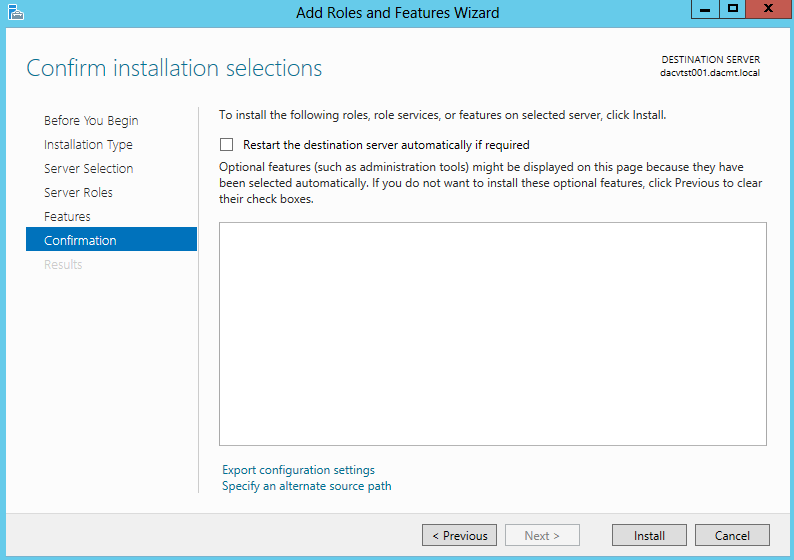
- Confirm and Install
- Once complete, Open Server Manager. To open Server Manager, click Start, point to Administrative Tools, and then click Server Manager
- Under Roles Summary, click Add Roles.
- On the Before You Begin page of the Add Roles Wizard, click Next
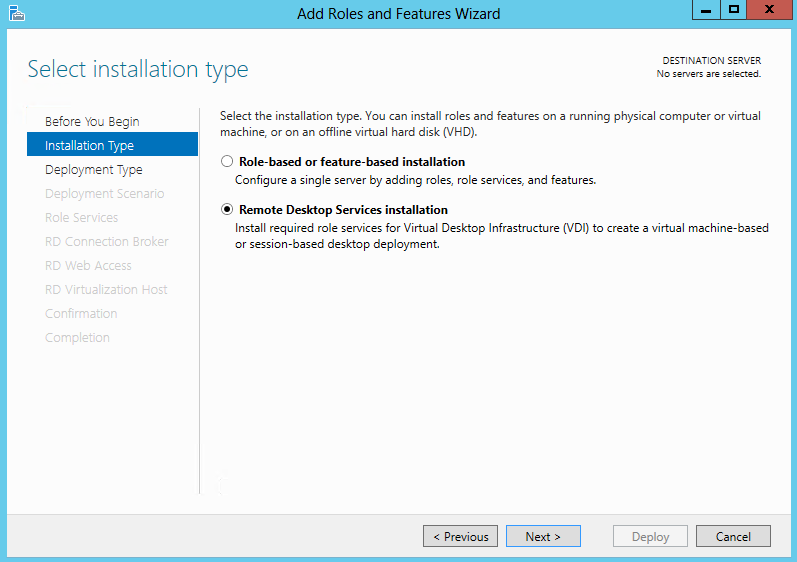
- Select Remote Desktop Services Installation on the Select Installation Type Page
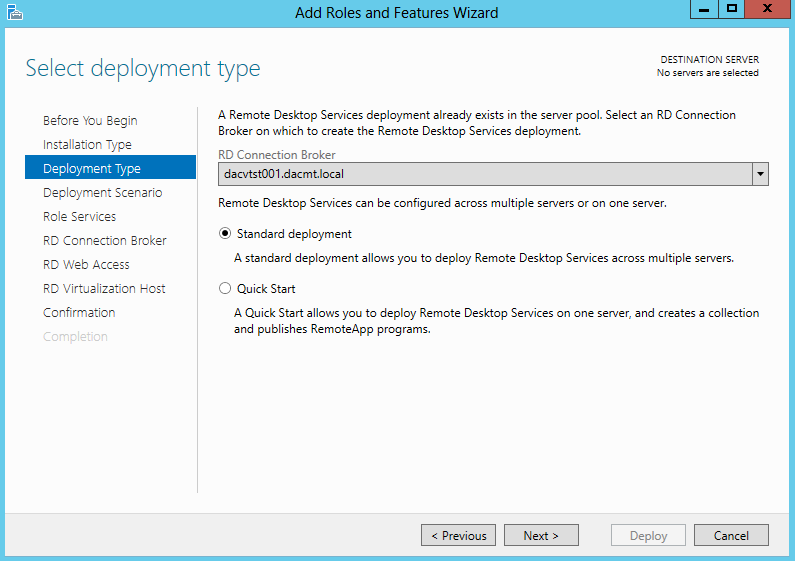
- Select Standard Deployment on the Select Deployment Type page
- Standard Deployment: Allows you to flexibly deploy the various Remote Desktop Services role services to different servers.
- Quick Start: Installs all the necessary Remote Desktop Services’ role services on one computer to let you install and configure in a test environment.
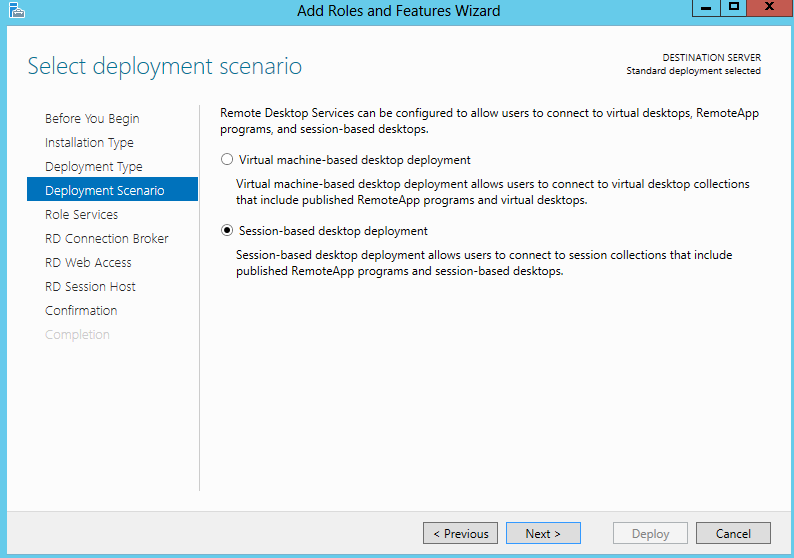
- On the Deployment Scenario Page, select Session based desktop deployment
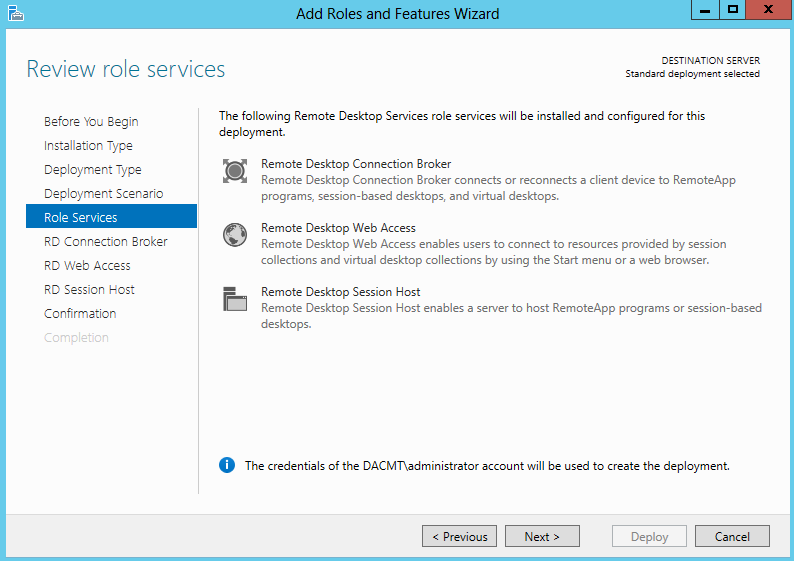
- Review Role Services
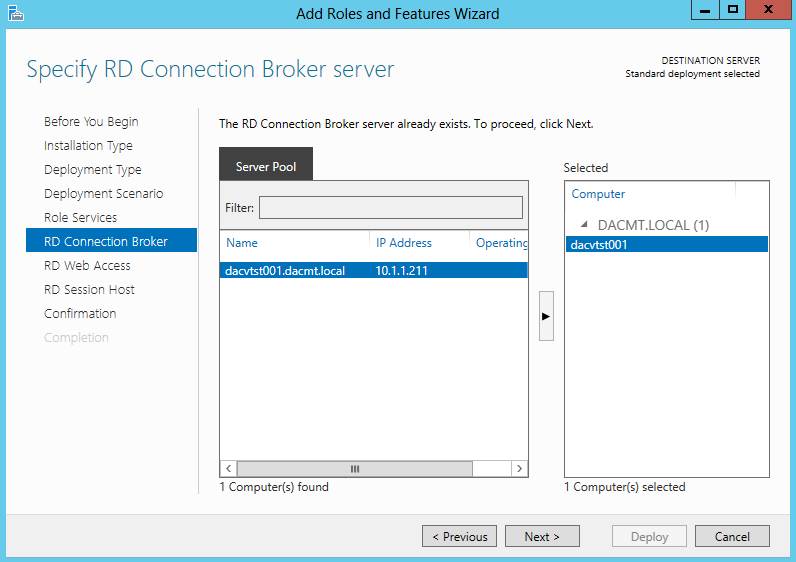
- Specify the RD Connection Broker Server
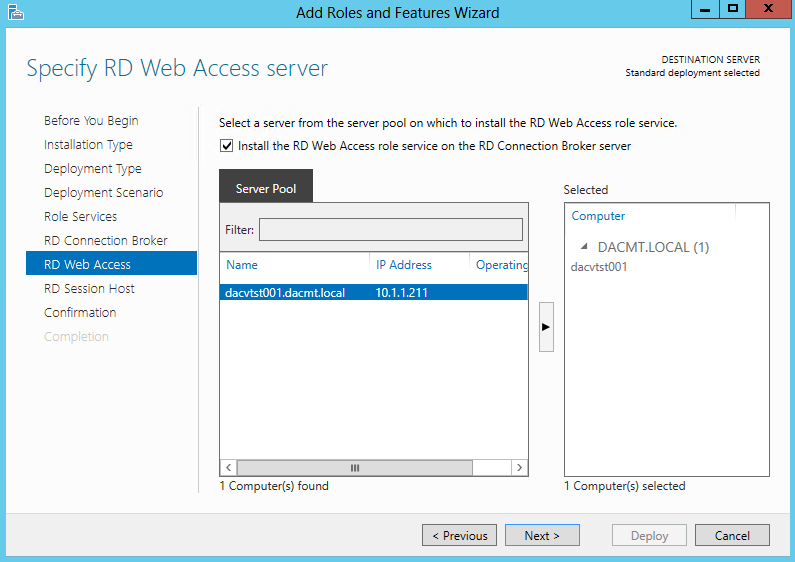
- Specify RD Web Access Server
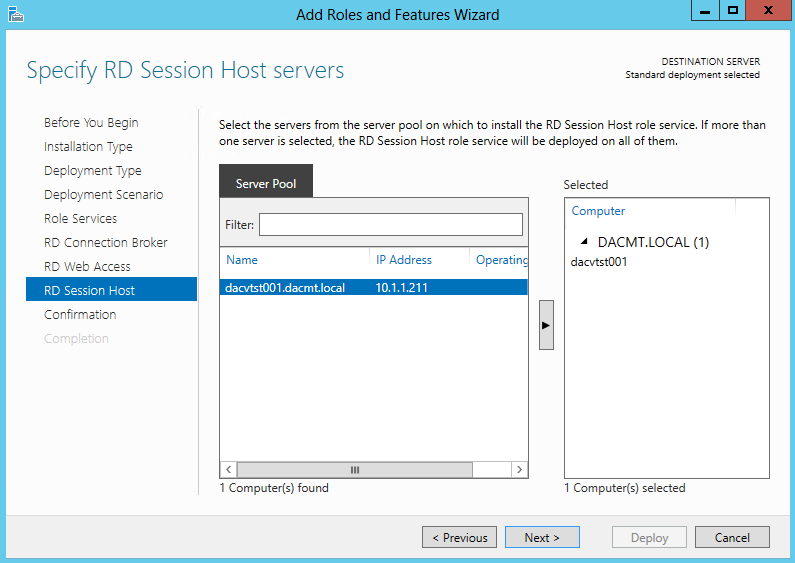
- Specify RD Session Host Servers
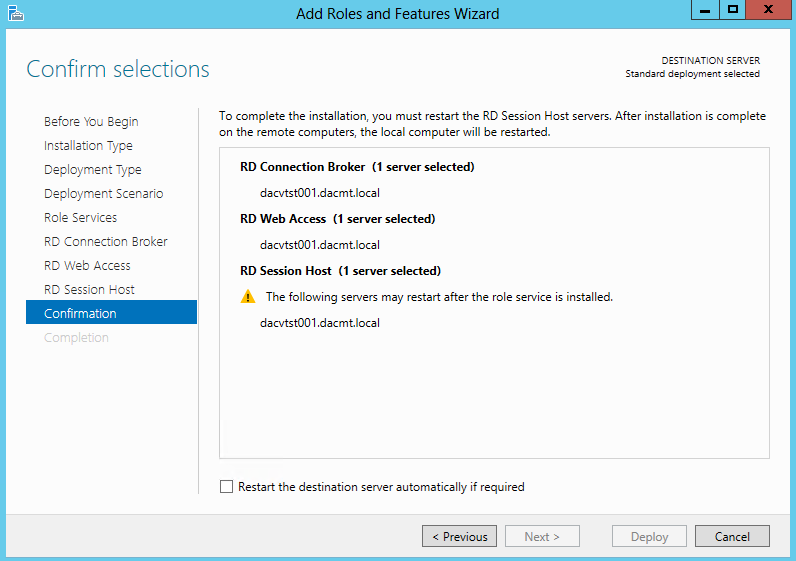
- Confirm Selections
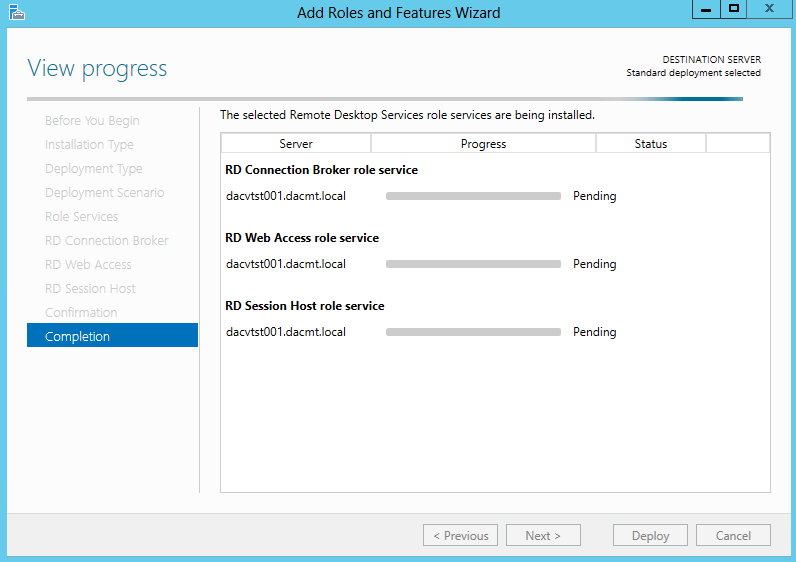
- View Progress and Computer/VM may restart
- Open Server Manager
- Click on Remote Desktop Services
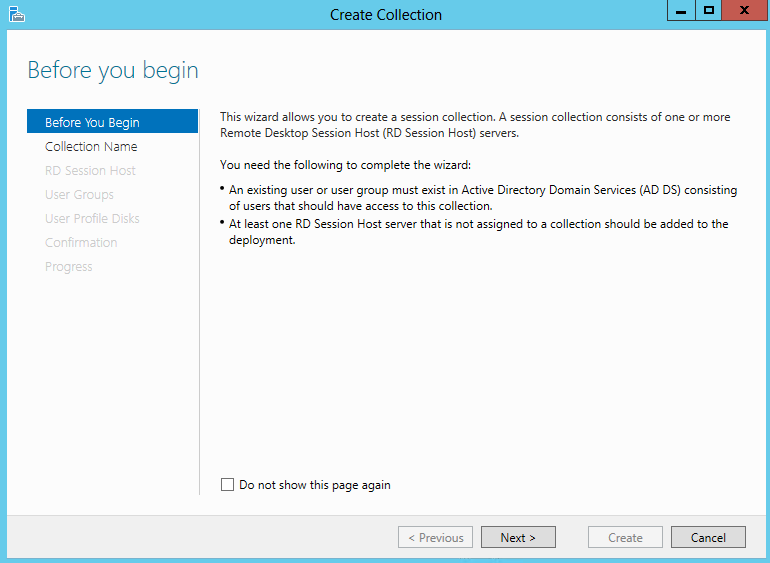
- Click on Create a Session Collection
- On the Before you begin page, click Next
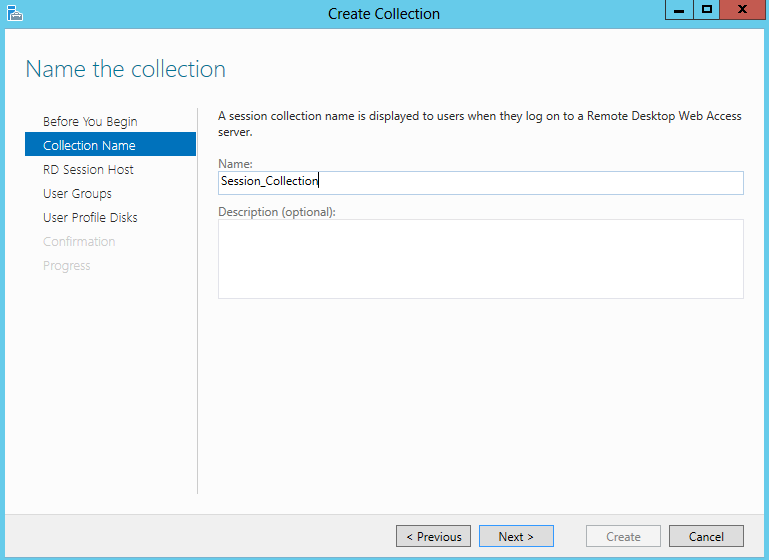
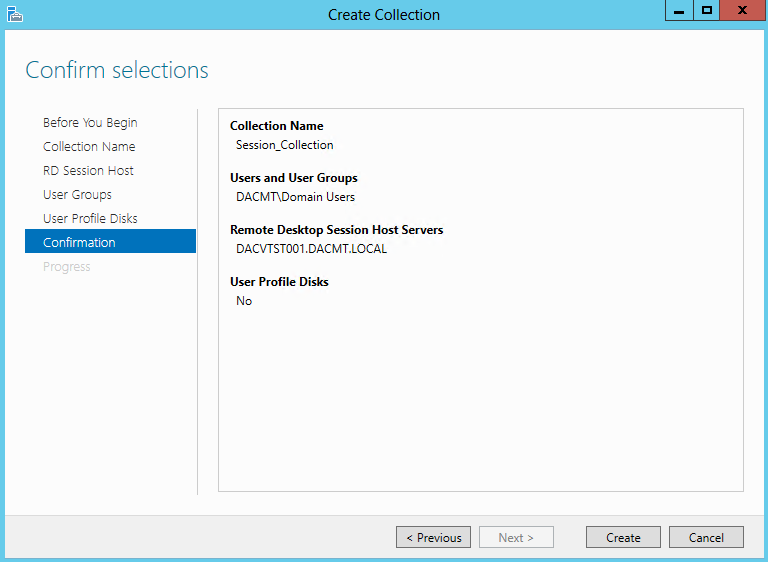
- Name your Session Collection
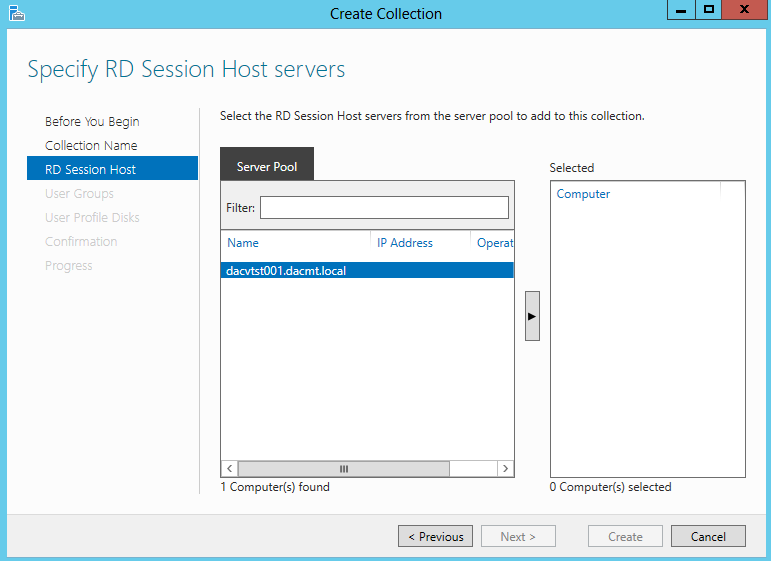
- Specify RD Session Host Servers. Click the arrow to add the server into the Selected box
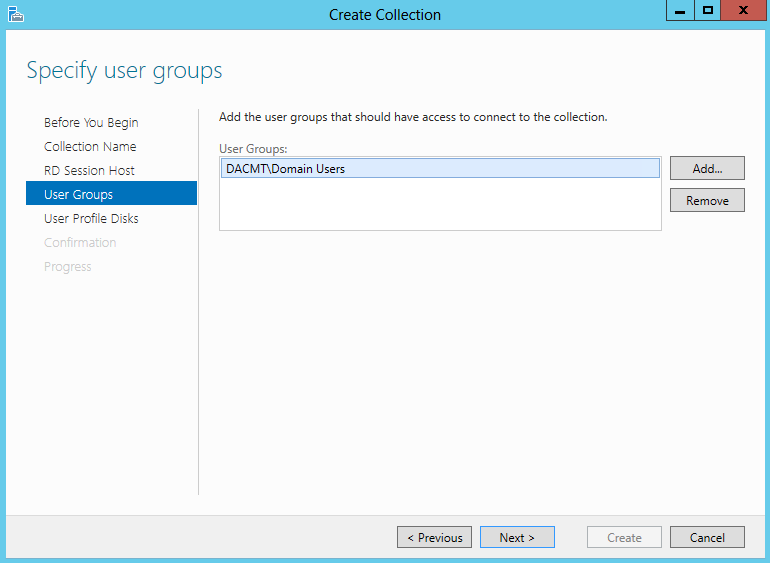
- Add the User Groups which will have access to the collection
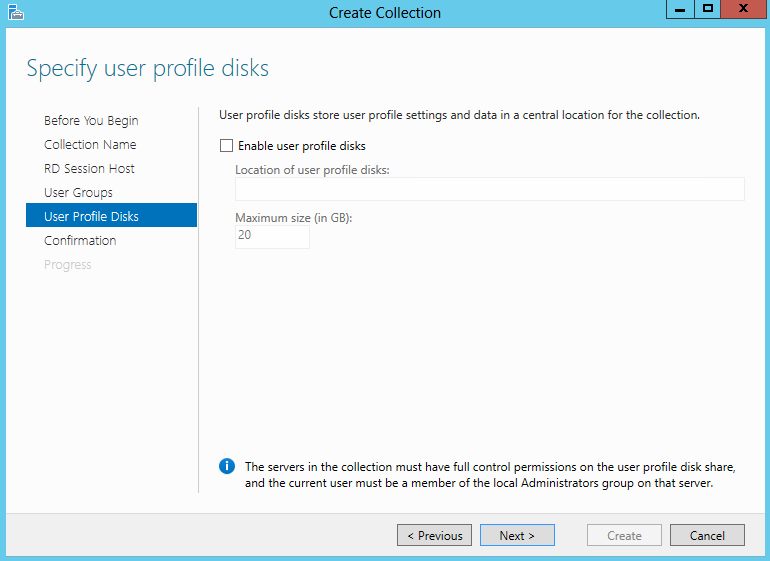
- On the Specify user profile disks page, clear the Enable user profile disks check box, and then click Next.
- Confirm Selections and click Create
- Check everything finished ok and click Close

- You can now ensure Session Virtualization standard deployment deployed successfully by connecting to the session collection that was created.
- If you plan on connecting to an RD Web Access server website from a server, you must turn off Internet Explorer Enhanced Security Configuration by using Server Manager.
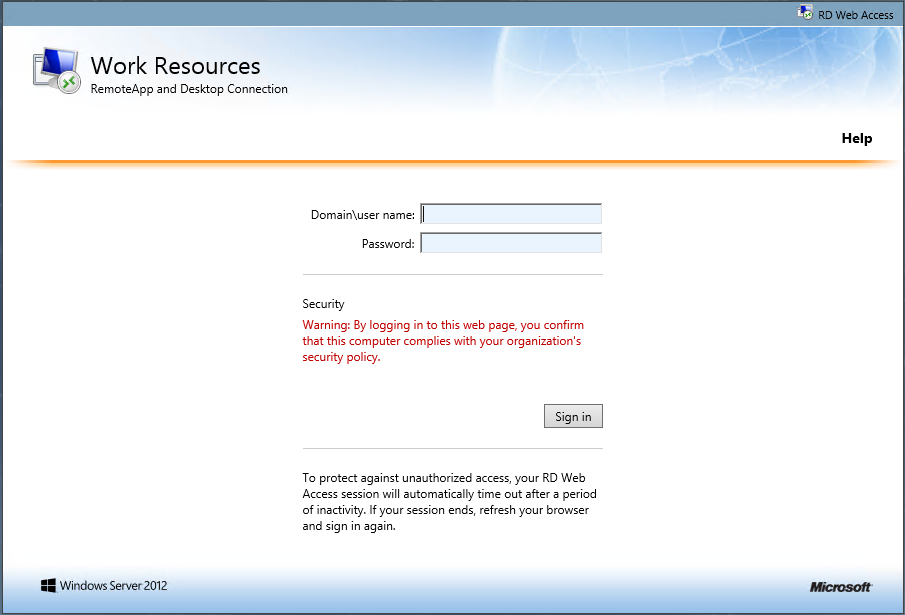
- To test that the Session Virtualization standard deployment deployed and the session collection was created successfully, you log on to the RD Web Access server on the RDWA1 computer and connect to a session in the SessionCollection session collection
- In the Internet Explorer address bar, type https://dacvtst001.dacmt.local/RDWeb and then press Enter.

- Click Continue to this website (not recommended
- It may come up with a prompt to install an add-on called Microsoft Remote Desktop Services Web Access Connection

- In the Domain/user name box, type Domain\Administrator. In my case DACMT\Administrator
- You should now see your Session Collection

- Click SessionCollection, and then click Connect. Click Open if you get the message below

- Verify that the session-based desktop appears correctly.
- Next we need to publish a Remote App Program
- Open Server Manager
- On the left side of the window, click Remote Desktop Services.
- Under Collections, click SessionCollection.
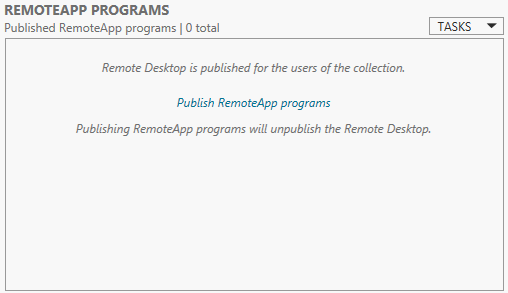
- In the REMOTEAPP PROGRAMS tile, click Tasks, and then click Publish RemoteApp Programs.
- On the Select RemoteApp Programs page, select Calculator and Wordpad, and then click Next.
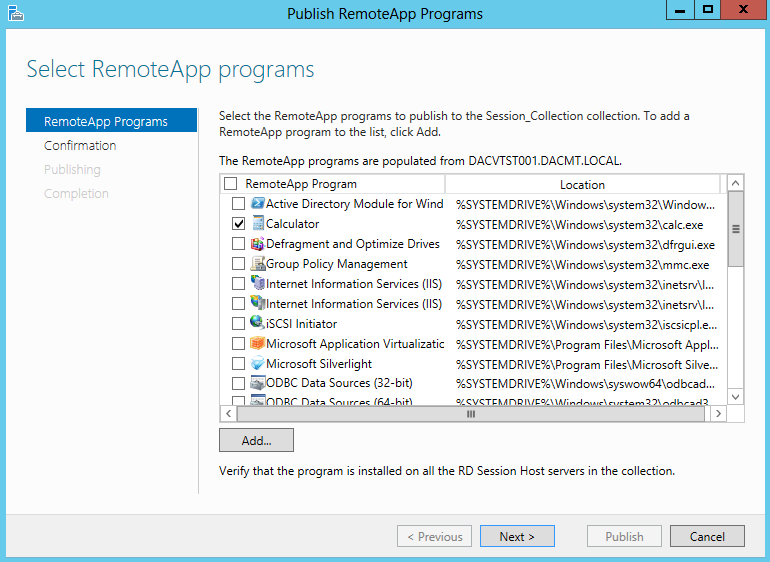
- On the Confirmation page, click Publish.
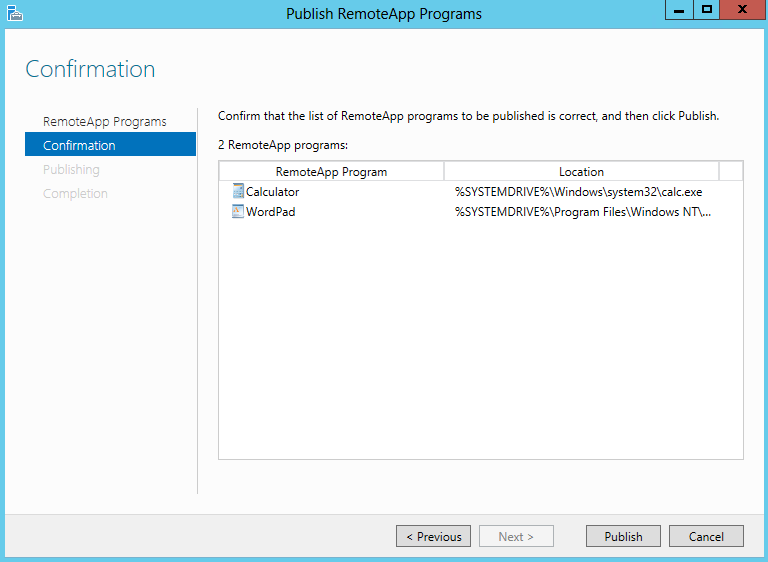
- When the RemoteApp program is published, click Close.
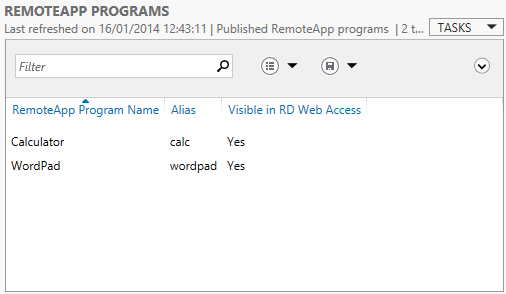
- You should now see the Apps as per below screenprint
- Next, Enable the default connection URL using Group Policy
- Log on to the domain controller as the Domain\Administrator user account.
- On the domain controller, open Group Policy Management. Click Start, type Group Policy Management, and then click Group Policy Management..
- Expand Forest: dacmt.local, and expand Domains, and then expand dacmt.local.
- Right-click Default Domain Policy, and then click Edit.
- Navigate to User Configuration -> Policies ->Administrative Templates -> Windows Components -> Remote Desktop Services -> RemoteApp and Desktop Connections.
- Double-click Specify Default Connection URL, and then click Enabled.
- In the Default Connection URL box, type https://dacvtst001.dacmt.local/RDWeb.
- Click OK
- Next we need to configure the file type association
- Log on to the Remote Desktp Session Host server as the Domain\Administrator user account.
- Server Manager will start automatically. If it does not automatically start, click Start, type servermanager.exe, and then click Server Manager.
- On the left side of the window, click Remote Desktop Services.
- Under Collections, click SessionCollection.
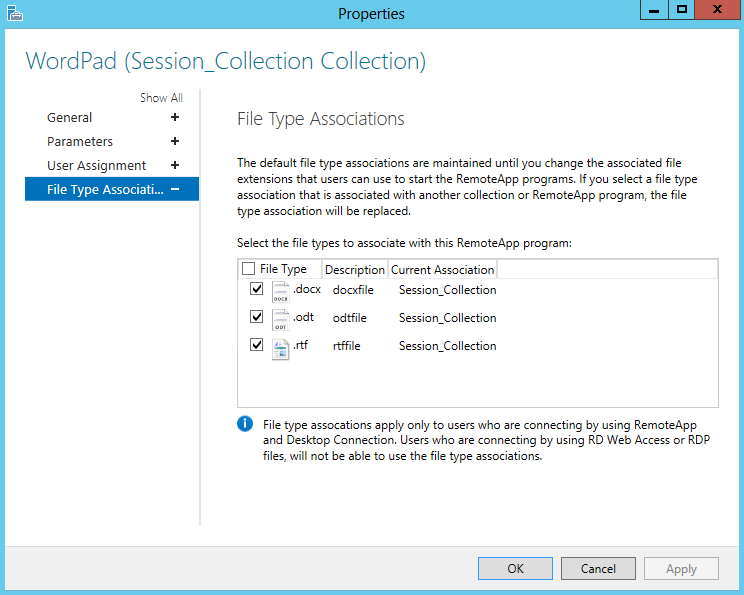
- Under the REMOTEAPP PROGAMS heading, right-click WordPad, and then click Edit Properties.
- Click File Type Association.
- Select the .docx, .odt, and .rtf
- Next Configure DNS Feed Lookup for RemoteApp and Desktop Connections.
- Log on to the domain controller as the Domain\Administrator user account.
- On the domain controller, open DNS Manager. Click Start, type DNS, and then click DNS.
- Right-click the forward lookup zone where you want to create the TXT record, and then click Other New Records.
- Click Text (TXT), and then click Create Record.
- In the Record name (use parent domain if left blank) box, type _msradc.
- In the Text box, type https://dacvtst001.dacmt.local/RDWeb/Feed
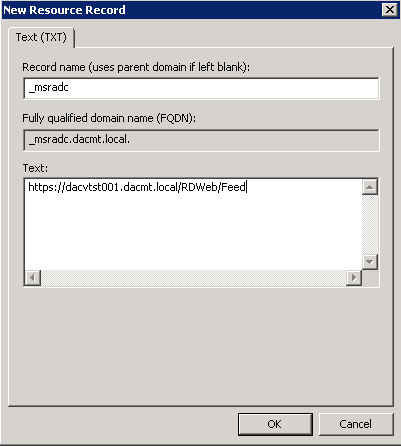
- Click OK
- Next Test Published RemoteApp Program using RD Web Access
- Log on to the your Windows 7 or Windows 8 computer as the Domain\Administrator user account.
- Open Internet Explorer. To open Internet Explorer, click Start, and then click Internet Explorer.
- In the Internet Explorer address bar, type https://dacvtst001.dacmt.local/RDWeb and then press Enter.
- Click Continue to this website (not recommended).
- In the Domain/user name box, type your username
- In the Password box, type the password for the CORP\Administrator user account, and then click Sign in. You should see the screen below
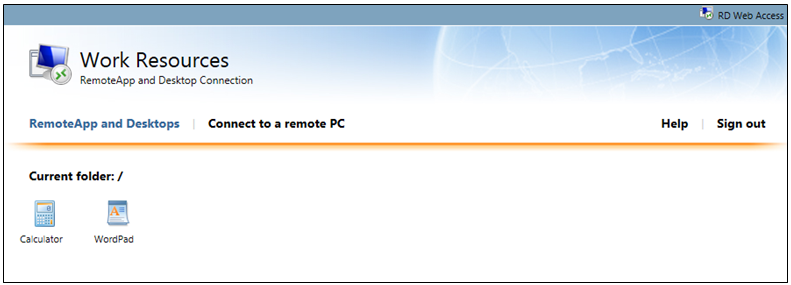
- Click WordPad, and then click Connect.
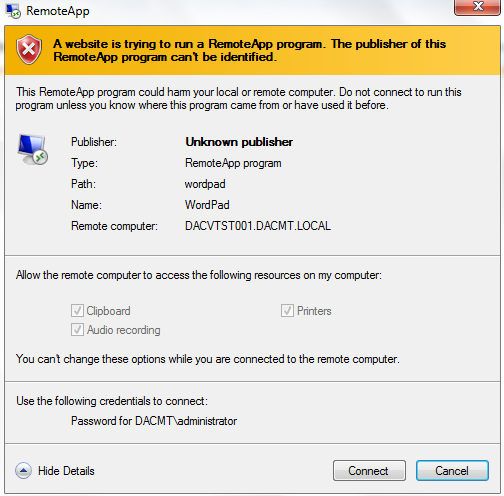
- Verify that the WordPad application appears correctly. and then press Enter.
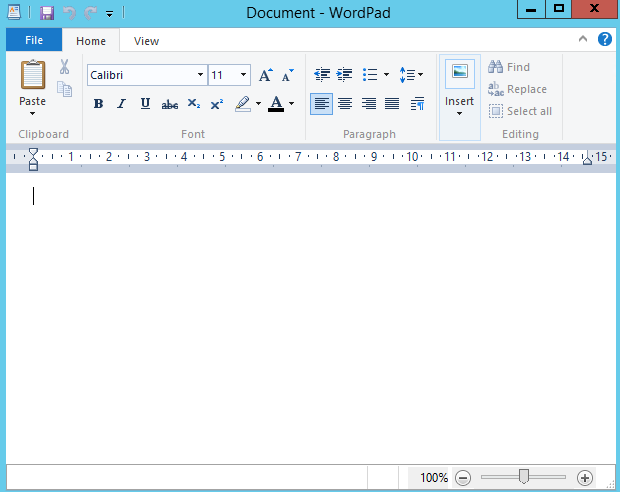
- Hurrah! It works 🙂 🙂 🙂

