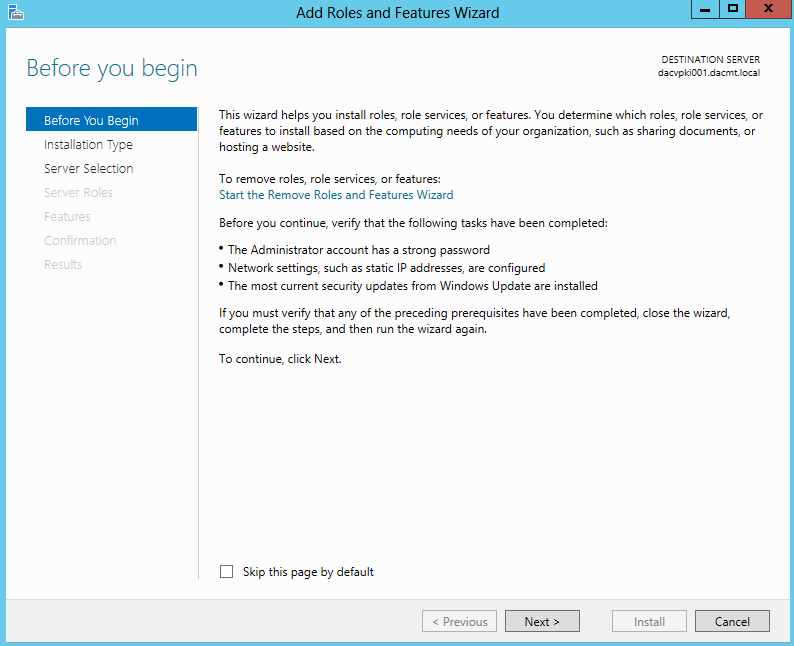
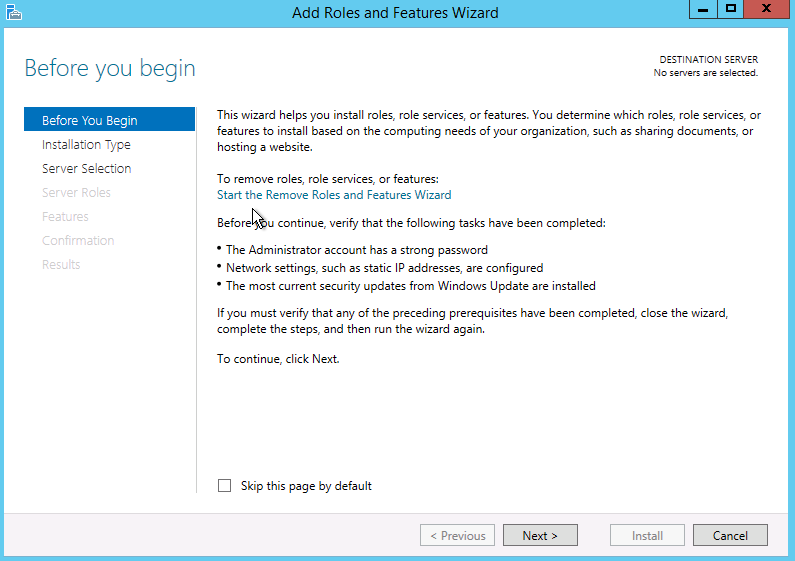
Instructions
- Log into your server
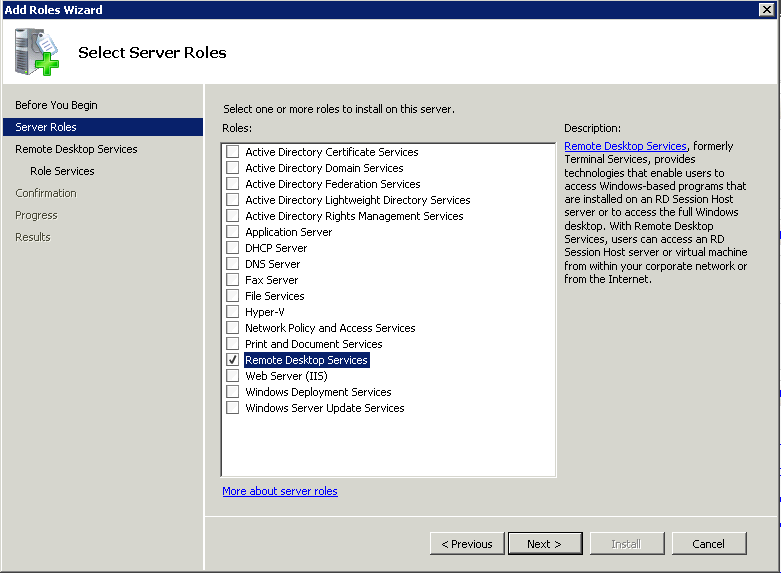
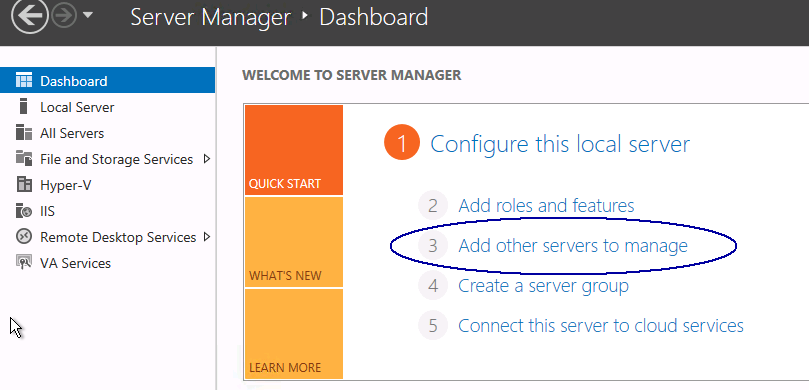
- Click on Dashboard and under Configure this local server, select Add roles and features
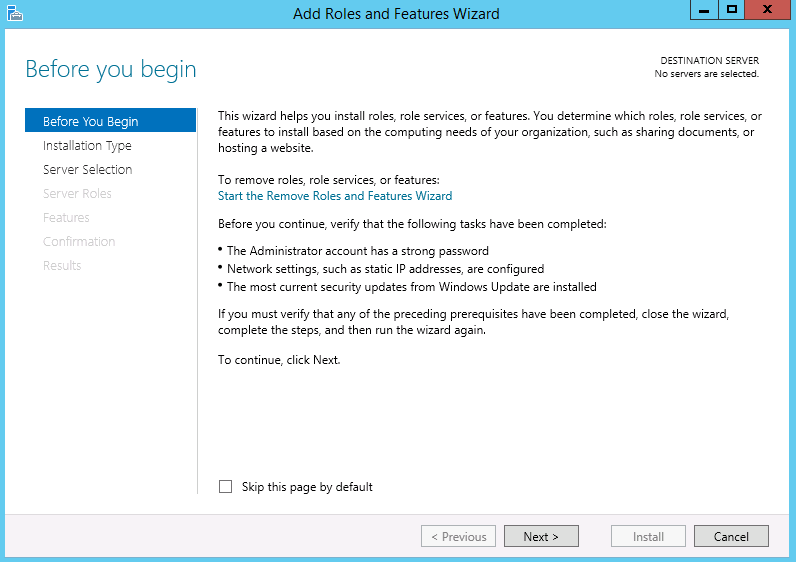
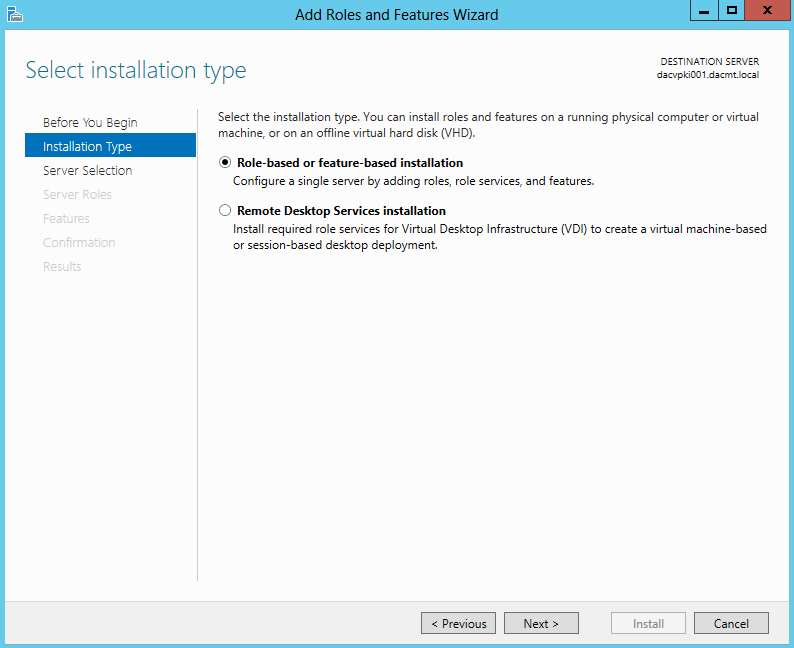
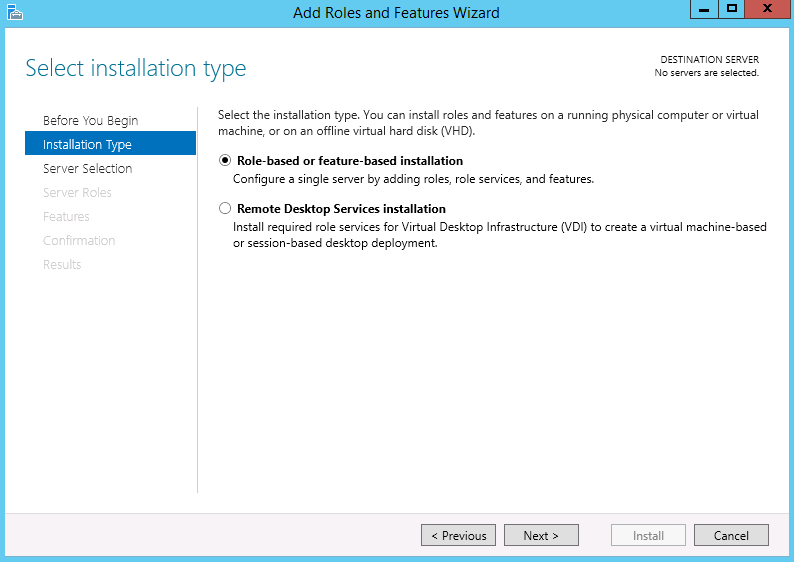
- Choose Role based or feature-based installation
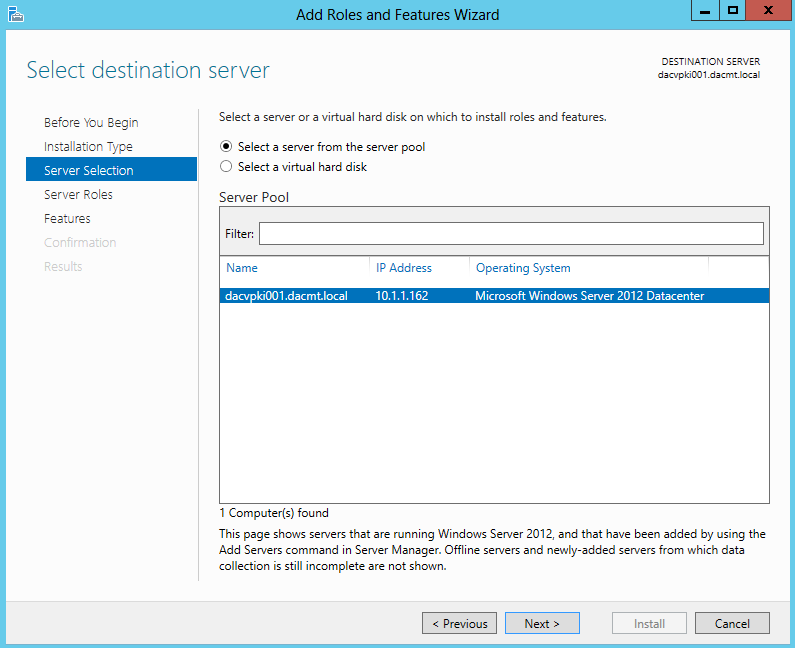
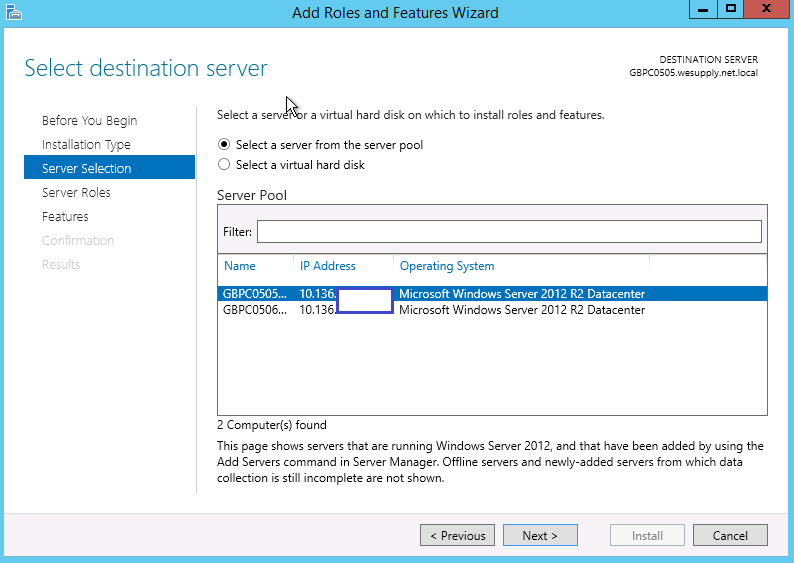
- Select the destination server for these roles
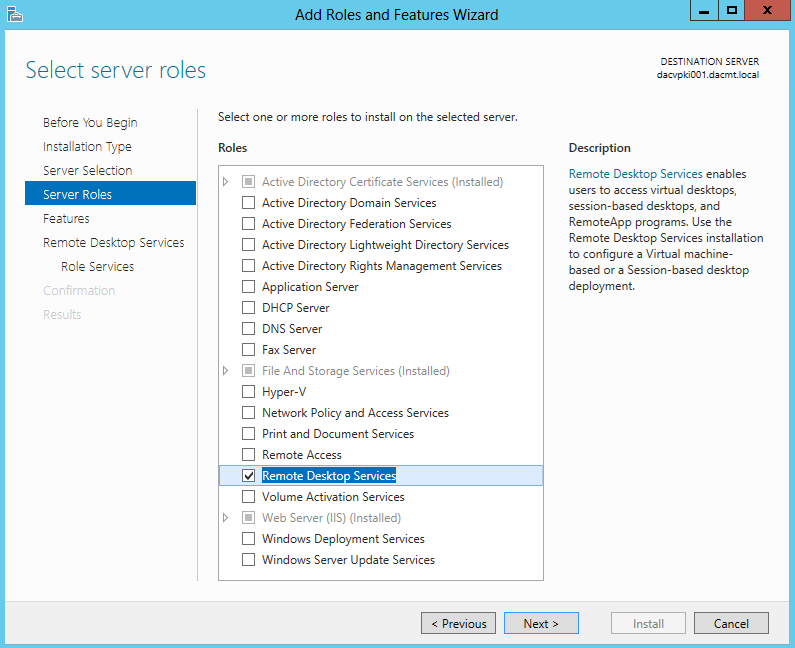
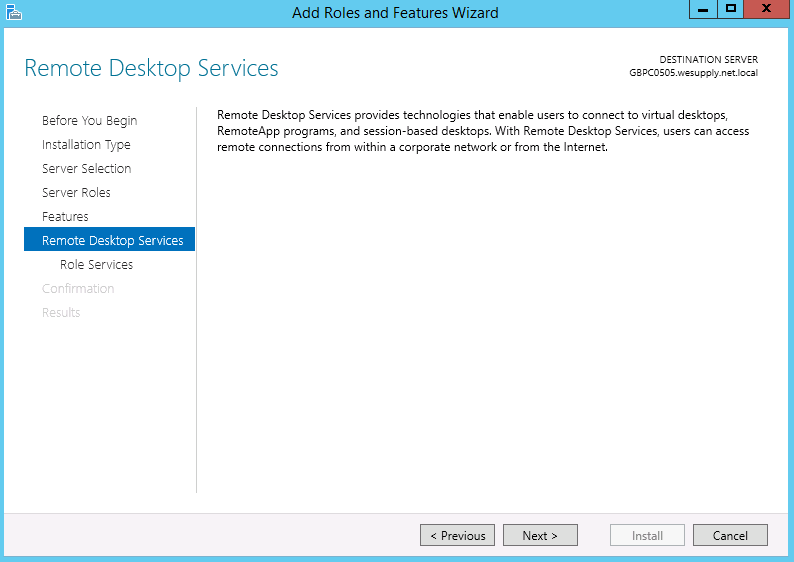
- Select Remote Desktop Services. Click Next

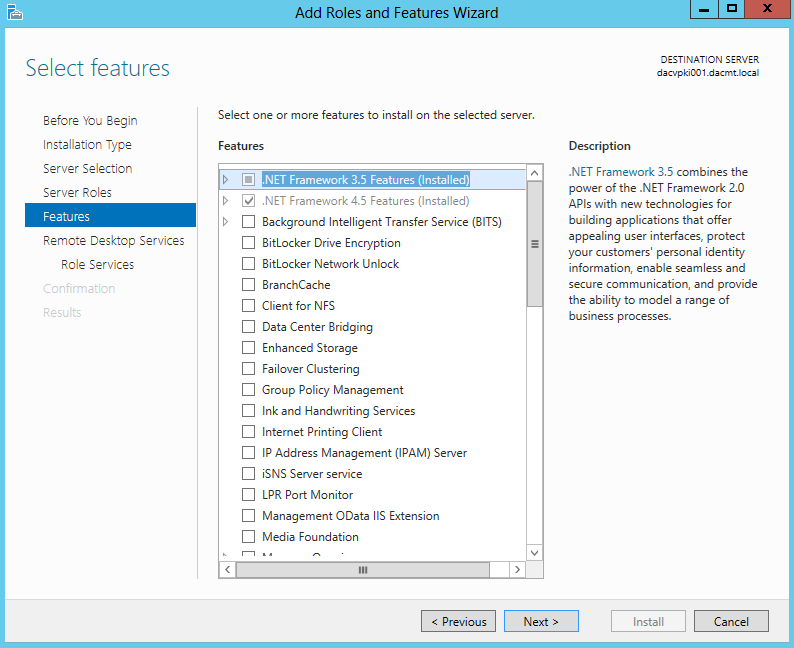
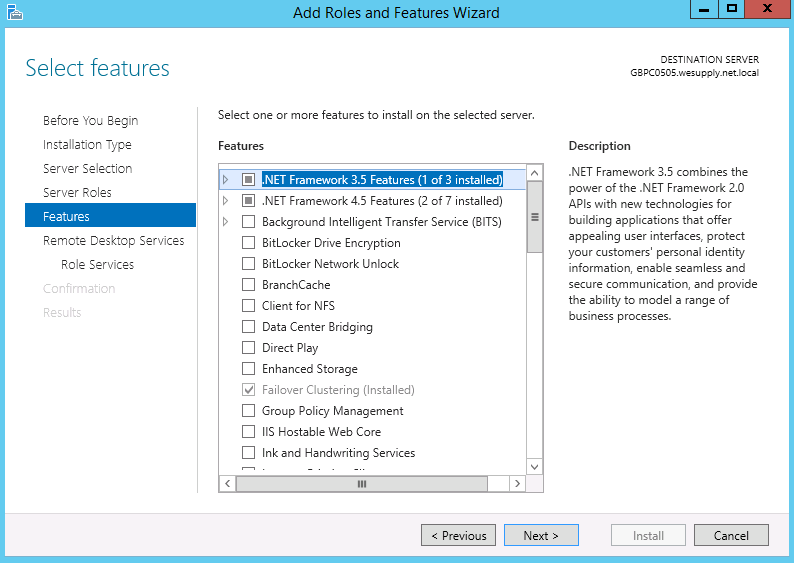
- Select any features as required
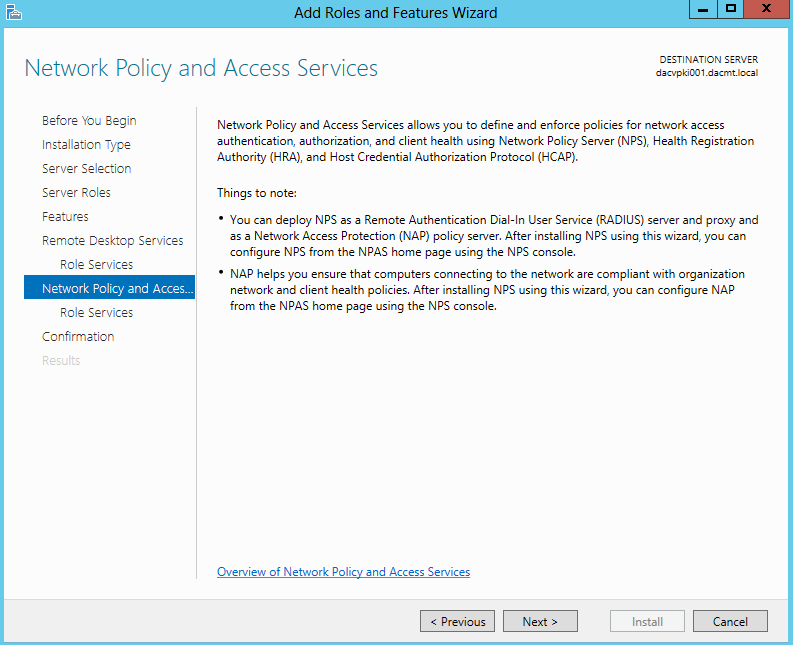
- Read the description and click Next
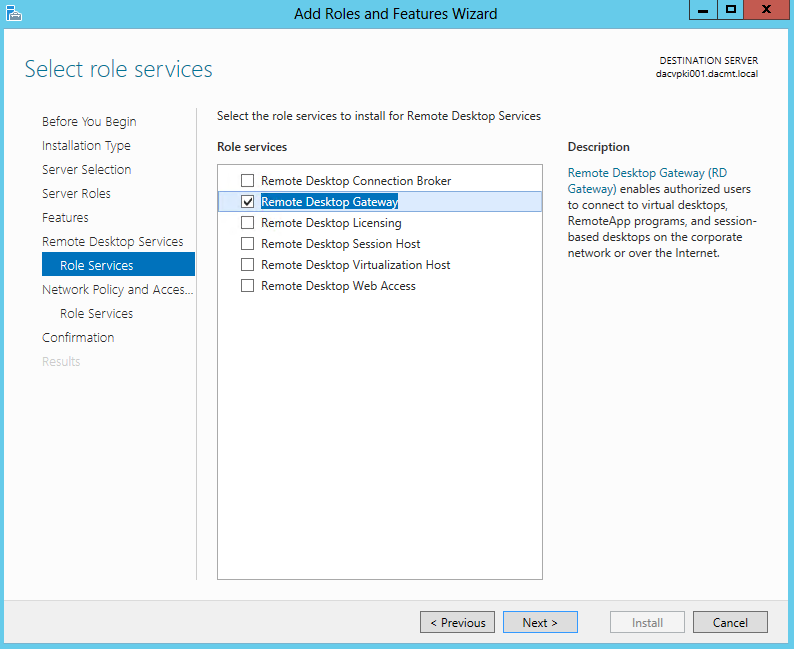
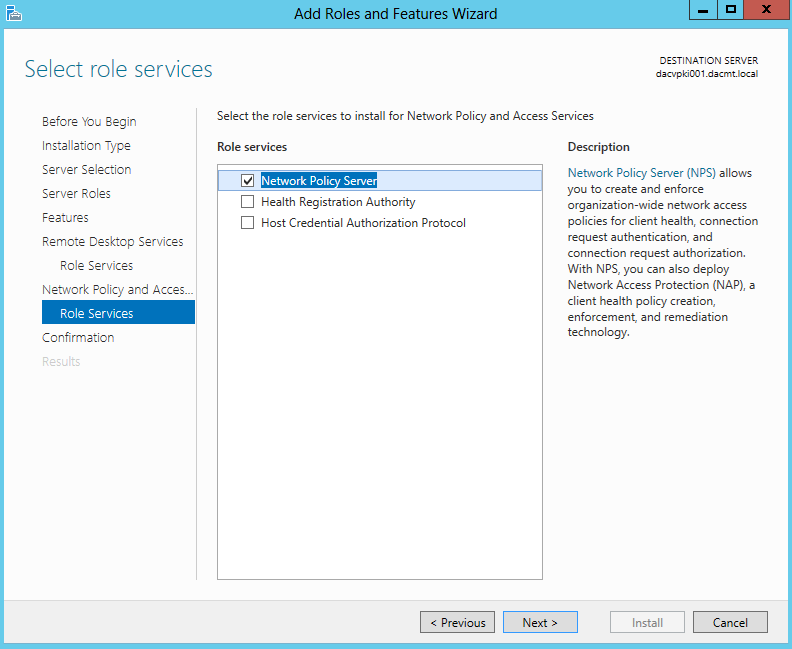
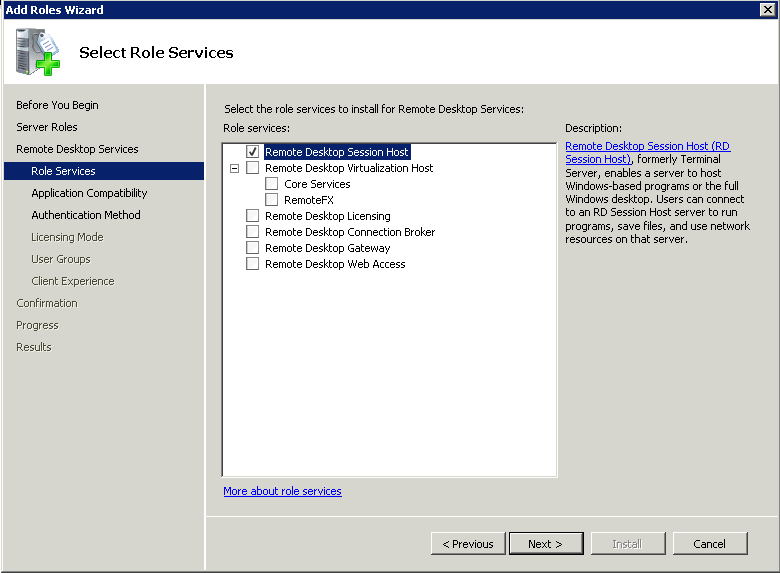
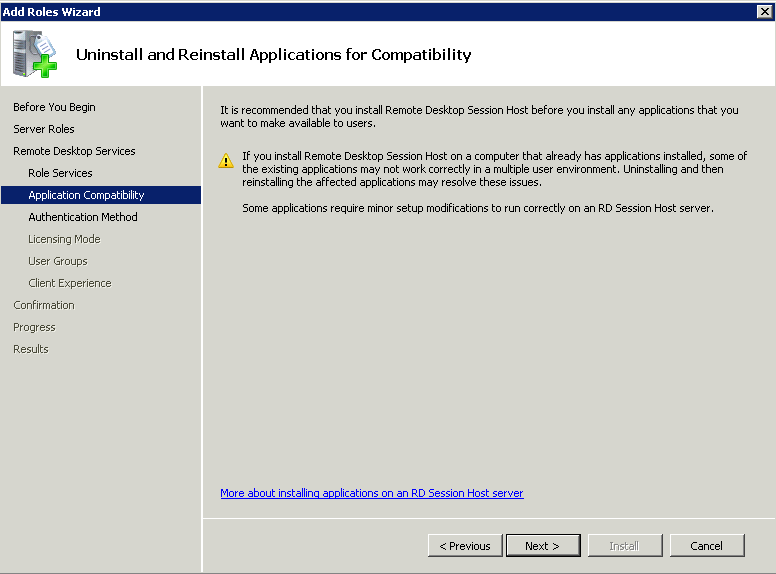
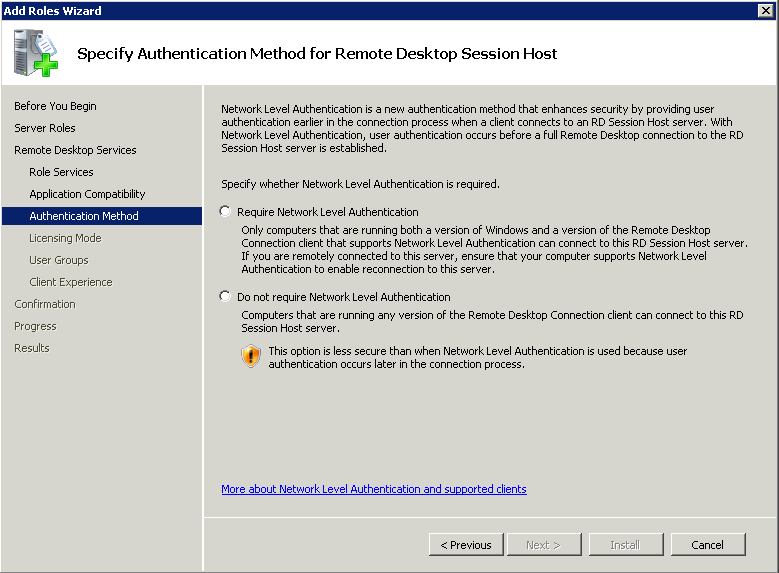
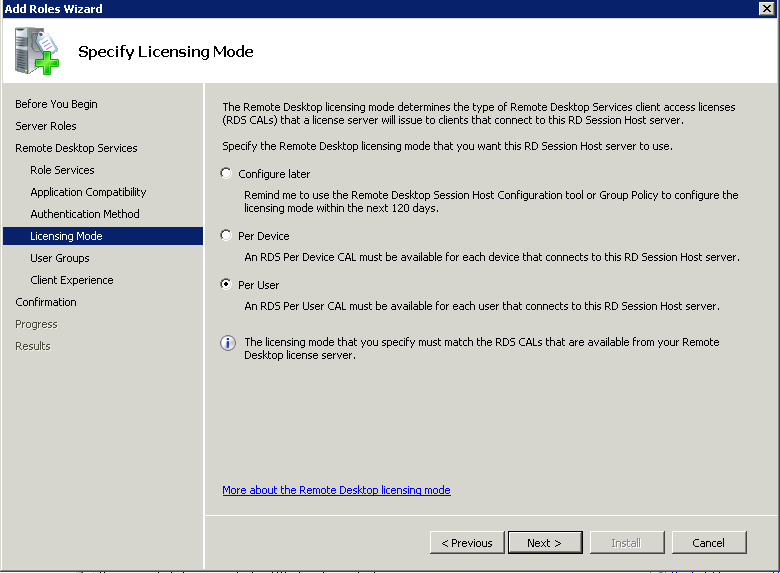
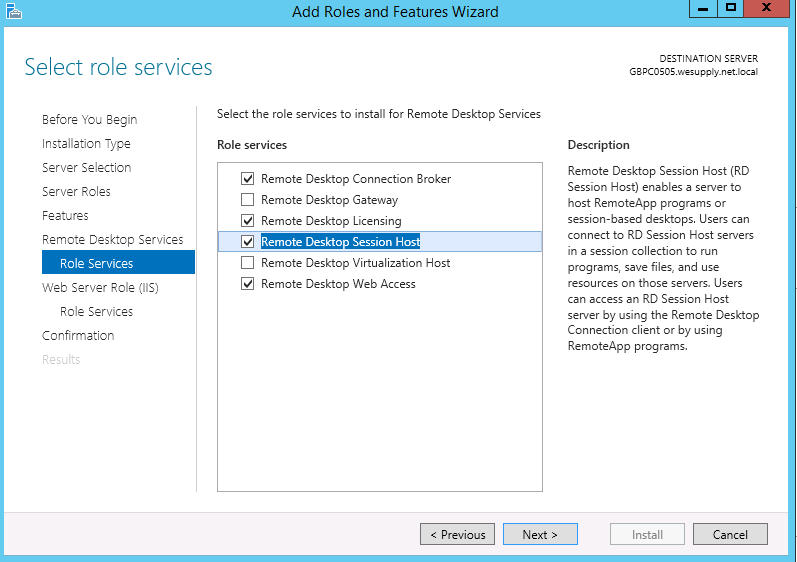
- Select Role Services
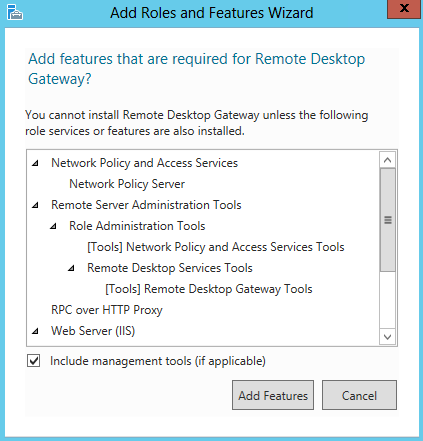
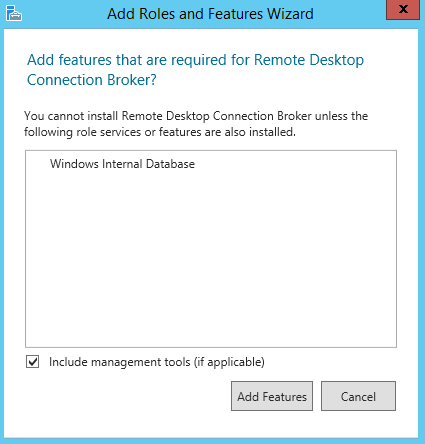
- If you choose the Connection Broker role, it will prompt you to install Windows Internal Database
- Choose the RDS Services you need. Note. I am installing 4 roles today
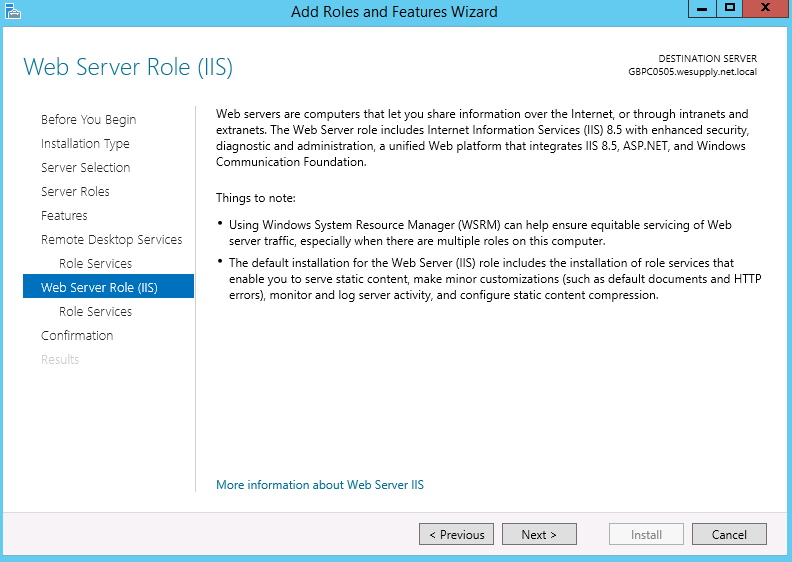
- You will see a Web Server (IIS) page. Click Next
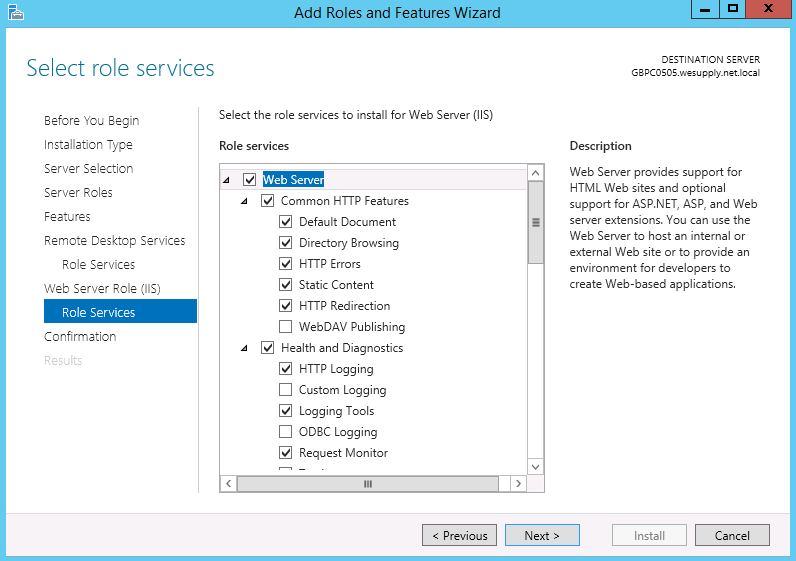
- Select Role Services. This shows the IIS role services. Leave as they are for now.
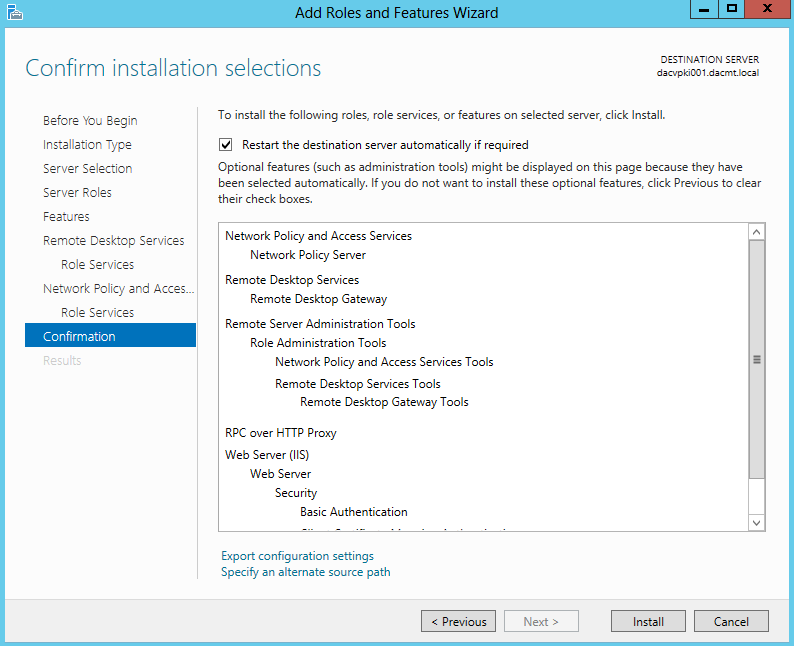
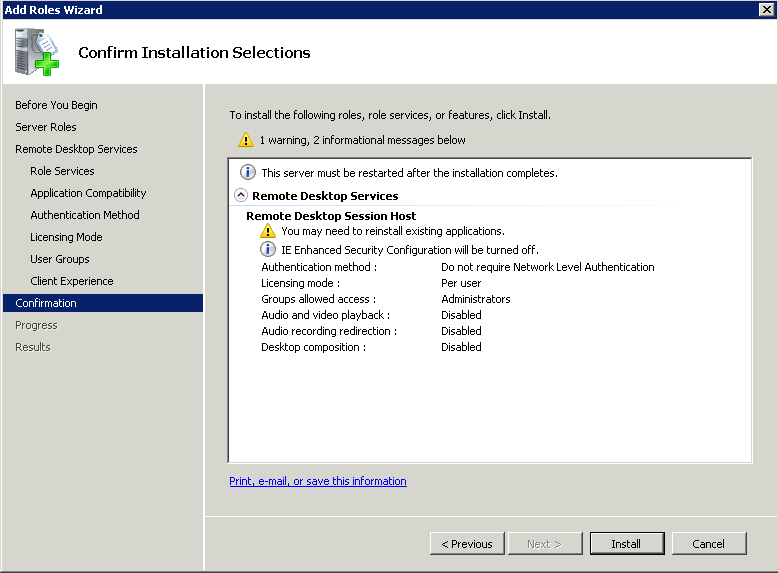
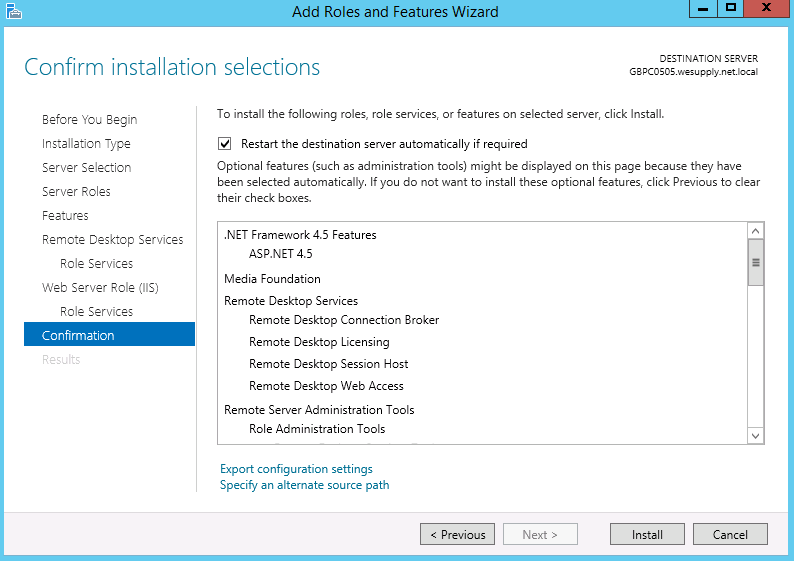
- Check the Confirm Installation Selections Page. I would tick Restart the destination server automatically if required.
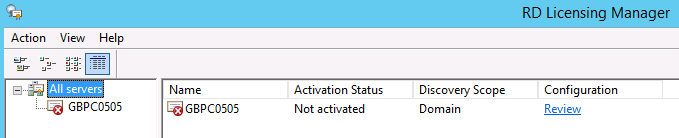
- To Activate the Licensing Server, Go to Tools > Terminal Services and Launch Remote Desktop Licensing Manager.
- You will see it is not activated
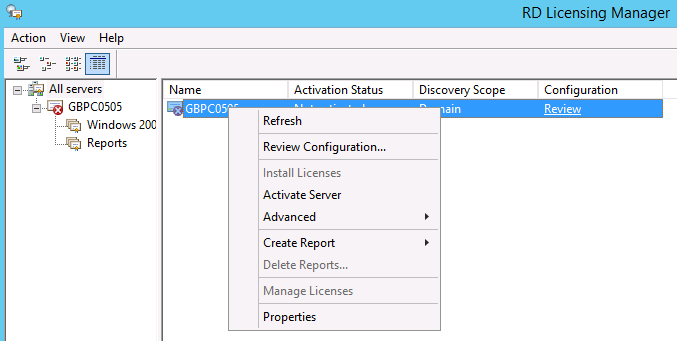
- Right click on the server and select Activate Server
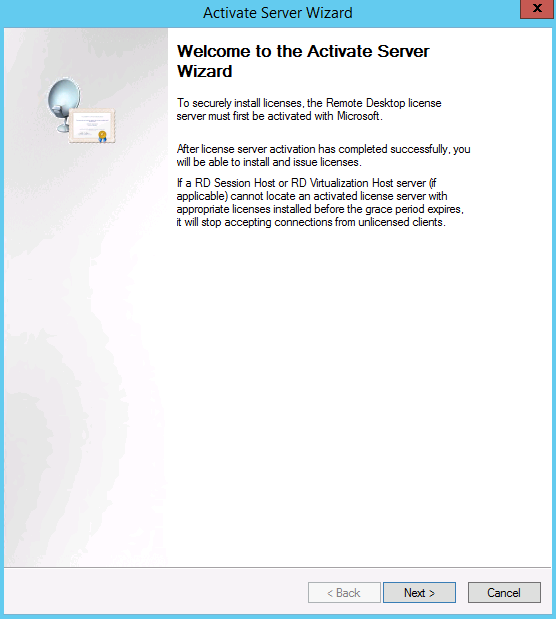
- This will bring up the Welcome to the Activate Server Wizard
- You will now see the Connection Method screen
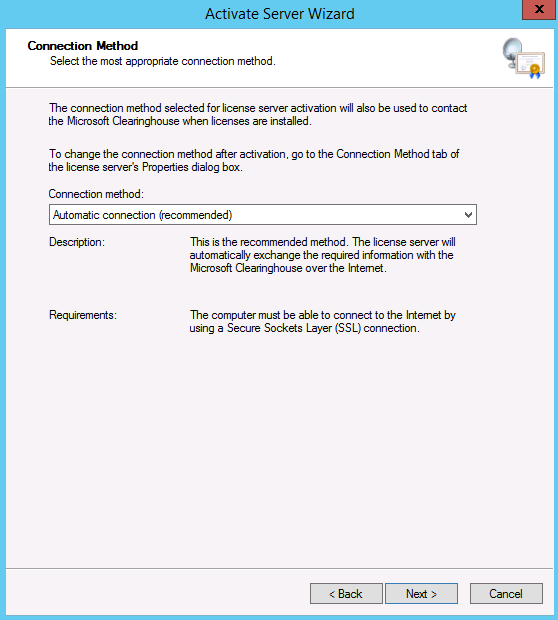
- You will need to fill in your company information followed by some optional information. When you have done this click Next. It should then activate your server and ask you if you want to install Licenses
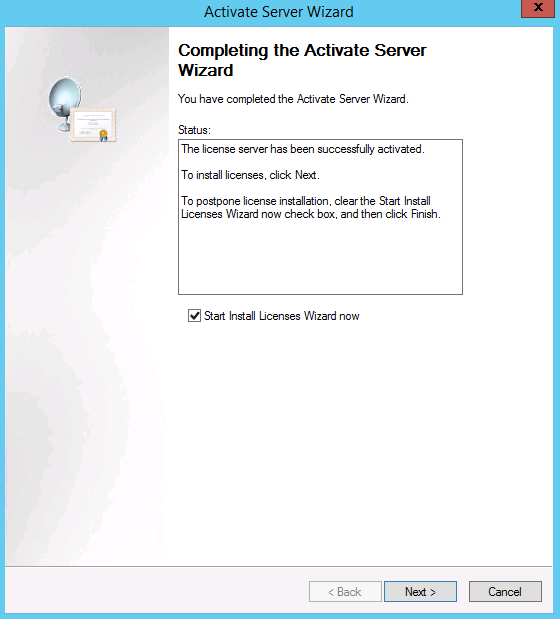
- You will now see the Welcome to the Install Licenses Wizard
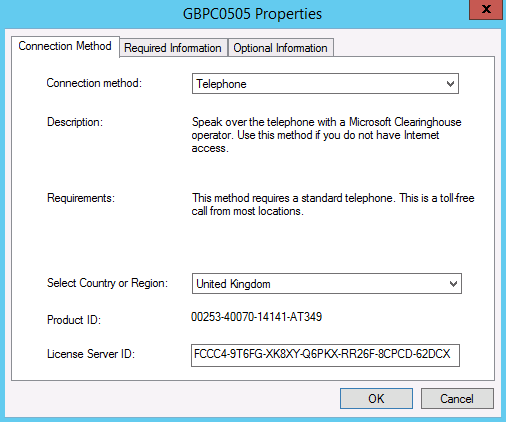
- Note you can go try to go through this as we did but it didn’t work with web enrolment. It may work with your setup
- We had to go back to the Licensing manager and right click on the server > select properties and then change the connection method to Telephone and activate our TS User CALs this way.
- We the used the below link to call Microsoft to activate our licenses who then gave us back a product key to put in the Install Licenses wizard.

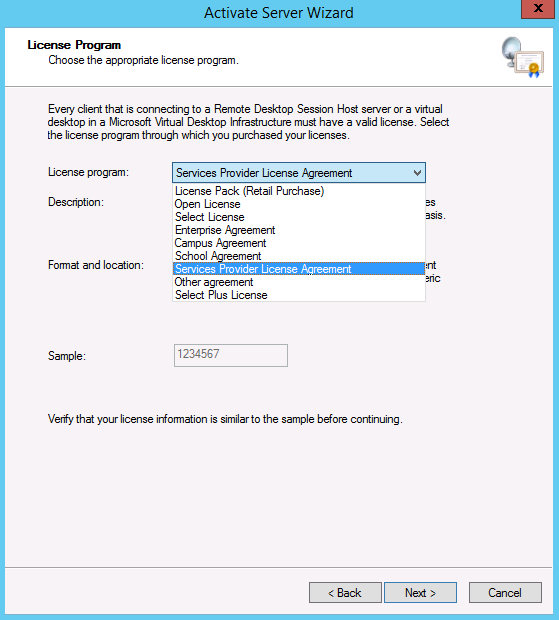
- You will now see the License Program Page
- Select your License Program. In our case it is Service Provider License Agreement
- Depending on what option you select you will require enrollment numbers or agreement numbers etc
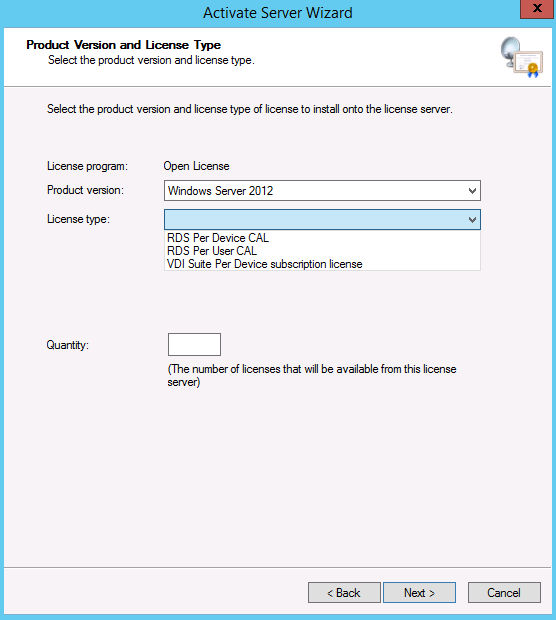
- Choose your O/S
- Choose whether it is Per Device/Per User or VDI Suite.
- In our case it was 20 Per User Licenses
- Click Next and you will see
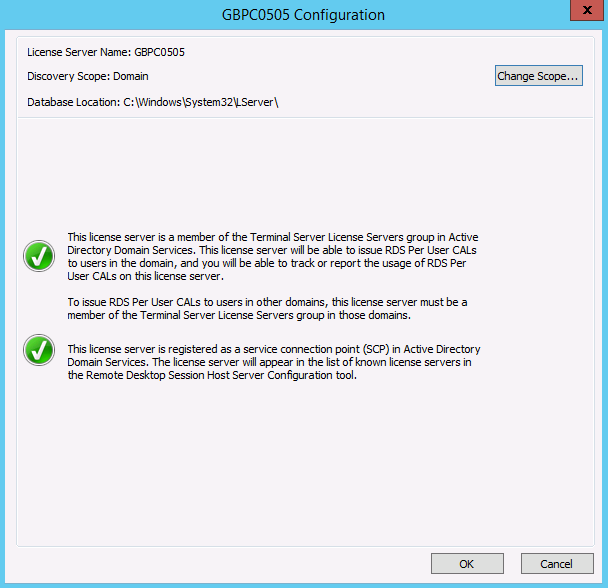
- Now go back to your RD Licensing Manager screen and click on Review.
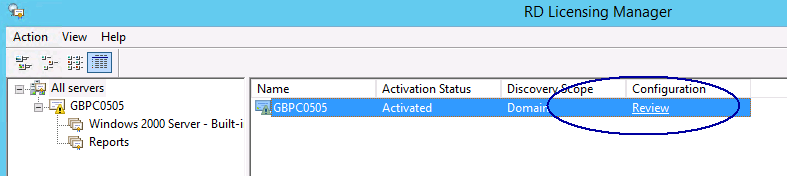
- You will see this page
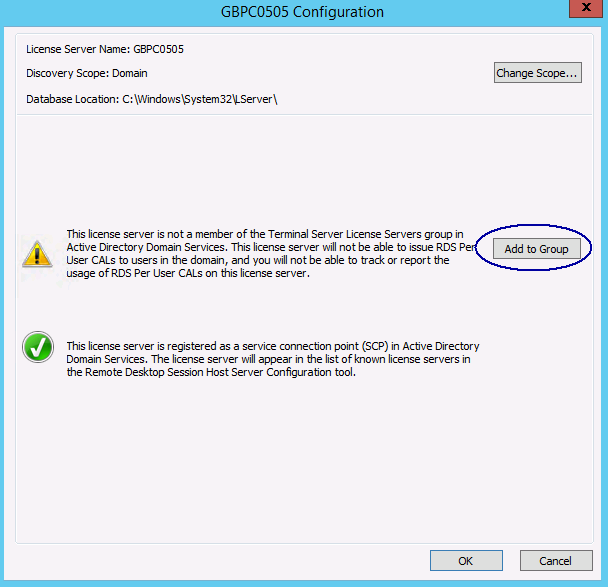
- You need to be a Domain Admin to add the license server to the Terminal Servers group in AD
- Note at this point if you haven’t managed to activate your user CALs then this the point I mentioned earlier about going to the properties of the server and selecting telephone, phoning Microsoft and getting a key from them to put in the Install Licensing Wizard
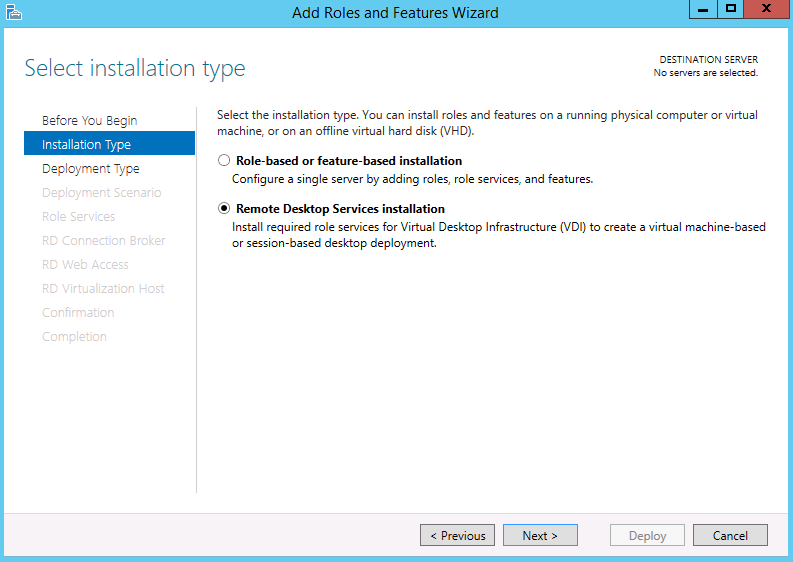
- Next go back to your 2012 Dashboard and select Add Roles and Features
- Choose Remote Desktop Services Installation
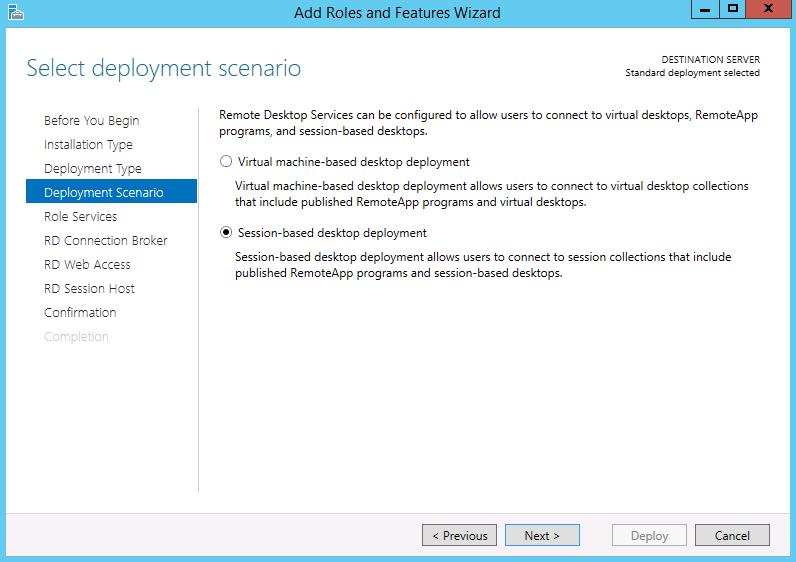
- You will now be on the Select Deployment Type page. Select your broker server and choose Standard Deployment

- On the Select Deployment Scenario choose Session-based desktop deployment
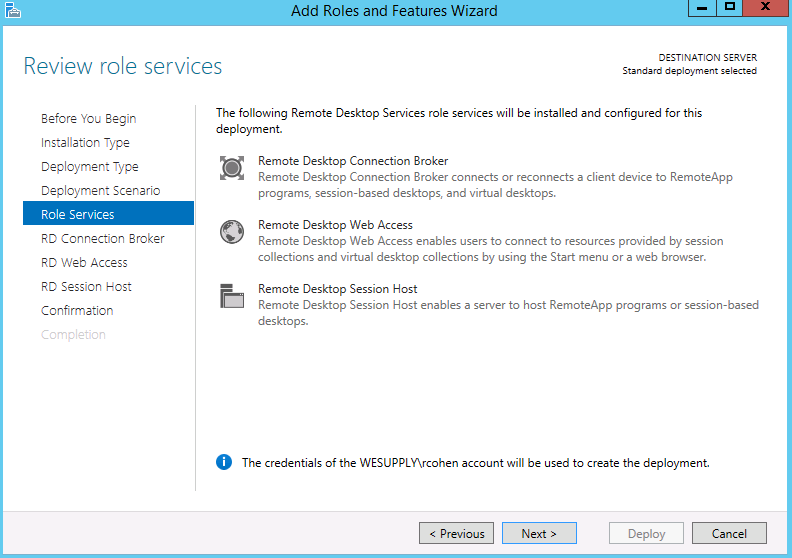
- You will find that the roles we previously installed will come up here
- Click Next
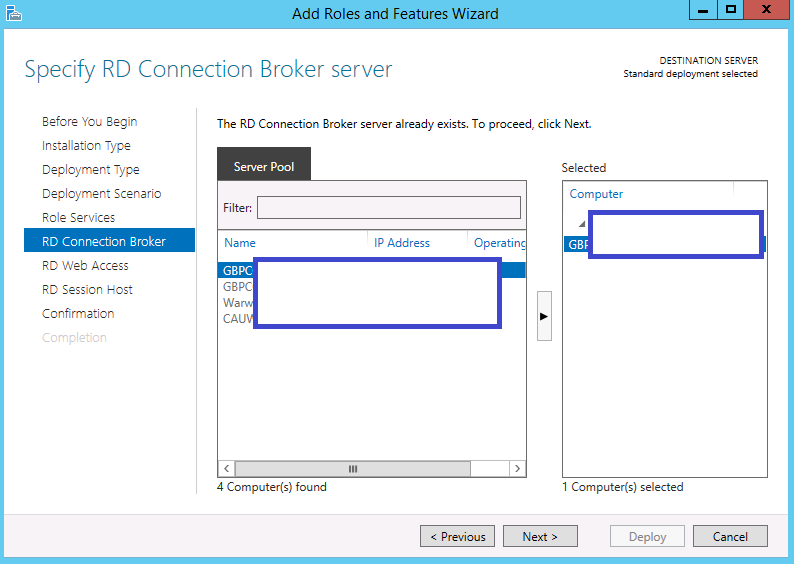
- It will say the RD Connection Broker Server already exists
- Click Next
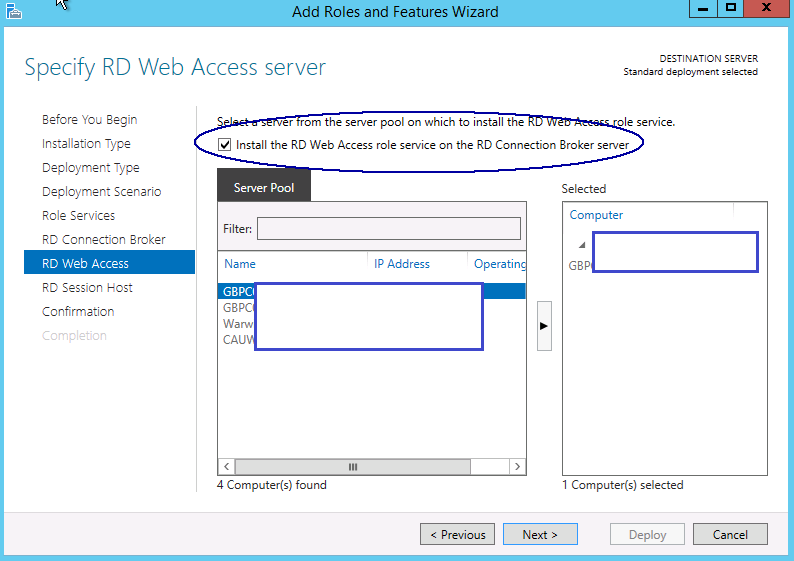
- On the Specify RD Web Access Server, put a tick in the box which says “Install the RD Web Access role service on the RD Connection Broker server
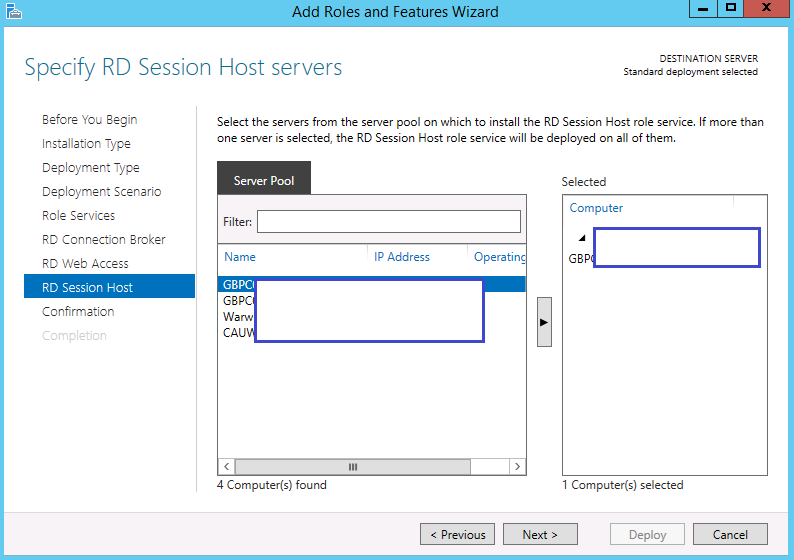
- On the Specify RD Session Host servers, select the machine you want the RDS Session host role to be on
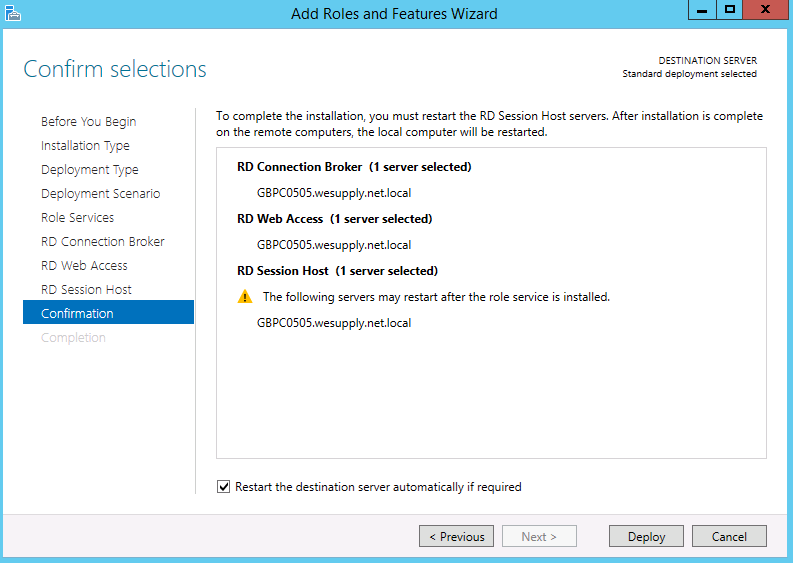
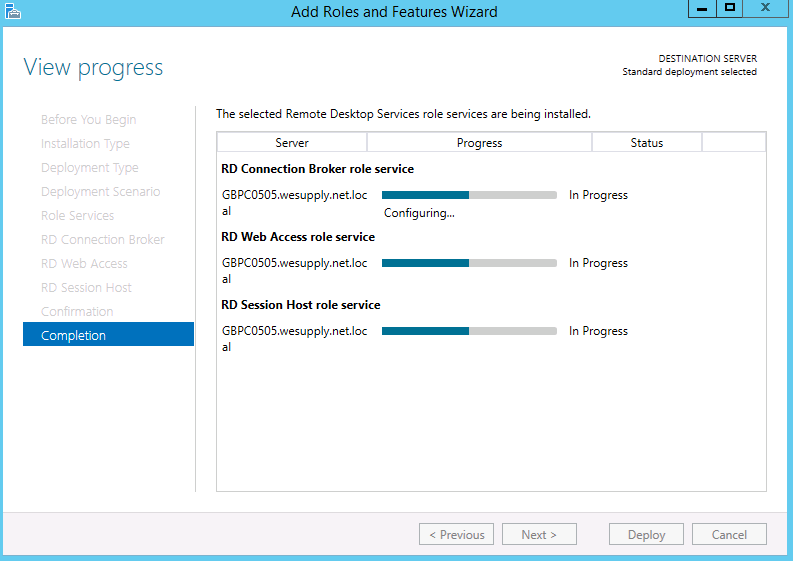
- Check the Confirm Selections and tick to Restart the destination server automatically if required followed by clicking on Deploy
- It should start to install
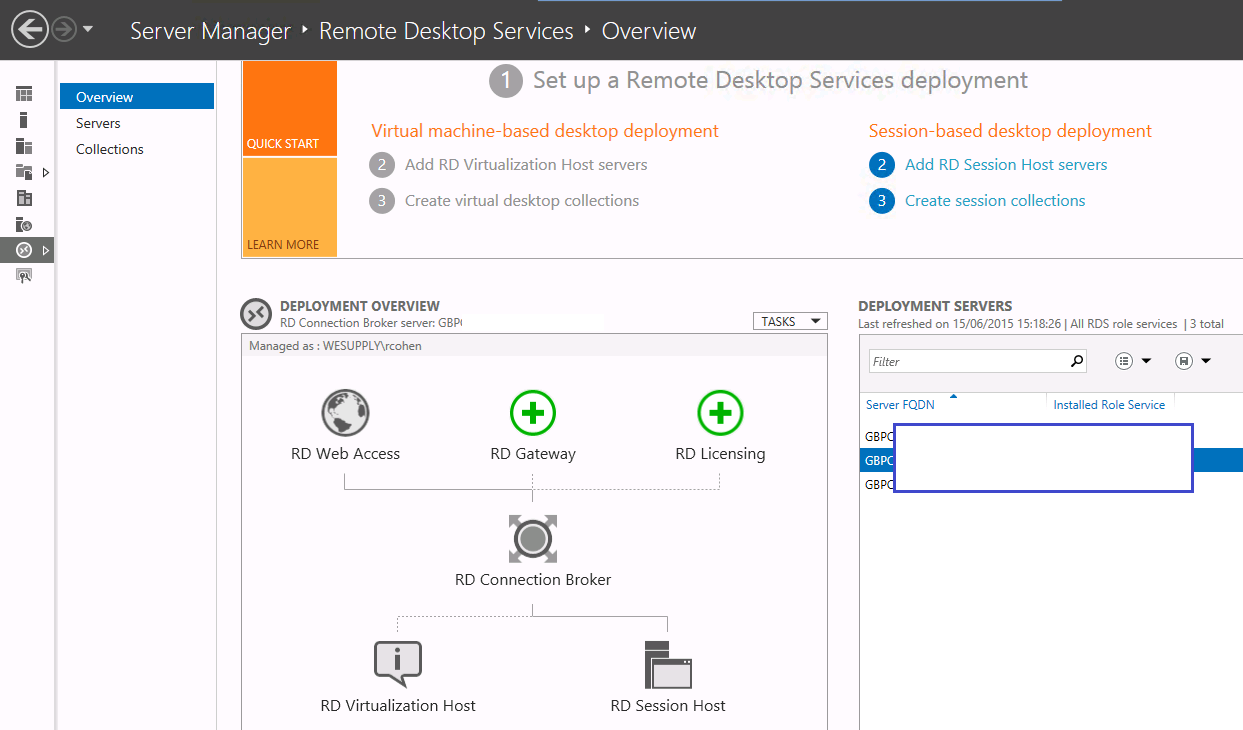
- Once the RDS Roles are installed, we see the graphical description of our environment, the roles installed on each of the servers and the FQDN names of each server on the Overview page
- In case you are trying to find the tools that used to be available on a server running the RD Session Host….You can stop looking. The tools Remote Desktop Session Host Configuration and Remote App Manager have been removed from the RD Session Host role in Windows Server 2012. Instead, most of the settings can now be configured using the new Server Manager console, or using the new PowerShell module RemoteDeskop. For other settings, you can still use GPO’s.
- Next, we will configure the Session Host
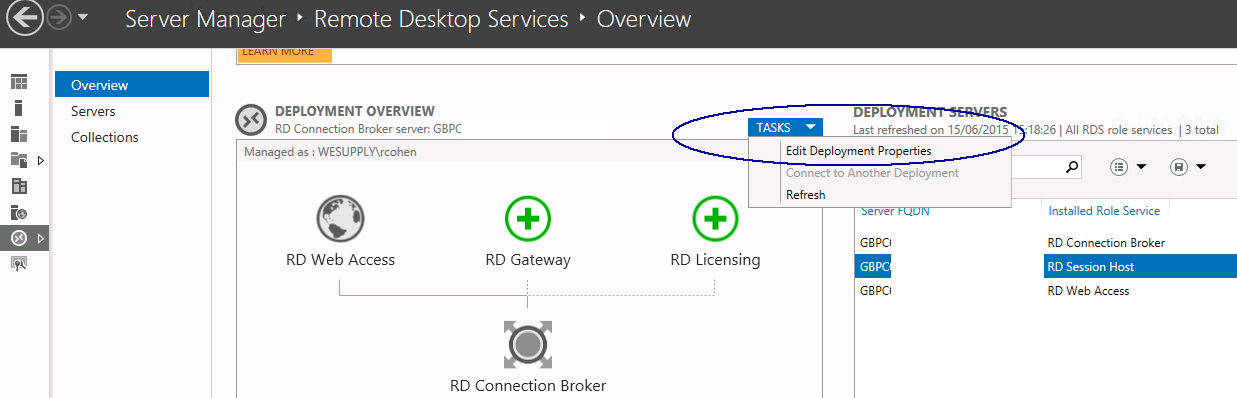
- Go to Server Manager > Remote Desktop Services > Overview
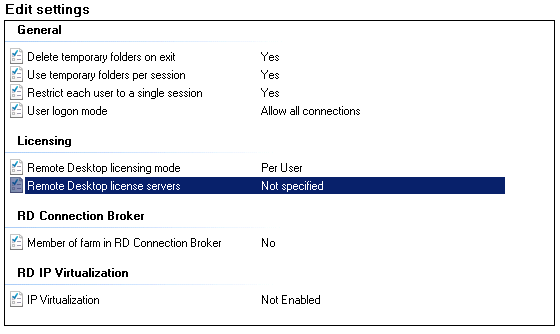
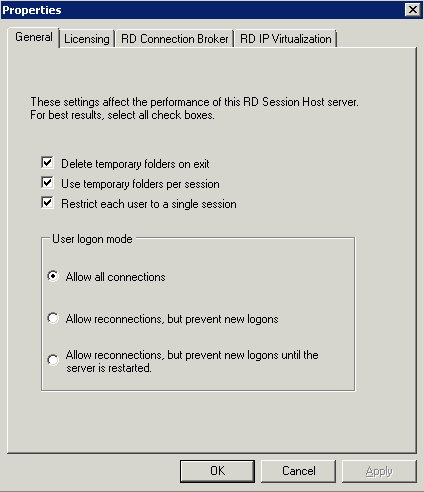
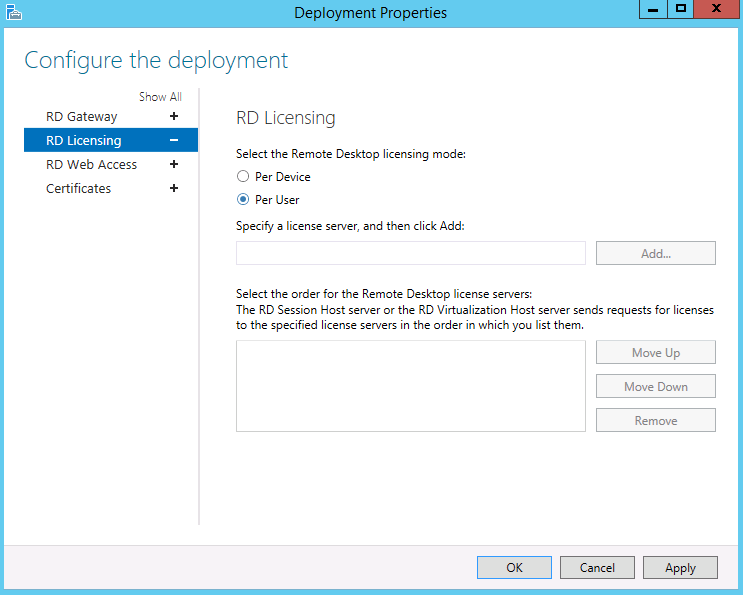
- Click on RD Session Host > Tasks > Edit Deployment Properties
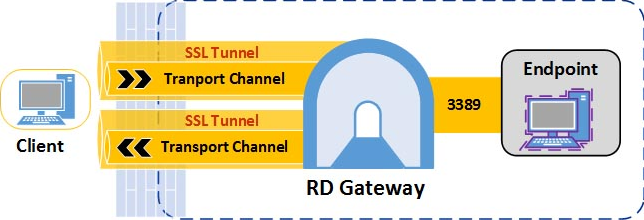
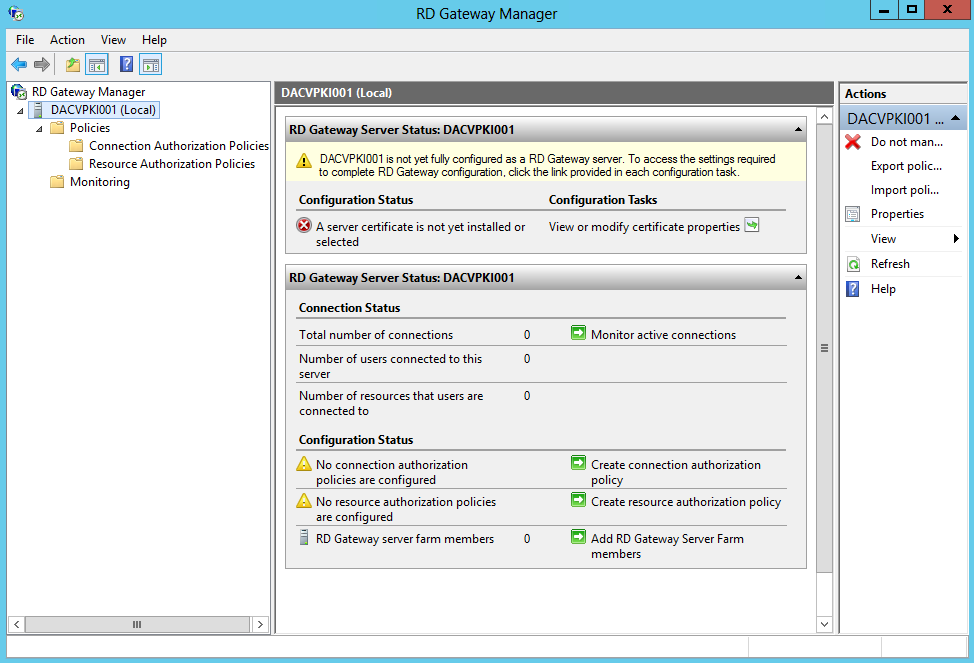
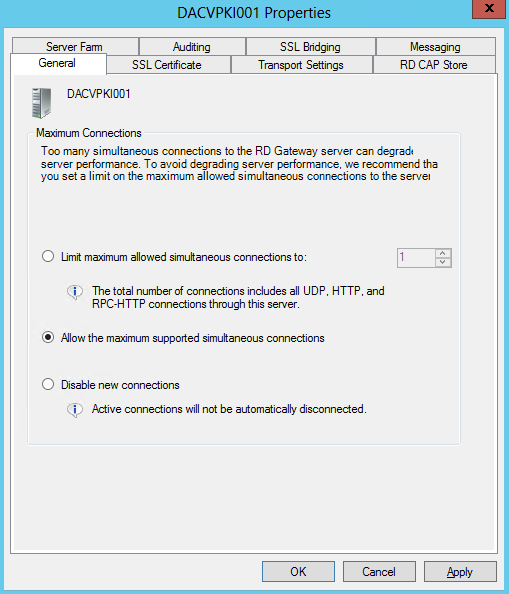
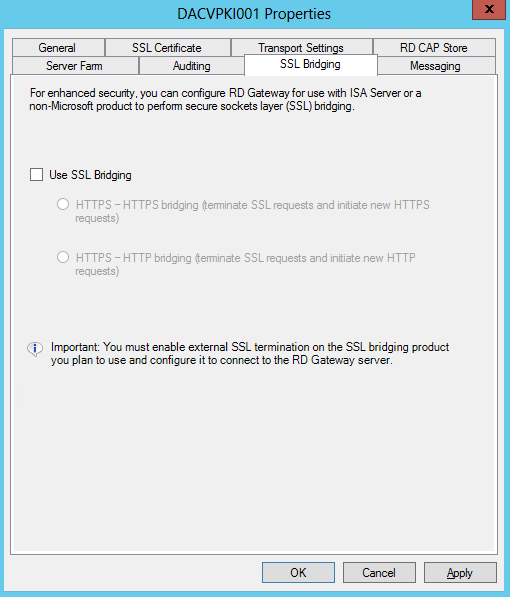
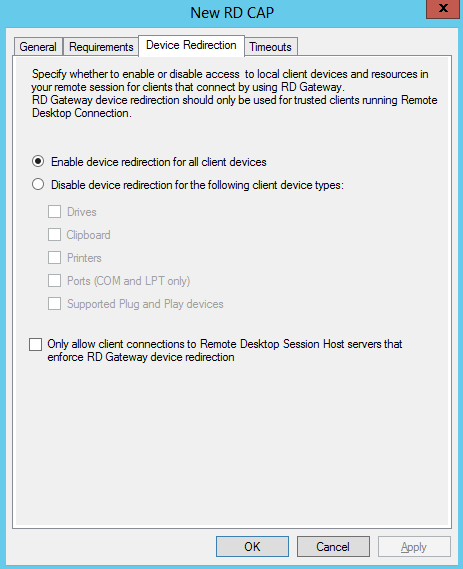
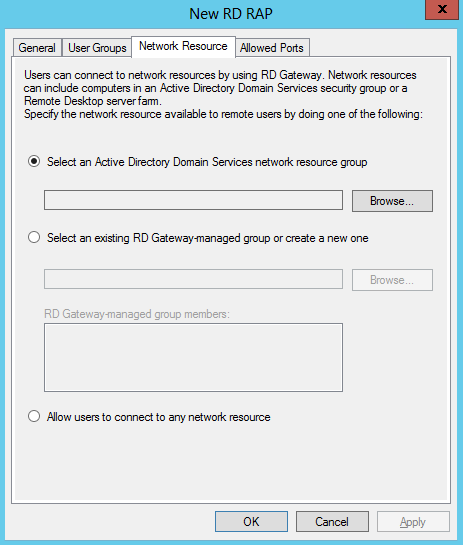
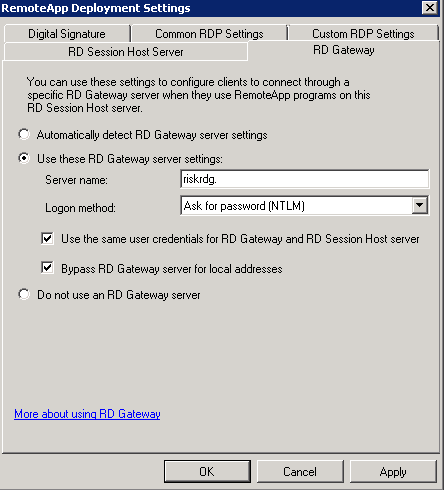
- Ignore RD Gateway
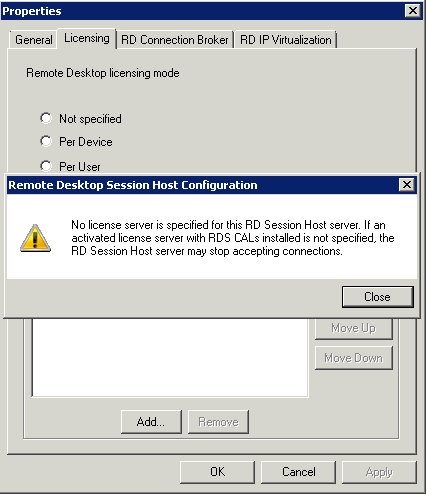
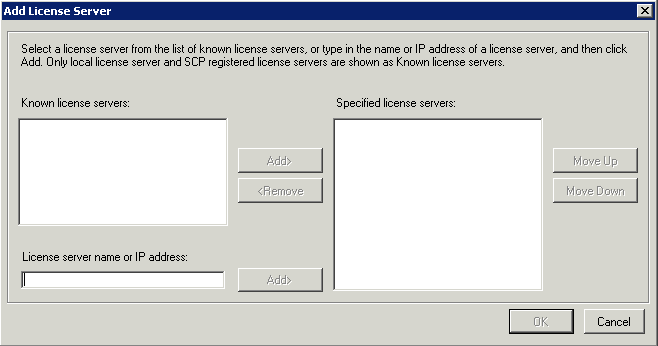
- On the RD Licensing page select your licensing mode and put in your license server
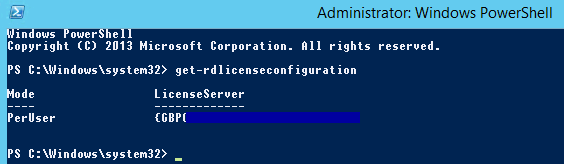
- You can check your RD License Server configuration in Powershell by running the below
- You may find that your licensing errors and says “The licensing mode for the remote desktop session host server is not configured”
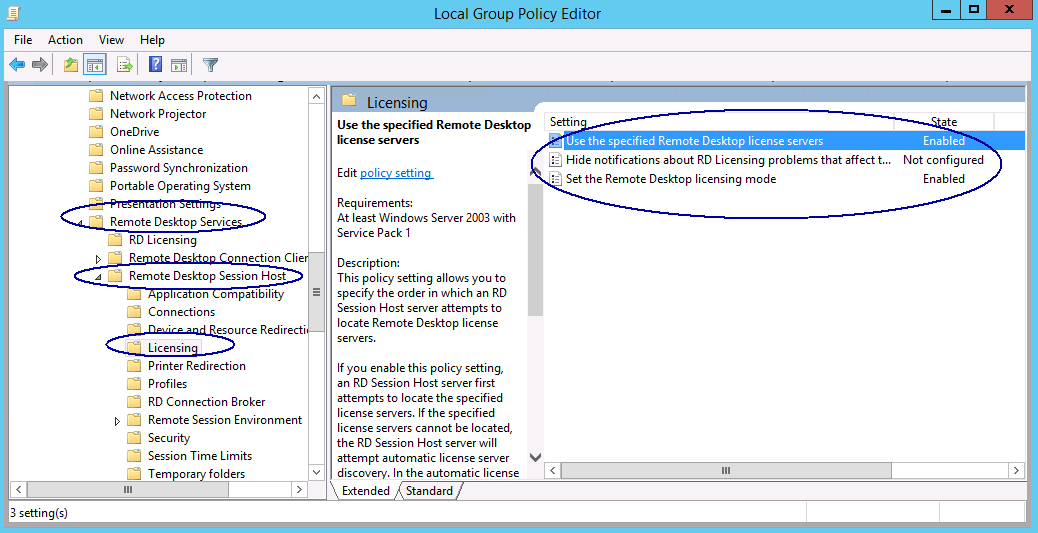
- If this is the case, you will need to open gpedit.msc and navigate to the 2 locations below
- Navigate until : Computer Configuration | Administrative Template | Windows Components | Remote Desktop Services | Remote Desktop Session Host | Licensing
- Modify Use the specified Remote Desktop License Servers and put in the license server
- Modify the Remote Desktop Licensing mode to Per User or Per Device depending on your agreement
- Computer Configuration > Administrative Templates > Windows Components > Remote Desktop Services > Remote Desktop Session Host > Licensing
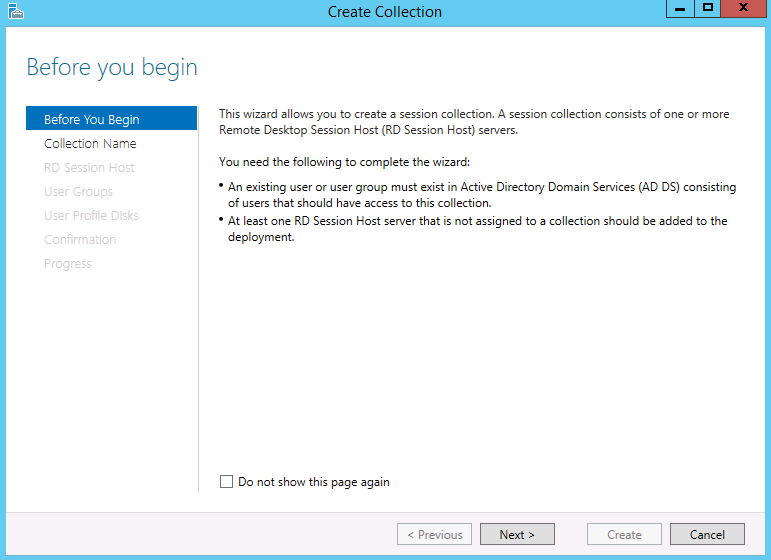
- Next On to Session Collections.
- Go to Server Manager > Remote Desktop Services > Collections
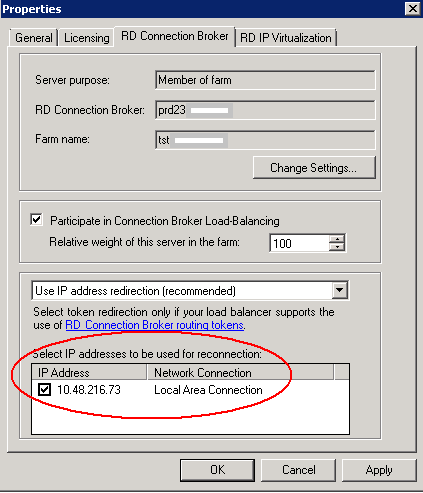
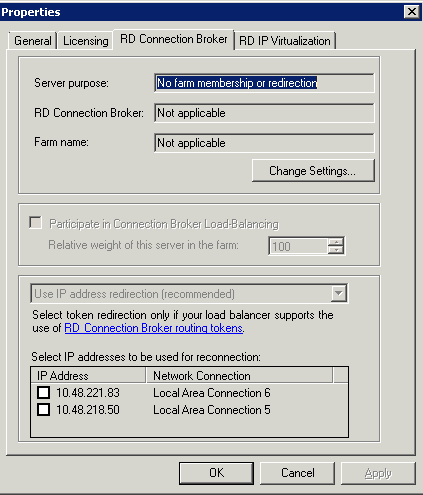
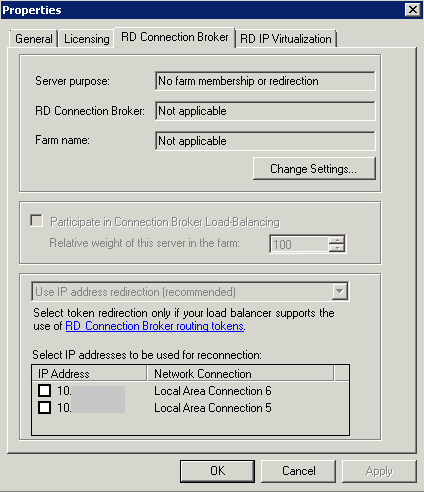
- Note: The Connection Broker connects and reconnects users to their virtual desktops, RemoteApp-published applications and session-based desktops. It’s a mandatory RDS component in Windows Server 2012, and it’s installed by default when you deploy Remote Desktop Services. The Connection Broker load-balances requests to RD Session Host servers in a session collection or to virtual desktop pools
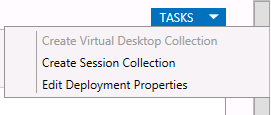
- Click Tasks > Create Session Collection
- Collections are a logical grouping of Remote Desktop Servers that provides either session-based or virtual machine-based (VDI) deployments.
- Each Session host that’s a member of an RDS collection is limited to only participating in one collection.
- Click Next
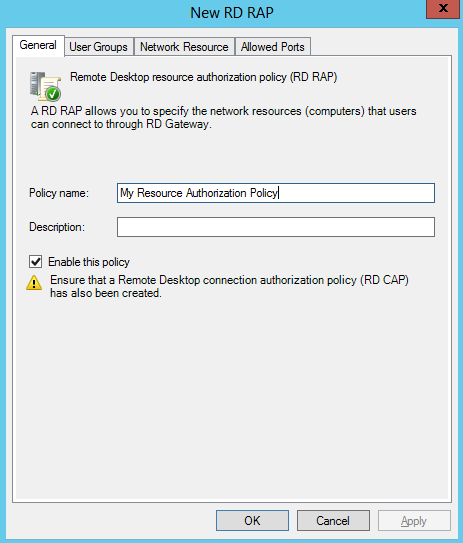
- Put in a name and description

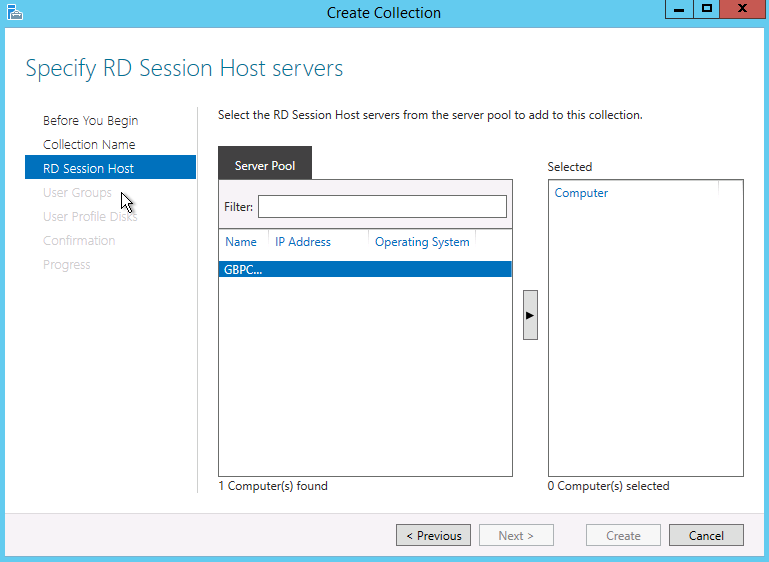
- Specify the RD Session Hosts you want to add to this collection
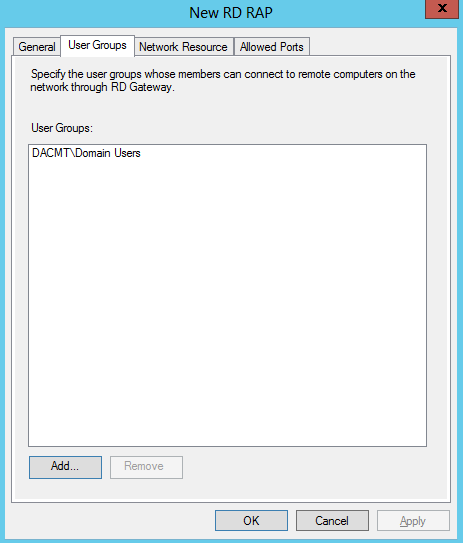
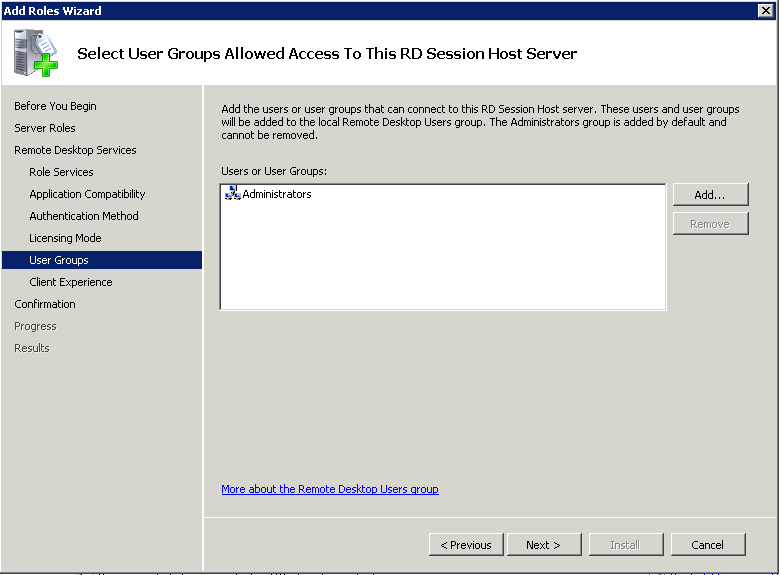
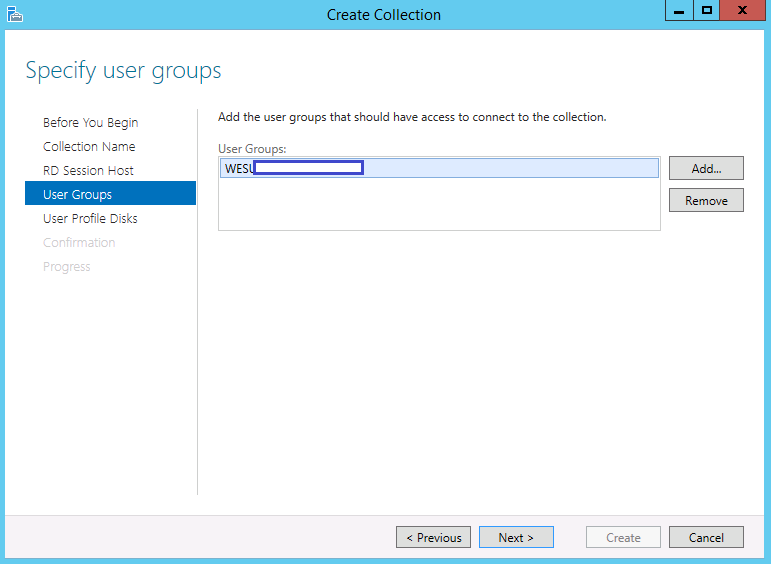
- Specify the User Groups
- Specify user profile disks – Uncheck the Enable user Profile Disks checkbox and hit next.

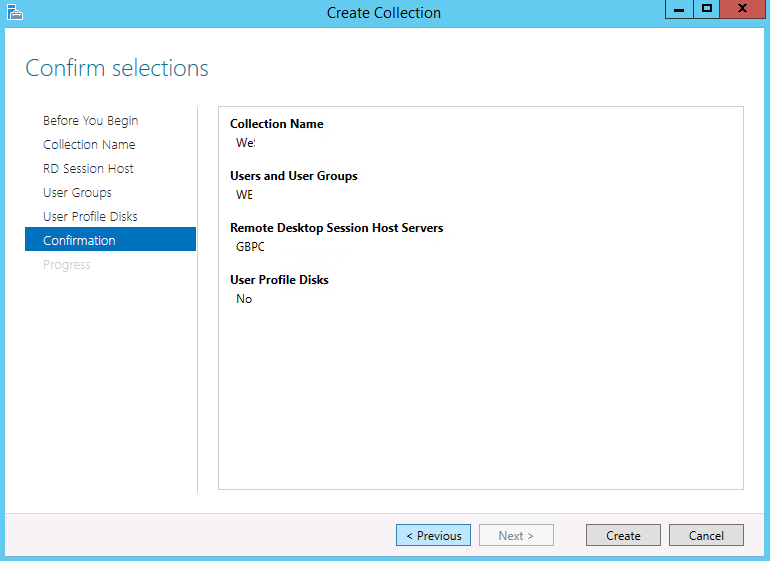
- Confirm Selections
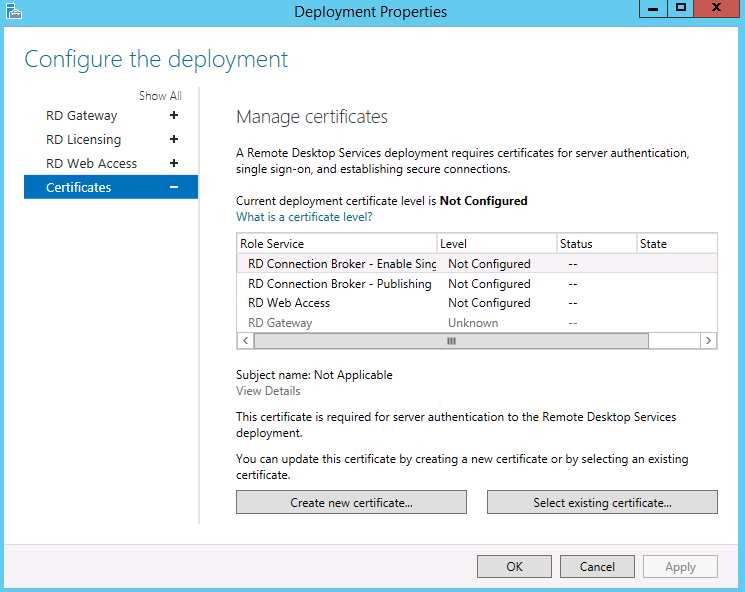
- You might also want to look into certificates which is accessed from Server Manager > Remote Desktop Services > Overview > Tasks > Edit Deployment Properties
- Select Certificates
- More information can be found on Microsoft’s webpages 🙂
Some other important information
We also had 2 Terminal servers in this setup which were on a different network. I had to do the following
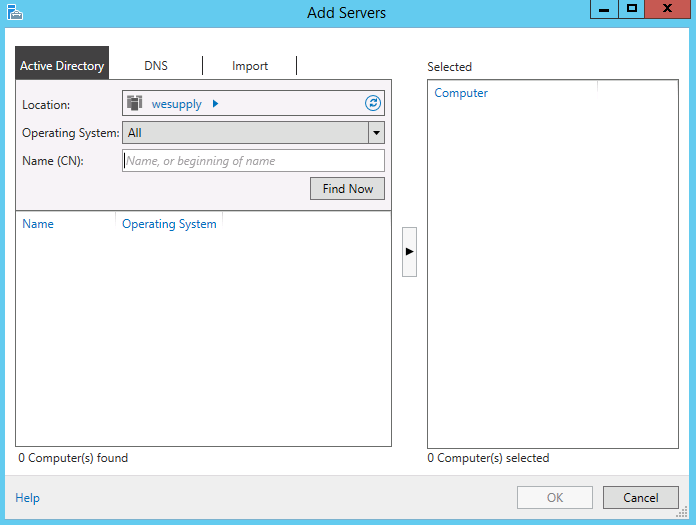
- Go to Server Overview
- Go to Add other Servers to manage
- Search and add the servers you need
- Once these are added, Go to Server Manager > Remote Desktop Services and add these servers which should now appear. Be careful as it will install the RD Session host role and will reboot the servers.
Load Balancing
If you want full load balancing, your users can use RD Web Access. The GUI for the remote desktop client (on any platform) does not have a way to specify the collection. Connecting to the RD Connection Broker will not load balance, nor would connecting to any RD Session Host server directly. You can manually edit an .rdp file to specify the collection and that process works, but is convoluted for end users. RD Web Access has become the preferred method for disseminating .rdp connection info in 2012 to accommodate the change to collections and the RDCB role.
RD LIcensing Manager
You may notice there is an expiry period on issued licenses in RD LIcensing Manager
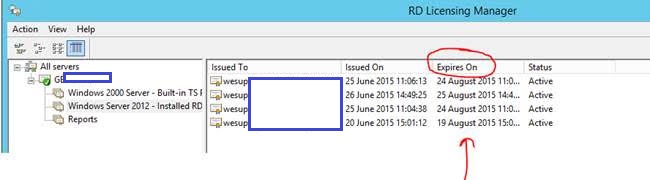
The time is based on the minimum transfer rights in the license agreement which is a Service Provider Agreement. (IBM’s licensing agreement from Microsoft) In this case 60 days.
The license agreement is a part of the purchase. It varies by region and by how you purchased it. It is a legally binding document and describes how the purchased product can be used. For example, an OEM server license offend includes the stipulation that it cannot be transferred to a new machine at all. The discounted OEM pricing benefit comes at the cost of reduced mobility.
For CALs, it is common to see restrictions stating that a CAL can only be transferred to a new user every 60/90/120 days. This allows you to reassign a CAL in the event a user had to be dismissed, but prevents abuse by using one user CAL for multiple shift users by claiming “I transfer the CAL every 8 hours.”
SO in theory you buy the amount of licenses for the amount of users you have. So say you have 20 licenses and 20 users log in and take a license. If for some reason a 21st person logs in, the system will allow it because it will assign a temporary CAL however this is a breach of your license agreement until another CAL expires and is released after the 60 days. Note that TS/RDS CALs are *not* legally licensed by concurrent users, but by TOTAL users. So if you have 50 users, but only expect 17 to be logged on at a time. You still need 50 CALs. Not 10, or even 20. The same applies to device licensing and device CALs. You pay for total devices, not concurrent devices. Which in the era of mobility, BYOD, and similar trends, can be an unknown, making user licensing more flexible in most (but not all) circumstances.
Other good links
http://ryanmangansitblog.com/2013/09/27/rds-2012-deployment-and-configuration-guides/
http://pdfs.loadbalancer.or/Microsoft_Remote_Desktop_Services_Deployment_Guide.pdf