Archive for January 2013

Properly size a Virtual Machine based on application workload

images

Considerations

  • Make sure you know whether the Application is multithreaded or single threaded in order to select the correct amount of CPUs
  • Make sure you know whether you should be adding RDMs or VMFS VMDKs. E.g Microsoft Clustering
  • Java, Oracle and SQL Applications are very good at taking all the memory they are assigned and trying to manage it themselves. Be especially careful with Java which does not mix well with Ballooning and Paging
  • Start off small and work upwards in terms of resources. Assigning huge resources can interfere with Cluster and DRS calculations
  • Use the fastest network adapter you can for the O/S. VMXNET3 preferably to take advantage of all the new features
  • If using FT, use Thick Provisioned Eager Zeroed disks.
  • Decide where to place the VM swap file
  • Decide on Reservations, Limits and Shares if required
  • Check the Manufacturers recommendations for setting any advanced attributes
  • Use correctly raided storage. E.g RAID5, RAID10 etc
  • Choose the Disk Mode – Independent and Dependent

Modify Large Page Settings

TOOL

Modify Large Page Settings

VMware ESXi Server supports the use of large pages inside virtual machines. The large‐page support enables server applications to establish large‐page memory regions. Memory address translations use translation lookaside buffers (TLB) inside the CPU. The use of large pages can potentially increase TLB access efficiency and thus improve program performance.

Large pages improve the performance of many applications, but misuse of large pages may also hurt performance in some situations. The potential for performance degradation is a result of the fact that the number of large TLB entries is usually smaller than the number of small TLB entries. If the working set of an application is scattered over a wide range of address space, the application is likely to experience thrashing of a relatively small number of large TLB entries. This thrashing may result in worse overall performance with higher TLB miss rates.

Configuring Large Page Settings on the Host

  • Click on your host
  • Click the Configuration tab
  • Click Advanced Settings under Software
  • Select LPage

LargePage

LargePage

Configuring Large Page Settings on the O/S

Consult the documentation for your operating system for details on how to configure large page support

Enabling Large Page Support in Applications

Consult the documentation for your application for details on how to configure large page support. For example, the Oracle Database Platform Guide has details on how to enable large page support for an Oracle database

VMware Document on Large Pages

http://www.vmware.com/files/pdf/large_pg_performance.pdf

Identify pre-requisites for Hot-Add Features

images

What is Hot-Add?

Hot add options allow configuration changes to a virtual machine while it is powered on. Hot add options can be turned on or off for memory and number of CPU configurations for eligible virtual machines.

Hotadd

Pre-Requisites

  • You must disable CPU hot add if you plan to use USB device passthrough from an ESX/ESXi host to a virtual machine.
  • When you configure multi-core virtual CPUs for a virtual machine, CPU hot Add/remove is disabled.
  • Not enabled by default.
  • Check Guest OS support
  • Memory and CPUs can be hot added (but not hot removed)
  • Enabled per VM and needs a reboot to take effect
  • Enable on templates
  • Virtual H/W v7
  • Not compatible with Fault Tolerance

Identify VMware CPU Load Balancing Techniques

clock

The VMKernel CPU scheduler is crucial to providing good performance in a consolidated environment. Most processors these days are equipped with multiple cores per processor and controlling, managing and scheduling these multi way processors is essential. It assigns execution contexts to processors

The CPU Scheduler

The CPU Scheduler has the following features

  • Schedules the vCPUs on physical CPUs
  • Enforces the proportional-share algorithm for CPU usage
  • Supports SMP VMs
  • Uses relaxed co-scheduling for SMP VMs
  • Uses NUMA
  • Processor Topology/Cache aware
  • Hyperthreading

Schedules the vCPUs on physical CPUs

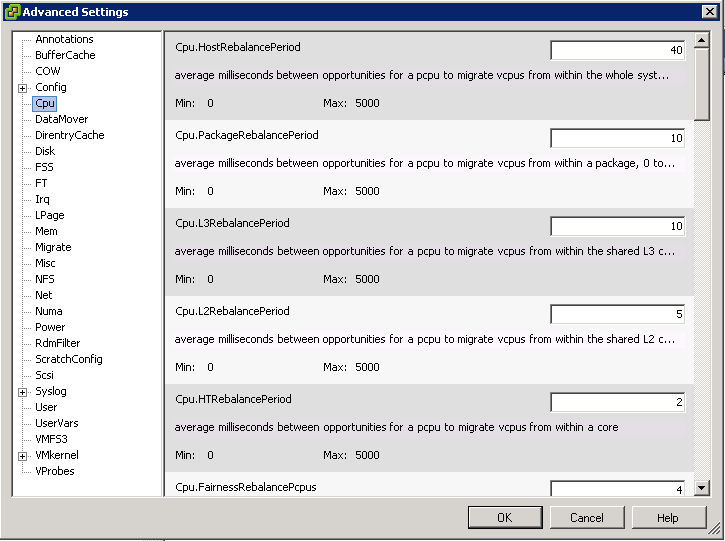
The Scheduler checks physical utilisation every 2-40ms and migrates vCPUs as necessary

Enforces the proportional-share algorithm for CPU usage

When CPUs are over-committed, hosts time slice physical CPUs across all VMs where each CPU is also prioritised by resource allocation settings in terms of Shares, Reservations and Limits)
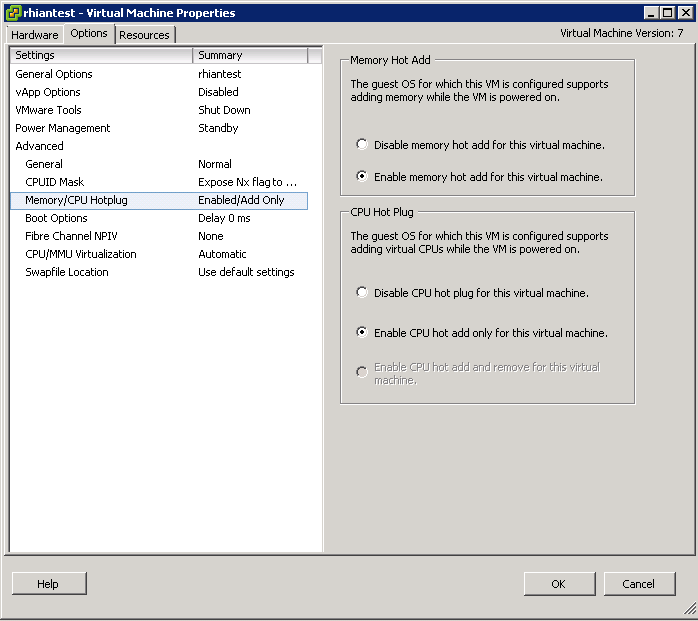
Supports SMP VMs

If a VM is configured with multiple processors then it believes that it is running on a dedicated physical multiprocessor. ESXi maintains this by using co-scheduling of the vCPUs.

Co-Scheduling is a technique for scheduling, descheduling, preempting and blocking transactions across multiple processors. Without it, vCPUs would be scheduled independently, breaking the guests assumption regarding uniform process.

The CPU Scheduler takes “Skew” into account when scheduling vCPUs. Skew is the difference in execution rates between 2 or more vCPUs in an SMP VM. The Scheduler maintains a fine grained cumulative skew value for each vCPU in a VM. Time spent in the hypervisor is excluded from the process as sometimes the operations do not benefit from being co-scheduled. The vCPU is considered to be skewed if its cumulative skew value exceeds a configurable threshold, usually a few seconds

Uses relaxed co-scheduling for SMP VMs

Relaxed Co-Scheduling refers to a technology where vCPUs have become skewed and must be co-started. When any vCPU is scheduled, it ensures that all other vCPUs that are behind will also be scheduled

The vCPUs that move too far forward are stopped and wait for the other VMs to catch up. An idle vCPU does not gather skew and is classed as if it was running normally
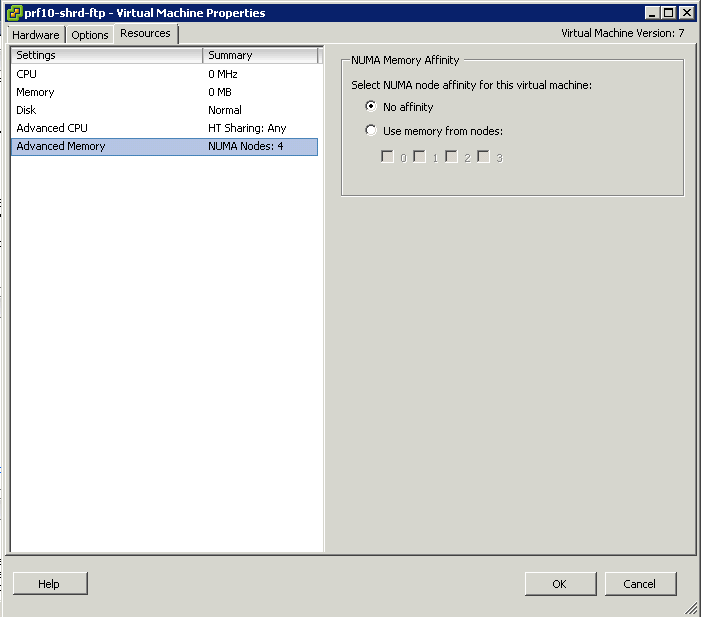
Uses NUMA

Please see this blog post for more information on NUMA

http://www.electricmonk.org.uk/2012/03/01/numa/

Processor Topology/Cache aware

Basically the CPU Scheduler uses Processor Topology information to calculate and optimise the placement of vCPUs on to different sockets using socket, core and logical processor information

The CPU Scheduler also takes advantage of the Shared Last Level Cache which exists within cores on the same processor. This is a memory cache that has a dedicated channel to a CPU socket bypassing the main memory bus which makes it run at the same speed of the CPU

In some situations the CPU scheduler will spread the load across all sockets and sometimes it can be beneficial to schedule all vCPus on to the same socket. Dependent on workload and over/under committed systems
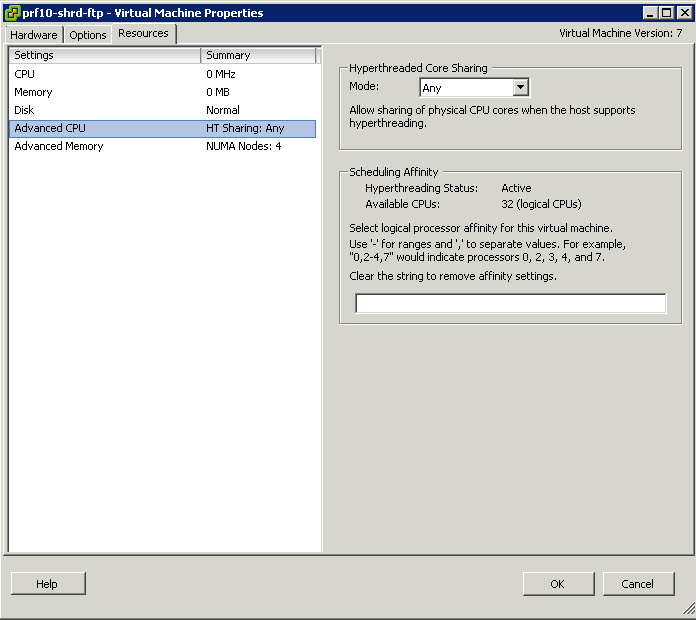
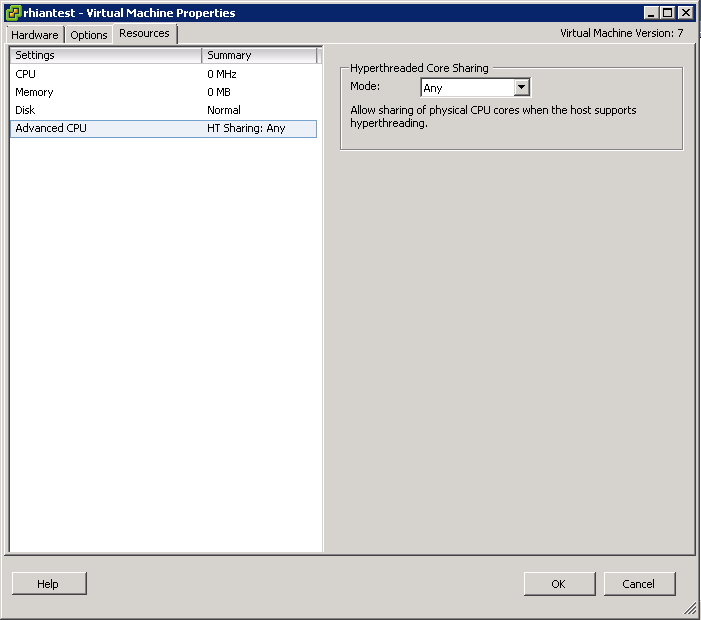
Hyperthreading

The applications most likely to benefit are 3D rendering programs, heavy-duty audio/video transcoding apps, and scientific applications built for maximum multi-threaded performance. But you may also enjoy a performance boost when encoding audio files in iTunes, playing 3D games and zipping/unzipping folders. The boost in performance can be up to 30%, although there will also be situations where Hyper-Threading provides no boost at all.

Hyper-Threading is where two threads are able to run on one single-threaded core. When a thread on the core in question is stalling or in a halt state, hyper-threading enables the core to work on a second thread instead. It makes the OS think that the processor has double the number of cores, and often yields a performance improvement

Tune ESXi VM Storage Configuration

tools

Tuning Configuration

  • Use the correct virtual hardware for the VM O/S
  • Use paravirtual hardware for I/O intensive applications
  • LSI Logic SAS for newer O/S’s
  • Size the Guest O/S Queue depth appropriately
  • Make sure Guest O/S partitions are aligned
  • Know what Disk provisioning policies are best. Thick provision lazy zeroed (default), Thick provision eager zeroed and Thin provision.
  • Store swap file on a fast or SSD Datastore

swapfile

  • When deploying a virtual machine, an administrator has a choice between three virtual disk modes. For optimal performance, independent persistent is the best choice. The virtual disk mode can be modified when the VM is powered off.

storage

  • Choose VMFS or RDM Disks to use. RDM Disk generally used by clustering software.

RDM

  • Use Disk Shares to configure more fined grained resource control

vmstroage

  • In some cases large I/O requests issued by applications can be split by the guest storage driver. Changing the VMs registry settings to issue larger block sizes can eliminate this splitting thus enhancing performance. See http://kb.vmware.com/kb/9645697

Tune ESXi VM Network Configuration

tools

Tuning Configuration

  • Use the VMXNet3 adapter and if it is not supported use the VMXNET/VMXNET2 adapter

nicsettings

  • Use a network adapter that supports TCP Checksum, TSO and Jumbo Frames multiqueue support (also known as Receive Side Scaling in Windows), IPv6 offloads, and MSI/MSI-X interrupt delivery
  • Use the fastest ethernet you can. 10GB preferable
  • Ensure the speed and duplex settings on the network adapters is correct. For 10/100 nics, set the speed and duplex. Make sure the duplex is set to full duplex
  • For NICs, Gigabit Ethernet or higher set the speed and duplex to auto-negotiate
  • DirectPath I/O (DPIO) provides a means of bypassing the vmkernel, giving a VM direct access to hardware devices by leveraging Intel VT-D and AMD-V hardware support. Specific to networking, DPIO allows a VM to connect directly to the hosts physical network adapter without the overhead associated with emulation or paravirtualization. The bandwidth increases associated with DPIO are nominal but the savings on CPU cycles can be substantial for busy workloads. There are quite a few restrictions when utilizing DPIO. For example, unless using Cisco UCS hardware, DPIO is not compatible with hot-add, FT, HA, DRS or snapshots.
  • Use NIC Teaming where possible. VMware’s proprietry network teaming or Etherchannel
  • Virtual Machine Communications Interface (VMCI) is a virtual device that promotes enhanced communication between a virtual machine and the host on which it resides, and between VMs running on the same host. VMCI provides a high-speed alternative to standard TCP/IP sockets. The VMCI SDK enables engineers to develop applications which take advantage of the VMCI infrastructure. With VMCI, VM application traffic (of VMs on the same host) bypasses the network layer, reducing communication overhead. With VMCI, it’s not uncommon for inter-VM traffic to exceed 10 GB/s

Unable to clear the Hardware Status warnings/errors in vCenter Server

Unable to clear the Hardware Status warnings/errors in vCenter Server

Purpose

This article provides steps to clear the warnings/errors in the Hardware Status tab of a host within vCenter Server.

The Hardware Status tab shows warnings/errors related to hardware components. In some cases, these warnings and errors are not cleared even after you ensure that the hardware faults are resolved and trigger vCenter Server alarms. In these cases, you may have to clear these warnings/errors manually.

sensor1

Resolution

To clear the warnings/errors from the Hardware Status tab:
  • Go to Hardware Status tab and select the System event log view.
  • Click Reset event log
  • Click Update. The error should now be cleared.
  • Select the Alerts and warnings view.
  • Click Reset sensors.
  • Click Update. The memory should now be cleared.
  • If the error is not cleared, connect to the host via SSH.
  • Restart the sfcbd service
  • To restart the service in ESXi, run this command:
  • services.sh restart
  • To restart the service in ESX, run this command
  • service sfcbd restart
  • Click Update. The error should now be cleared.
  • Note: If the warning/error is cleared after a reset in Step 2 and Step 5, you need not restart the management agents

Tune ESXi VM CPU Configuration

tools

Tuning Configuration

  • Configuring Multicore Virtual CPUs. There are some limitations and considerations on this subject, like ESXi host configuration, VMware License, Guest OS (license) restrictions and so on. Only then can you decide the number of virtual sockets and the number of cores per socket.
  • CPU affinity is a technique that doesn’t necessarily imply load balancing, but it can be used to restrict a virtual machine to a particular set of processors. Affinity may not apply after a vMotion and it can disrupt ESXi’s ability to apply and meet shares and reservations
  • Duncan Epping raises some good points in this link http://www.yellow-bricks.com/2009/04/28/cpu-affinity/

affinity

  • You can use Hot Add to add vCPUs on the fly

HotAdd

  • Check Hyperthreading is enabled

Advanced CPU

  • Generally keep CPU/MMU Virtualisation on Automatic

CPPU_MMU

  • You can adjust Limits, Reservations and Shares to control CPU Resources

CPUSHARES

Tune ESXi VM Memory Configuration

tools

Tuning Configuration

  • Minimum memory size is 4MB for virtual machines that use BIOS firmware. Virtual machines that use EFI firmware require at least 96MB of RAM or they cannot power on.
  • The memory size must be a multiple of 4MB
  • vNUMA exposes NUMA technology to the Guest O/S. Hosts must have matching NUMA architecture and VMs must be running Hardware Version 8

numa

  • Size the VM so they align with physical boundaries. If you have a system with 6 cores per NUMA node then size your machines with a multiple of 6 vCPUs
  • vNUMA can be enabled on smaller machines by adding numa.vcpu.maxPerVirtualNode=X (Where X is the number of vCPUs per vNUMA node)
  • Enable Memory Hot Add to be able to add memory to the VMs on the fly

HotAdd

  • Use Operating Systems that support large memory pages as ESXi will by default provide them to those O/S’s which request them
  • Store a VMs swap file in a different faster location to the working directory
  • Configure a special host cache on an SSD (If one is installed) to be used for the swap to host cache feature. Host cache is new in vSphere 5. If you have a datastore that lives on a SSD, you can designate space on that datastore as host cache. Host cache acts as a cache for all virtual machines on that particular host as a write-back storage for virtual machine swap files. What this means is that pages that need to be swapped to disk will swap to host cache first, and the written back to the particular swap file for that virtual machine
  • Keep Virtual Machine Swap files on low latency, high bandwidth storage systems
  • Do not store swap files on thin provisioned LUNs. This can cause swap file growth to fail.

swapfile

  • You can use Limits, Reservations and Shares to control Resources per VM

Memoryres

Configure and apply Advanced ESXi Host, VM and Cluster attributes

pic

What are Advanced Attributes?

You can set advanced attributes for hosts or individual virtual machines to help you customize resource management. In most cases, adjusting the basic resource allocation settings (reservation, limit, shares) or accepting default settings results in appropriate resource allocation. However, you can use advanced attributes to customize resource management for a host or a specific virtual machine.

Note: Changing advanced options is considered unsupported unless VMware technical support or a KB article instruct you to do so. In all other cases, changing these options is considered unsupported. In most cases, the default settings produce the optimum result.

Please Read Page 101 onwards of the Resource Management Guide

Host Advanced attributes

  • Click on a host
  • Click on Configuration
  • Click on Advanced
  • Select Attribute to Modify
  • CPU Below

attrib

  • Memory below

MEM

  • Network below

net

  • Disk below

disk

Virtual Machine Advanced attributes

  • Right click on a VM and select Edit Settings
  • Click the Options tab
  • Select General under settings then select Configuration Parameters

vm

config

  • A typical example we added on a vSphere 4 system was an adjustment of Storage vMotion timeout which was fsr.MaxSwitchoverSeconds=300 as recommended in a KB article for VMs with a large Memory size. Ours were 160GB

Cluster Advanced Attributes

  • Right click on your cluster
  • Select Edit Settings
  • Select VMware HA
  • Select Advanced Options

cluster1

  • The example below shows an entry for a secondary HA Isolation address that we were testing. IP removed.

cluster2