Installing VMware vRA 6.2.2
vRA is software which provides a secure portal for authorised architects, business managers and users to request IT services through a commons service catalog. Tasks vRA can perform are
- Provisioning of machines
- Reclamation of machines
- Services such as adding AD users
- Storage as a Service
vRealize Automation Support Matrix
https://www.vmware.com/pdf/vrealize-automation-62-support-matrix.pdf
VMware vRealize Automation 6.2 Documentation Center
http://pubs.vmware.com/vra-62/index.jsp
vRA Components
- VMware Identity Appliance – Preconfigured virtual appliance. You can alternatively use some versions of SSO provided with vSphere
- VMware vRealize Appliance – Preconfigured virtual appliance that deploys the vRealize server
- vRealize Automation Infrastructure as a Service – Enables the rapid modelling and provisioning of servers and desktops across virtual, physical, private, public and hybrid clouds
- SQL server Database
- IIS Server for IAAS
vRealize Automation Infrastructure as a Service has several components you can install in a custom configuration
- IAAS website
- Model Manager
- vCloud Automation Center Manager Service
- IAAS Database
- Distributed Execution Managers
- vRealize Automation Agents
Types of deployment
Click the links below for further information
Let’s get started
Installing the VMware vRealize Appliance
- Download the .ova installer from the VMware site and I saved this to my vCenter server

- In vCenter click File > Deploy OVF template
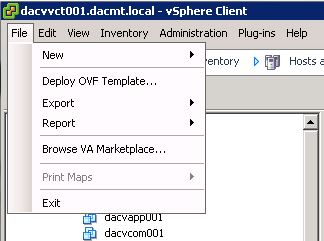
- Select your ovf file which you downloaded

- Click Next and you should see the following information populate
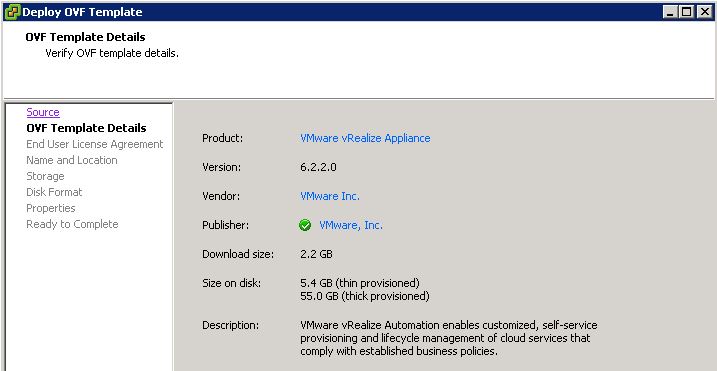
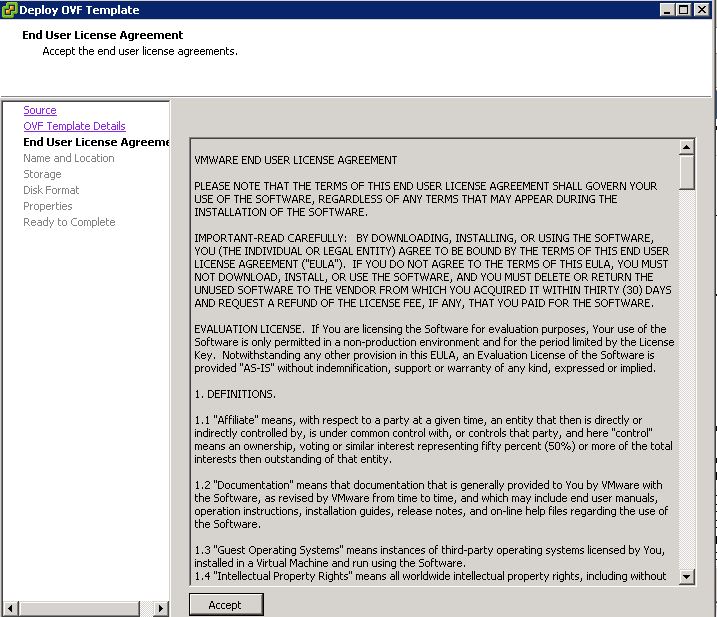
- Click Next and accept the license agreement
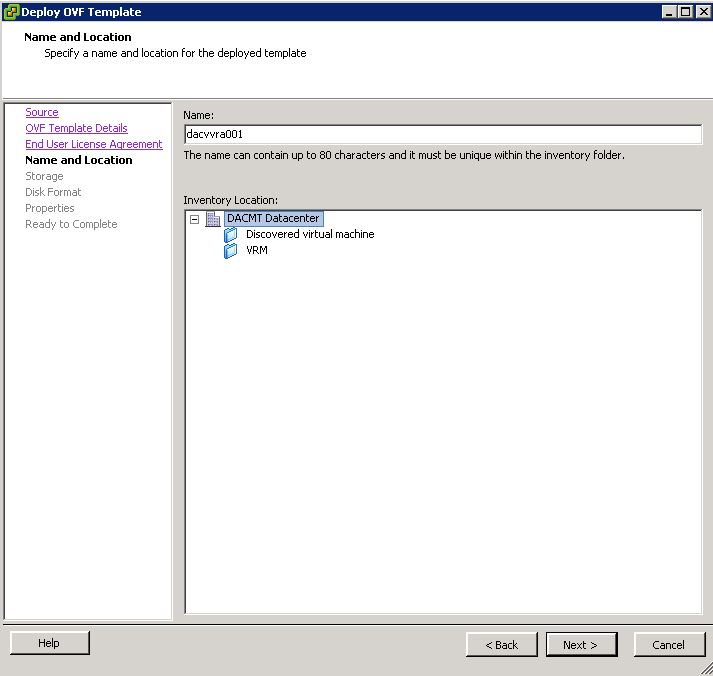
- Put in a name and an inventory location
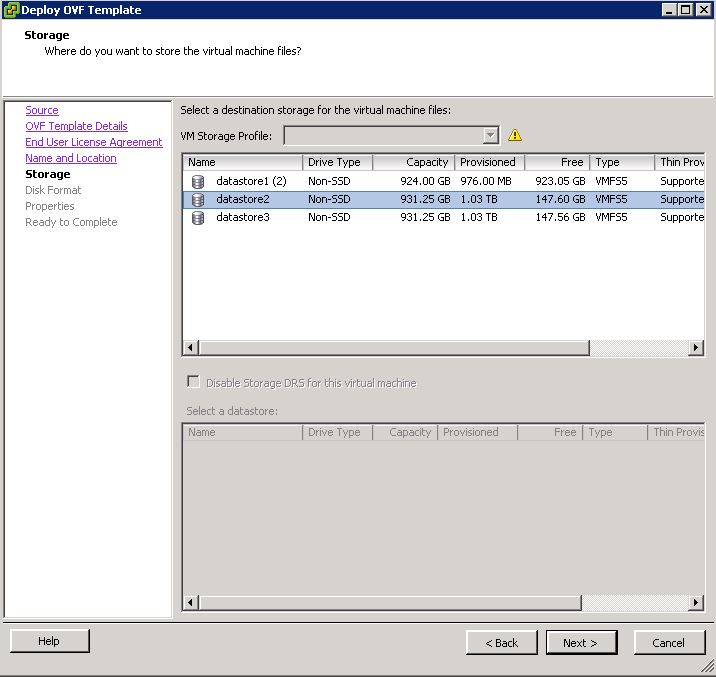
- Choose a storage location
- Choose a disk layout

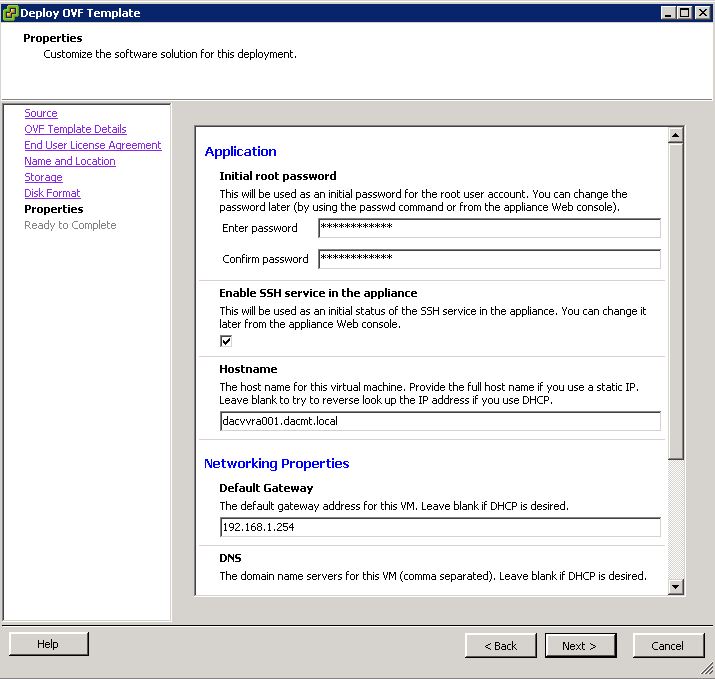
- You will now need to add in a root password to access the device, enable SSH, set a hostname, set a gateway, DNS and IP address/subnet mask
- Check all the details. Note this is my lab environment

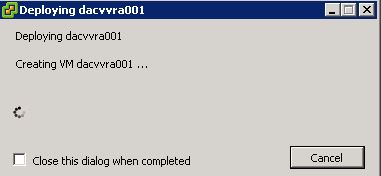
- Click Finish and you can now see the appliance deploying
- Once the appliance has finished installing open a web browser and navigate to
https://appliance-hostname.domain.name:5480/
- Login with username ‘root’ and the password that was configured during deployment.
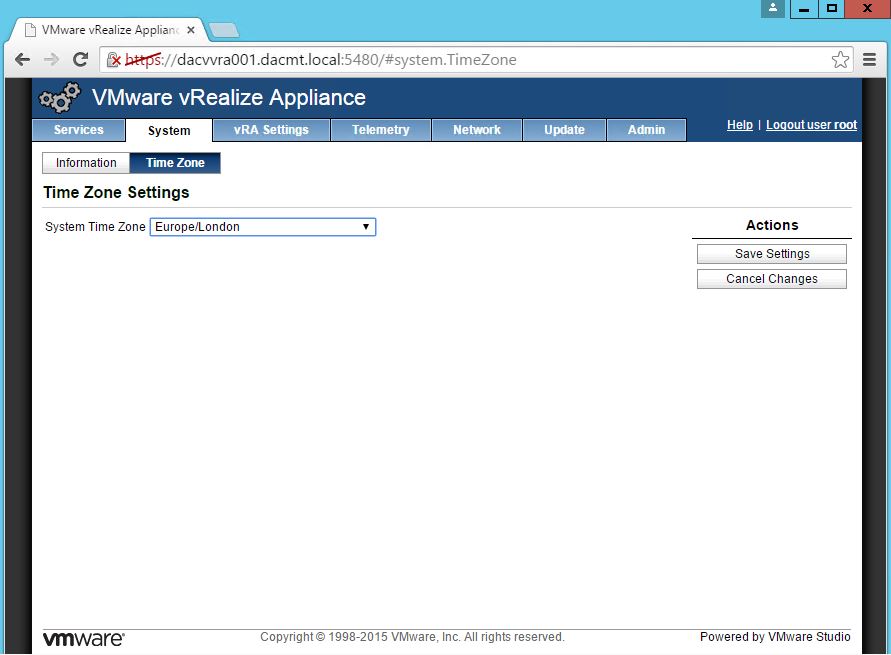
- Go to System > Time Zone and select the correct timezone
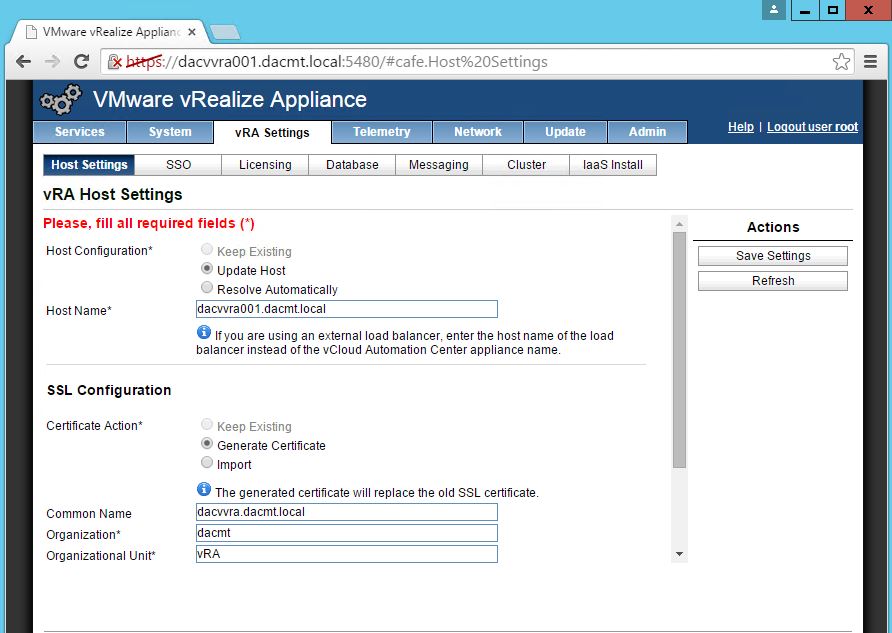
- Go to vRA Settings and make sure your hostname is correct and add certificate details. Note my details below are just for a self signed certificate. Type a common name for the certificate in the Common Name text box. You can use the fully qualified domain name of the virtual appliance.
- Go to Admin > Time settings and make sure the time is correct
- You can use the host time if it is correct or you can use your own time server or an external time server such as 0.uk.pool,ntp.org etc
- Time is very important in these installations and must be exact.

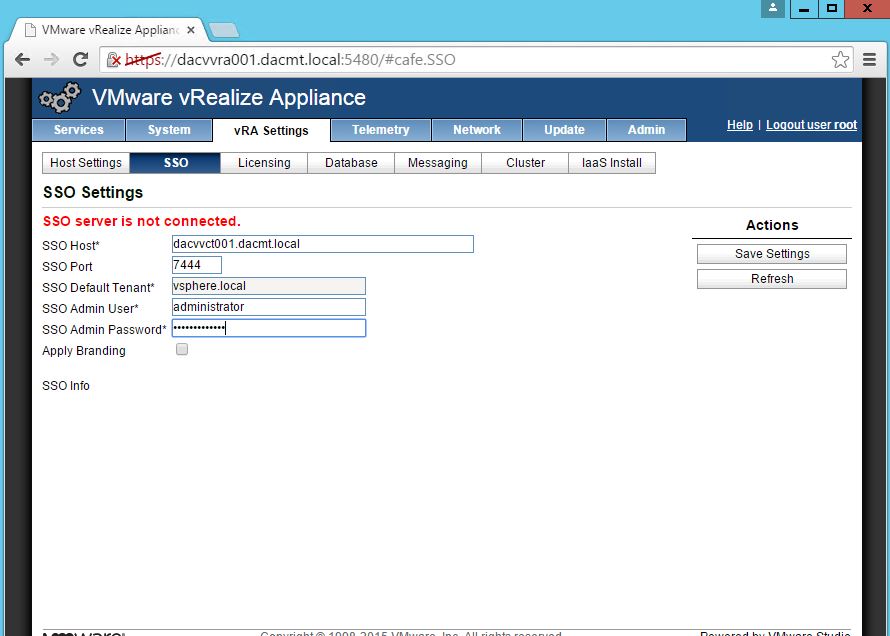
- Go to vRA Settings > SSO and configure SSO.
- Note I am using my vCenter server as it is version 5.5 and already has SSO setup
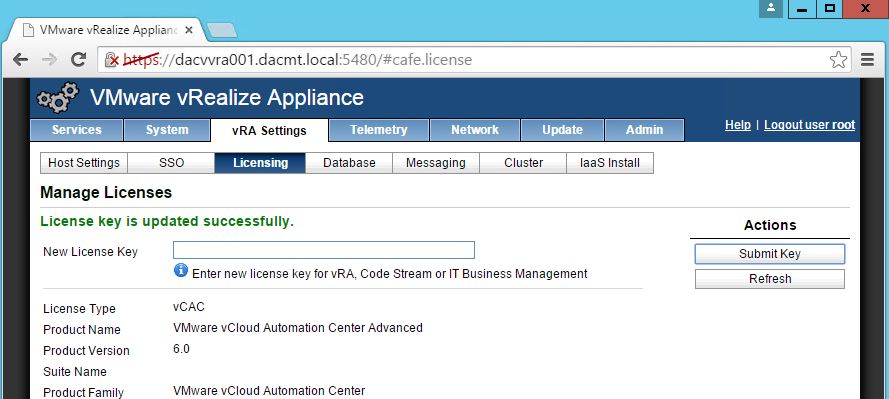
- Enter your license key and you should be good to go.
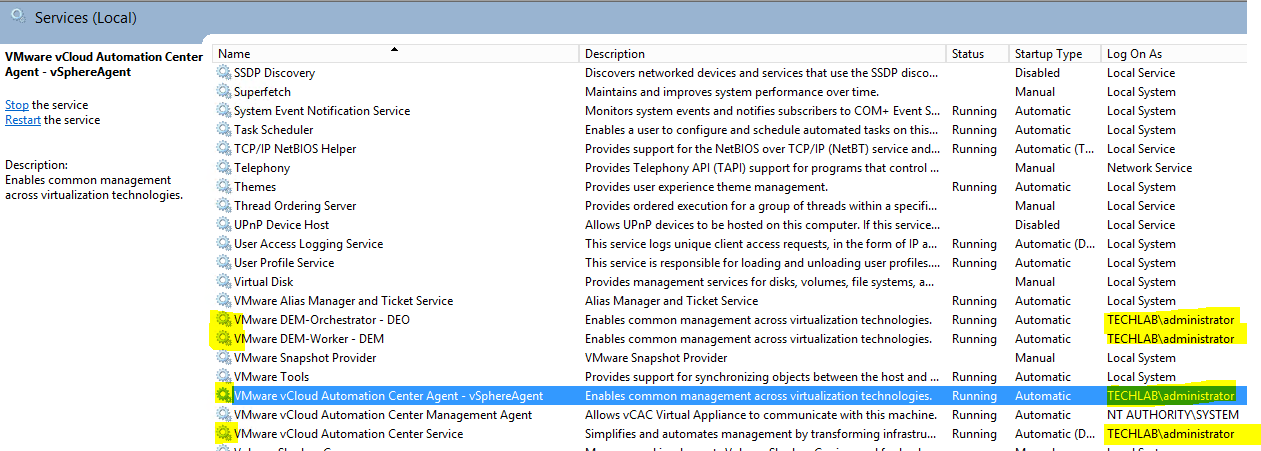
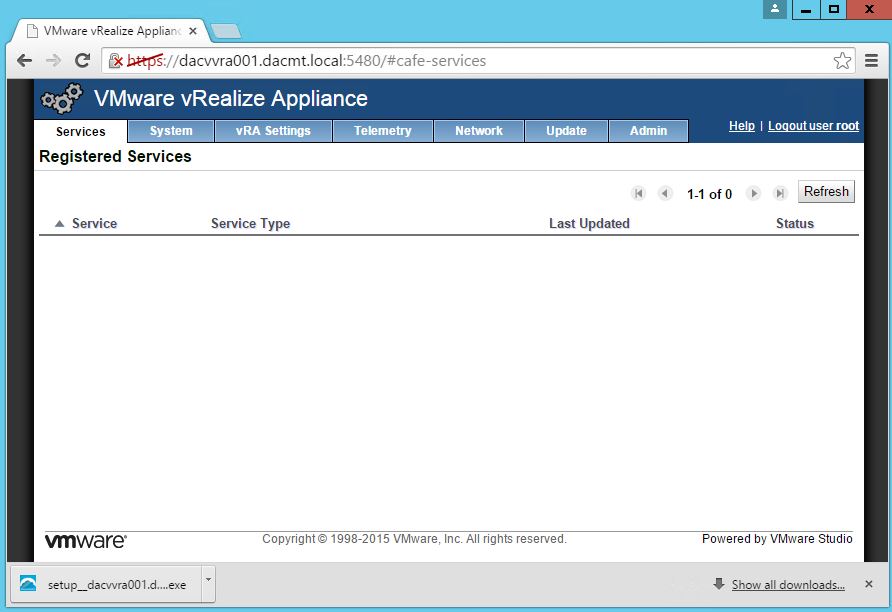
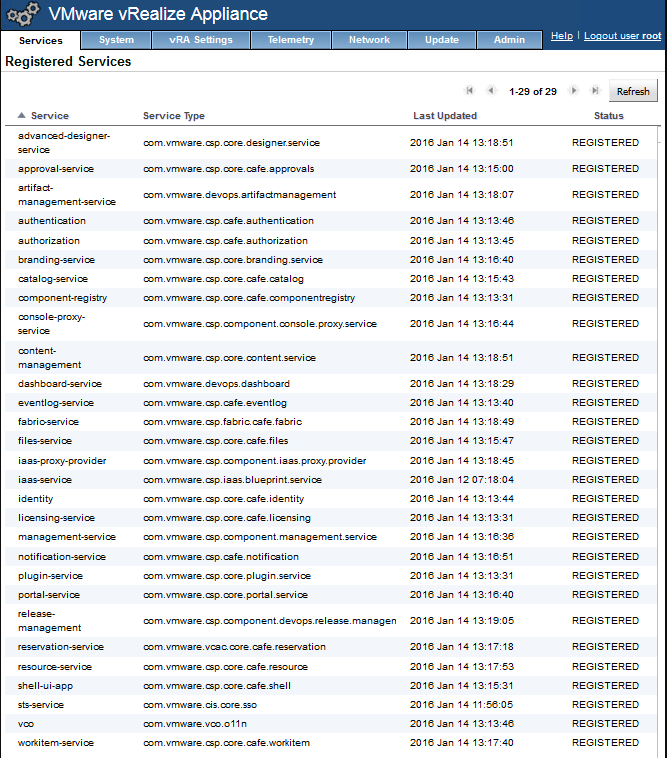
- You can check all the services are running by logging into the appliance
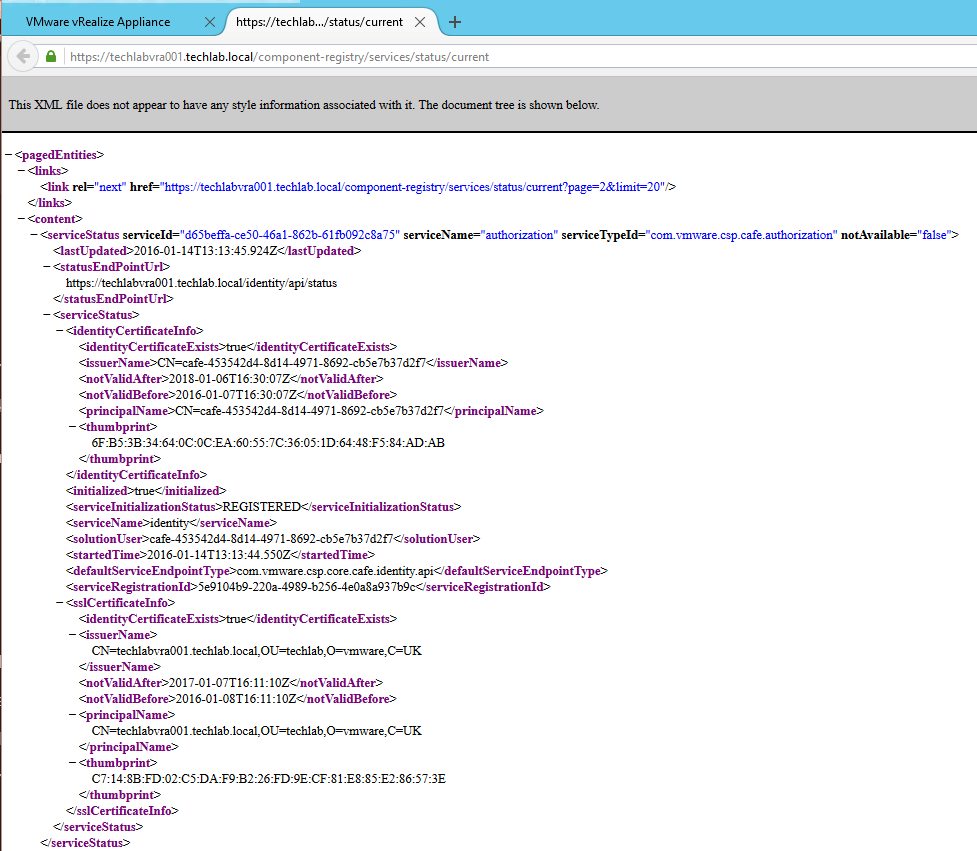
- You can also use the below link to check. Replace the server name with your vRA appliance. You should see an xml file where you can check the status of services
https://techlabvra001.techlab.local/component-registry/services/status/current
- If you need to check any logs go to the catalina.out log file, located at /var/log/vmware/vcac/
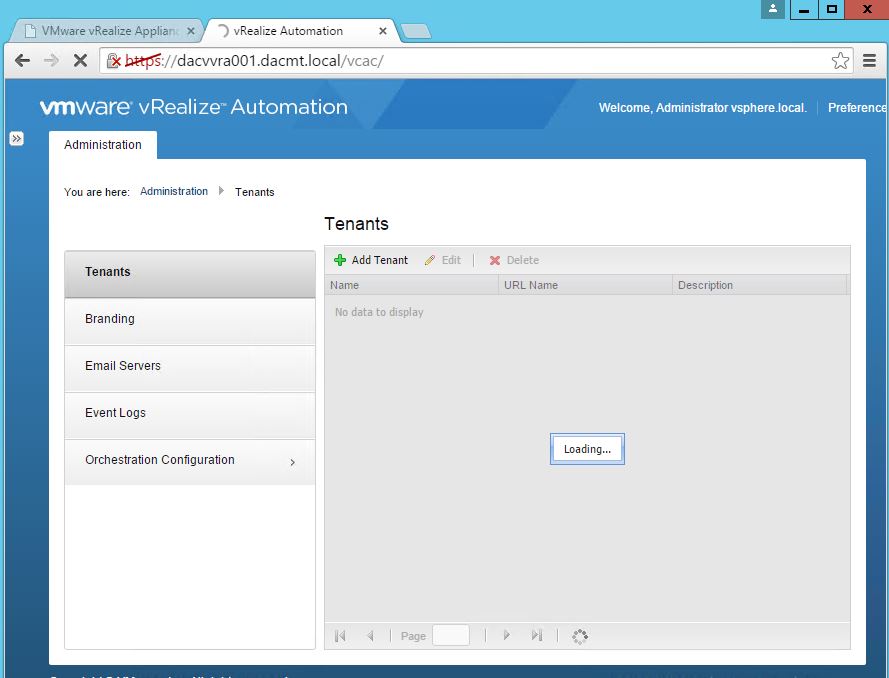
- Confirm that you can log into vCloud Automation Center console by going to https://vRA-Appliance-name.domain.name/shell-ui-app .in my case https://dacvvra001.dacmt.local/shell-ui-app. After accepting 2 SSL certs if you use self-signed certificates you will see this screen
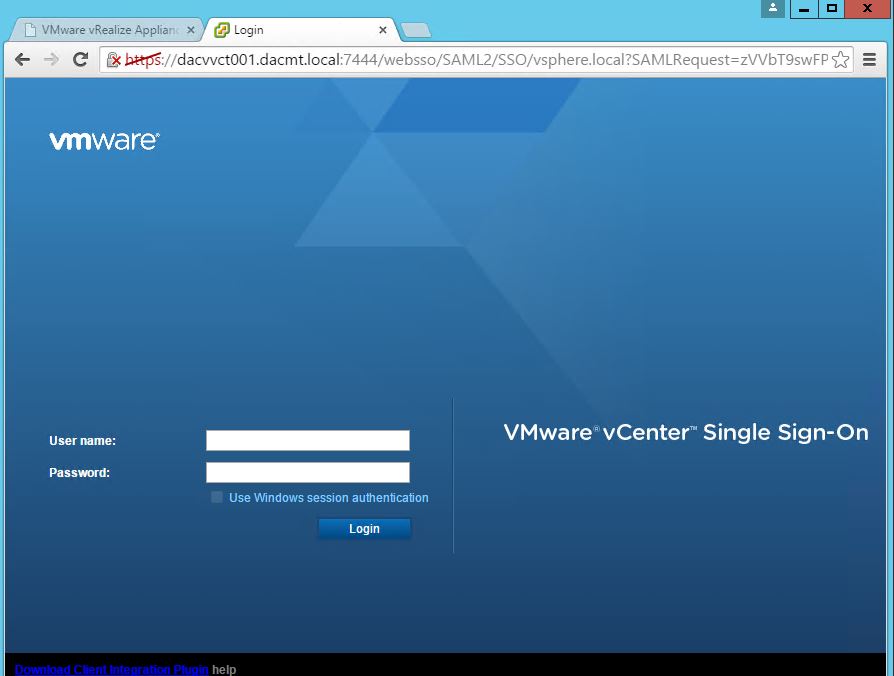
- Log in using the vRA SSO username ‘administrator@vsphere.local‘ and the password that was configured to verify we can log in. if successful, we will see the vCAC home page
Installing the IAAS Server and DB considerations
It is really important to pay attention to the pre-requisites for this part and note I am using a separate SQL DB server and a separate IAAS server
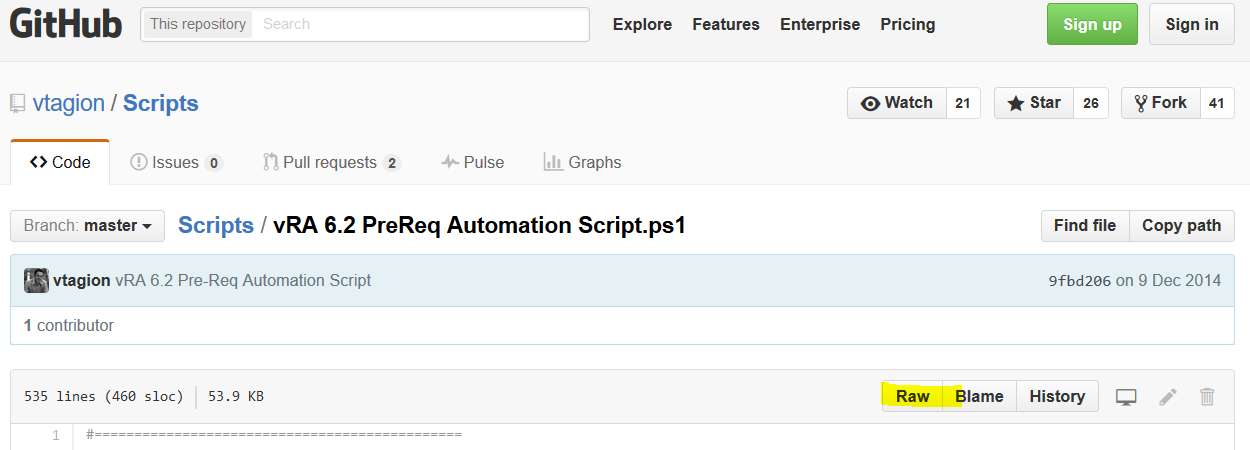
I use a script to do all the hard work/steps found below but I do double check things afterwards. Click RAW and copy into a notepad file and rename to whatever.ps1
https://github.com/vtagion/Scripts/blob/master/vRA%206.2%20PreReq%20Automation%20Script.ps1
DB considerations
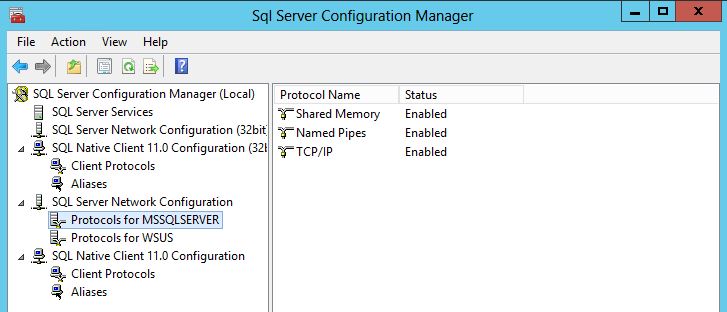
- TCP/IP protocol enabled for SQL Server
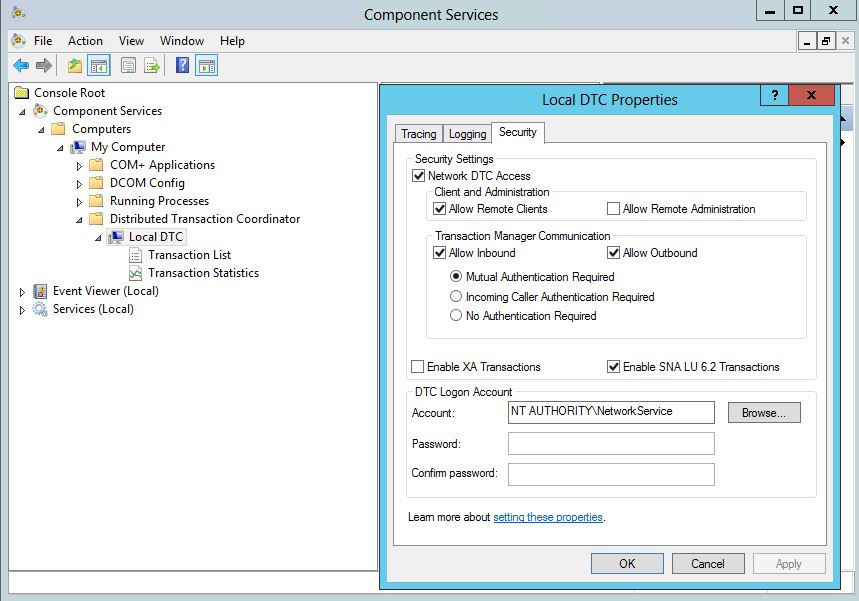
- Microsoft Distributed Transaction Coordinator Service (MS DTC) enabled on all SQL nodes in the system. MS DTC is required to support database transactions and actions such as workflow creation. Start > Run > dcomcnfg
- If you have a clustered SQL box you will see a clustered dtc – modify this the same way.
- No firewalls between Database Server and the Web server or IaaS Server, or ports opened as described in Port Requirements
- If using SQL Server Express, the SQL Server Browser service must be running
- For 6.0.x installations, the database name cannot contain a space. For 6.1 and later installations, the use of spaces in names is supported
IaaS Considerations
- Create a service account with Local Admin rights on all IaaS components and Log on as a Service and Log on as a Batch job on all IaaS components.
- Make sure the service account has a non expiring password or changing it can be time consuming throughout the whole vRA infrastructure.
- Microsoft .NET Framework 4.5.1 or later
- Microsoft PowerShell 2.0 (included with Windows Server 2008 R2 SP1 and later) or Microsoft PowerShell 3.0 on Windows Server 2012 or Windows Server 2012 R2. Execution policy must be remote signed as per below screenprint

- Microsoft Internet Information Services 7.5 (Click here for required Configuration for Microsoft Internet Information Services)
- SecondaryLogOnService is running.
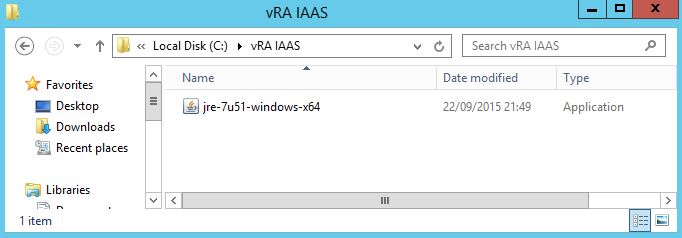
- Java requirements for MSSQL, when the database is installed on the IaaS Windows server host. Note I had to use the below version. 1.8 did not work
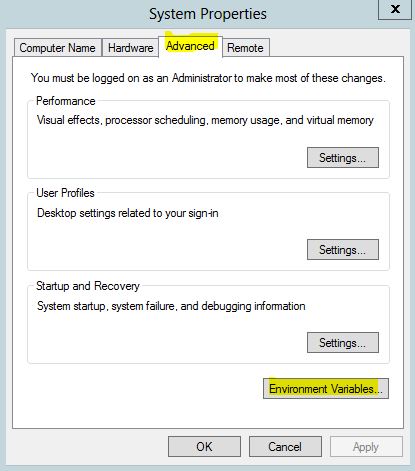
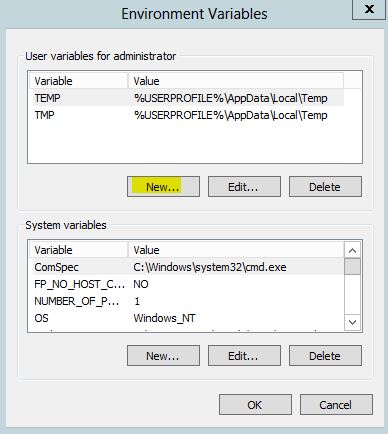
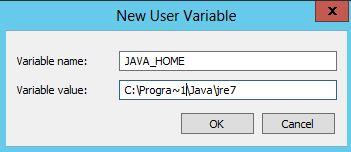
- Click New
- Type the following path to the Java installation directory
Installing IAAS
Note: The database will create itself unless you want to use a customised script with your DB admin which is available on the Documentation Center
Note: Install all Windows updates
Note: I also installed Chrome on my server as it seems to work better
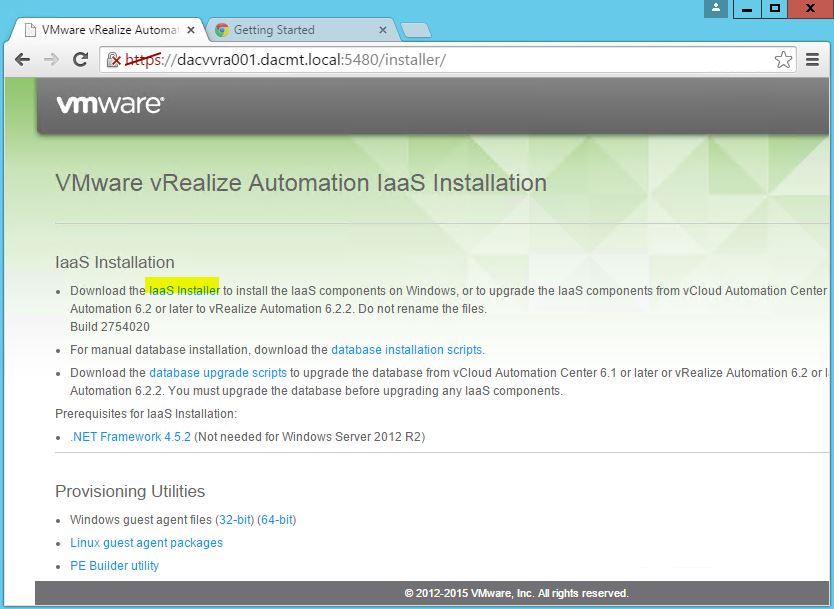
- On your designated IAAS server go to the following link in your browser
https://hostname.domain.name:5480/installer
- You should see this page
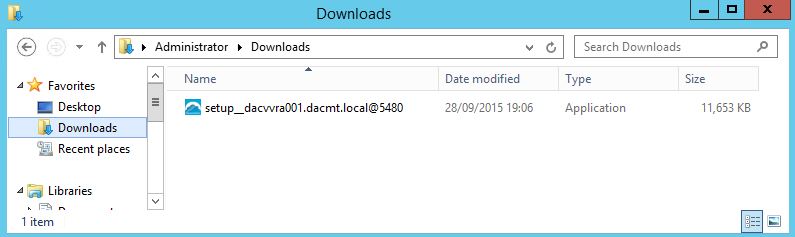
- Click IaaS Installer below and it will download the files into the Downloads folder
- You should now see the software as per below
- Right click and Run as Administrator
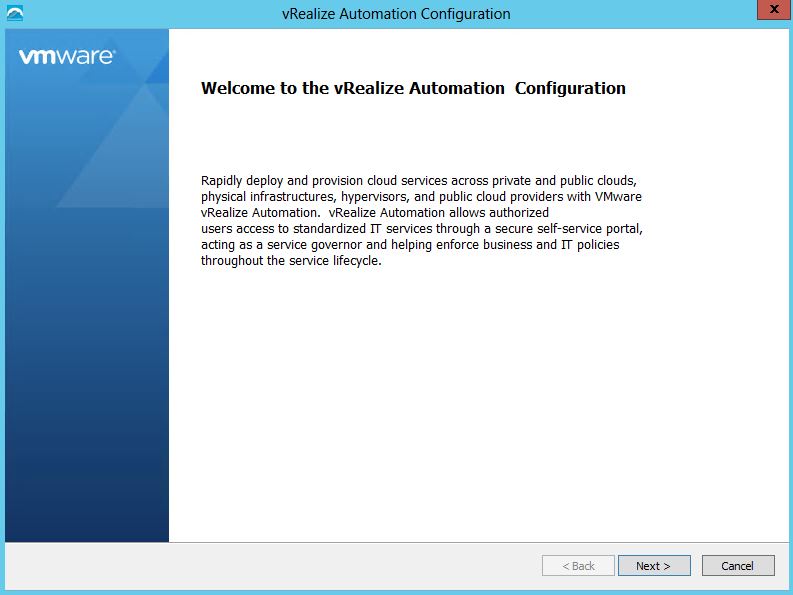
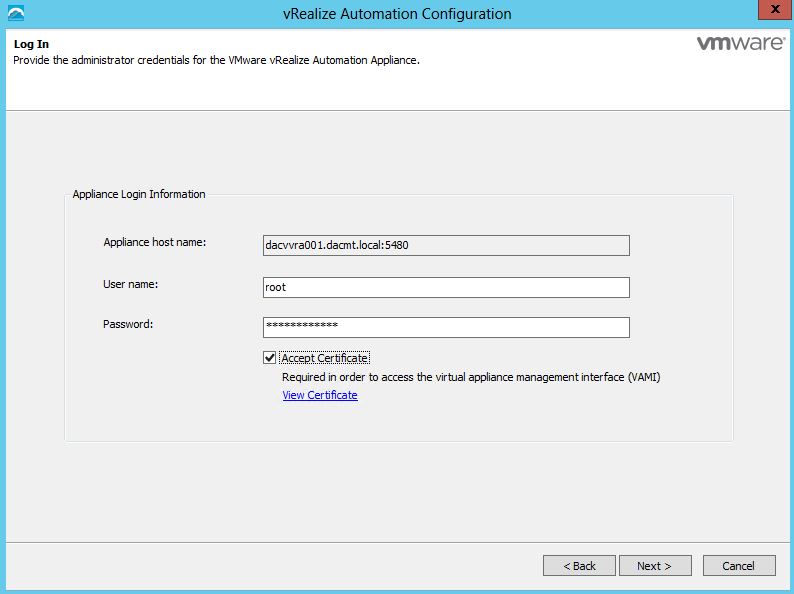
- You will see the IAAs wizard pop up
- Click Next
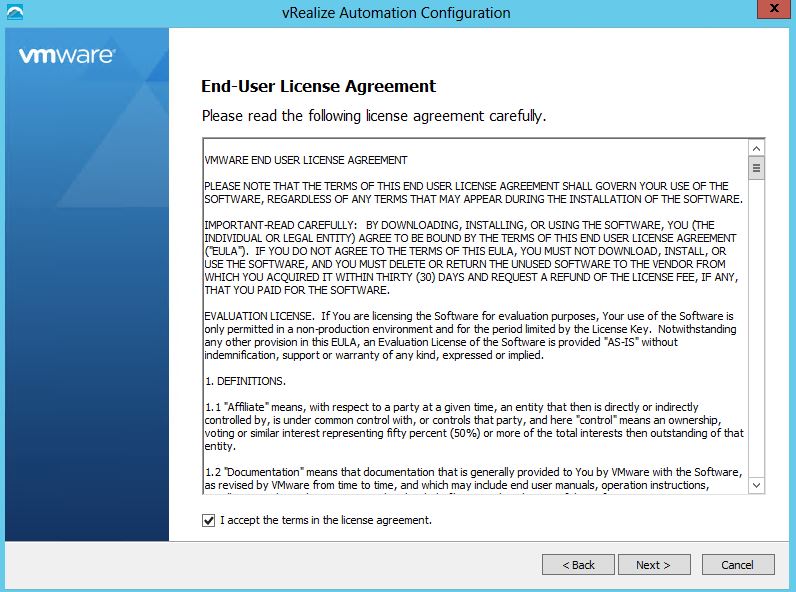
- Accept the license agreement
- Put in the username and password that you used to configure the vRA appliance prior to this
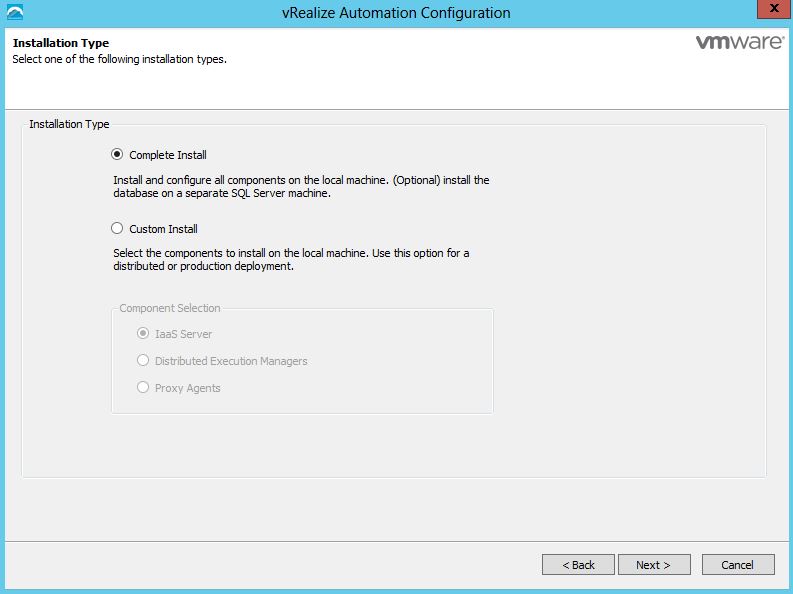
- Choose Complete Install
- Make sure all the pre-requisites are fulfilled. They should all be green. If not go back and fix any issues
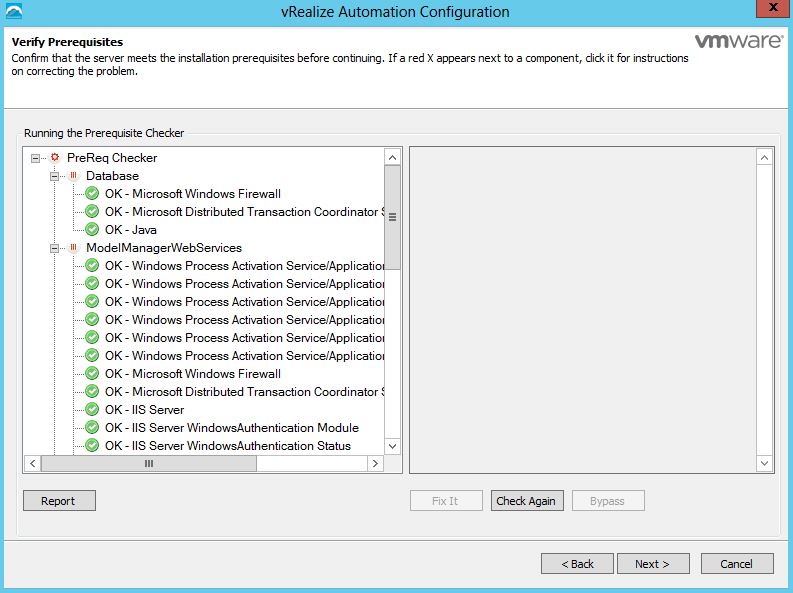
- Click Next
- You now have to enter your user installer password and a passphrase and your database info. Make sure the account you use for your database has the correct permissions to create the DB

- You might get the following messages come up and you will need to follow the instructions
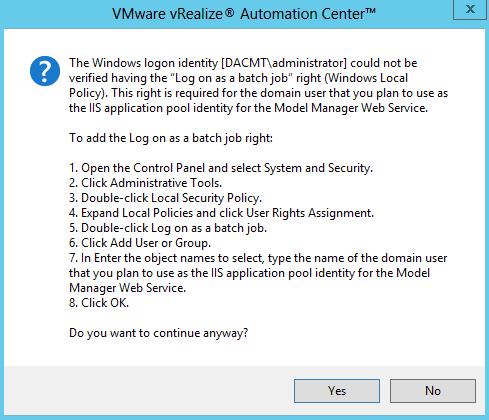
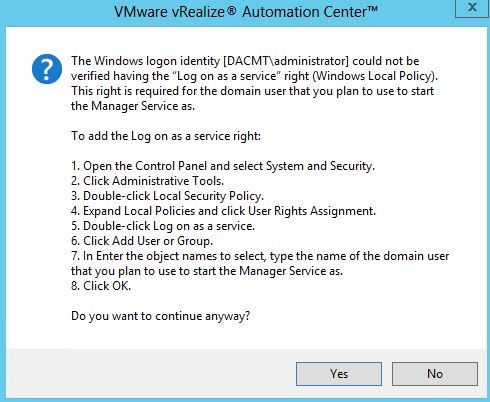
- Click next
- Accept all the defaults on the next page
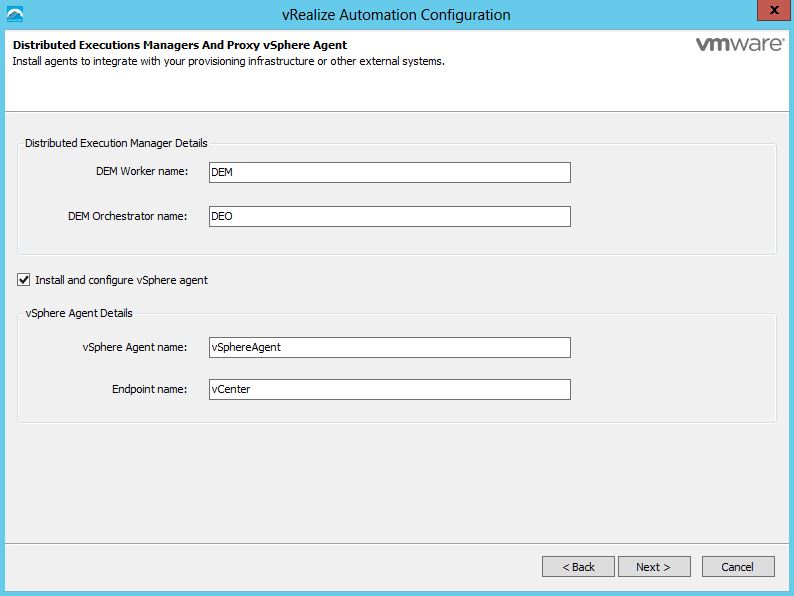
- Click Next
- Fill in all the relevant information on the Component registry screen
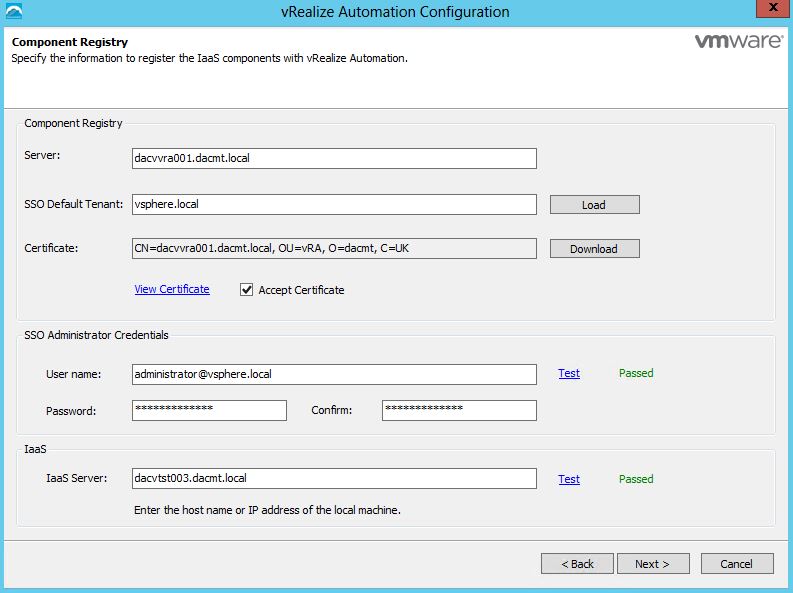
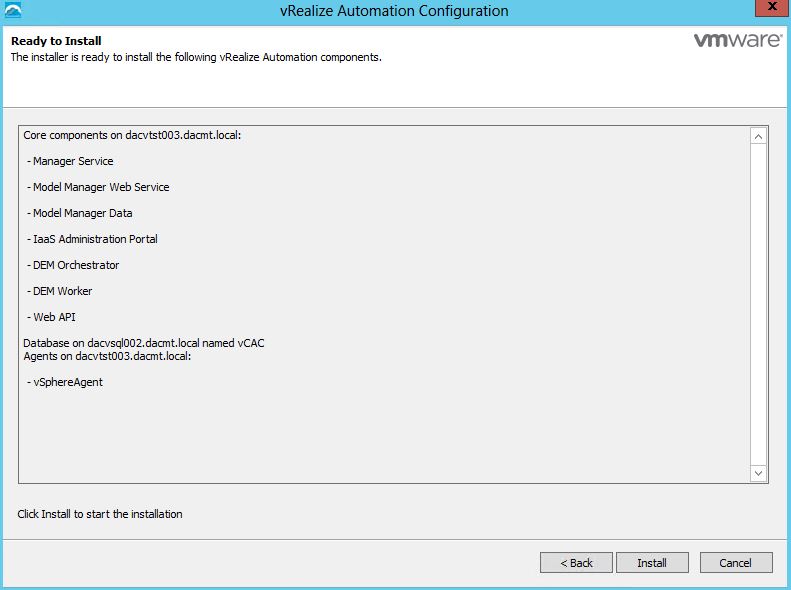
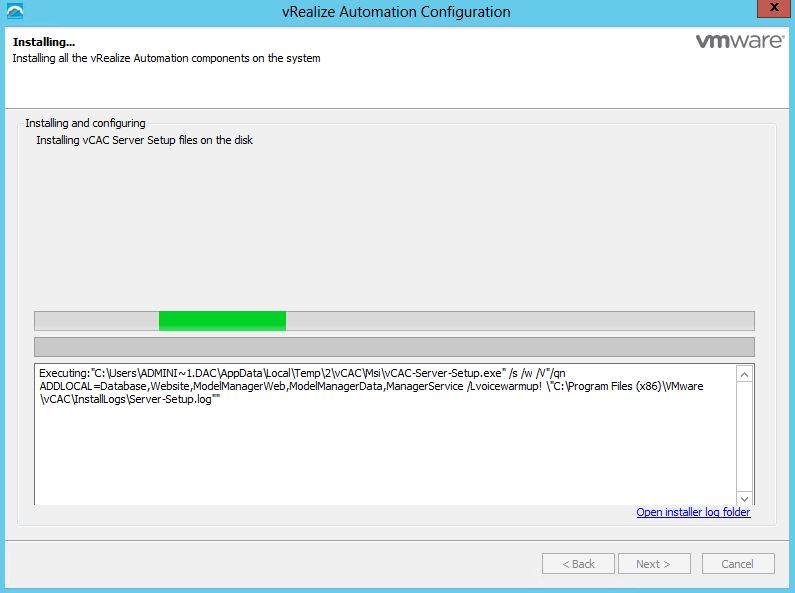
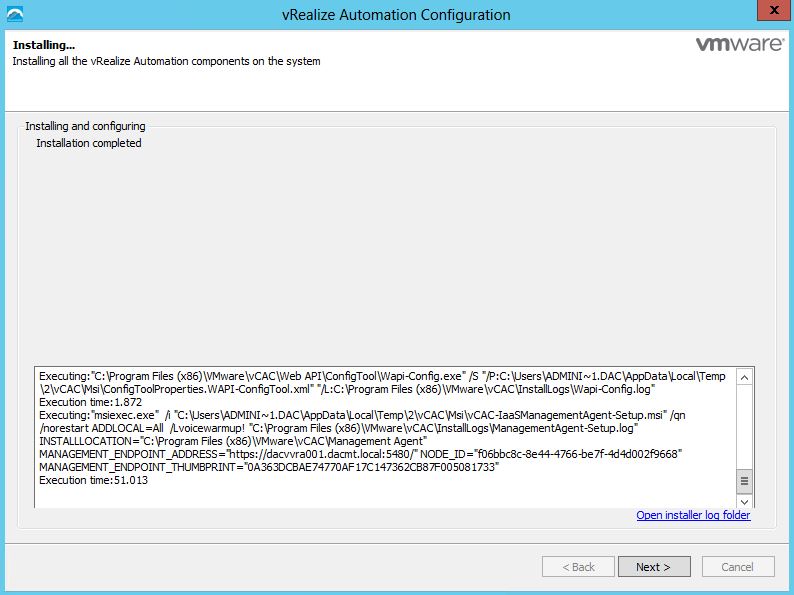
- Click Finish and wait for the installation to finish
- The next part of this series on vRA will focus on going deeper into the configuration of vRA and what we can do with this software including integration with vRealize Orchestrator and Advanced Service Designer 🙂
Important Information (Your service account password is changed)
Note: Just set password never expires on the user account basically unless a company has an absolute specific need to have a password policy which resets all passwords after a certain period of time.
You will see on the vRA appliance under services that iaas-service will be blank and no amount of rebooting will solve it!
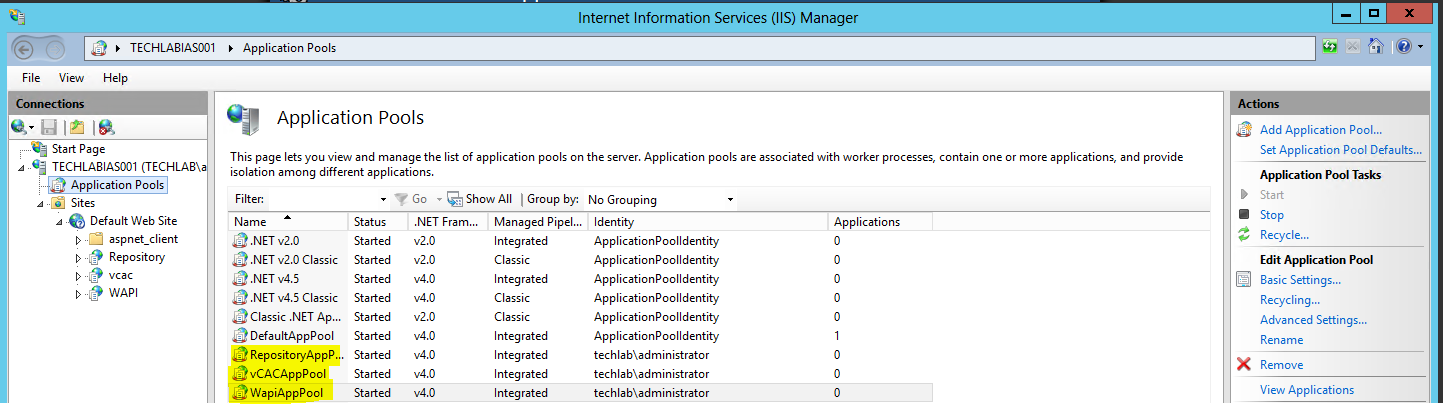
IIS Services
- The below vRA pools run under your service account identity. If you use a user account which has a password which expires then you will need to update all vCac services with the new password which is a pain in the backside (as I found out)
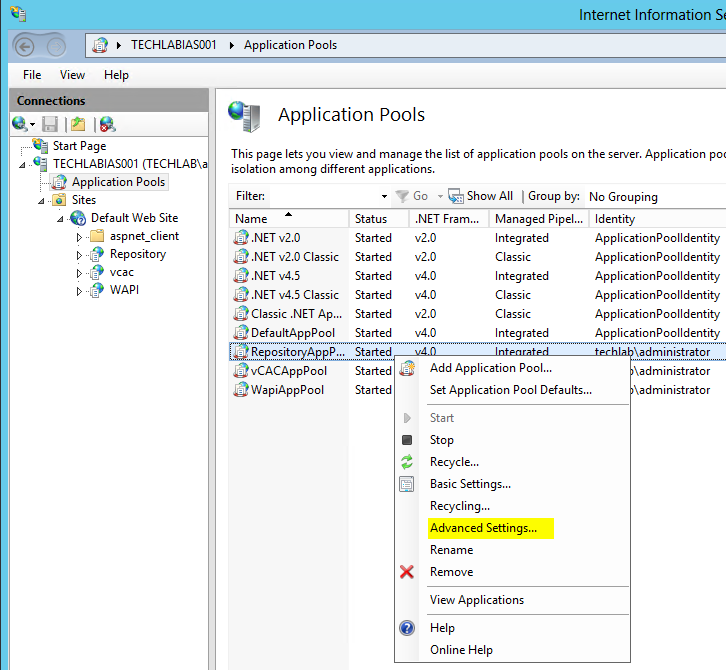
- To reset the pools, right click on each of the 3 pools one at a time and select Advanced settings
- You should see this
- Find the account and click the radio button and click set to change the username/password

- You will also need to change the Windows services to run under the new password