Extensibility
There are several challenges involved with automating self service provisioning to enforce governance, minimise user input and provide audit and accounting functionality. vRA can be transformed by using extensibility products such as Advanced Service Designer and VMware vCenter Orchestrator
vCenter Orchestrator
- Library of workflows and plug-ins which include VMware and partner developed solutions which facilitate integration with existing tools and infrastructure
- Orchestrator comes built in with vRA or an external Orchestrator server can be used in place of the built in server
- Blueprints can be created from vCenter Orchestrator workflows and published as catalog items
- Includes an API which allows an external ecosystem of partners to develop reusuable plugins.
- Using cluster mode configuration, a collection of Orchestrator nodes can work together and share a common database
- The extended REST API allows automatic configuration and installation of the necessary vCenter Orchestrator nodes
- The extended REST API also provides dynamic scale up and scale down of the orchestration capacity when Orchestrator is used with an external load balancer
- Fully equipped with a workflow debugger
Advanced Service Designer
- Service Architects can create and publish advanced services to the service catalog. Using the capabilities of ASD, custom resources can be created and mapped to vCenter Orchestrator types and defined as items to be provisioned and managed.
- Allows administrators to add custom logic to any of the 10 built in IAAS customisable workflows
- IAAS workflows are created using MS Windows Workflow Foundation which is a part of .NET Framework 4
- vRA also contains 6 state change workflow templates that can be edited to contain custom logic. These can call out to vRA for bidirectional integration with external management systems
- You can create up to 4 custom menus
- Provides a visual workflow editor for customising IAAS workflows
Use cases for extensibility
- Leverage existing infrastructure and future infrastructure (Multivendor and Multicloud)
- Configure personalised business relevant services by using custom properties or metadata tags
- Integration with 3rd party management systems (CMDB, iPAM, Load Balancers and Service Desk apps)
- ASD is a new feature in vRA 6. Administrators can leverage vCenter Orchestrator workflows and plugins and create new Day 2 operations as custom services
- vRA provides a RESTful API which can be used to call vRA application and infrastructure services from third party or custom applications
Plugins
Available plugins can be found at http://solutionexchange.vmware.com
Custom Services
The following are examples of what can be done
- New employee onboarding
- E-mail box setup
- Storage and networking services
- Backup and recovery
- Security and compliance
- Software install/update
- Password management
Cloud Util
CloudUtil is a command line interface to Model Manager. It enables admins to install, configure and update entities in the Model Manager. It also
- Creates and manages skills
- Stores and manages files
- Installs custom machine operations
With a vRA Development Kit License, additional functionalities are available such as
- Installing and managing custom workflows and models created in MS Visual Studio
- Install custom models and supporting assemblies
- Generate client classes for a custom model
- Install custom events and schedules used to trigger workflows
- Install new workflows
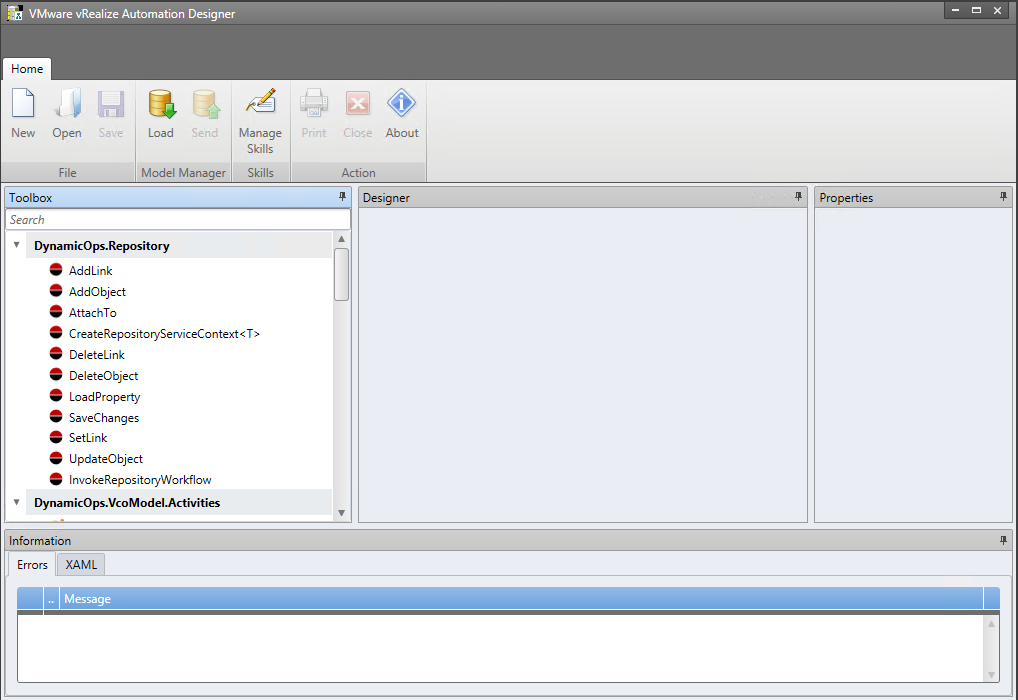
The ASD Console
The Toolbox pane
The Toolbox pane provides access to the vRA workflow activity library where activities for using PowerShell and vCenter Orchestrator integrate vRA with external systems. Common activities used in workflows include
- InvokeRepositoryWorkflow = Executes a workflow installed in Model Manager
- GetMachineName = Gets a machine’s name
- GetMachineOwner = Gets a machine’s owner
- GetMachineProperties = Gets the list of custom properties associated with a machine
- GetScriptFromName = Get’s contents of the script stored in the Model Manager under the specified name
- InvokePowerShell = Executes a PowerShell command
- InvokeSshCommand = Executes an SSH command
- LogMachineEvent = Logs a machine event to the user log that is visible to the machine owner
- RunProcess = Exceutes a process on the same machine as the DEM that executes this activity
- SendEmail = Sends an email to the given set of addresses
- SetMachineProperty = Creates or updates a custom property on the machine
- InvokeVcoWorkflow = Calls a vCenter Orchestrator workflow and blocks further execution of its parent vRA workflow until the vCenter Orchestrator workflow completes
- InvokeVcoWorkflowAsync = Calls a vCenter Orchestrator workflow and continues to execute activities in vRA without waiting for the vCenter Orchestrator workflow to complete
Extending built in Workflows using Workflow templates
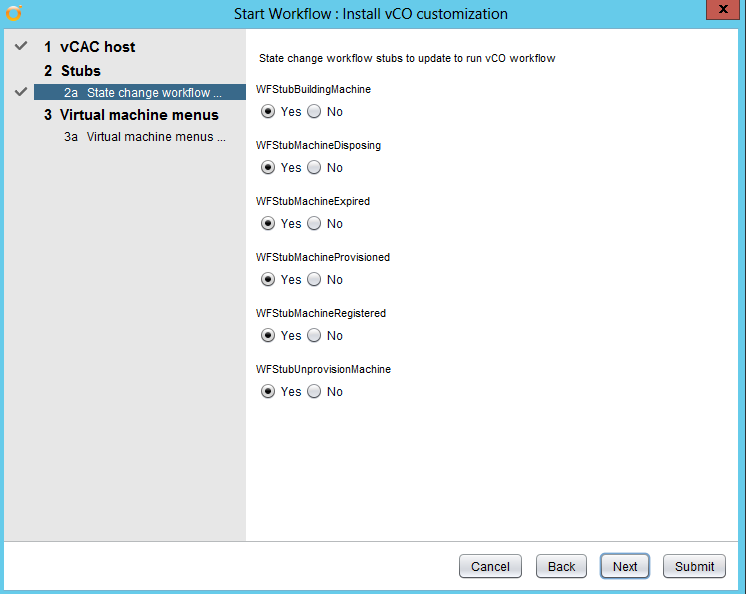
Using ASD, the 10 out of the box workflow templates can be modified to implement custom logic. 6 of these are State change templates and 4 are menu operation workflow templates
The 6 State Change Templates
Each of these 6 state change templates ma to a specific state of the machine lifecycle. They can be modified and then referenced against a blueprint so the customisation can be applied to a machine derived from that template. As an example all machines might require a custom name derived from a naming convention. Using the WFStubBuildingMachine workflow template could meet this criteria
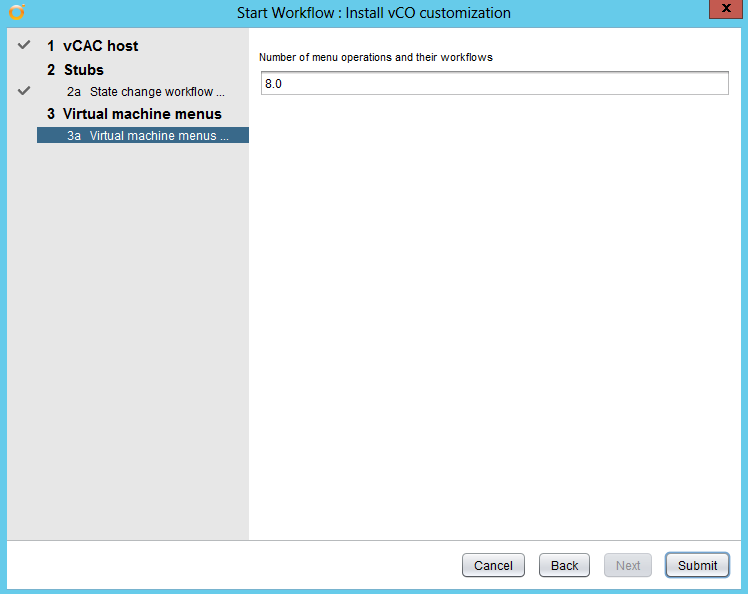
The 4 Menu Operation Workflow Templates
These 4 templates can be used to implement 4 custom menus with their own functionality. Menu operation workflows are implemented when a user selects a menu from the vRA console. An example could be a menu that enables a user to backup a machine
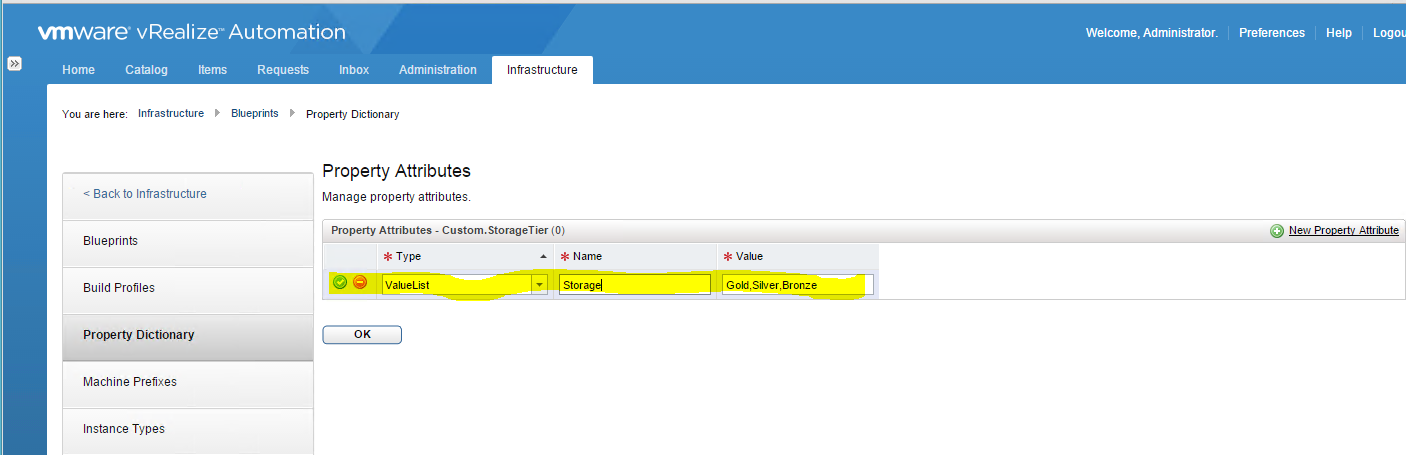
Defining variables
Defining variables is a critical step in the extensibility process. Information must be defined that is required for the workflow and is the source of that information.
For example. The MyScriptText variable is a string and is used to identify the custom code to be loaded from the PowerShell script which is loaded into Model Manager
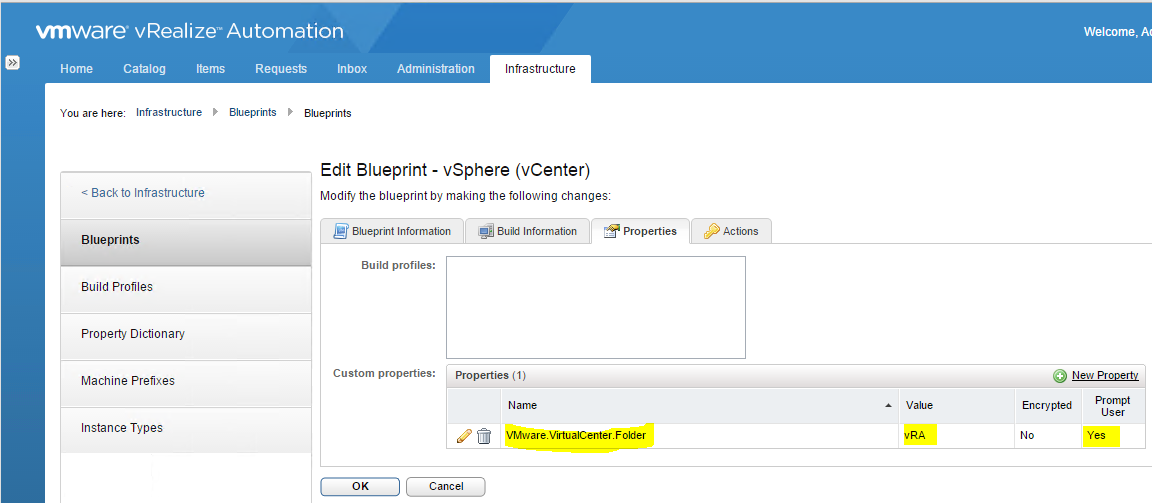
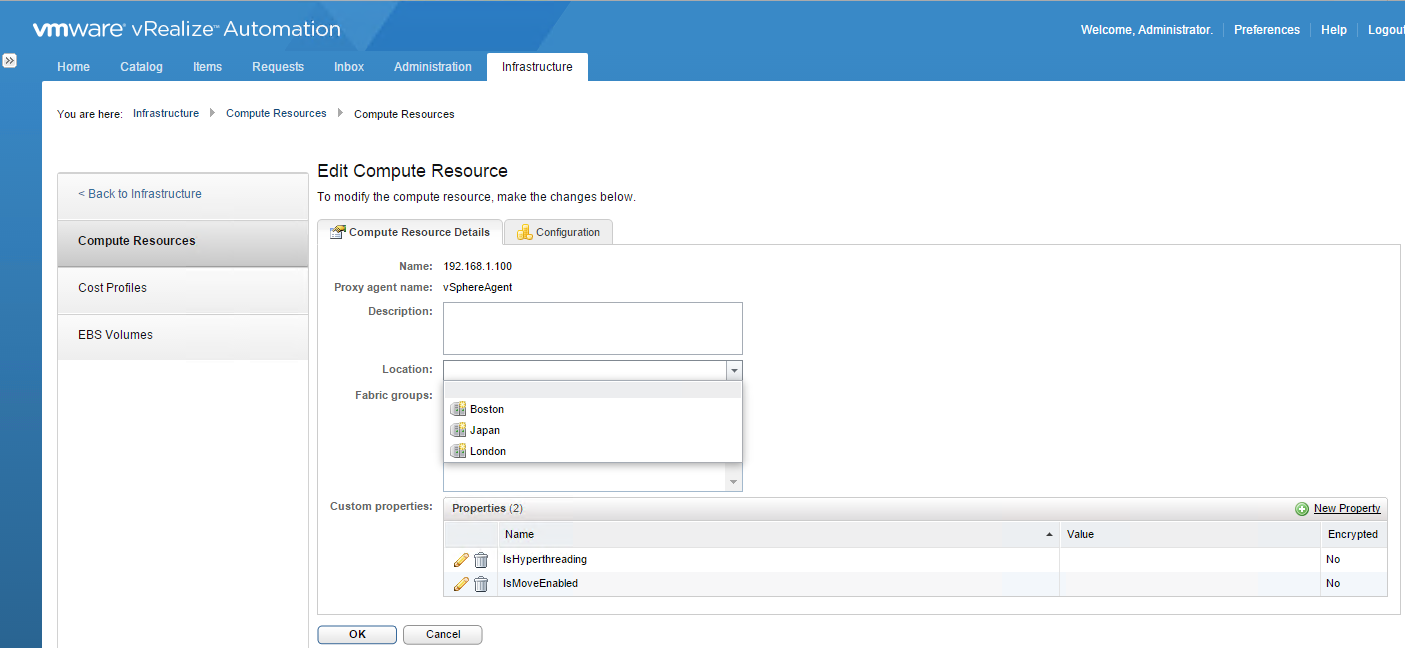
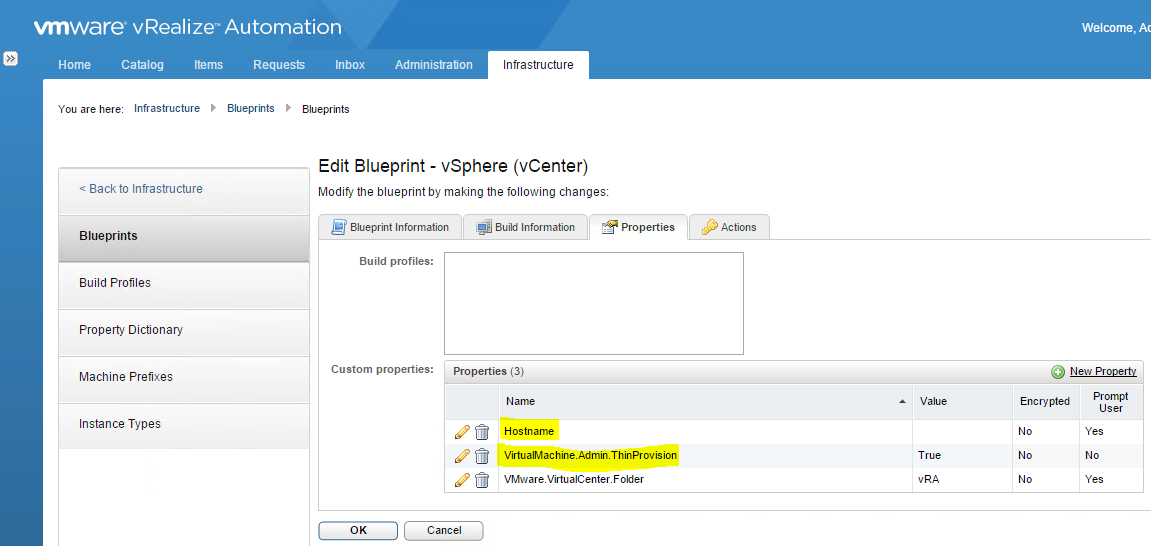
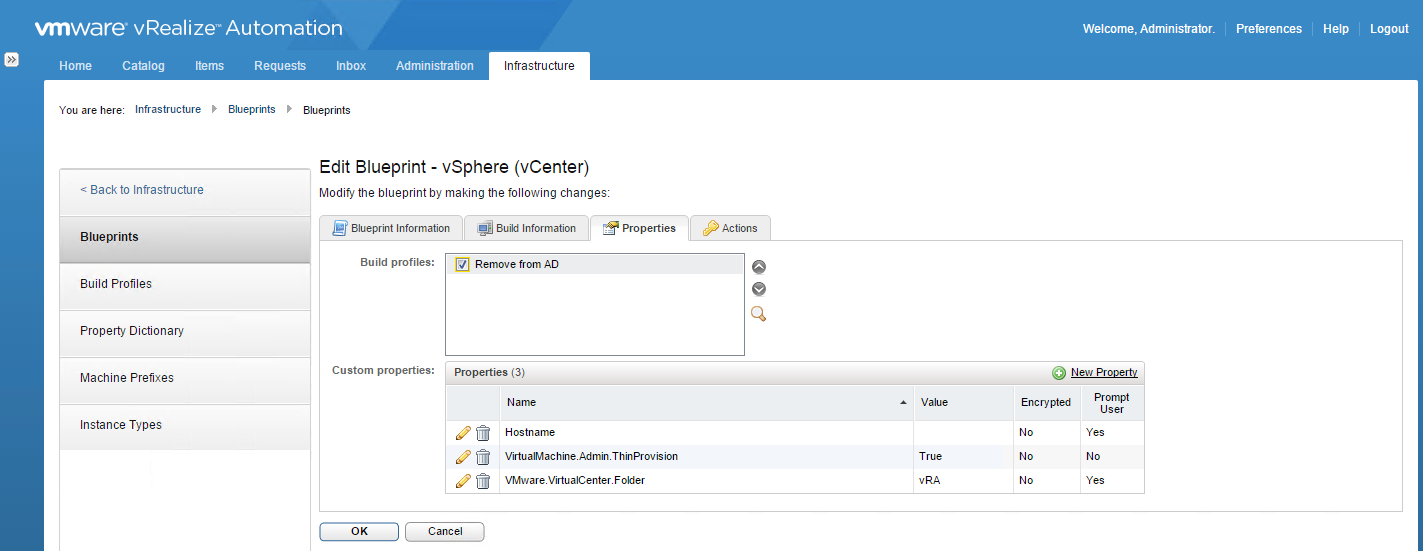
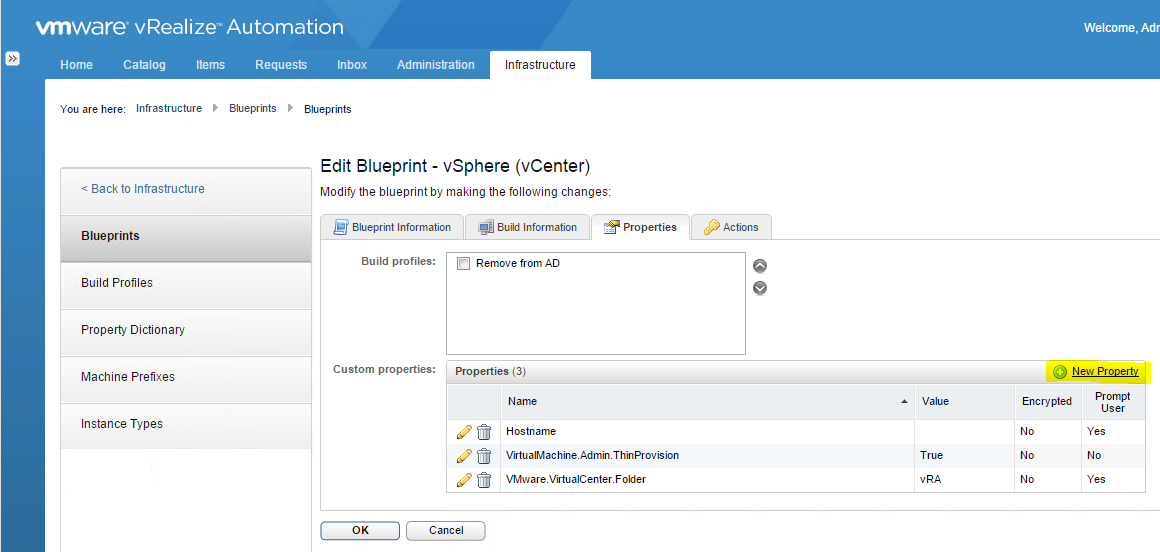
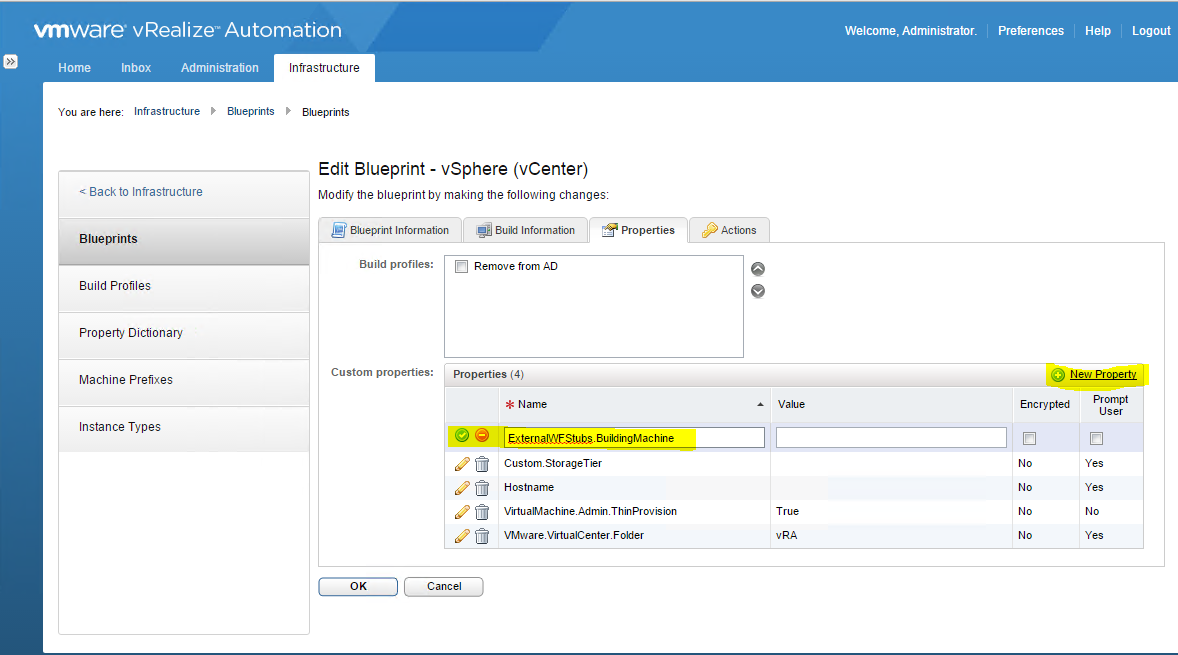
Adding State Change Workflow Template to a Blueprint
- Go to Infrastructure > Blueprints > Blueprints > Edit your Blueprint
- Select Properties
- Select New Property
Workflow Versioning
You can always revert back to previous versions of a workflow stub by loading the version you want and sending it back. You don’t overwrite the existing version as it created a more recent version which becomes the default version. The Model Manager might store and display multiple versions of a workflow but the DEMs always execute the most recent version of a workflow and not earlier versions
Working with a vCenter Orchestrator Workflow
Workflows can be called synchronously or asynchronously. Some workflows require user interaction and the prompt appears in the vCenter Orchestrator client rather than vRA. To avoid this don’t use workflows which require user interaction from vRA
The InvokeVcoWorkflow calls a vCenter Orchestrator workflow and blocks further execution of it’s parent vRA workflow until the vCenter Orchestrator workflow completes
The InvokeVcoWorkflowAsync calls a The InvokeVcoWorkflow workflow and continues to execute activities in the vRA workflow without waiting for the vCenter Orchestrator workflow to complete
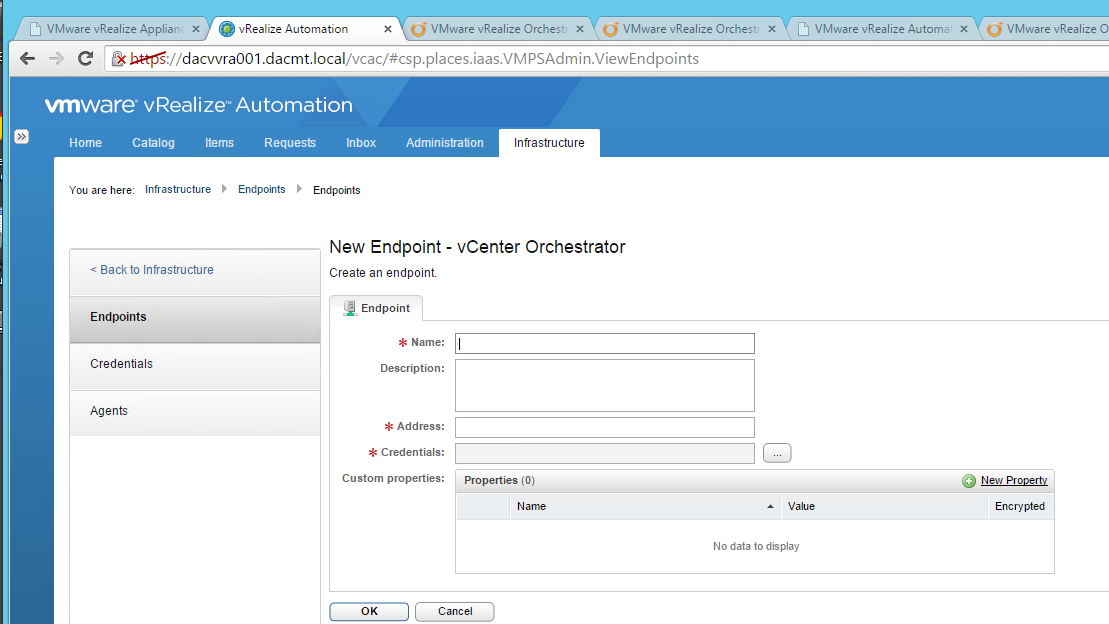
vCenter Orchestrator as an endpoint
vRA must be defined as an endpoint to use vCenter Orchestrator
Workflows are built mainly by using existing building blocks
- Workflows
- Actions
- Resource Elements
- Predefined scriptable tasks
There are more than 200 ready to use workflows included with vCenter Orchestrator
vCenter Orchestrator integration techniques
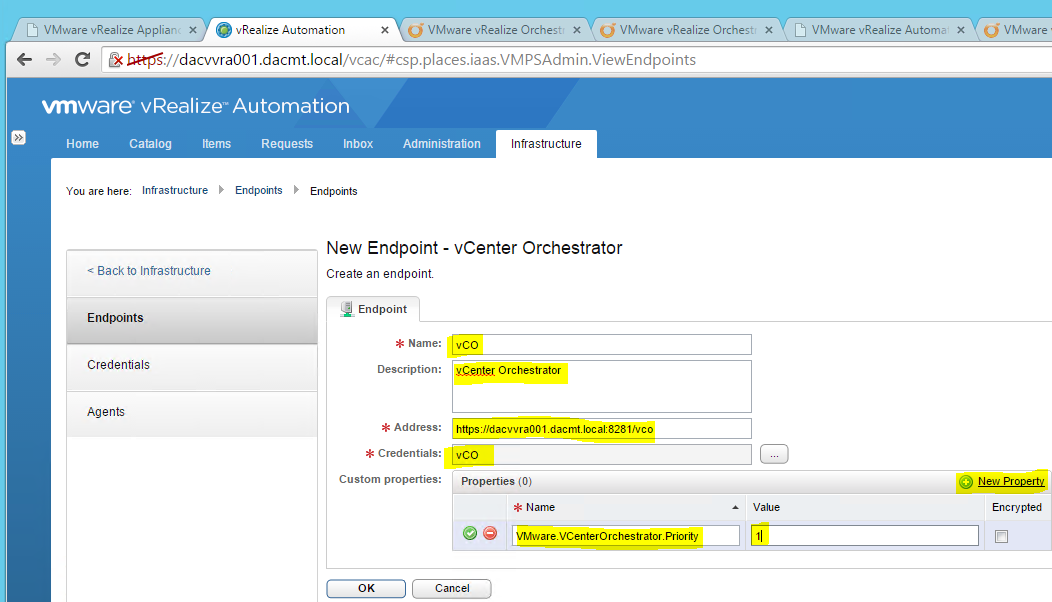
- Create a vCenter Orchestrator endpoint in vRA
Using an endpoint, vRA can invoke vCenter Orchestrator workflows
At least one vCenter Orchestrator endpoint is required
Each endpoint must have a unique priority
- Install vRA plug-in into vCenter Orchestrator
Using a plug-in, vCenter Orchestrator can manage vRA entities
A plug-in automates the configuration of vRA IAAS workflows
A plug-in includes many predefined workflows
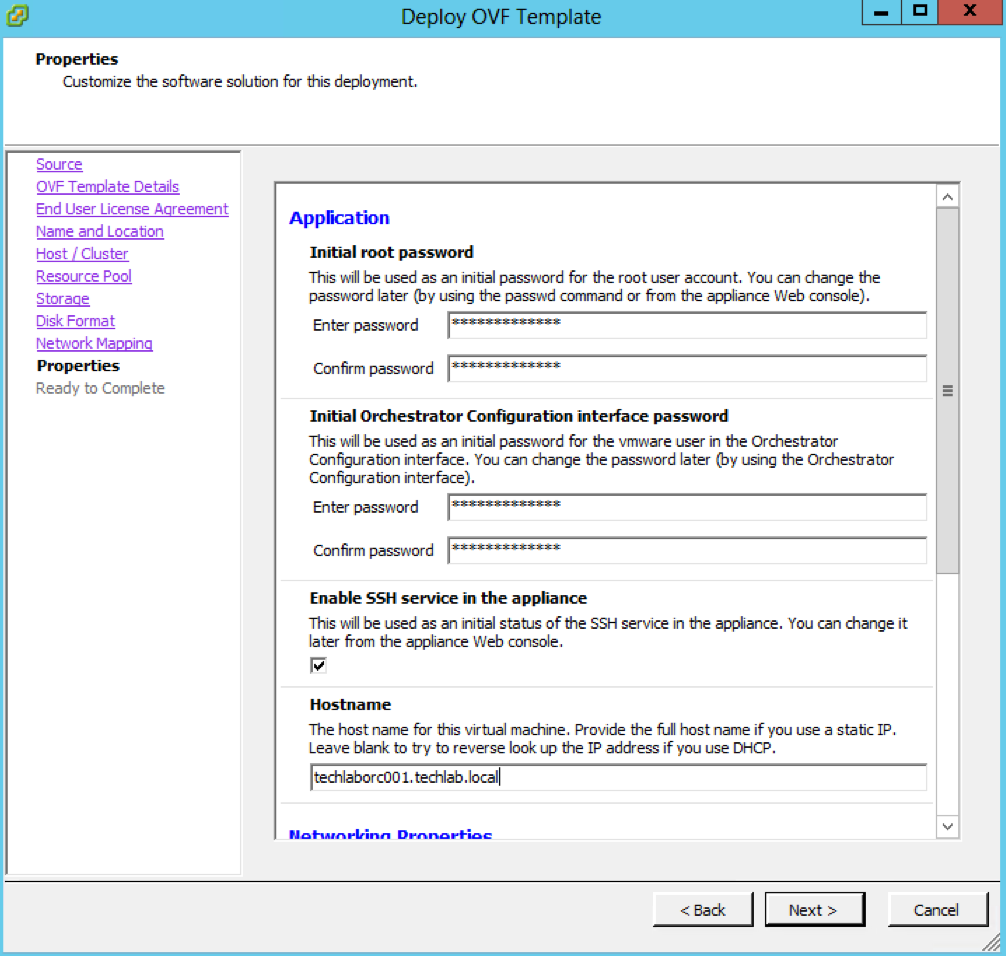
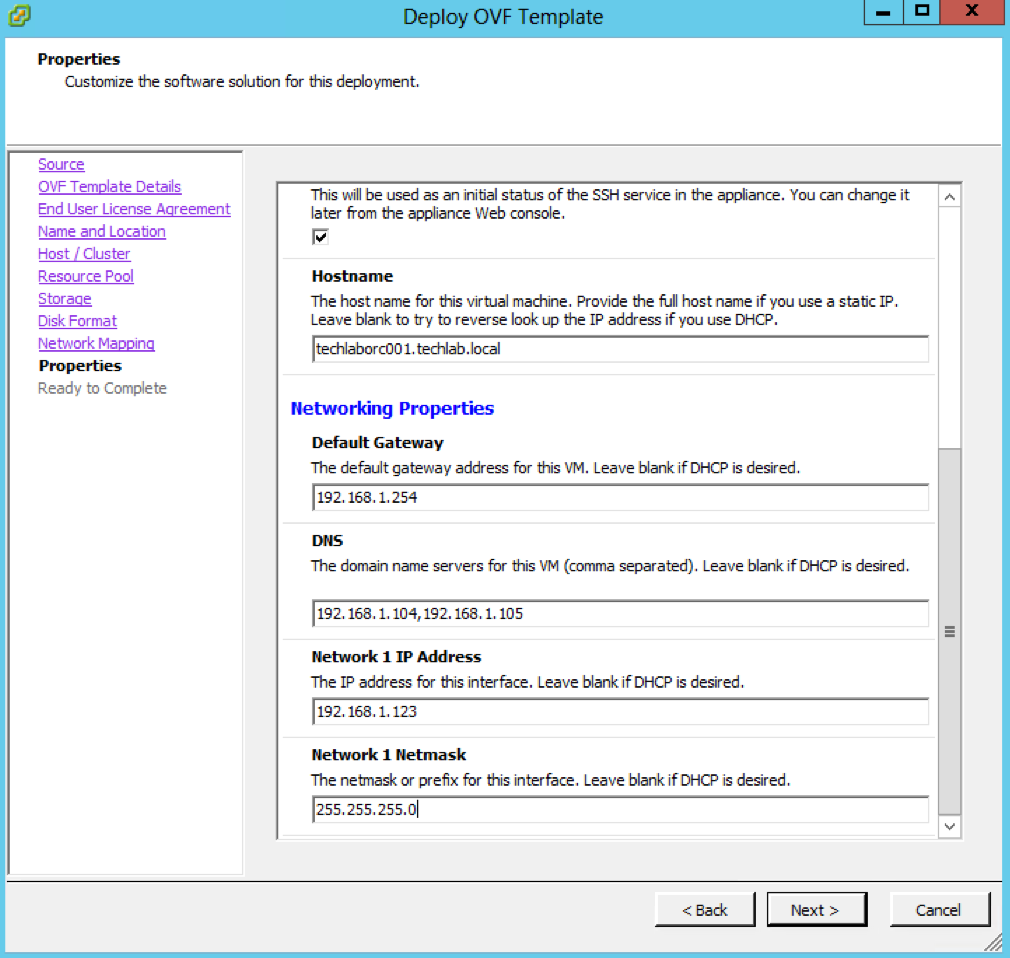
Configure an embedded vCenter Orchestrator
vRA includes a built in version of Orchestrator which can be used for running workflows in additional to separate external Orchestrator services
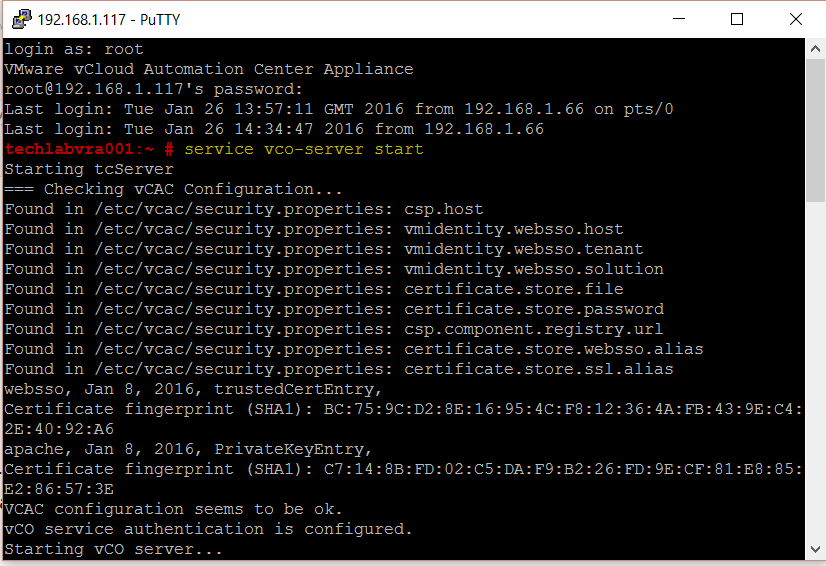
- Putty into the vRA appliance (where the embedded Orchestrator is)
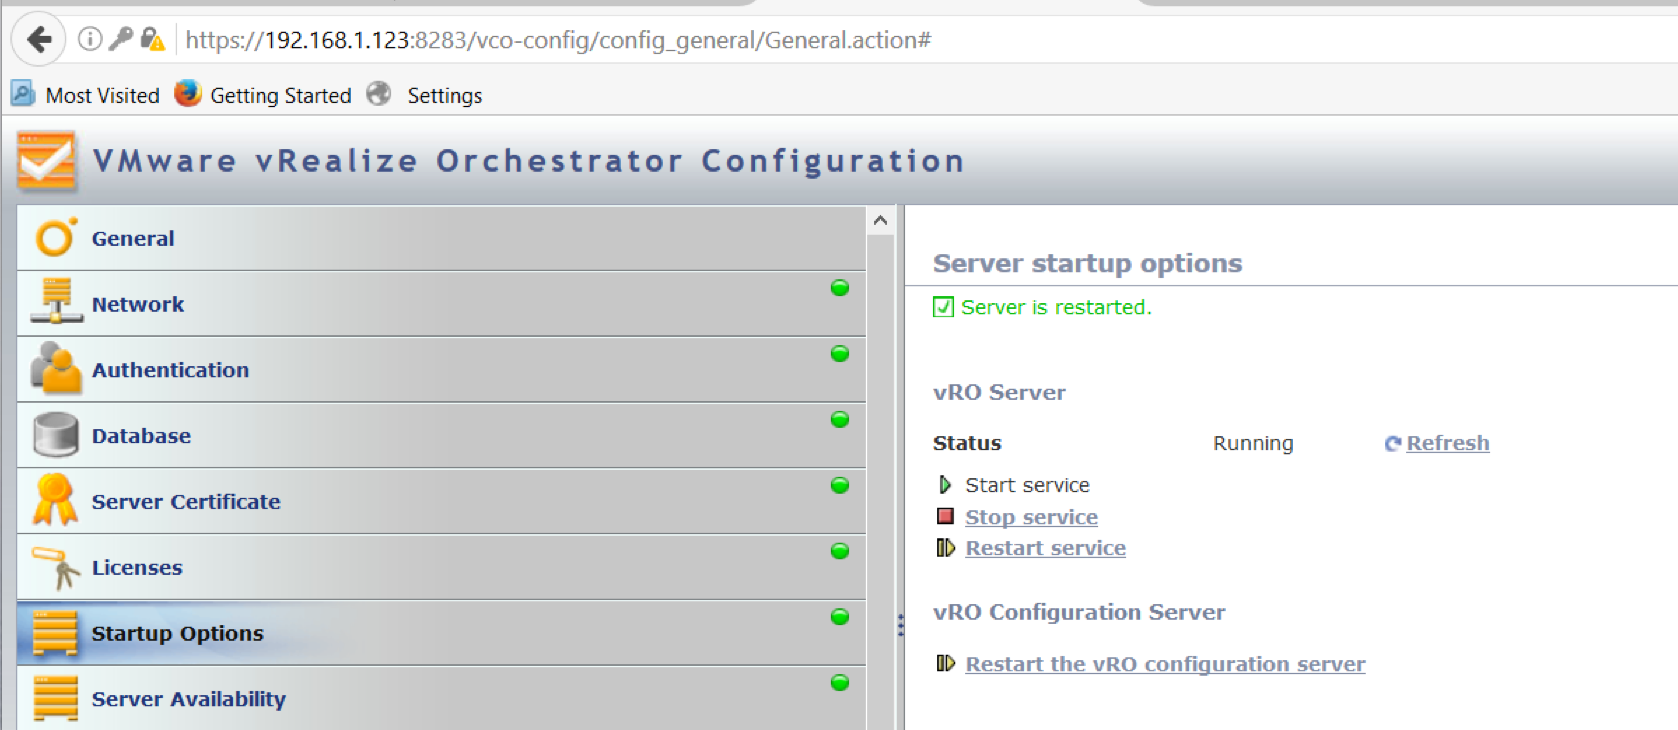
- First start the vco-server service
- Type service vco-server start
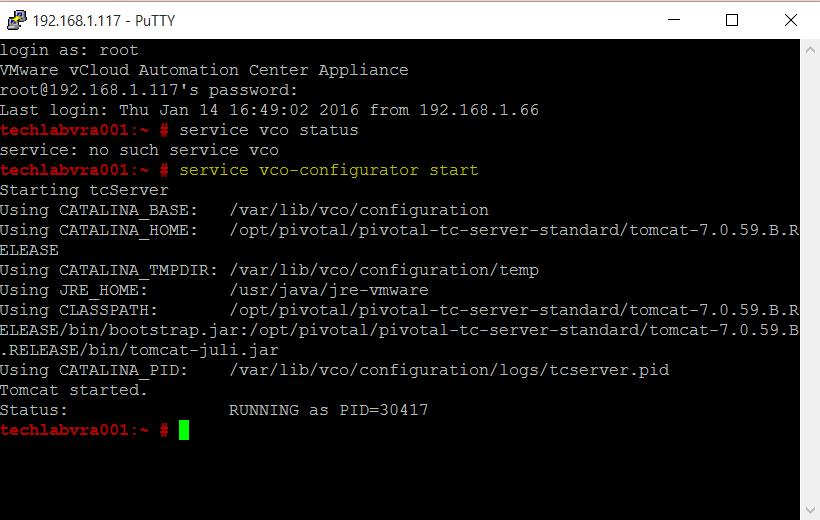
- Next start the vco-configurator service by logging into the vRA appliance via Putty and typing service vco-configurator start
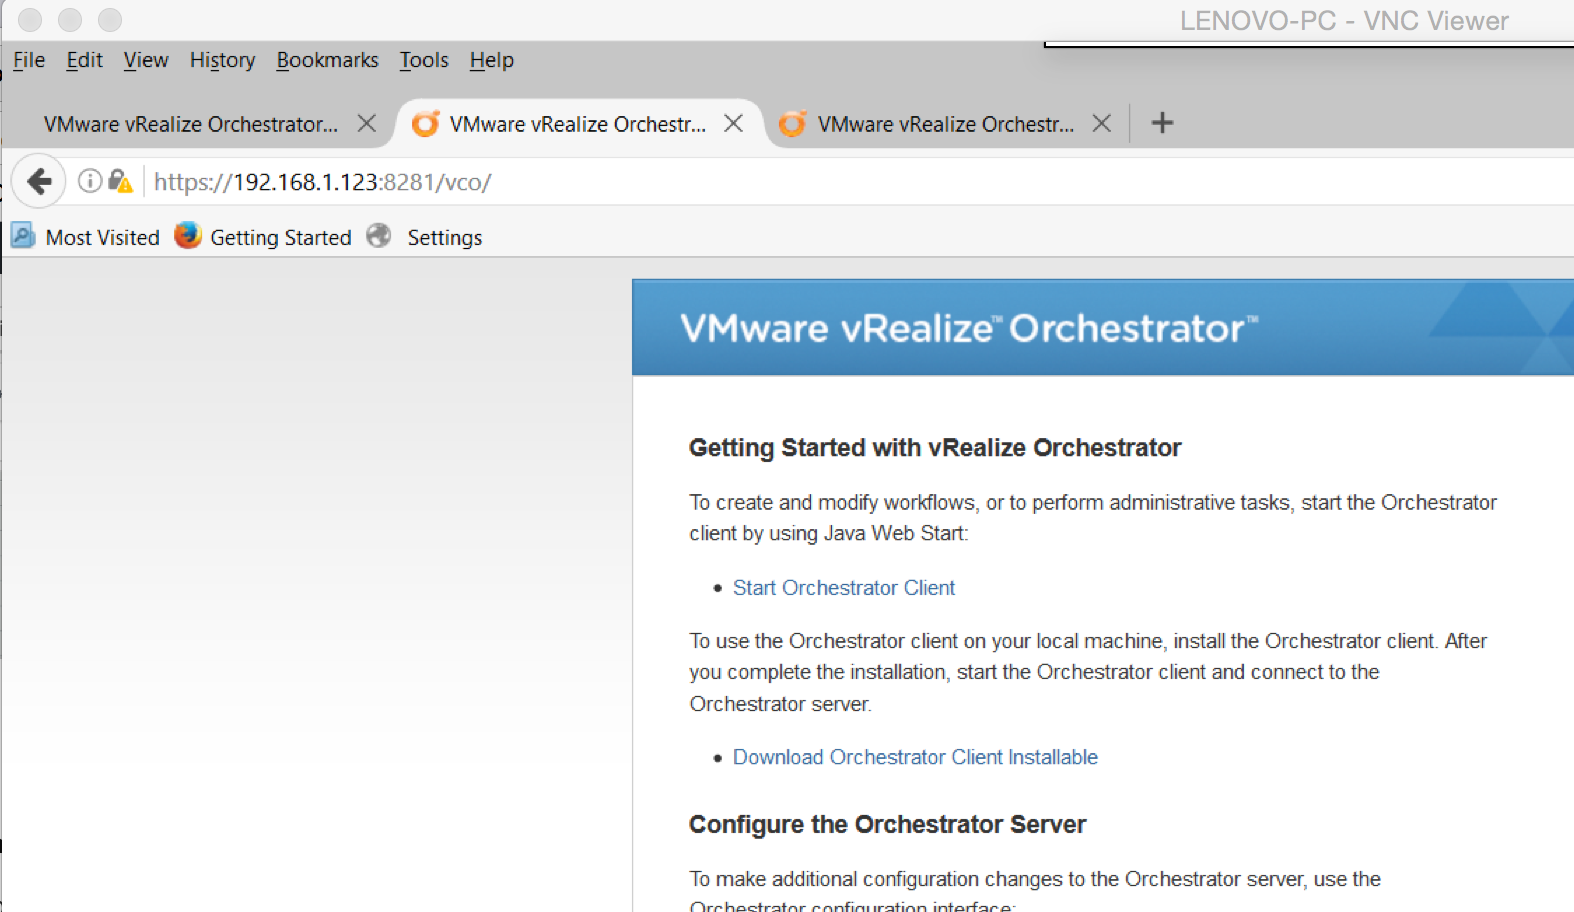
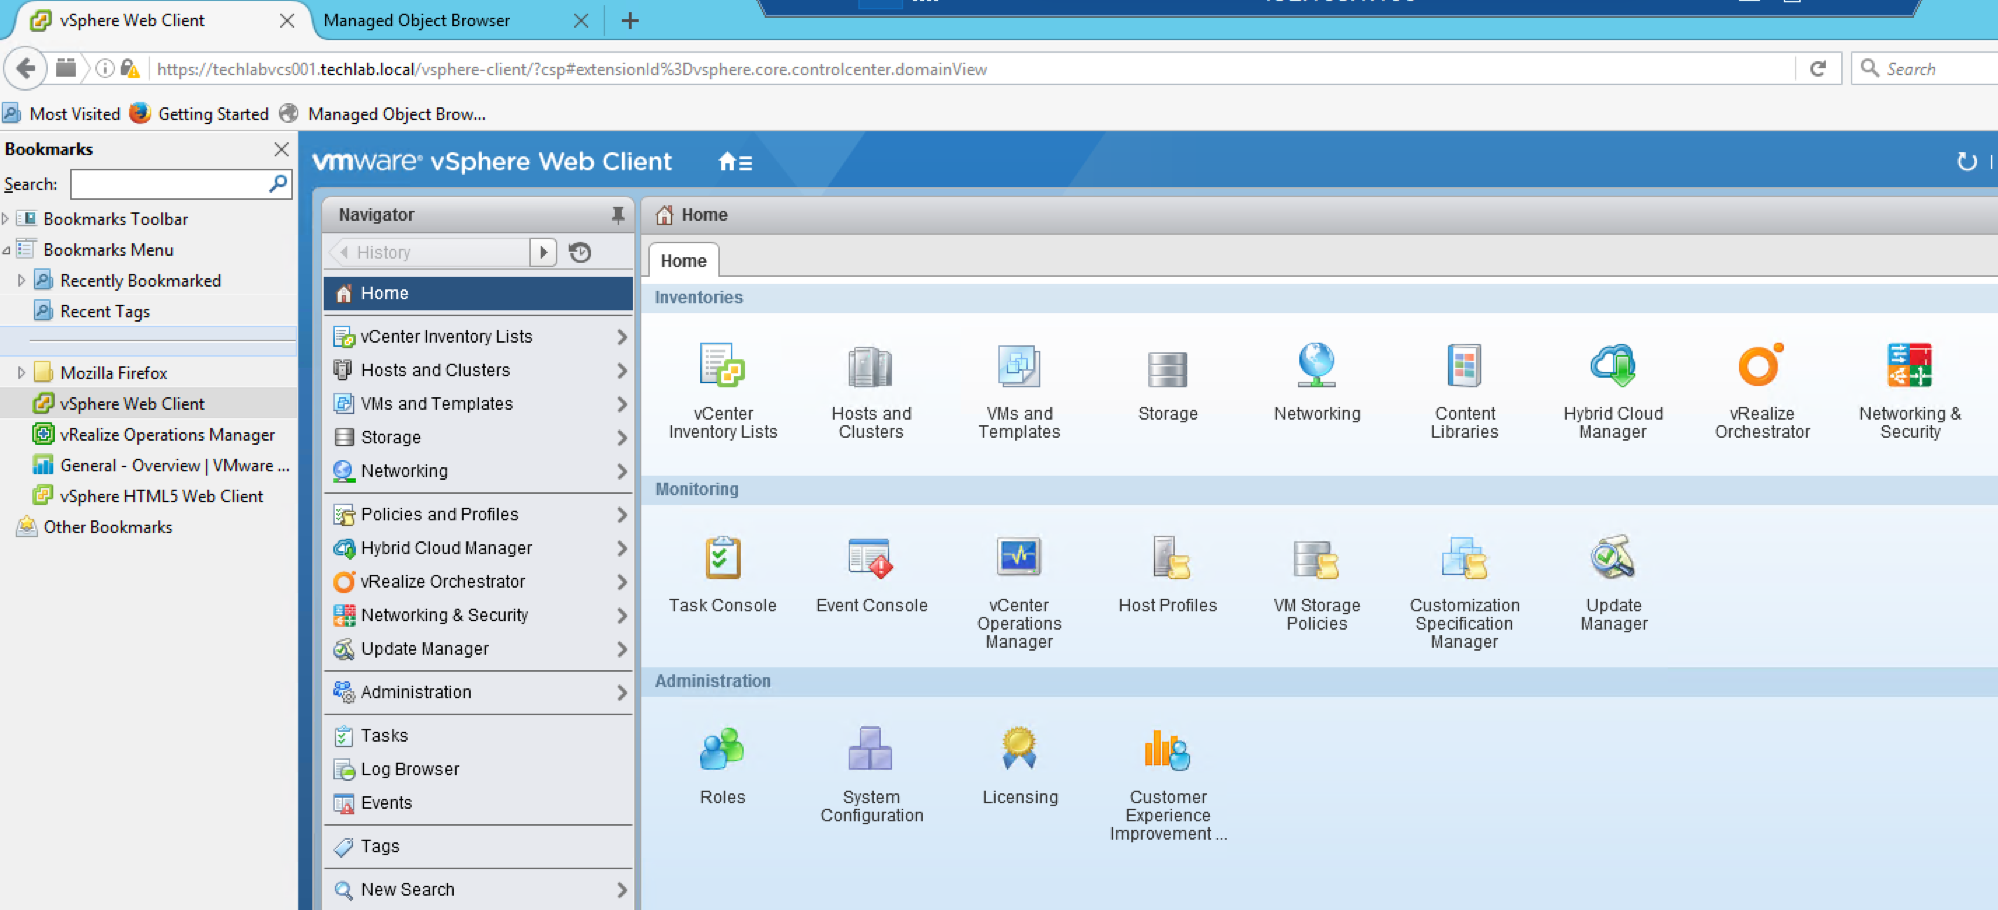
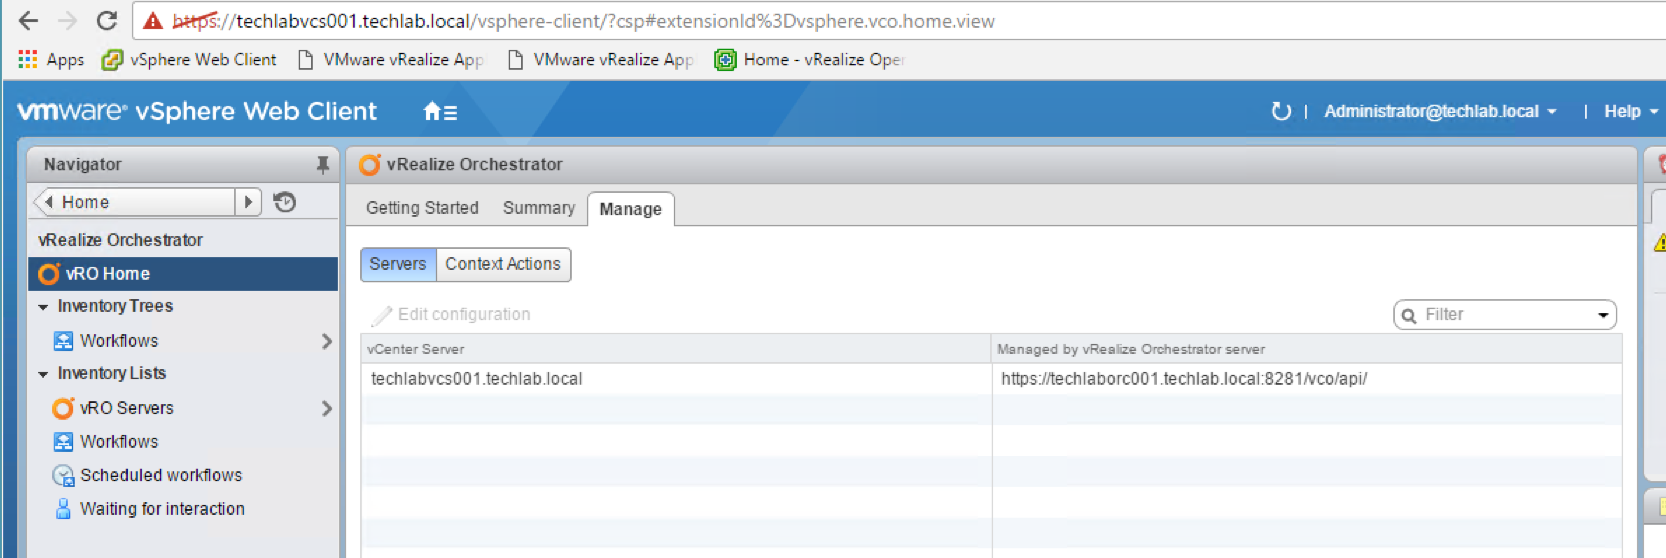
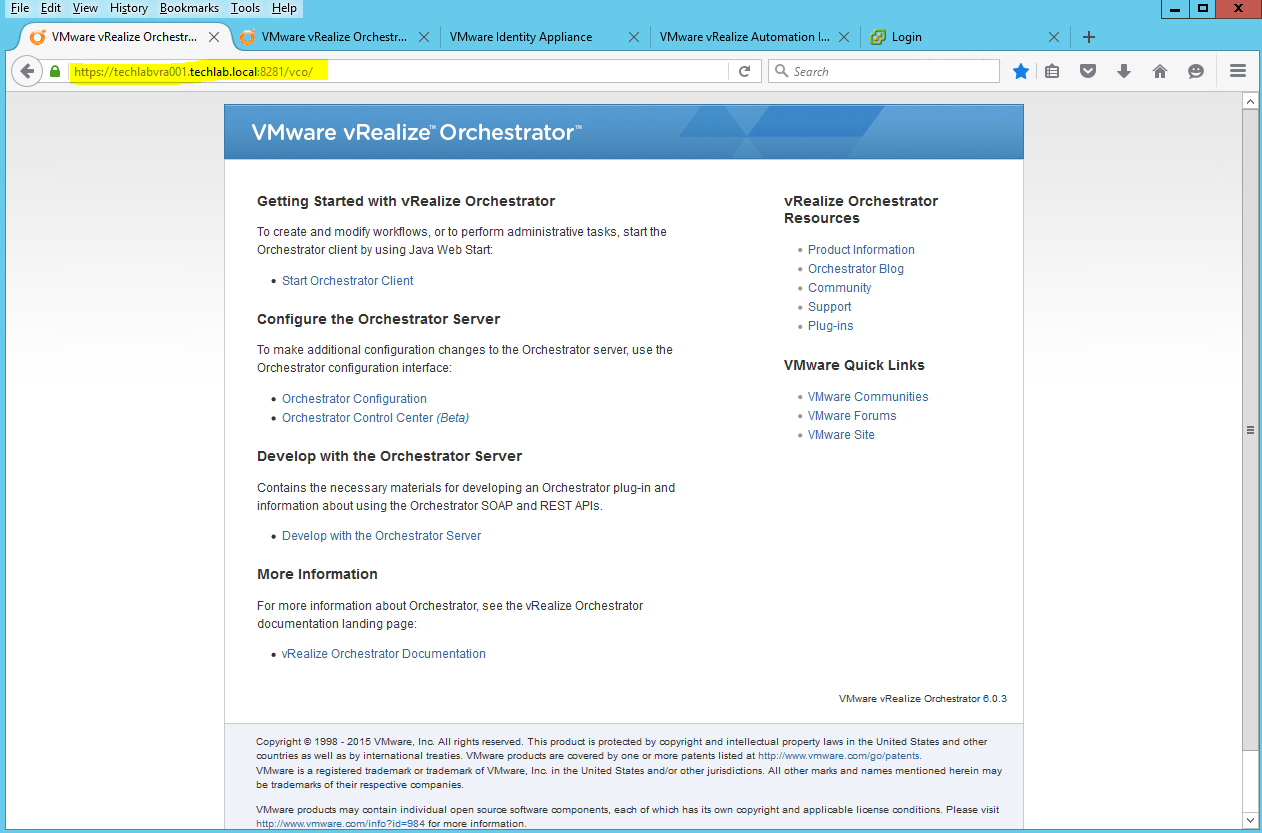
- Navigate to https://your-VA-appliance:8281/vco
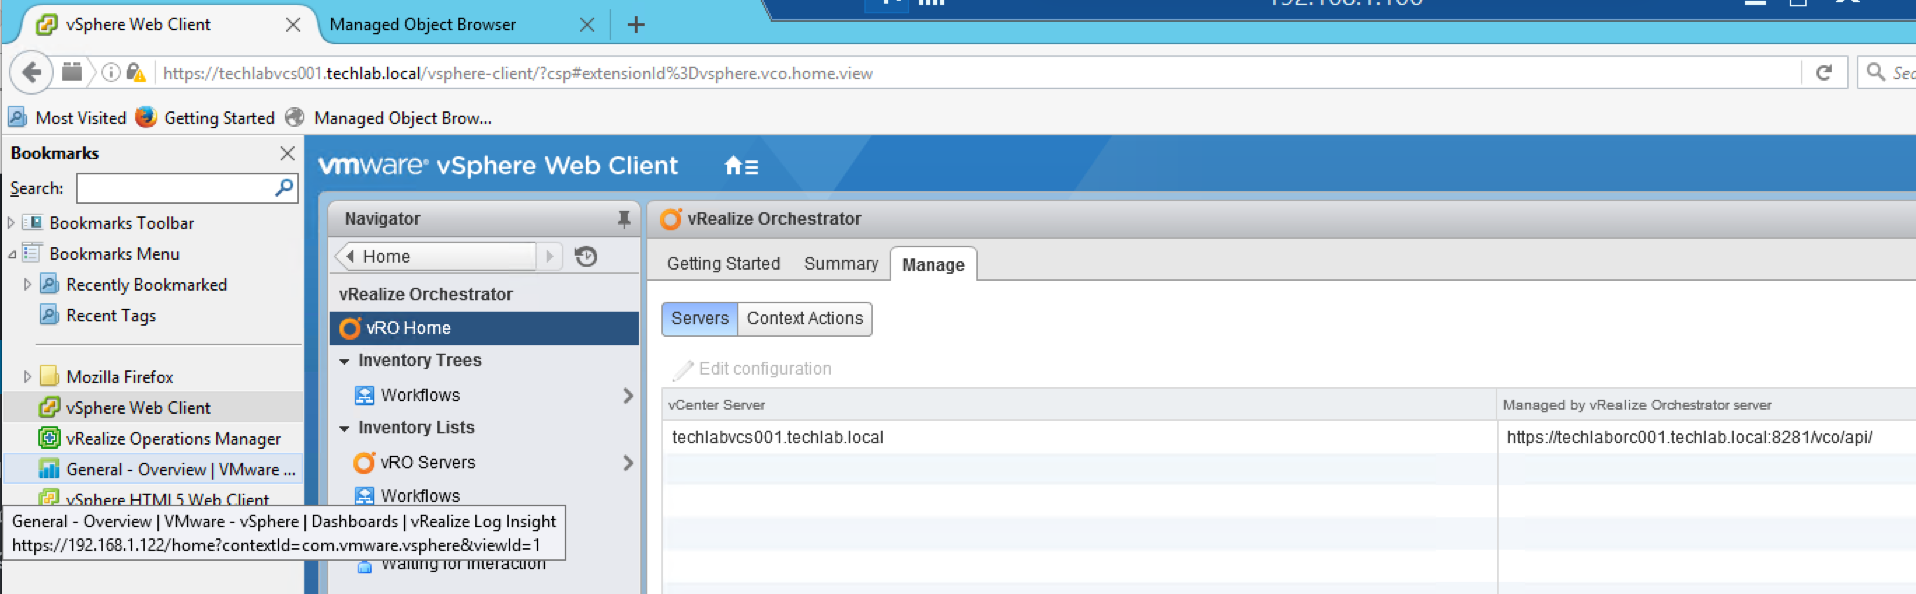
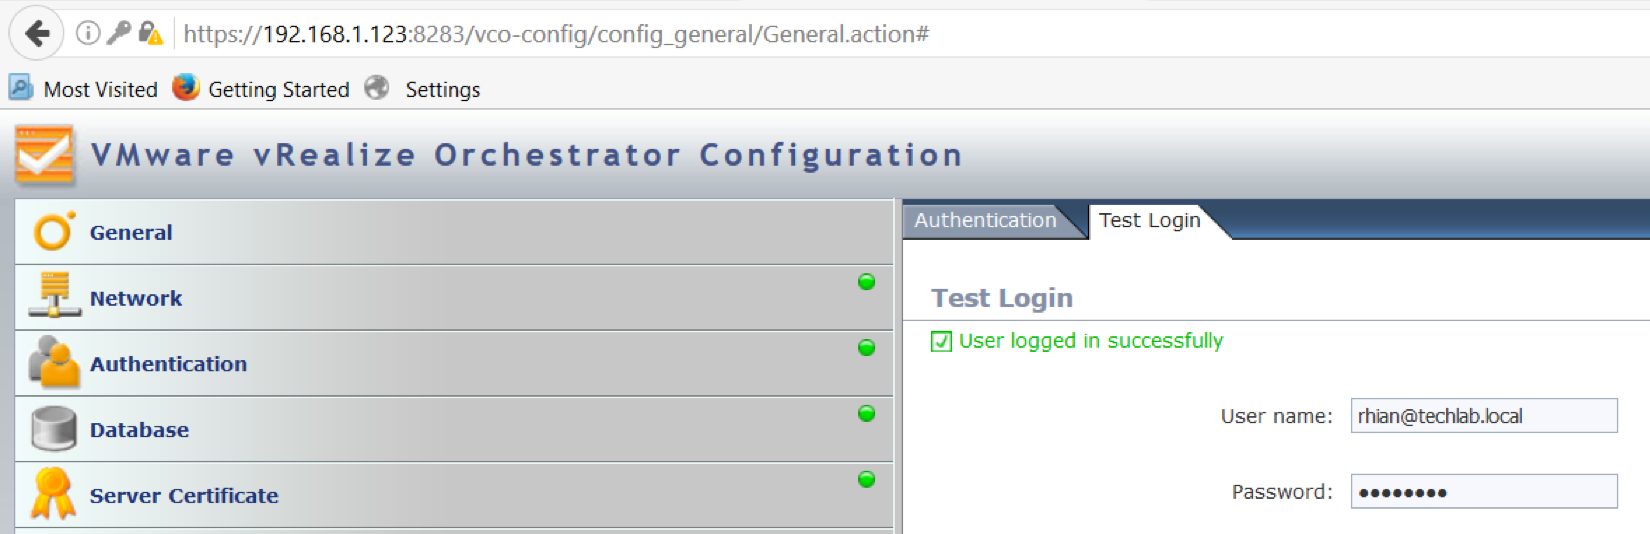
- If you have an issue accessing the Orchestrator webpages, you can check in vRA whether then Orchestrator service is connected by clicking Test Connection
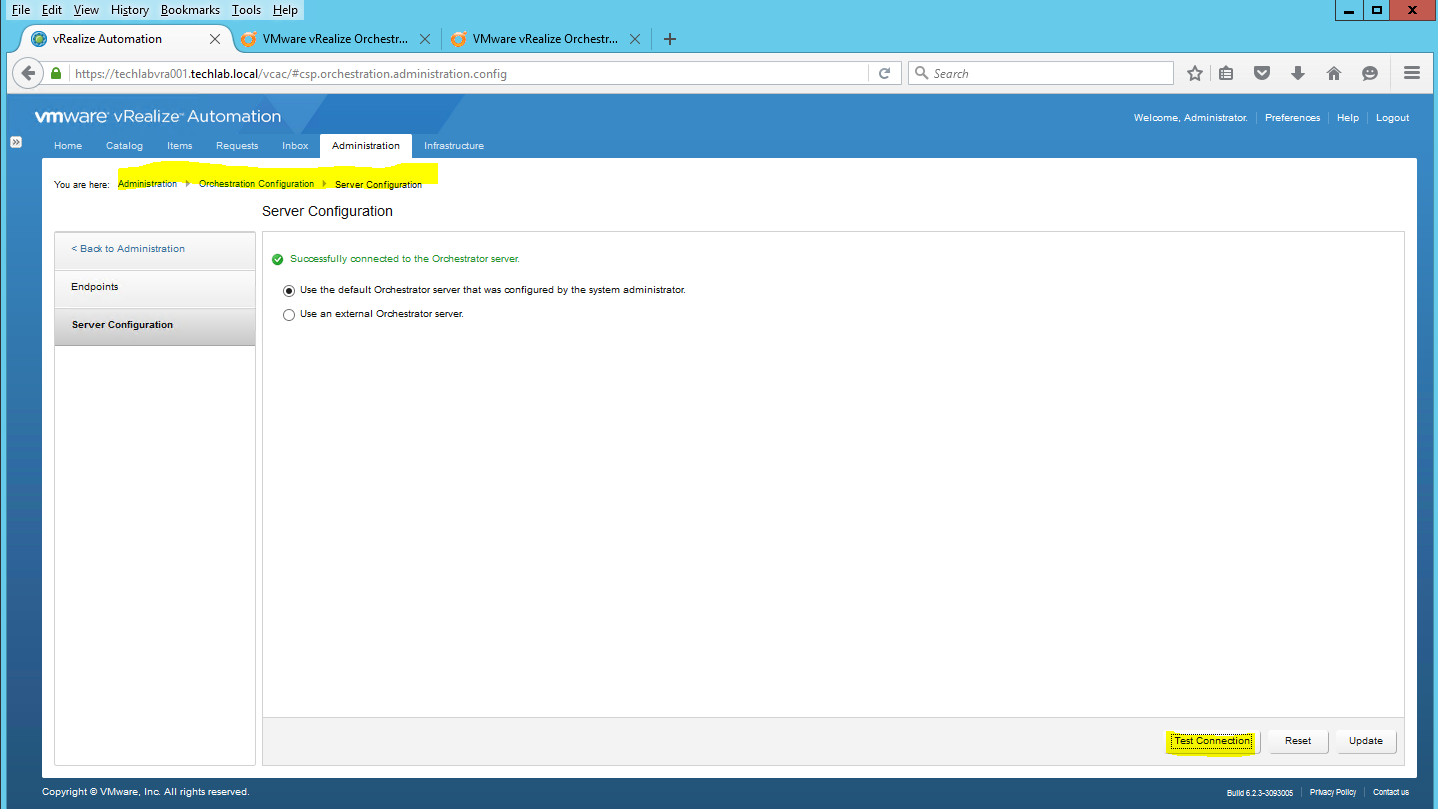
- If you experience connection issues you can also type vcac-vami vco-service-reconfigure in the vRA appliance putty page
- If you encounter a Diffie Hellman error please google for fixes
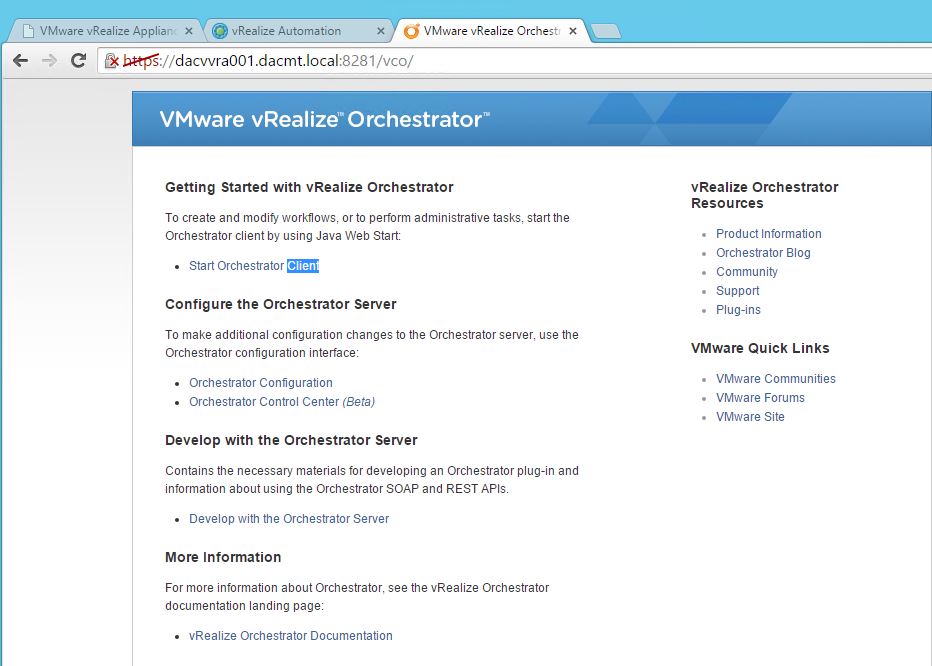
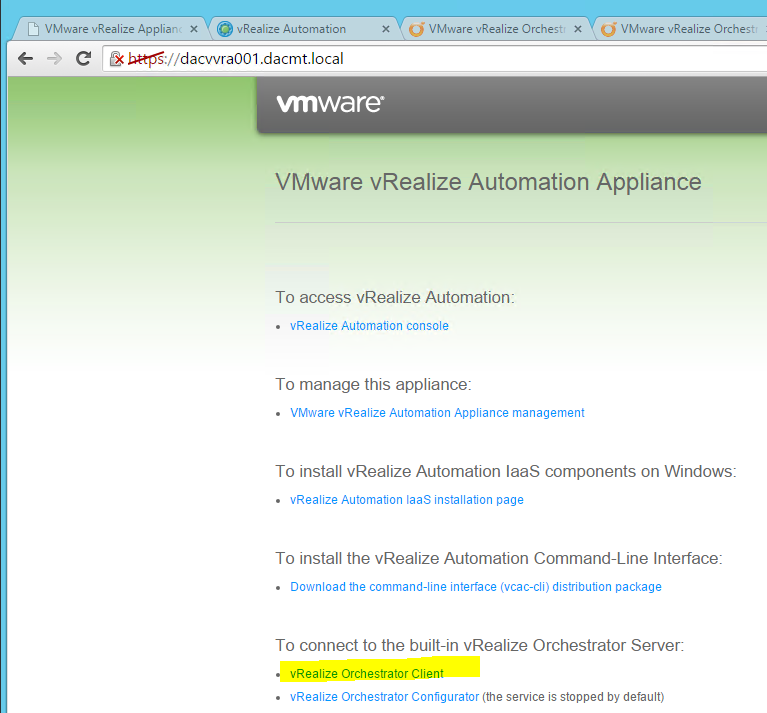
- Type https://your-vRA-appliance:8281
- You should see this page. Click Start Orchestrator client
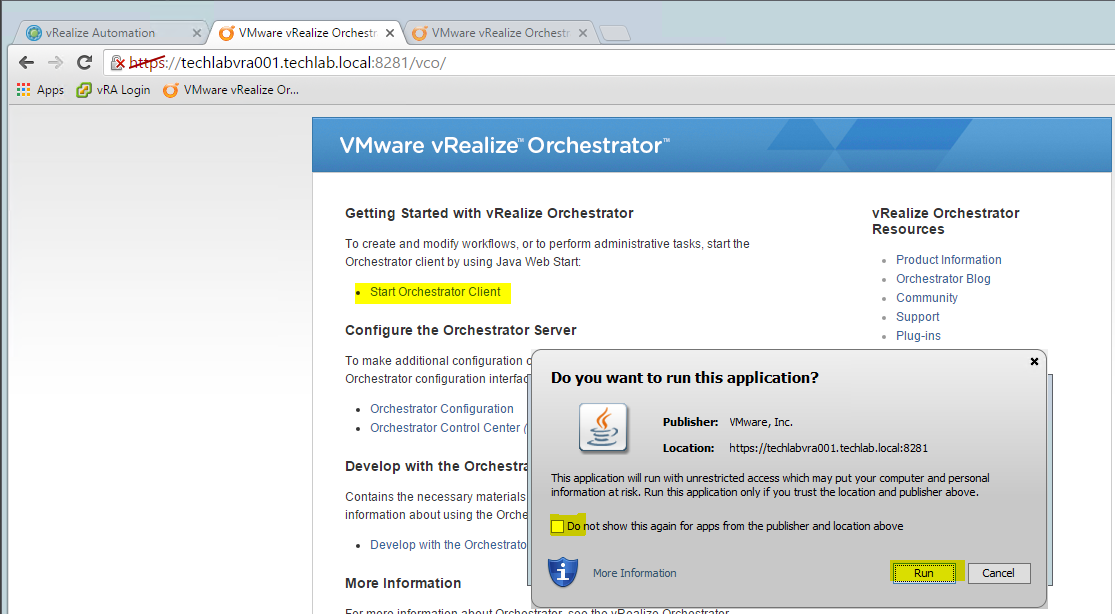
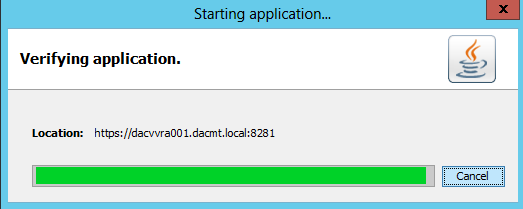
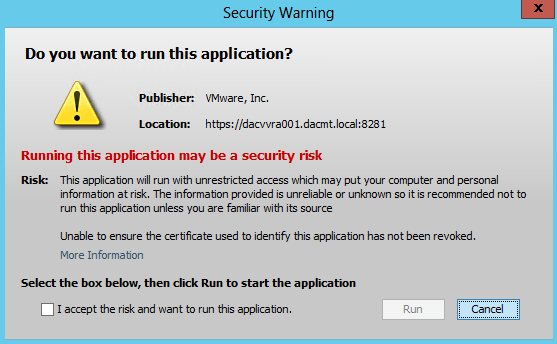
- You should see a few prompts such as below from Java
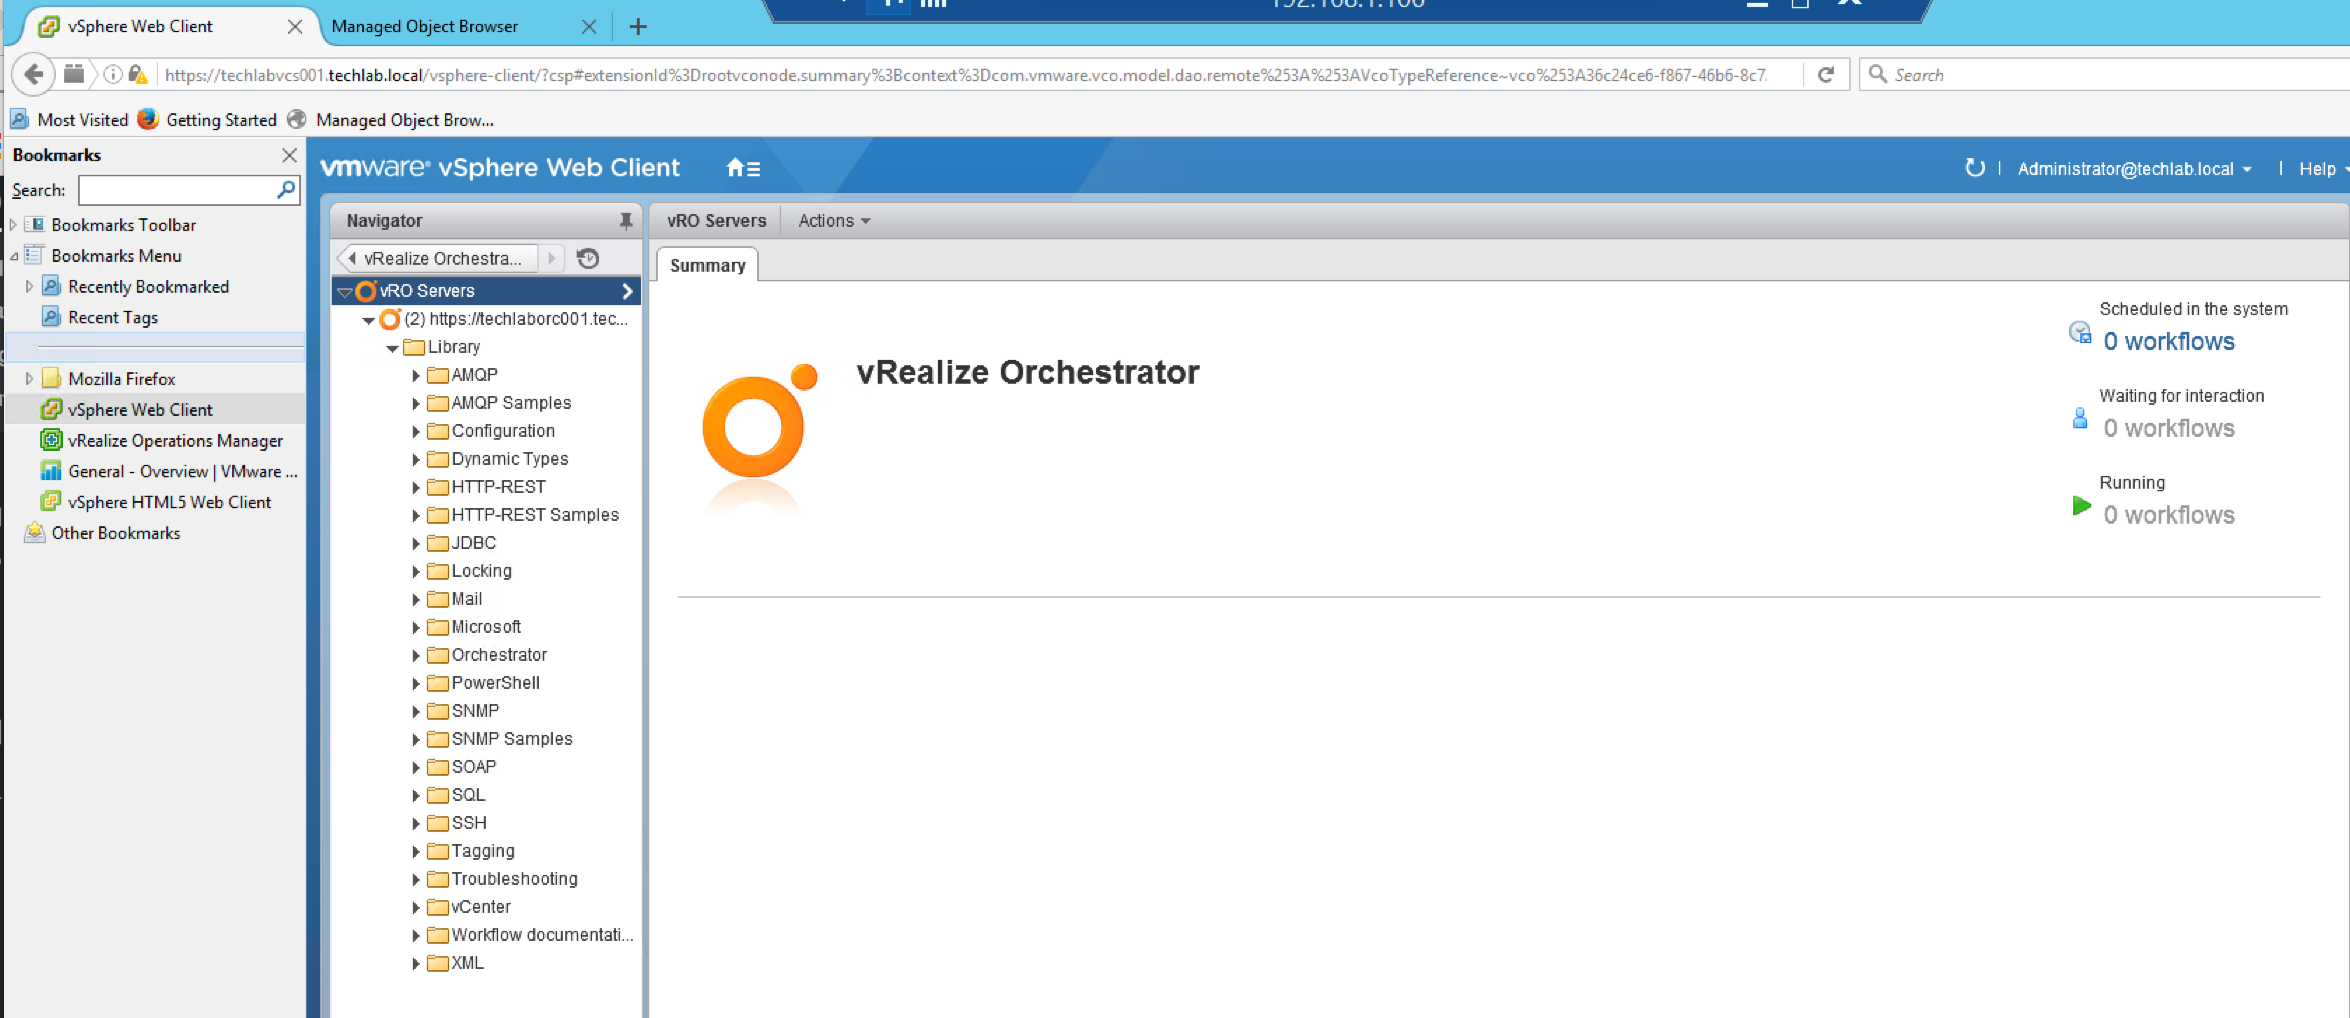
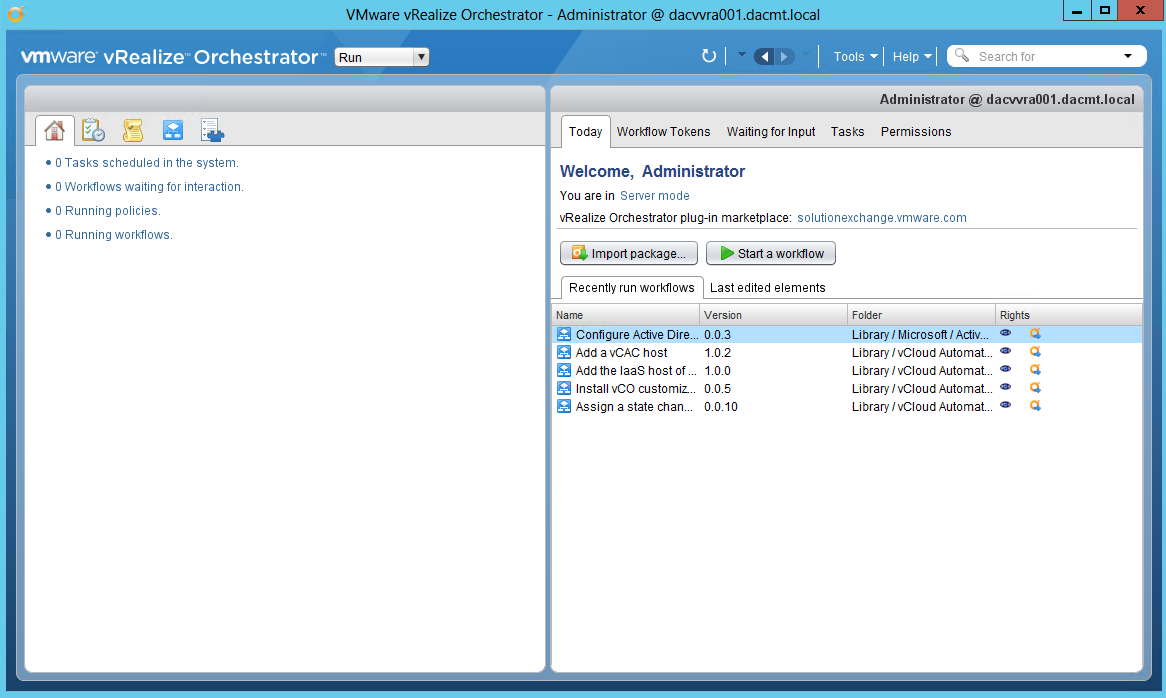
- You should now see the Orchestrator application
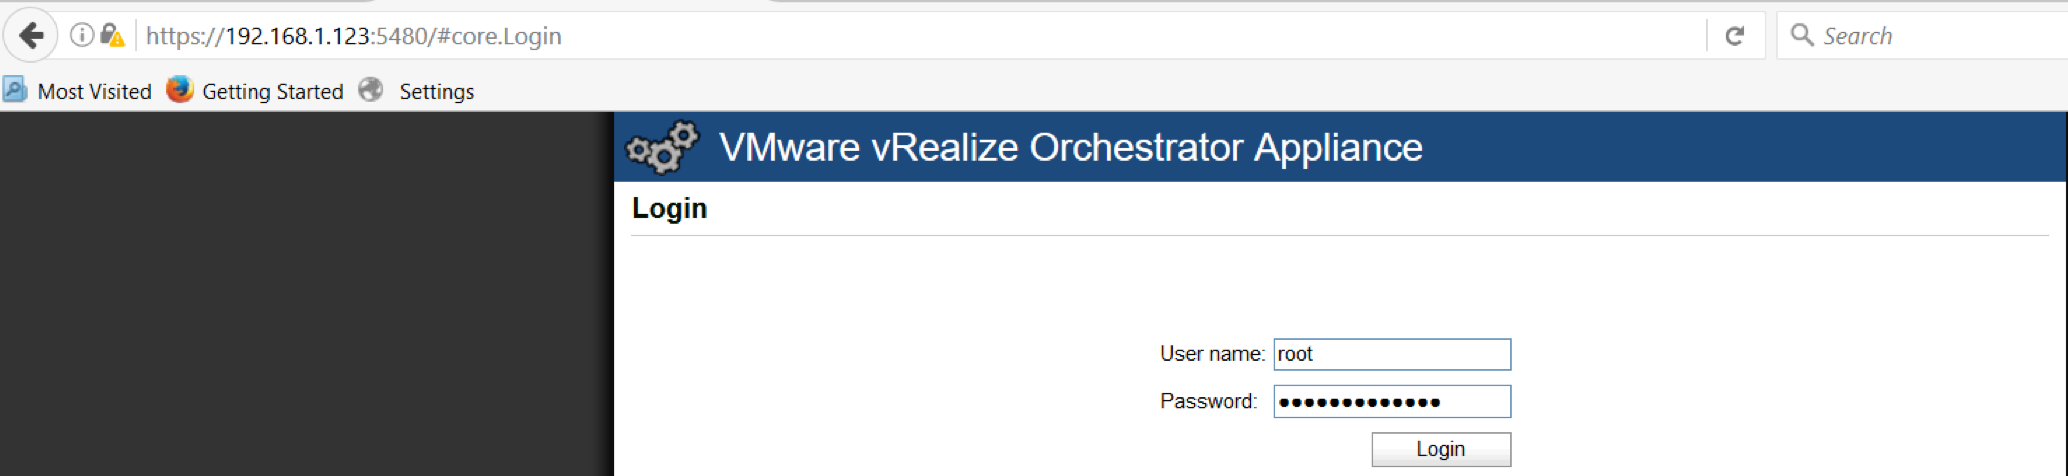
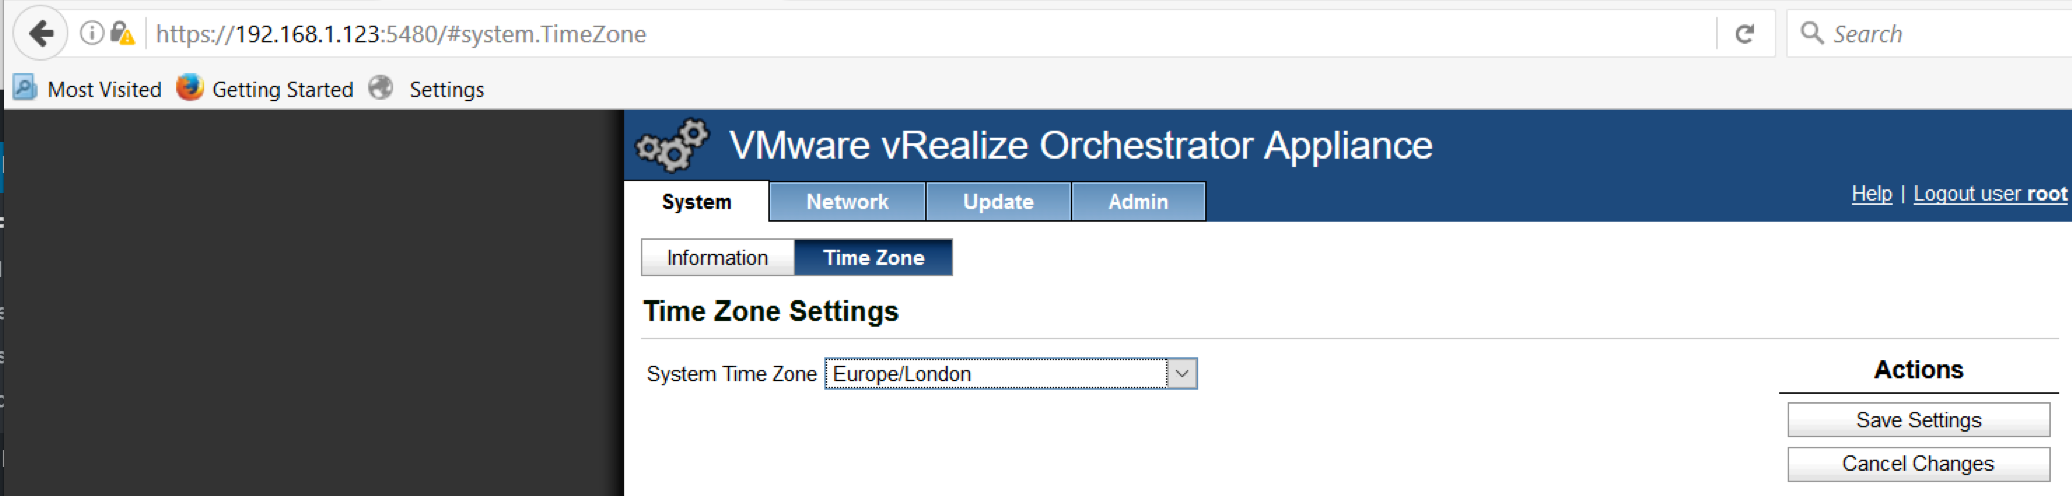
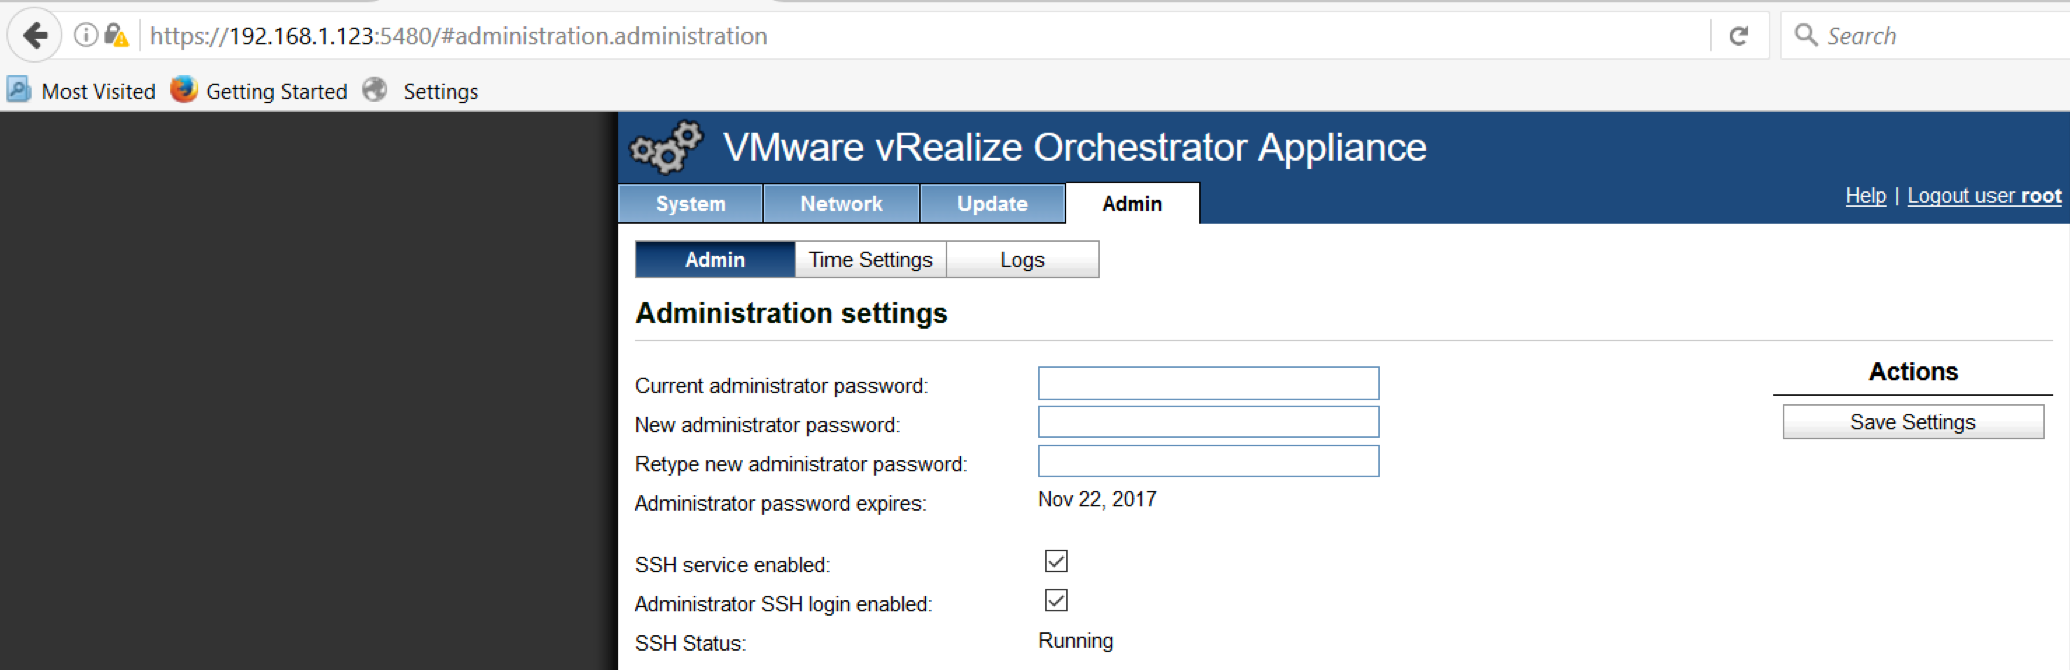
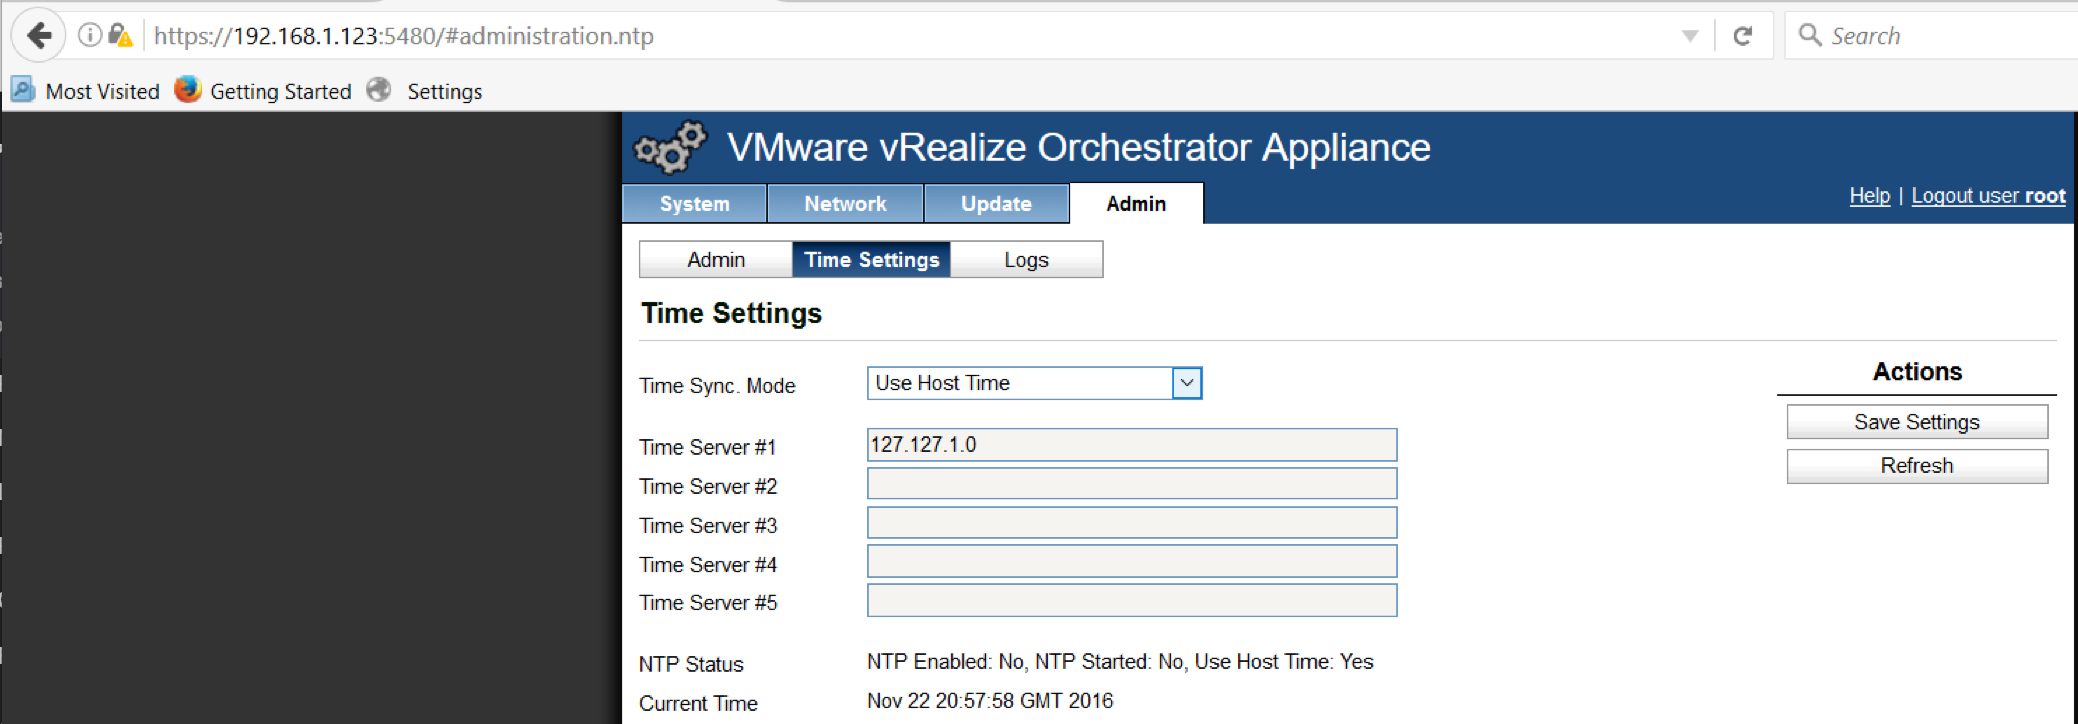
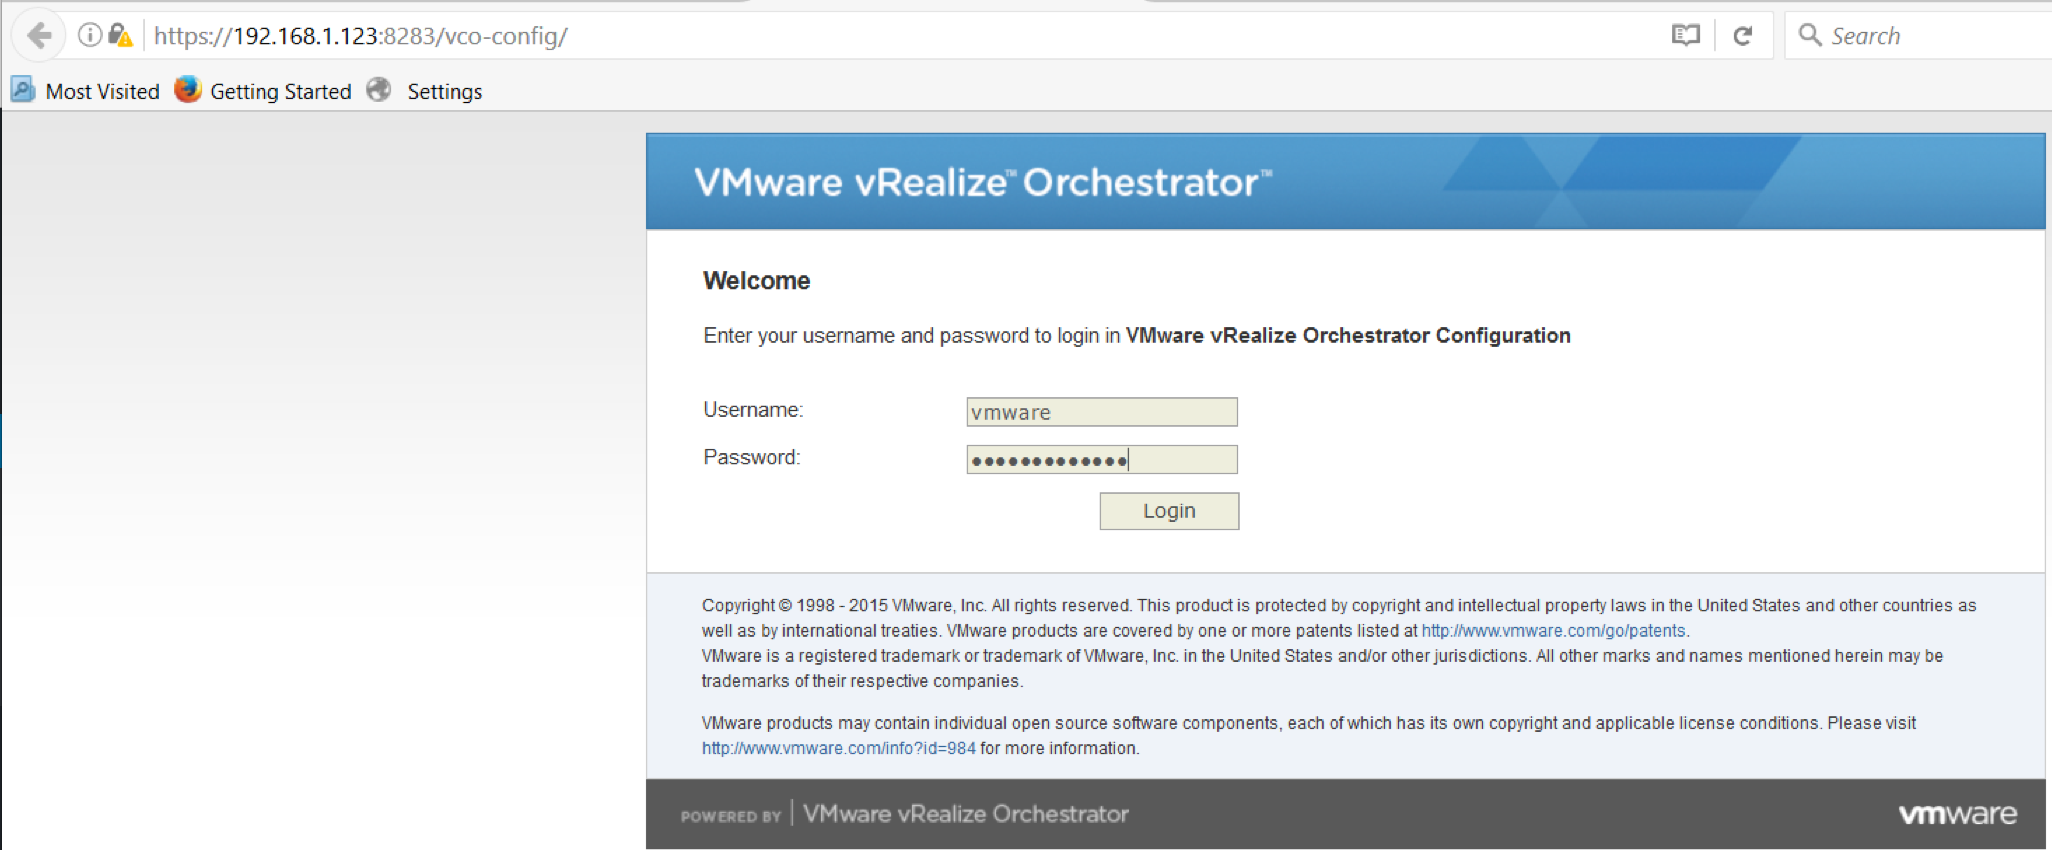
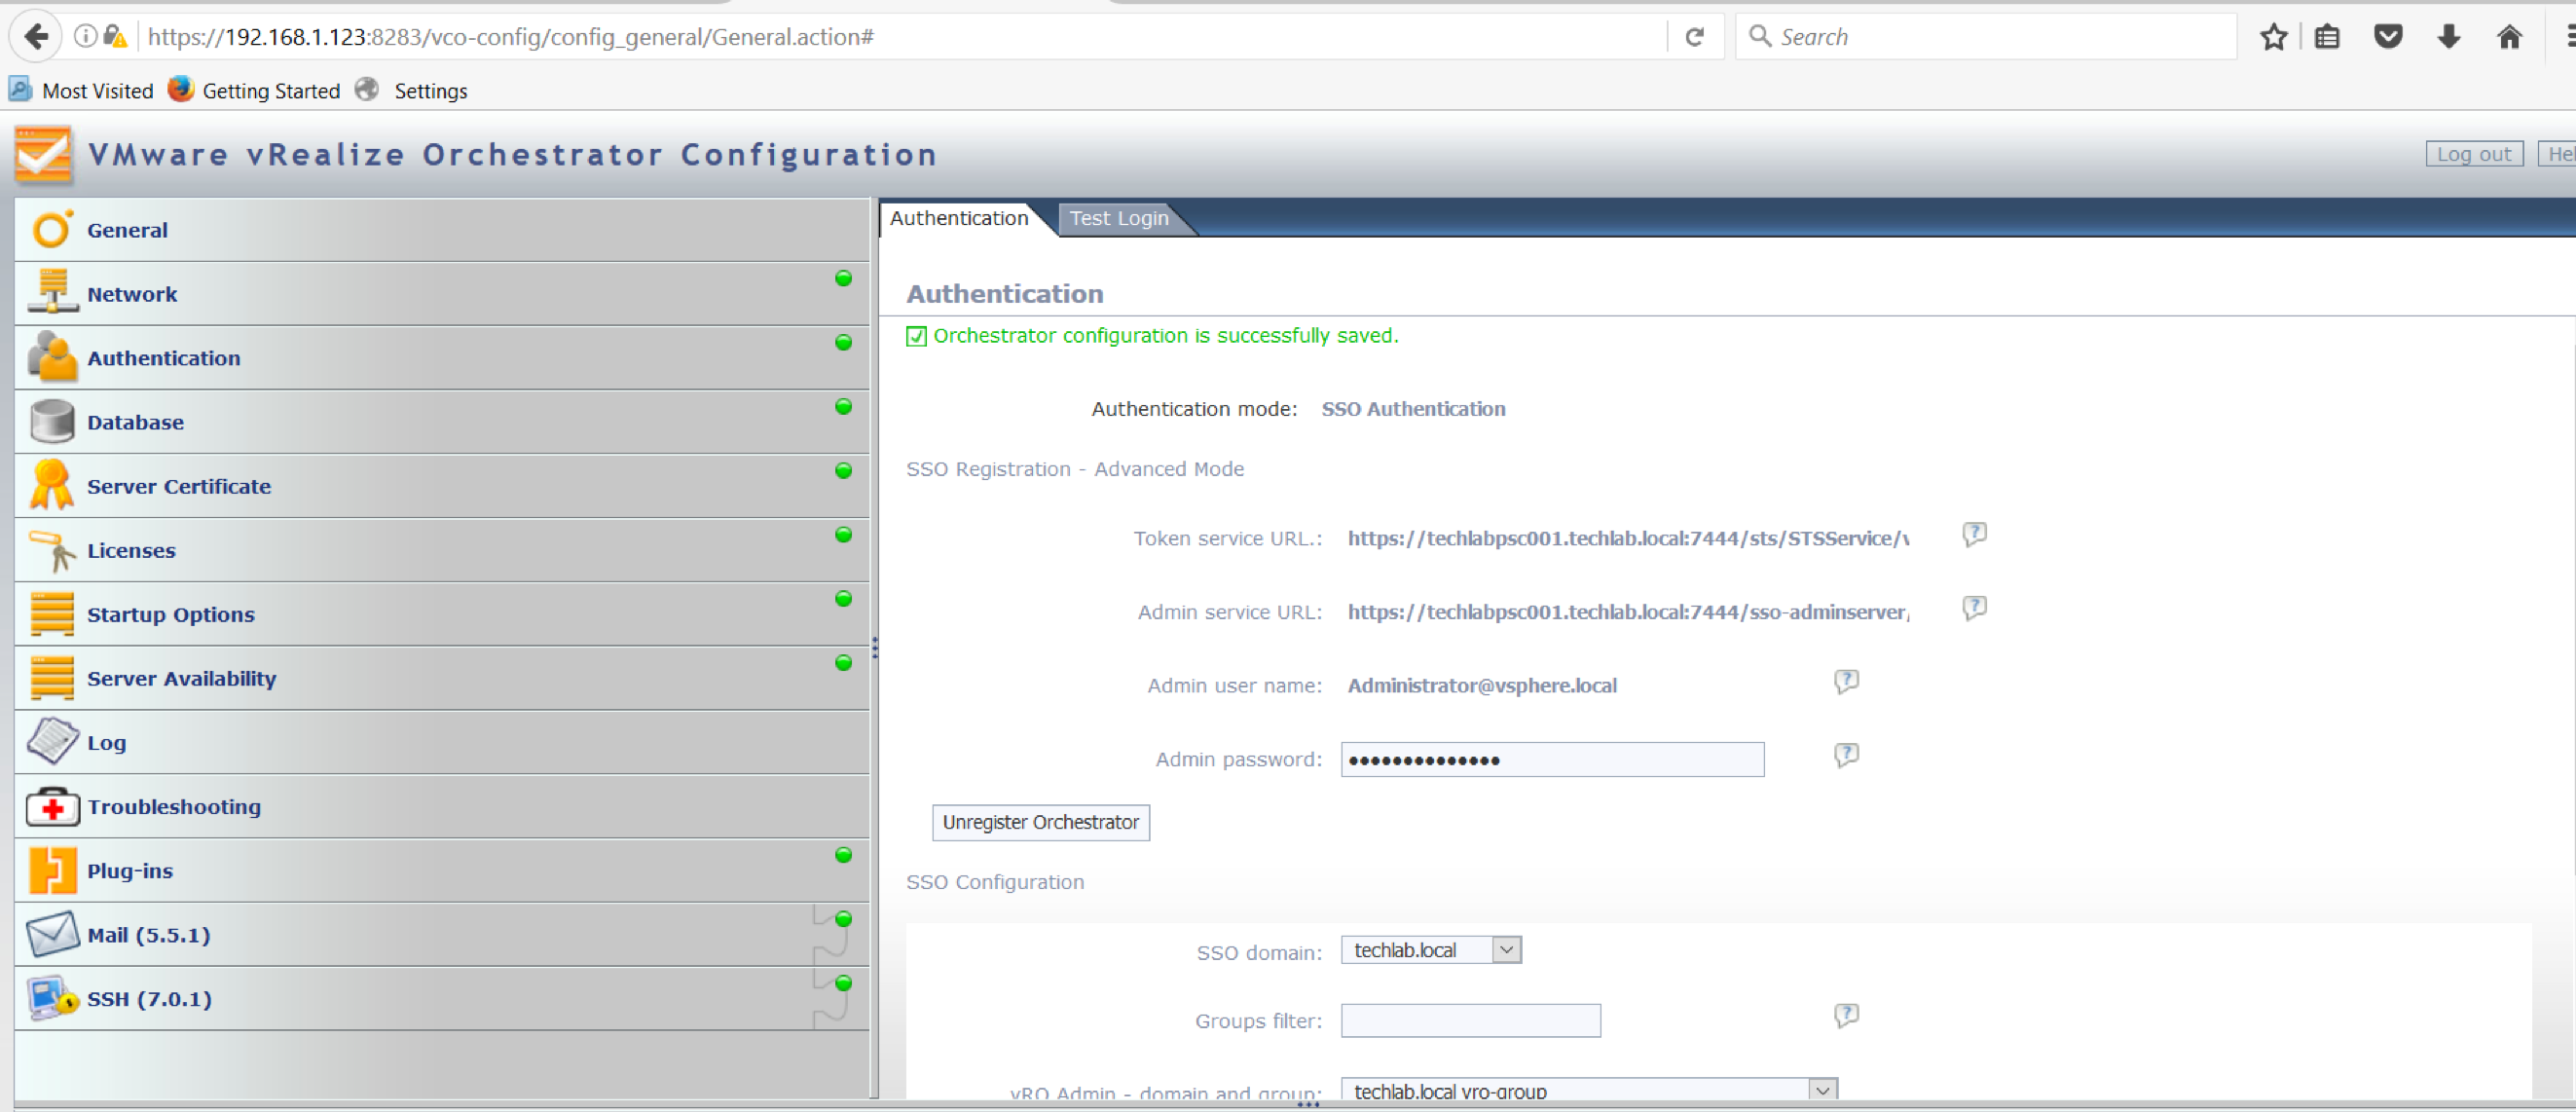
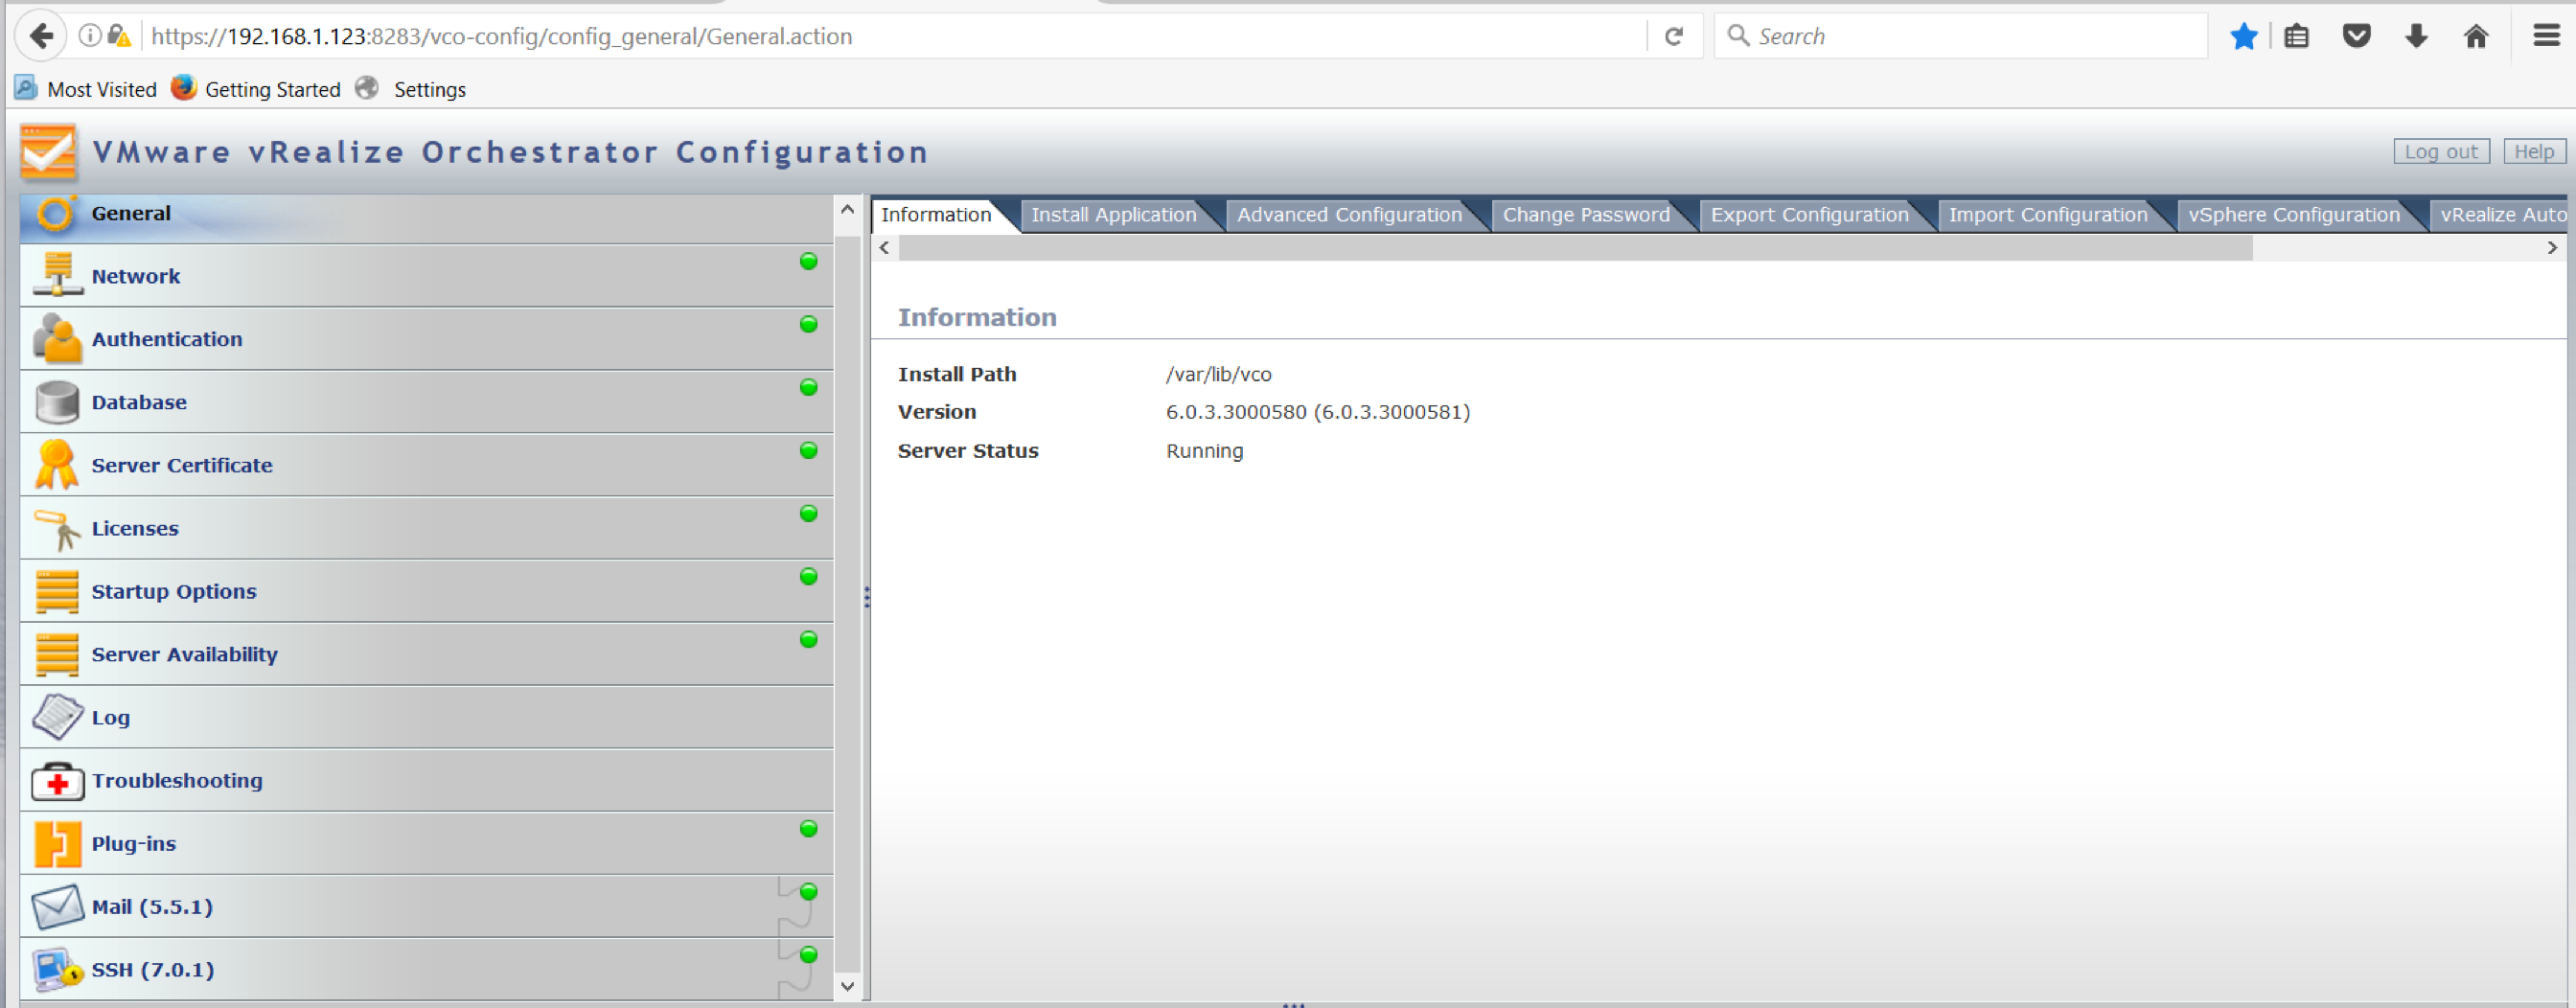
- In order to configure Orchestrator type in https://your-vRA-server:8283/vco-config/ to access the appliance configuration
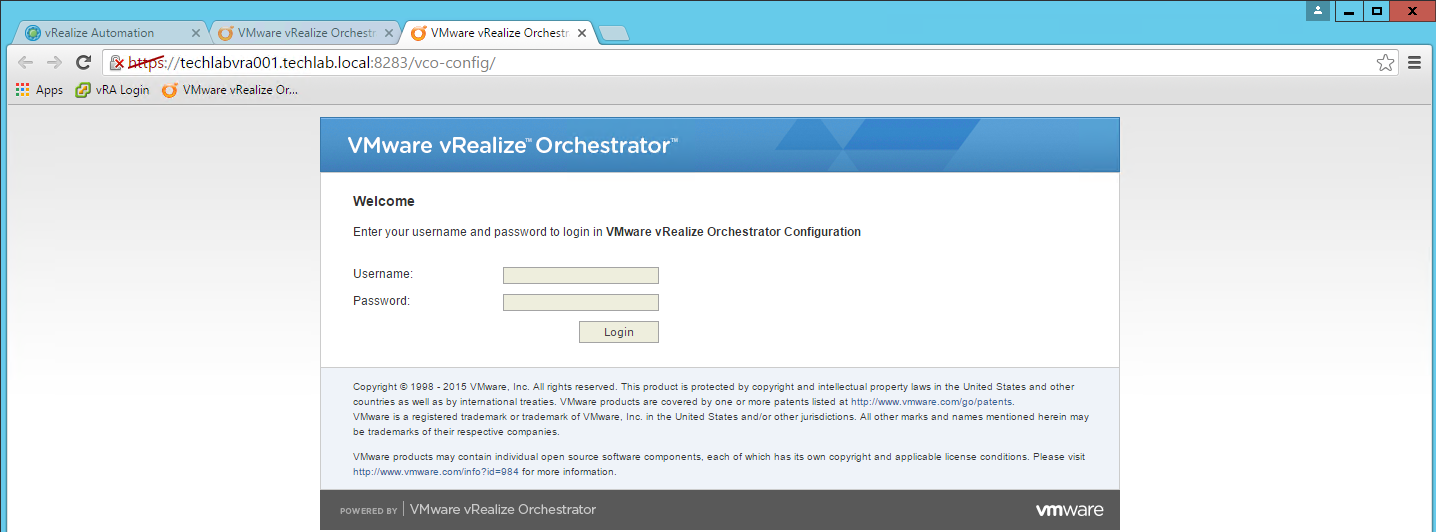
- The default username and password is vmware and vmware
- You will be prompted to change it
- Password must have an uppercase letter and a special character
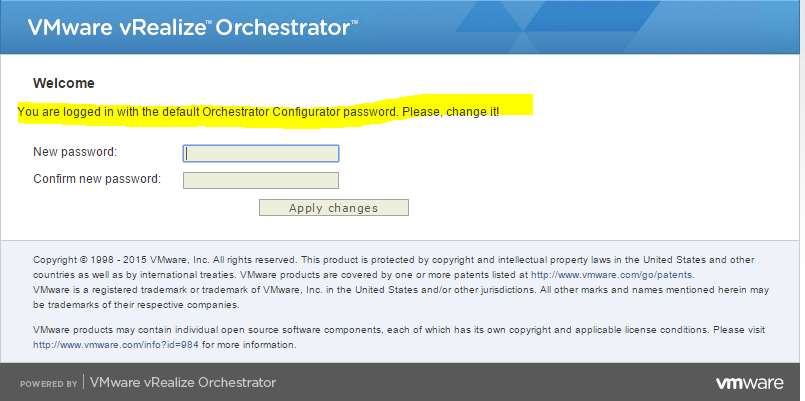
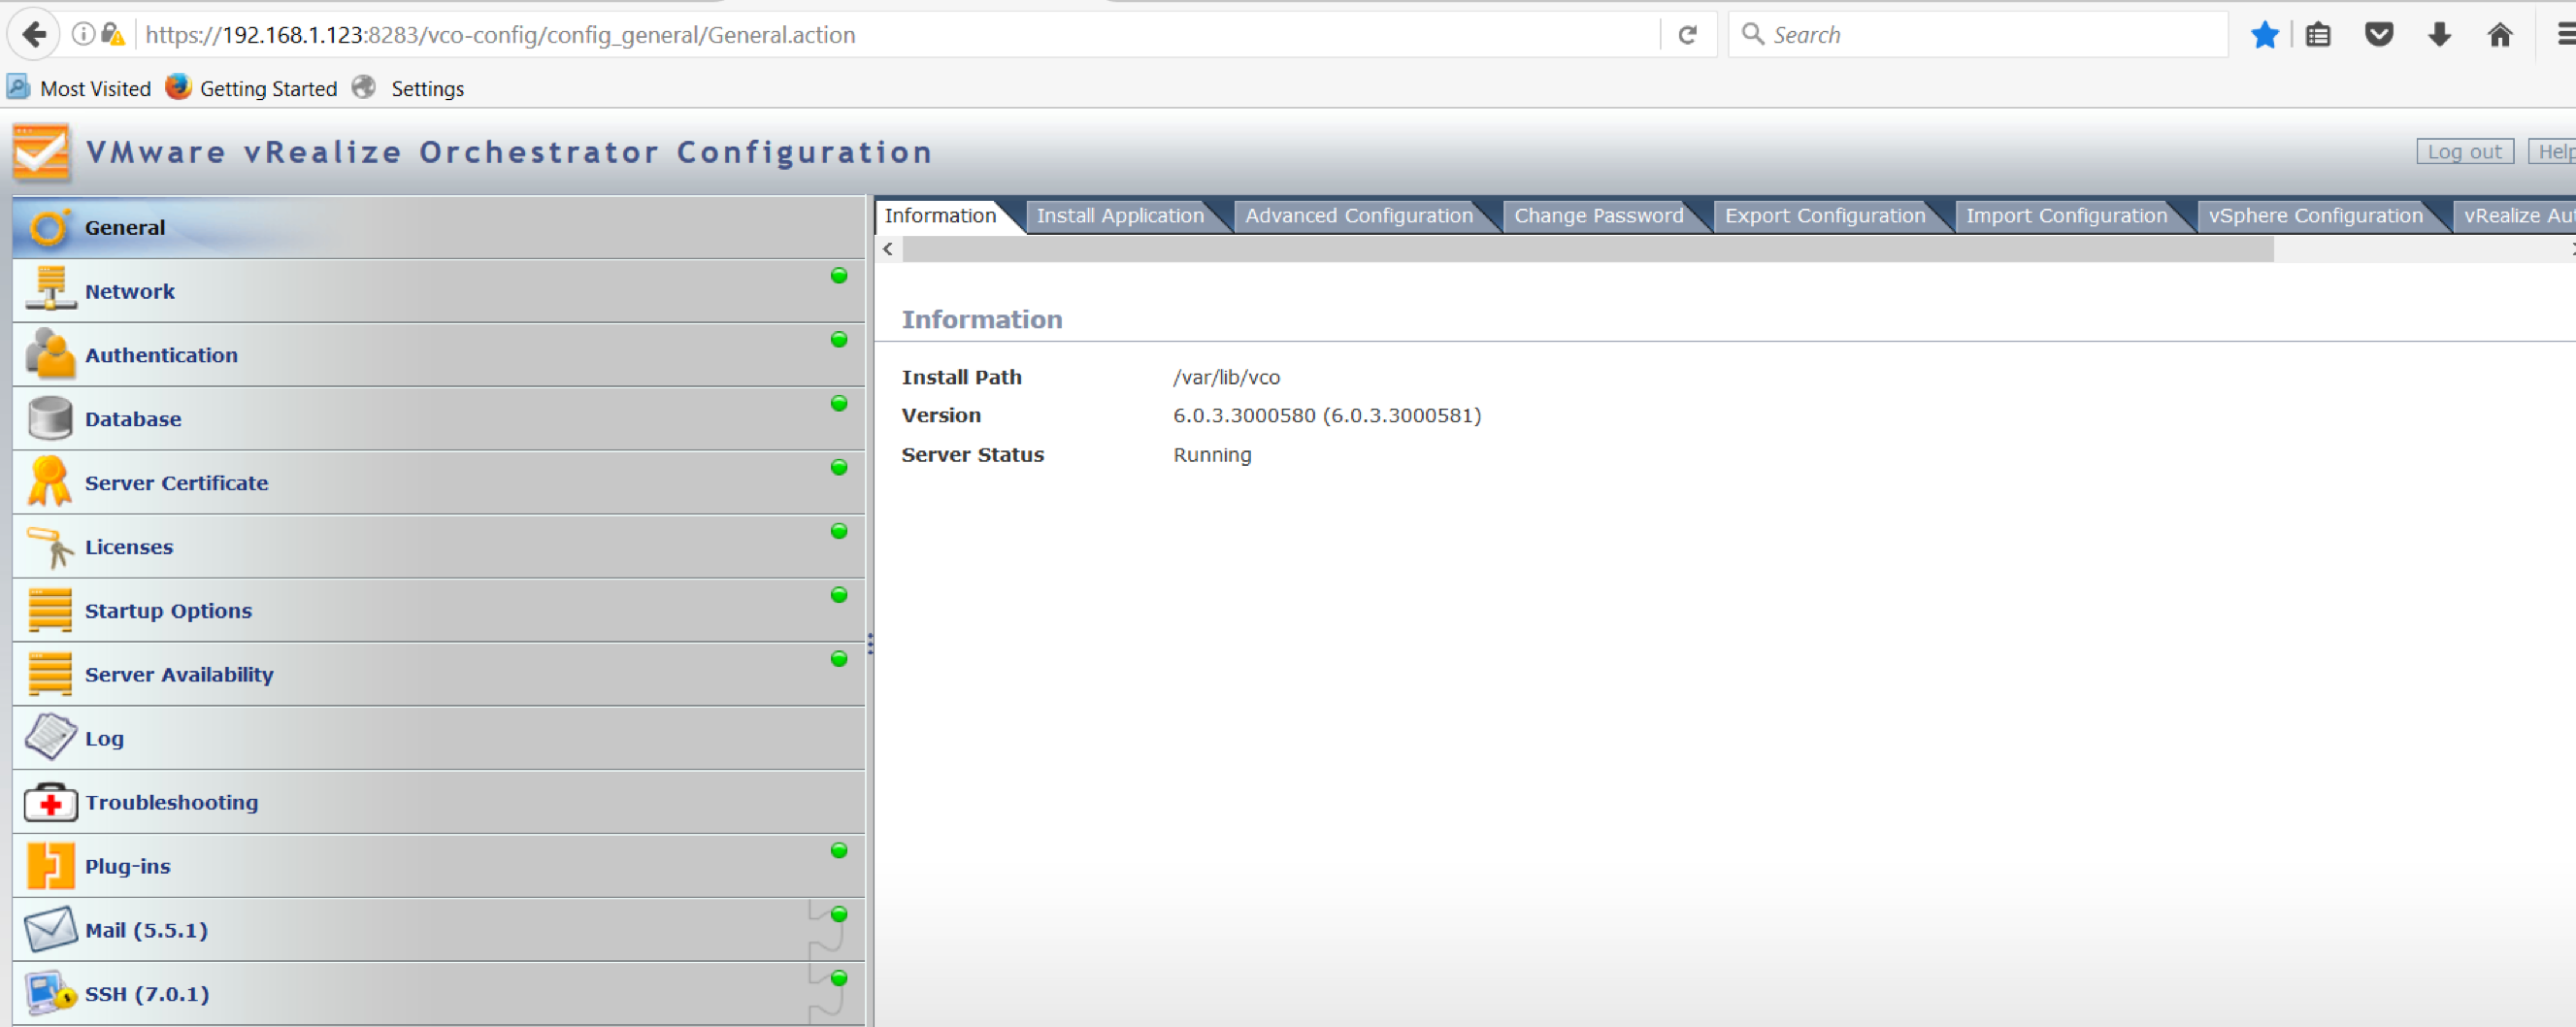
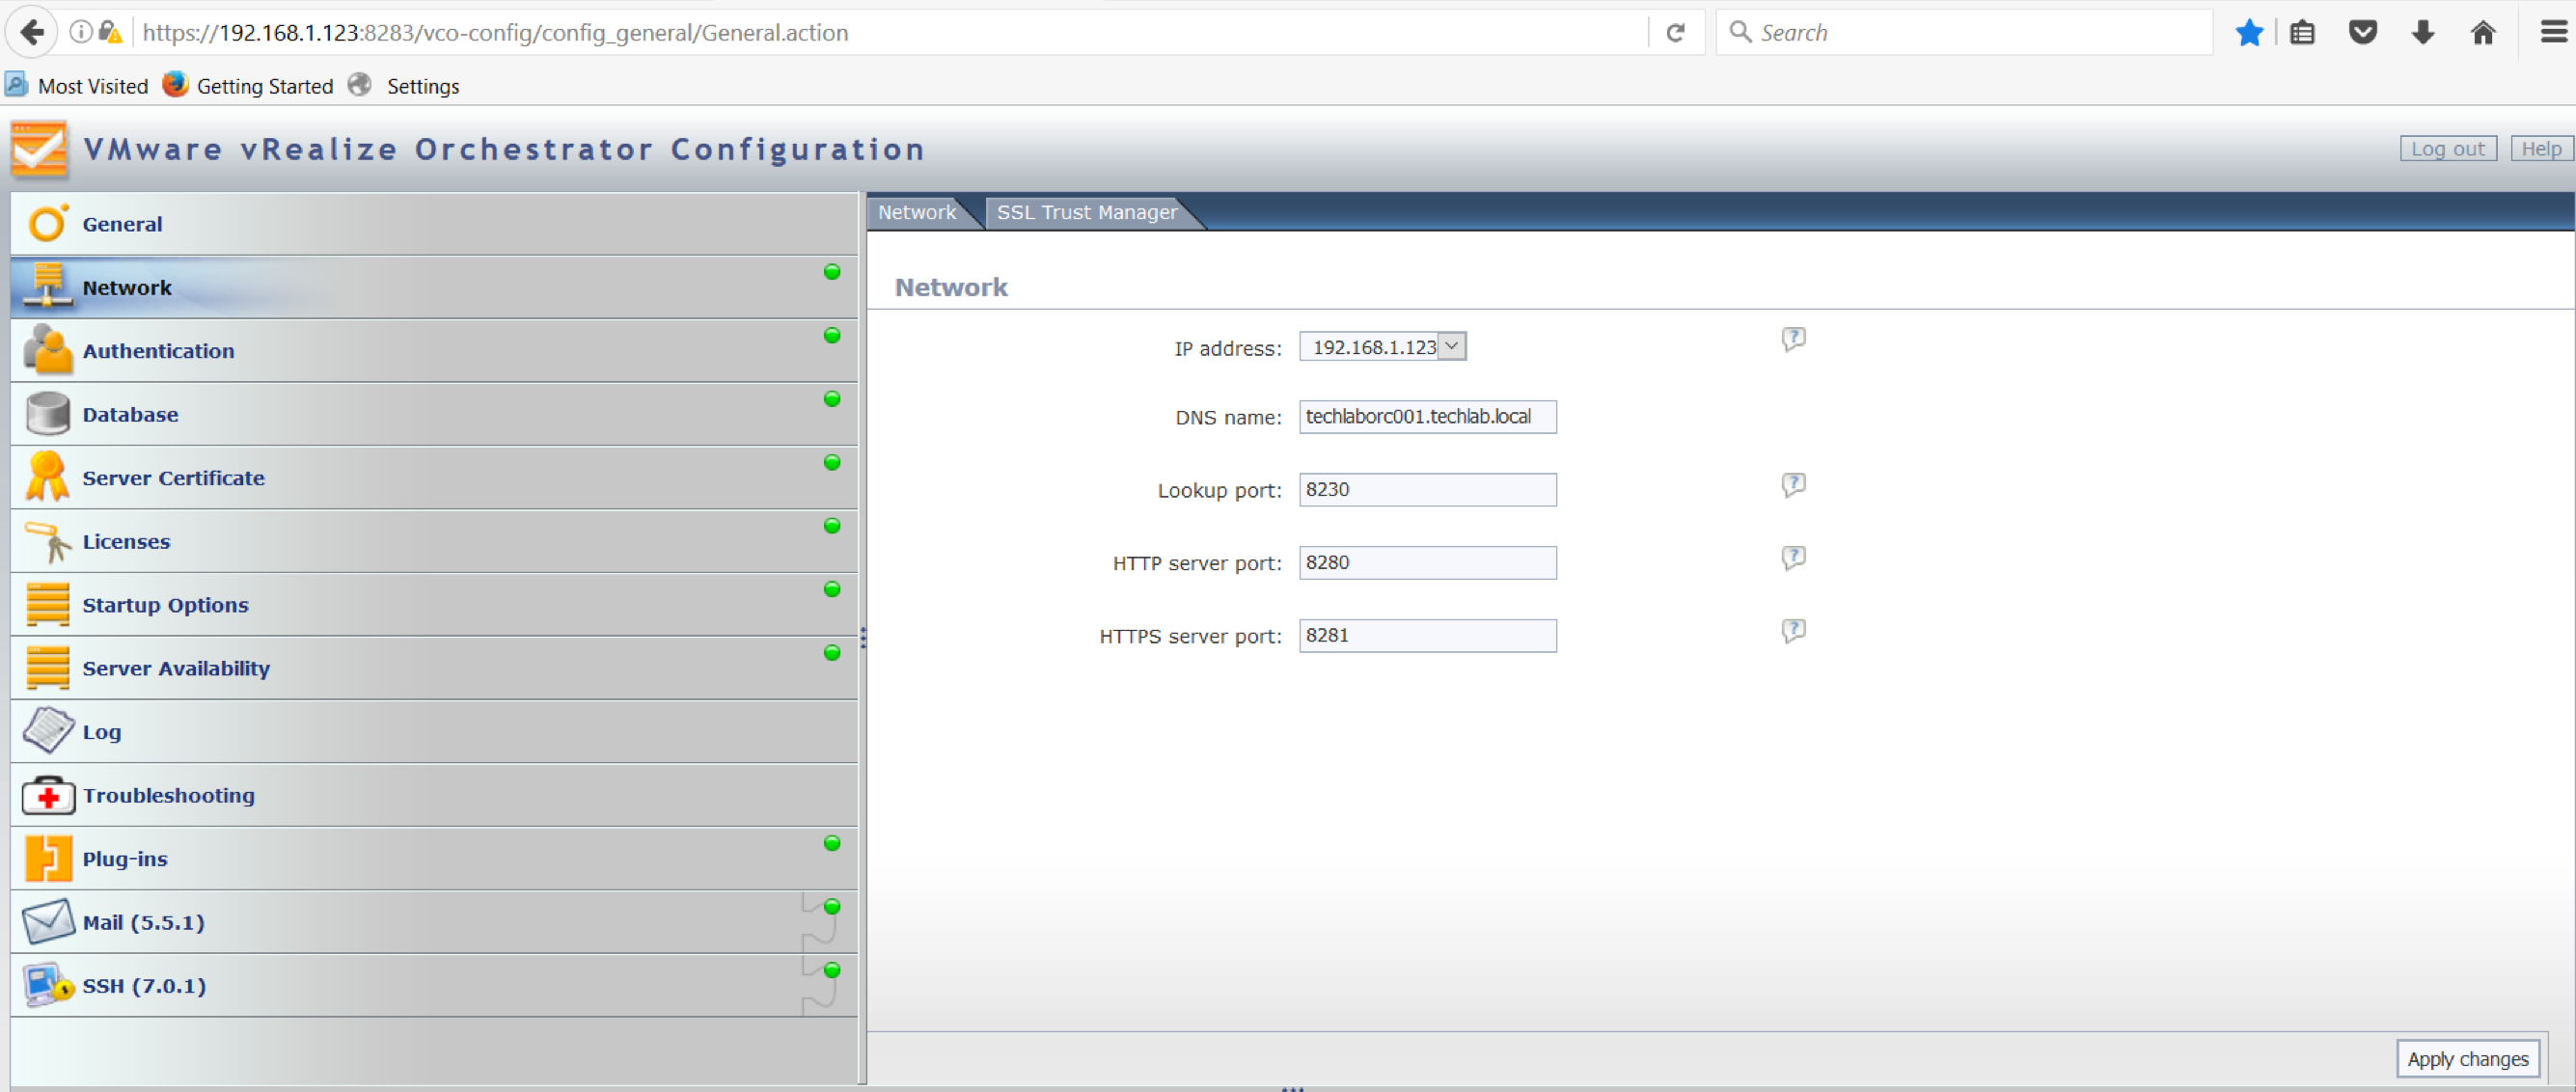
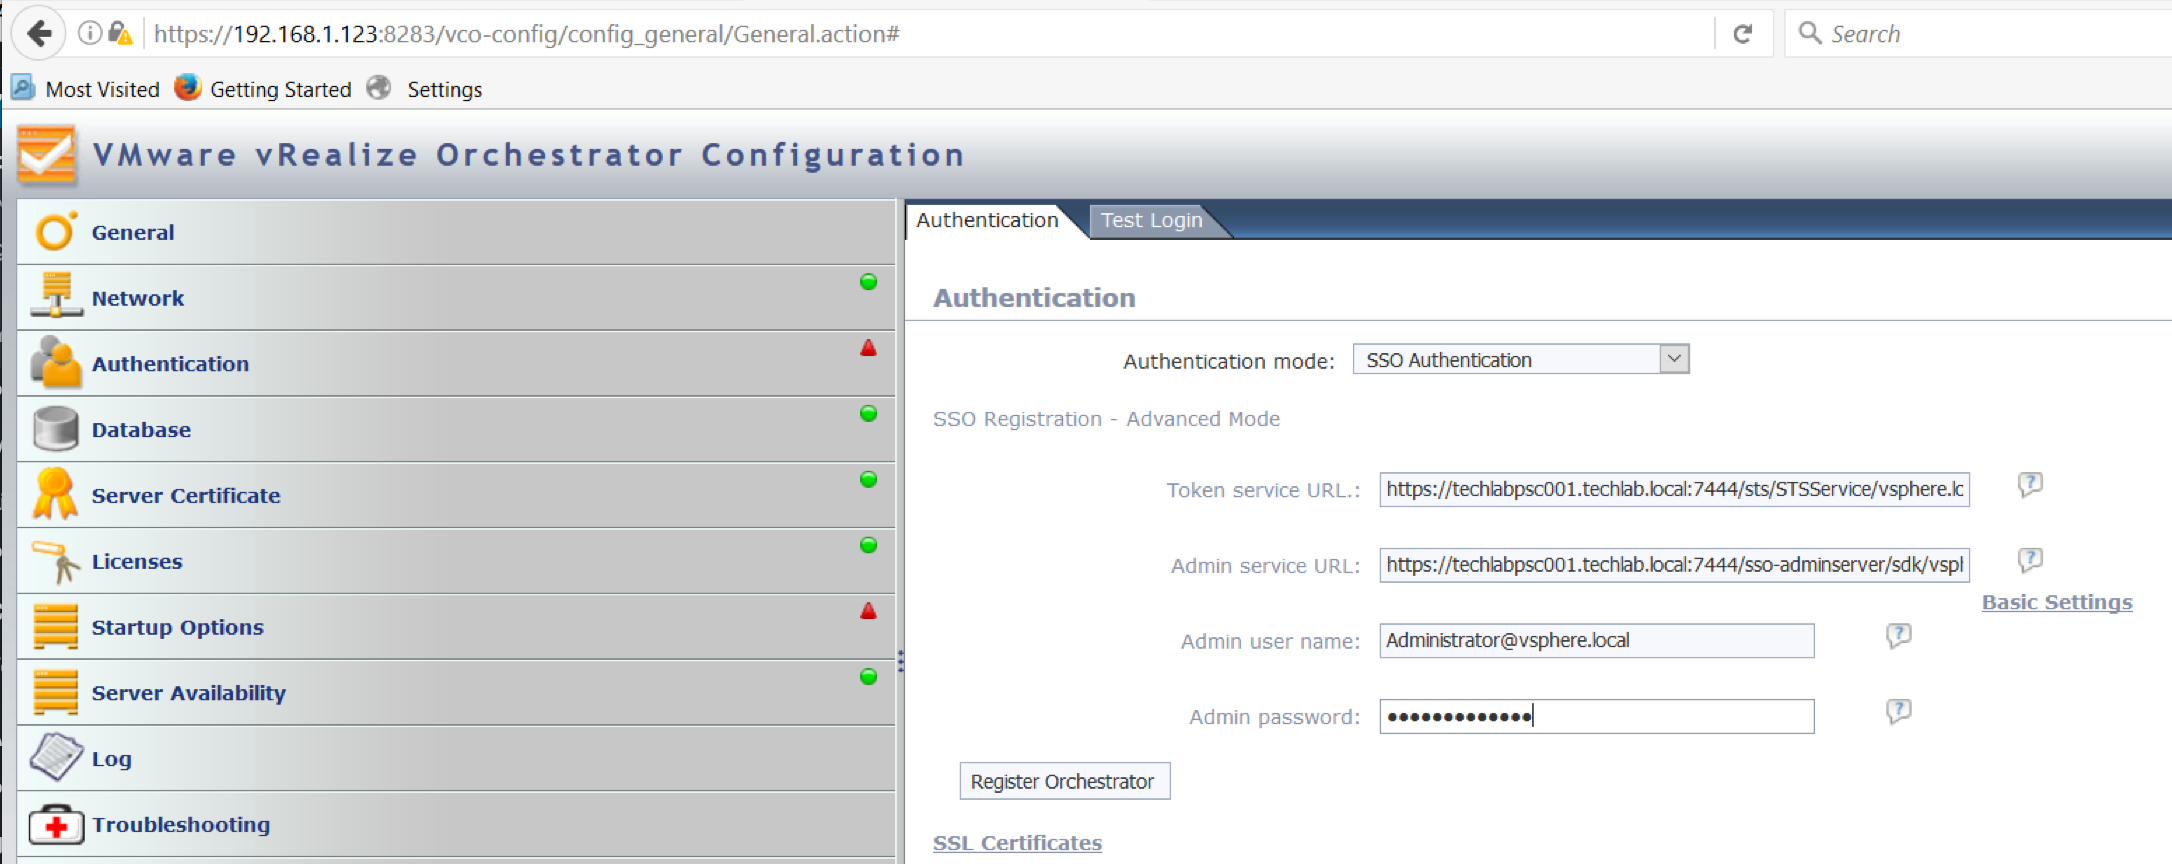
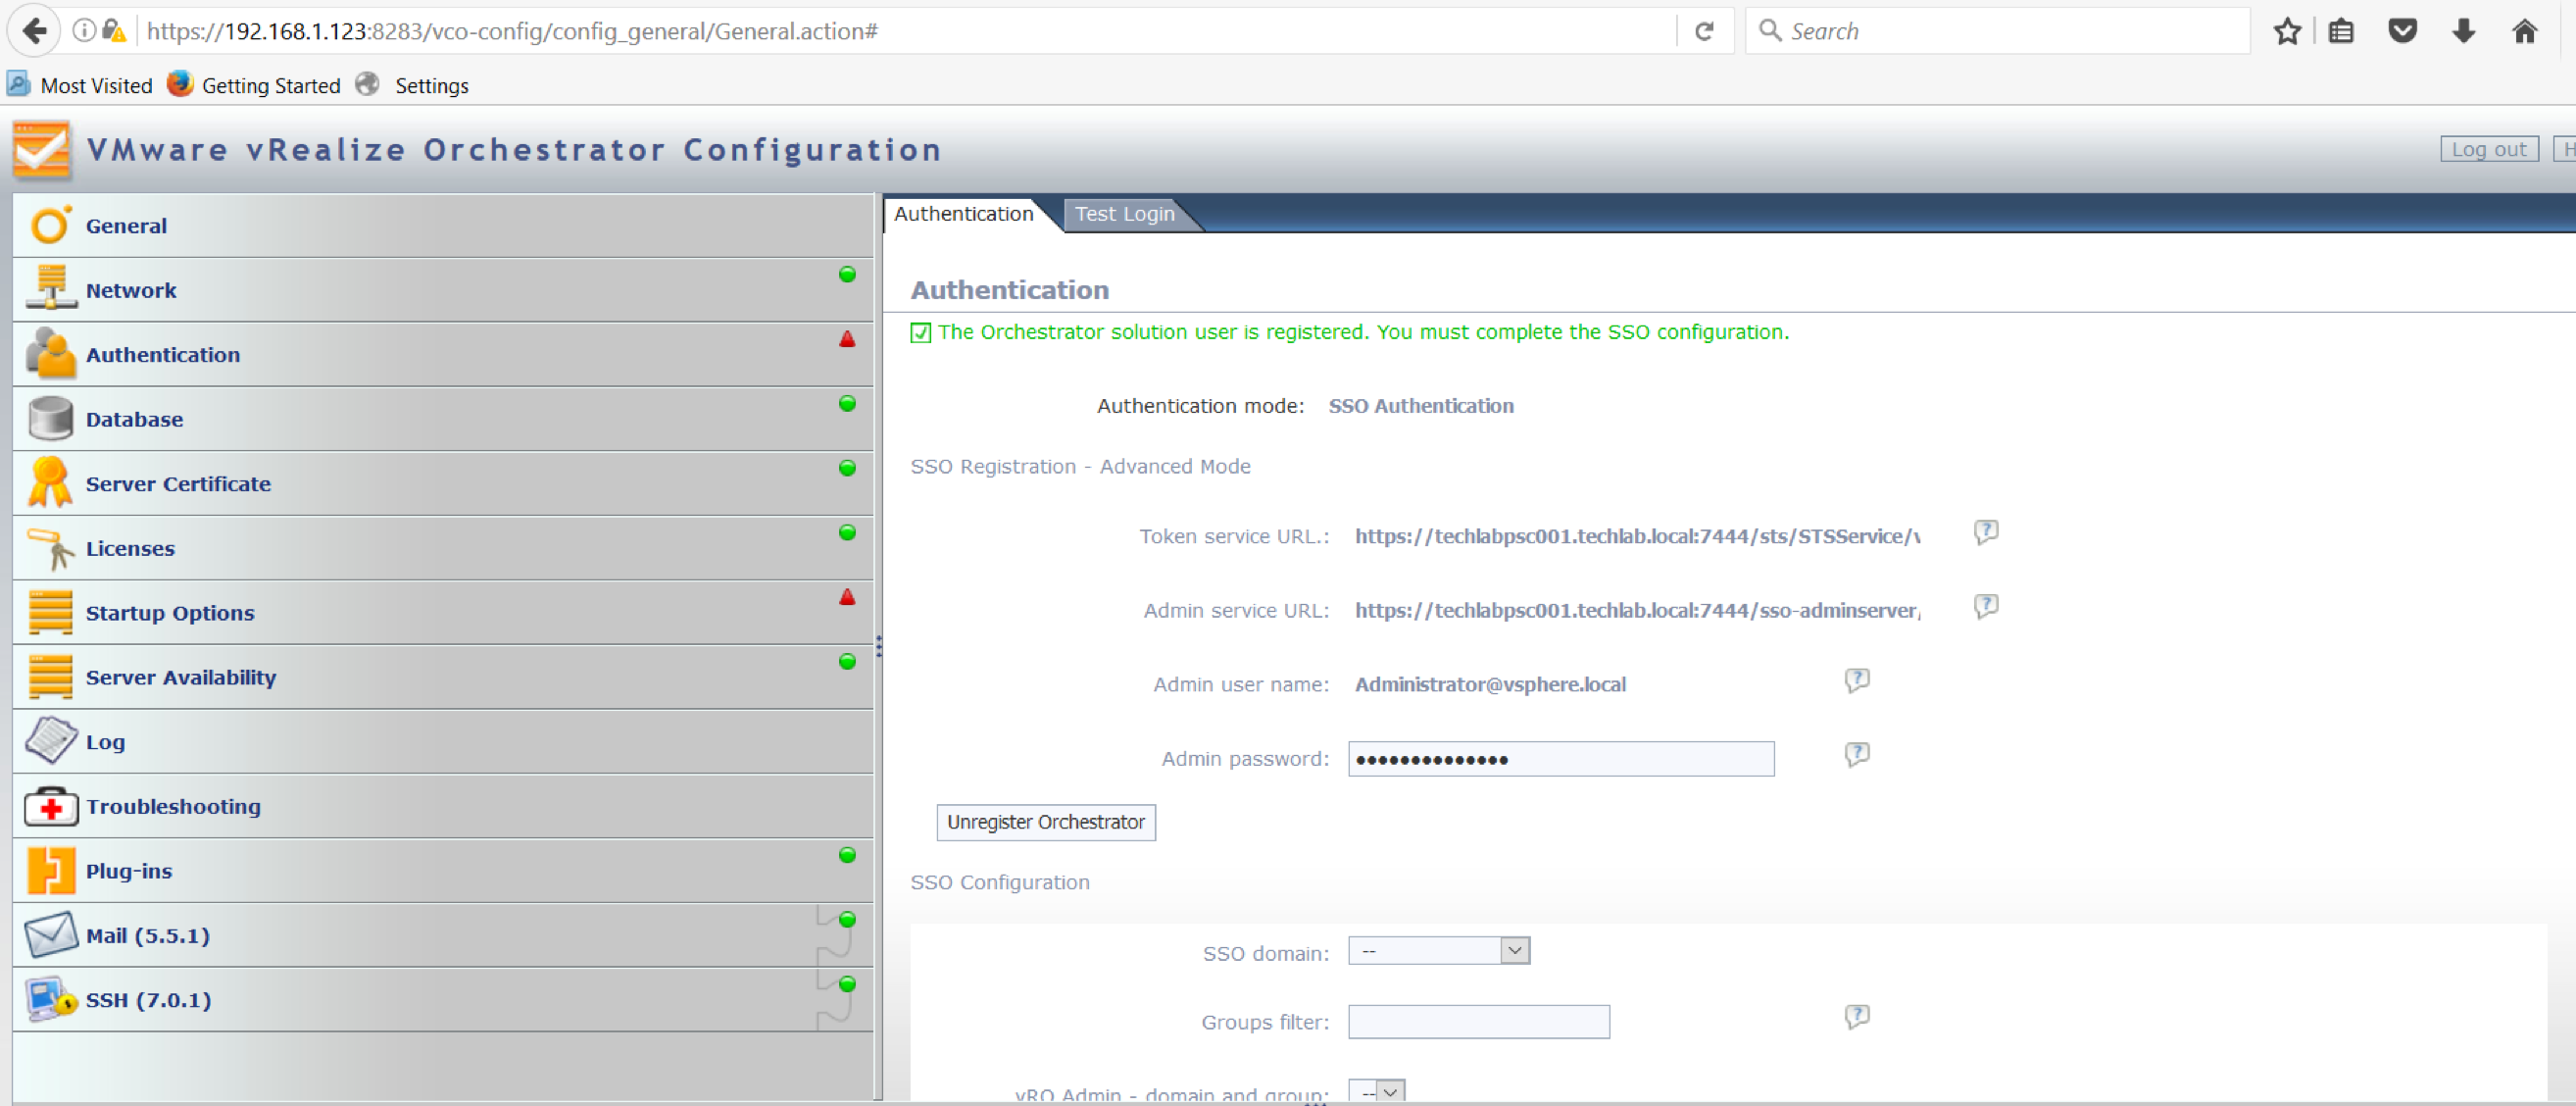
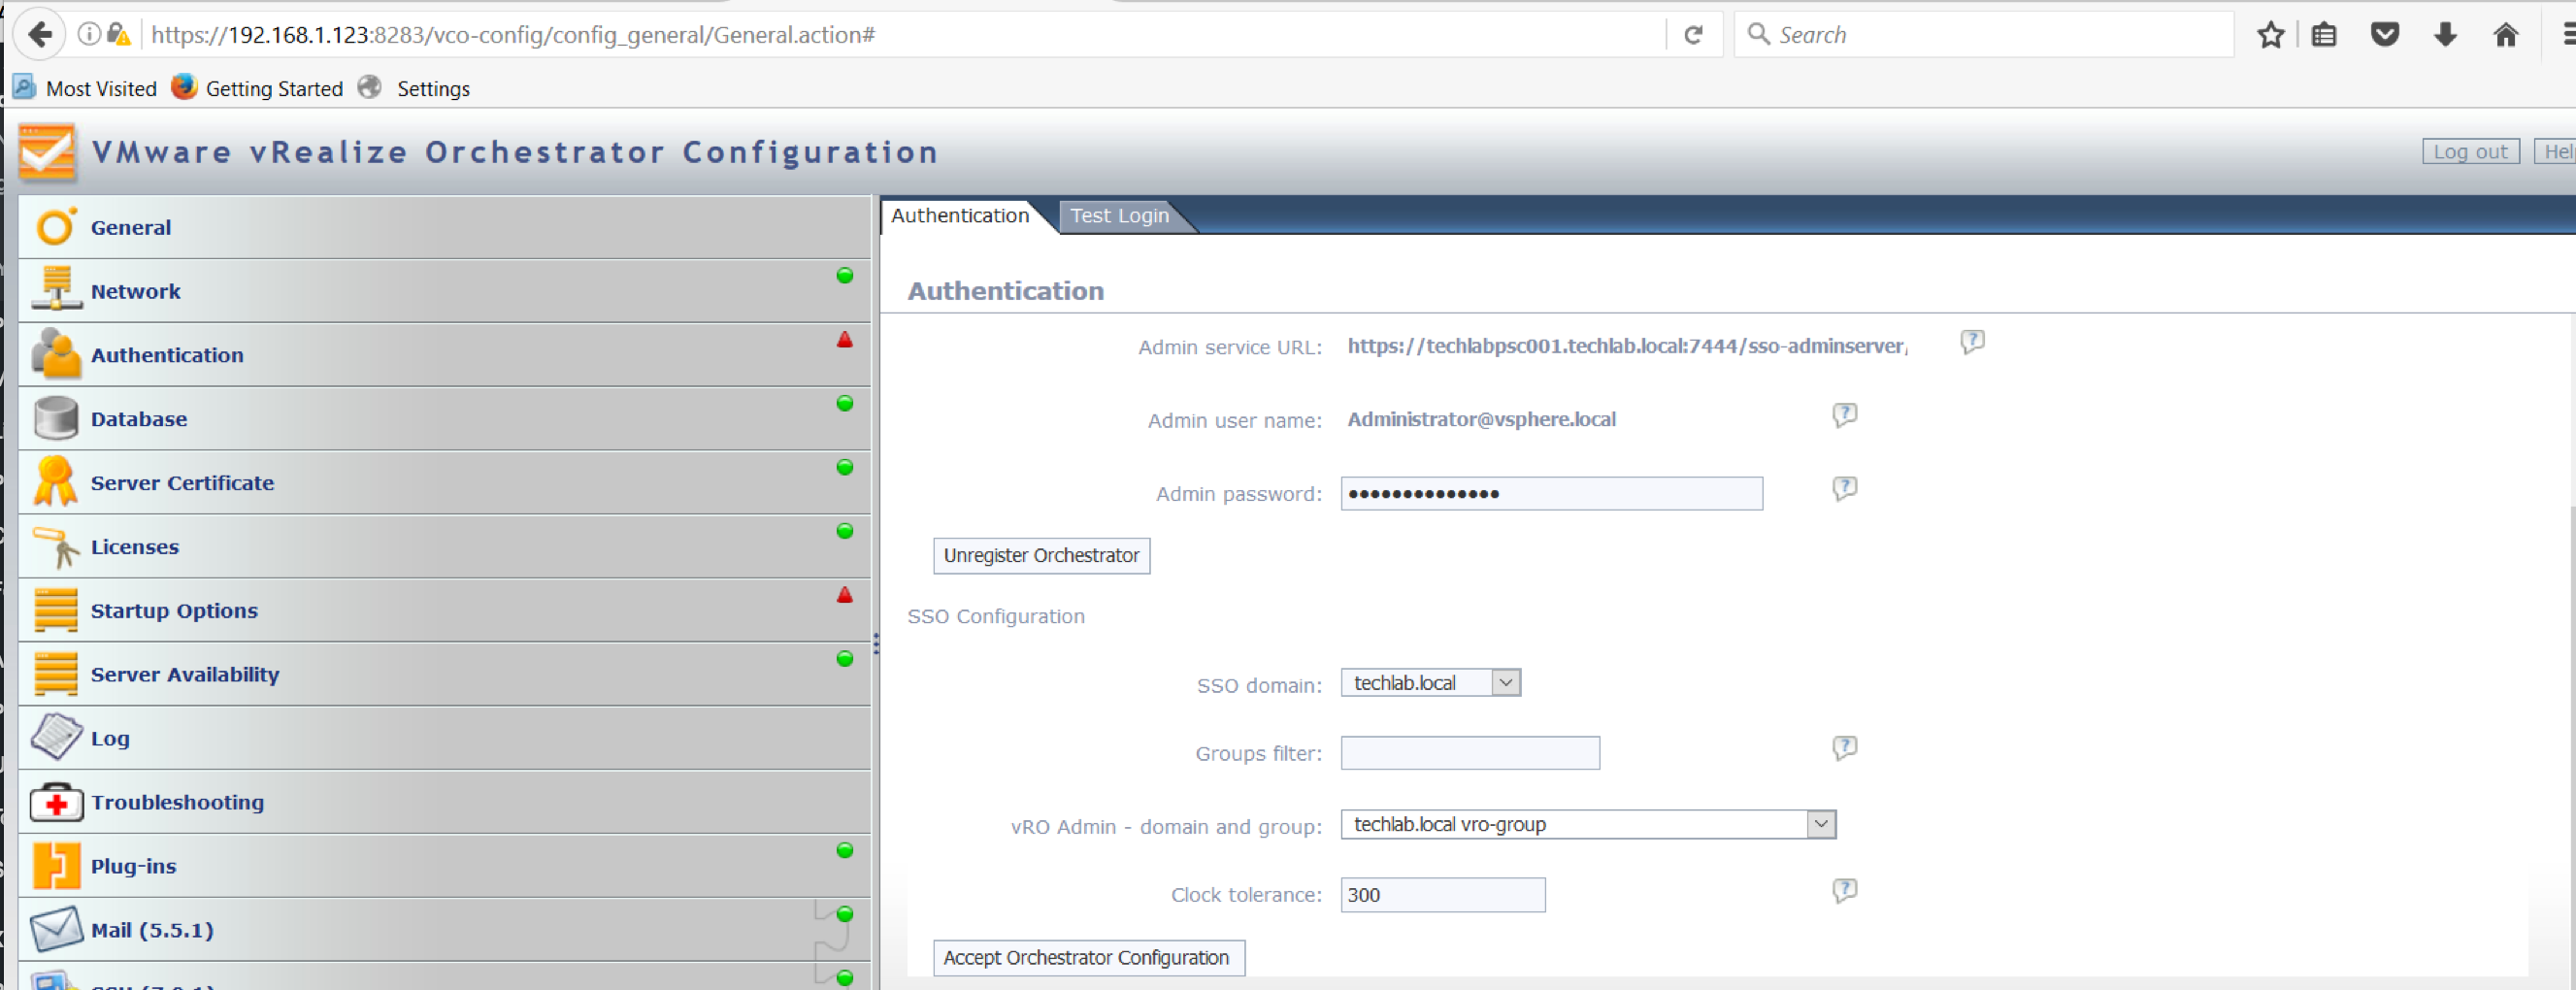
- You should now be logged into Orchestrator configuration webpage
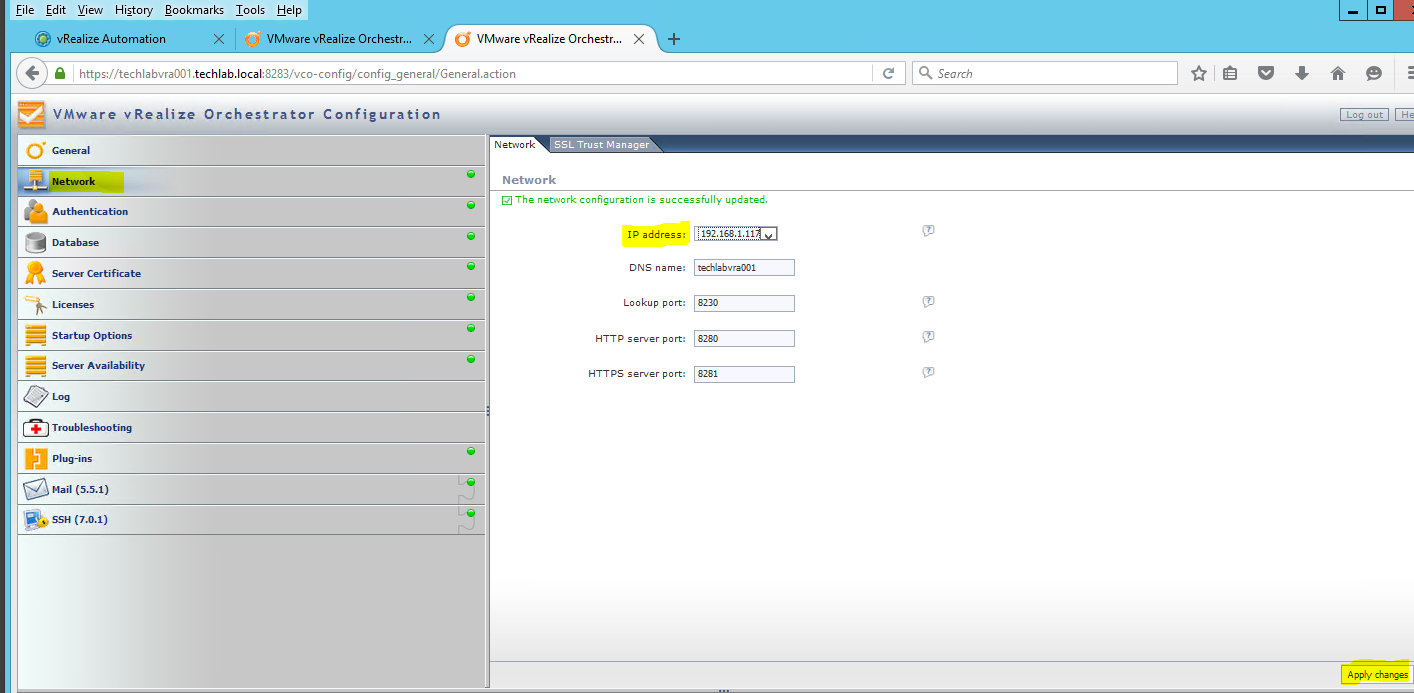
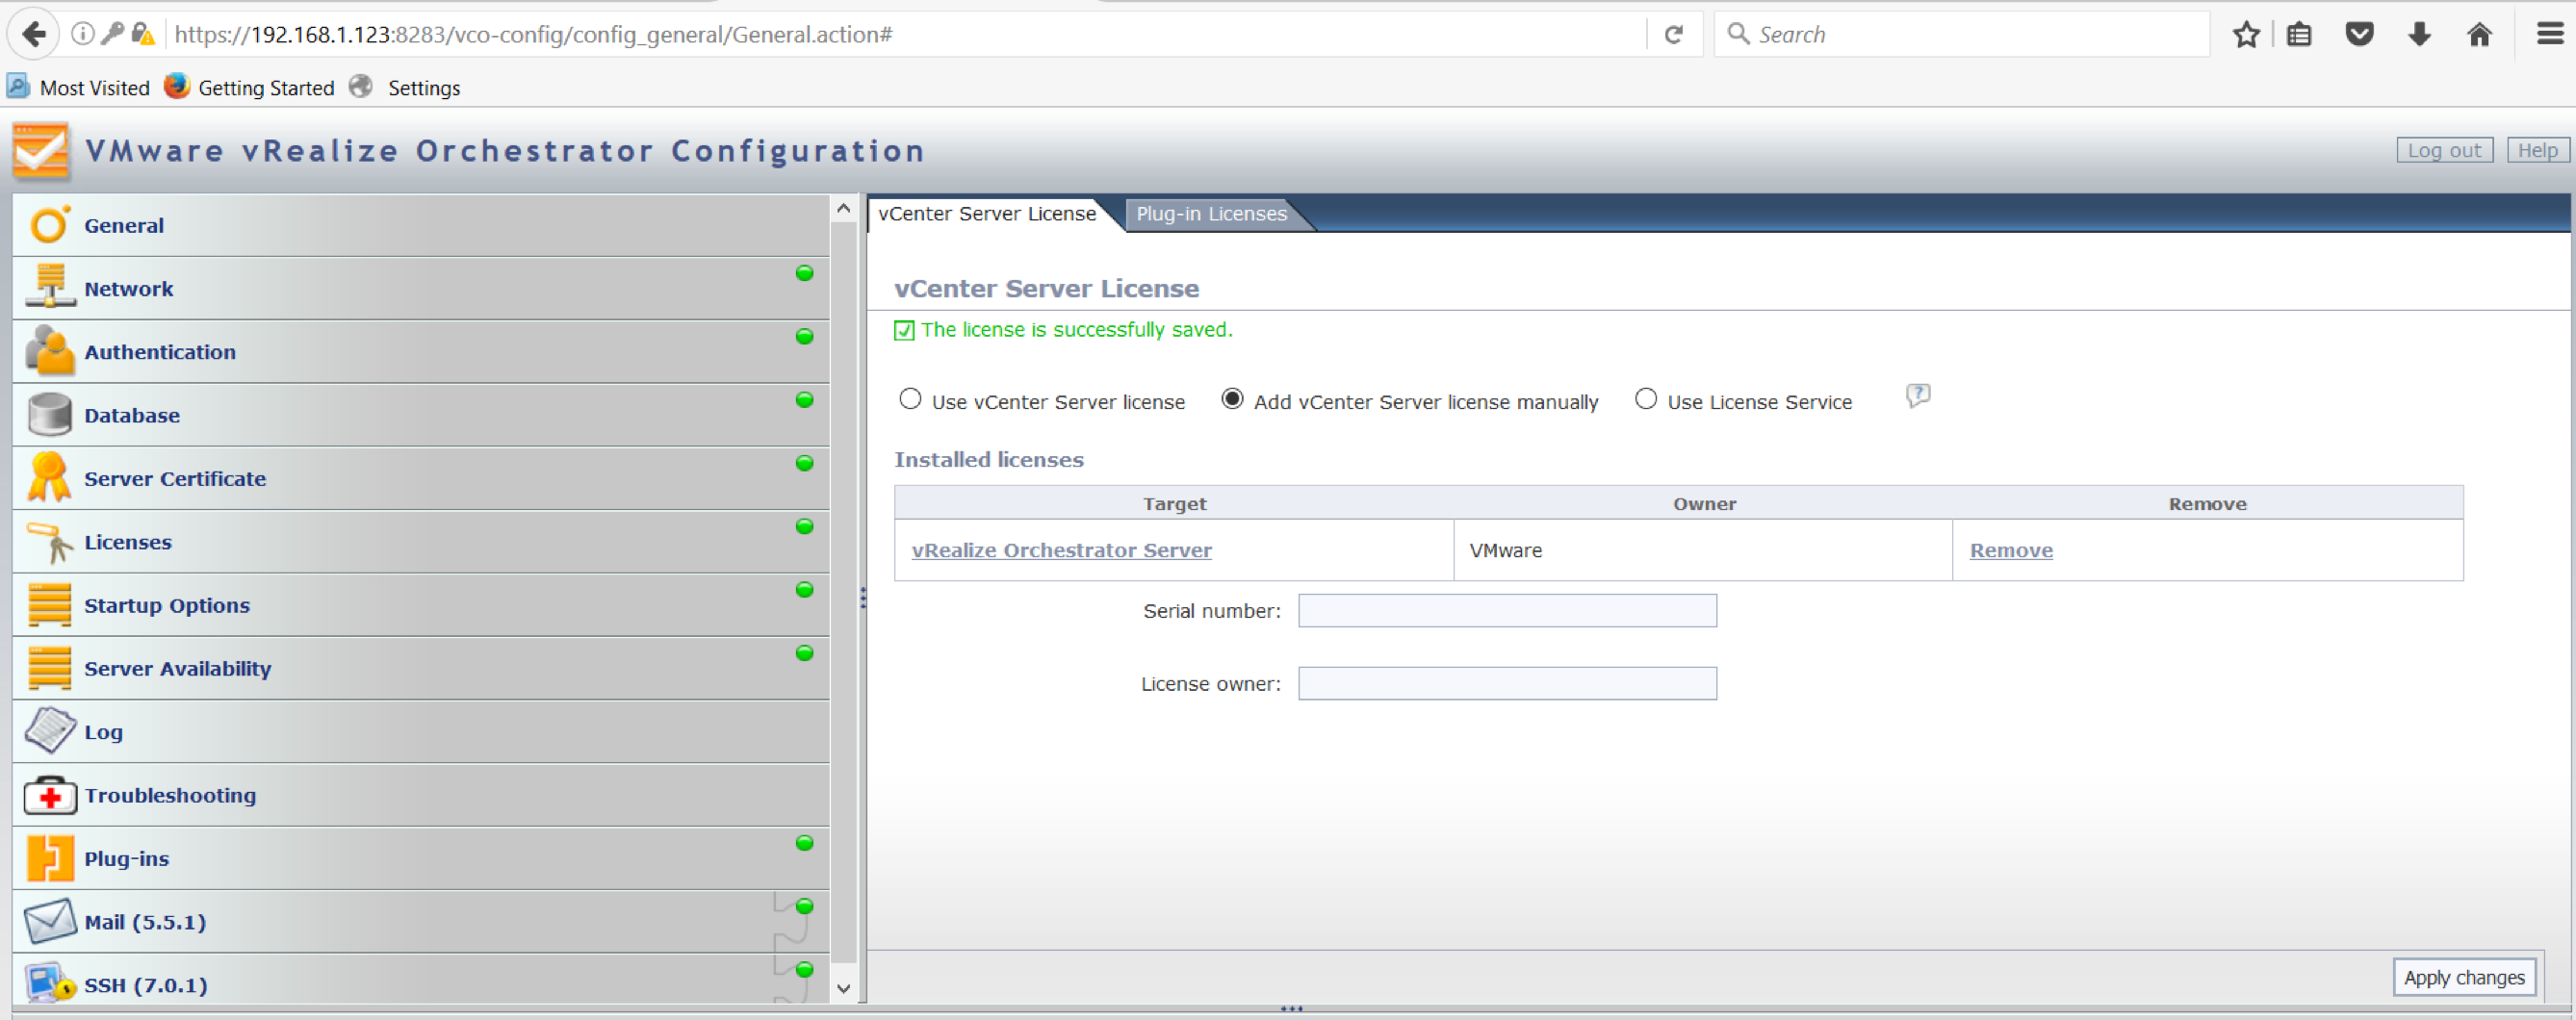
- Have a click through the configuration options
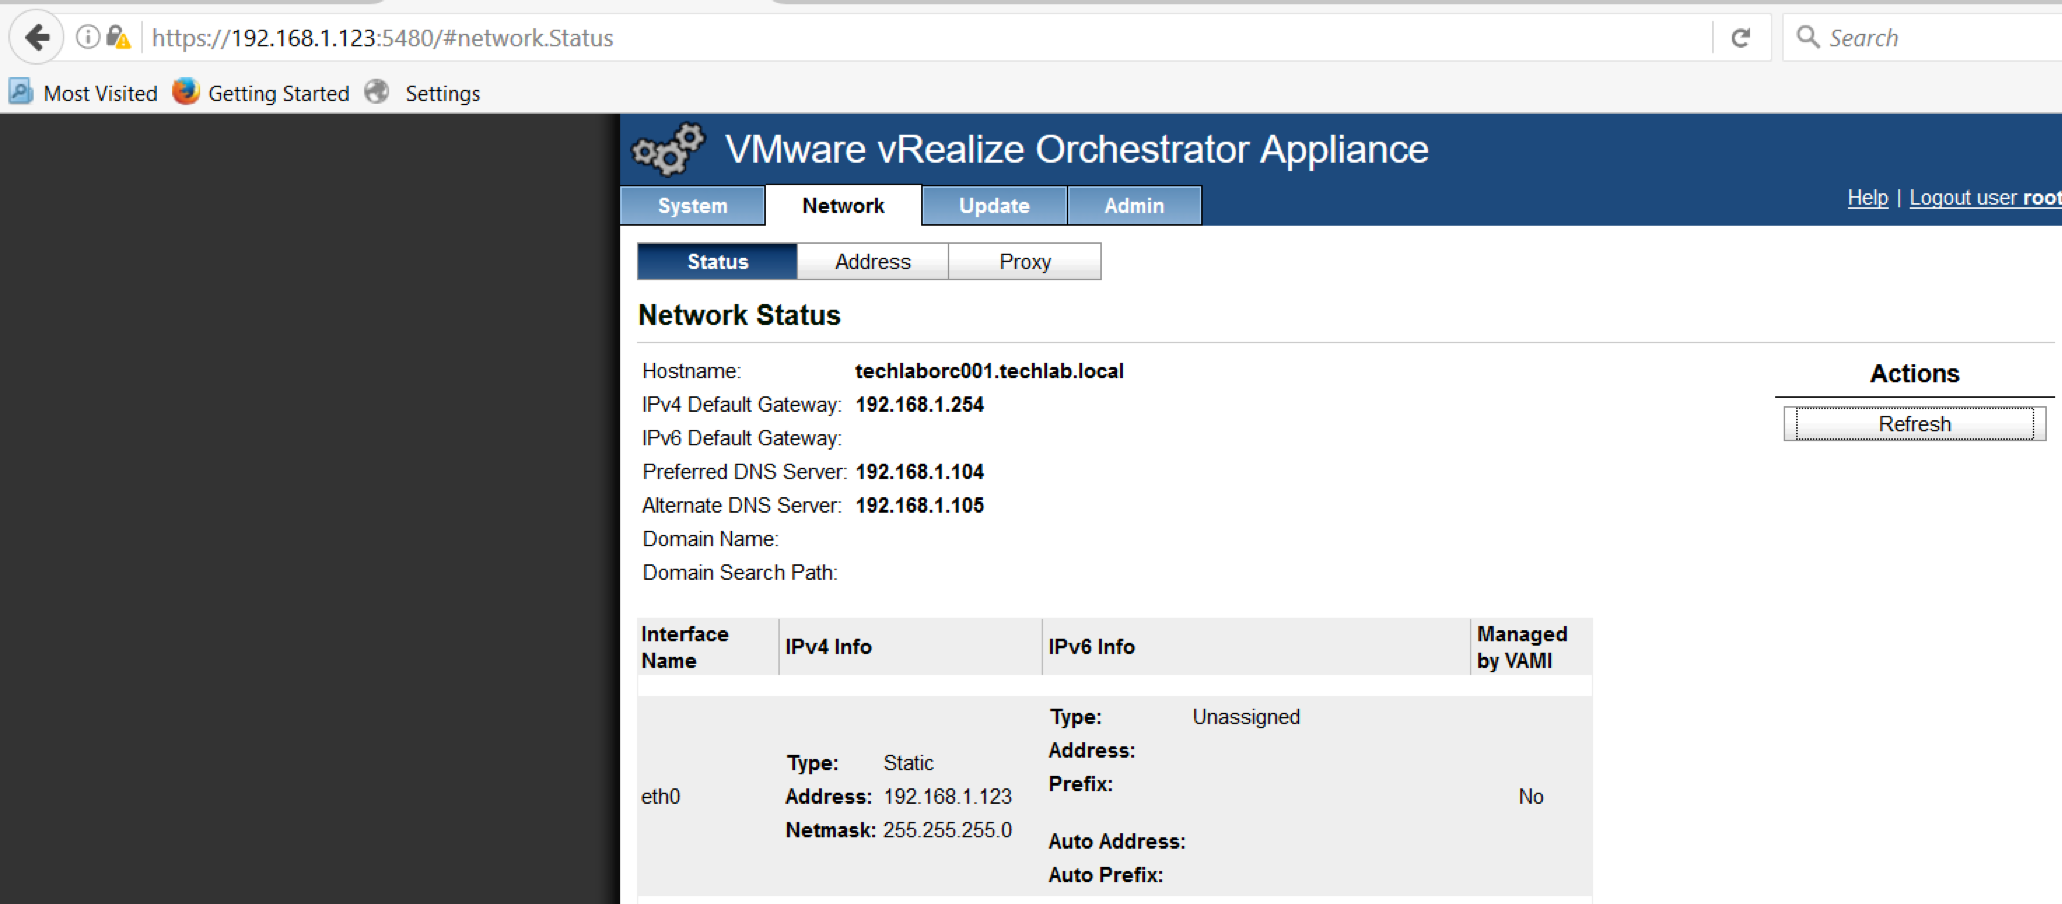
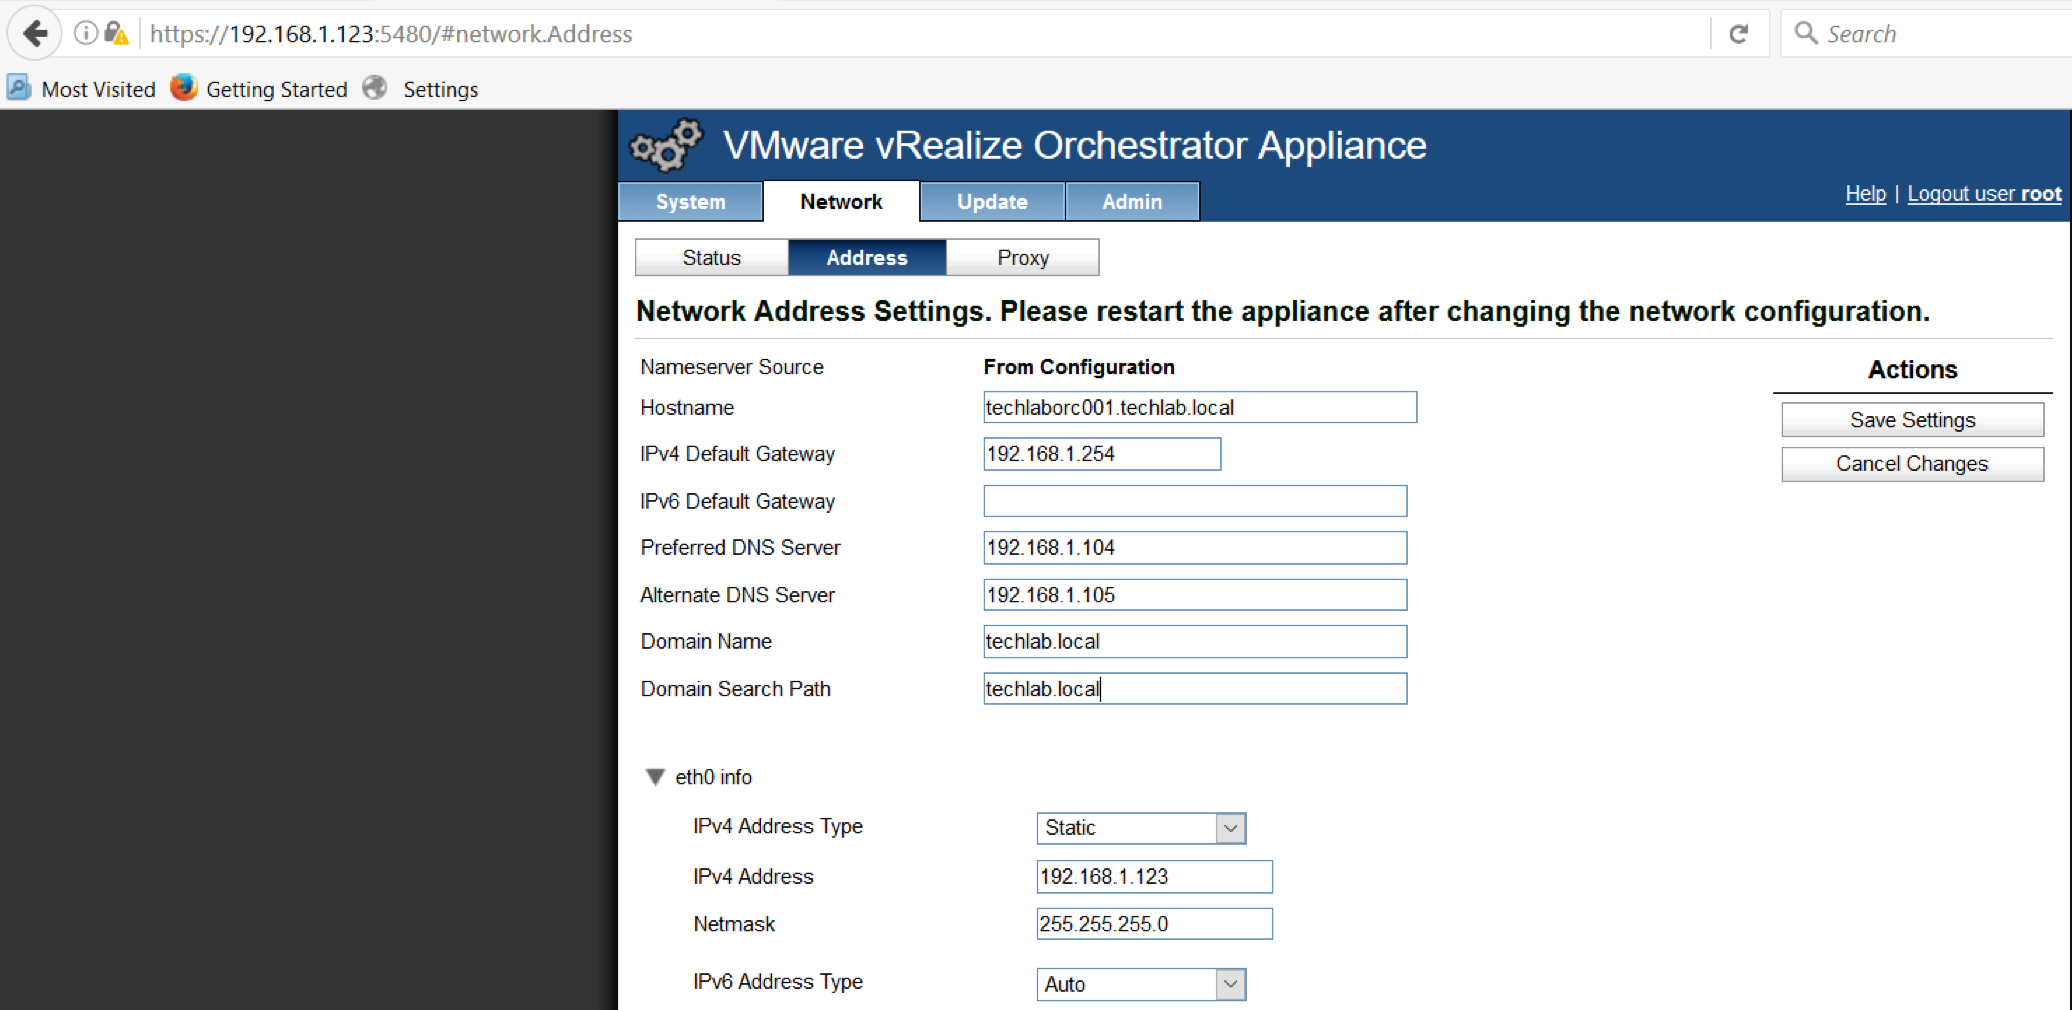
- I clicked on Network and changed the IP address from 0.0.0.0 to my vRA appliance address
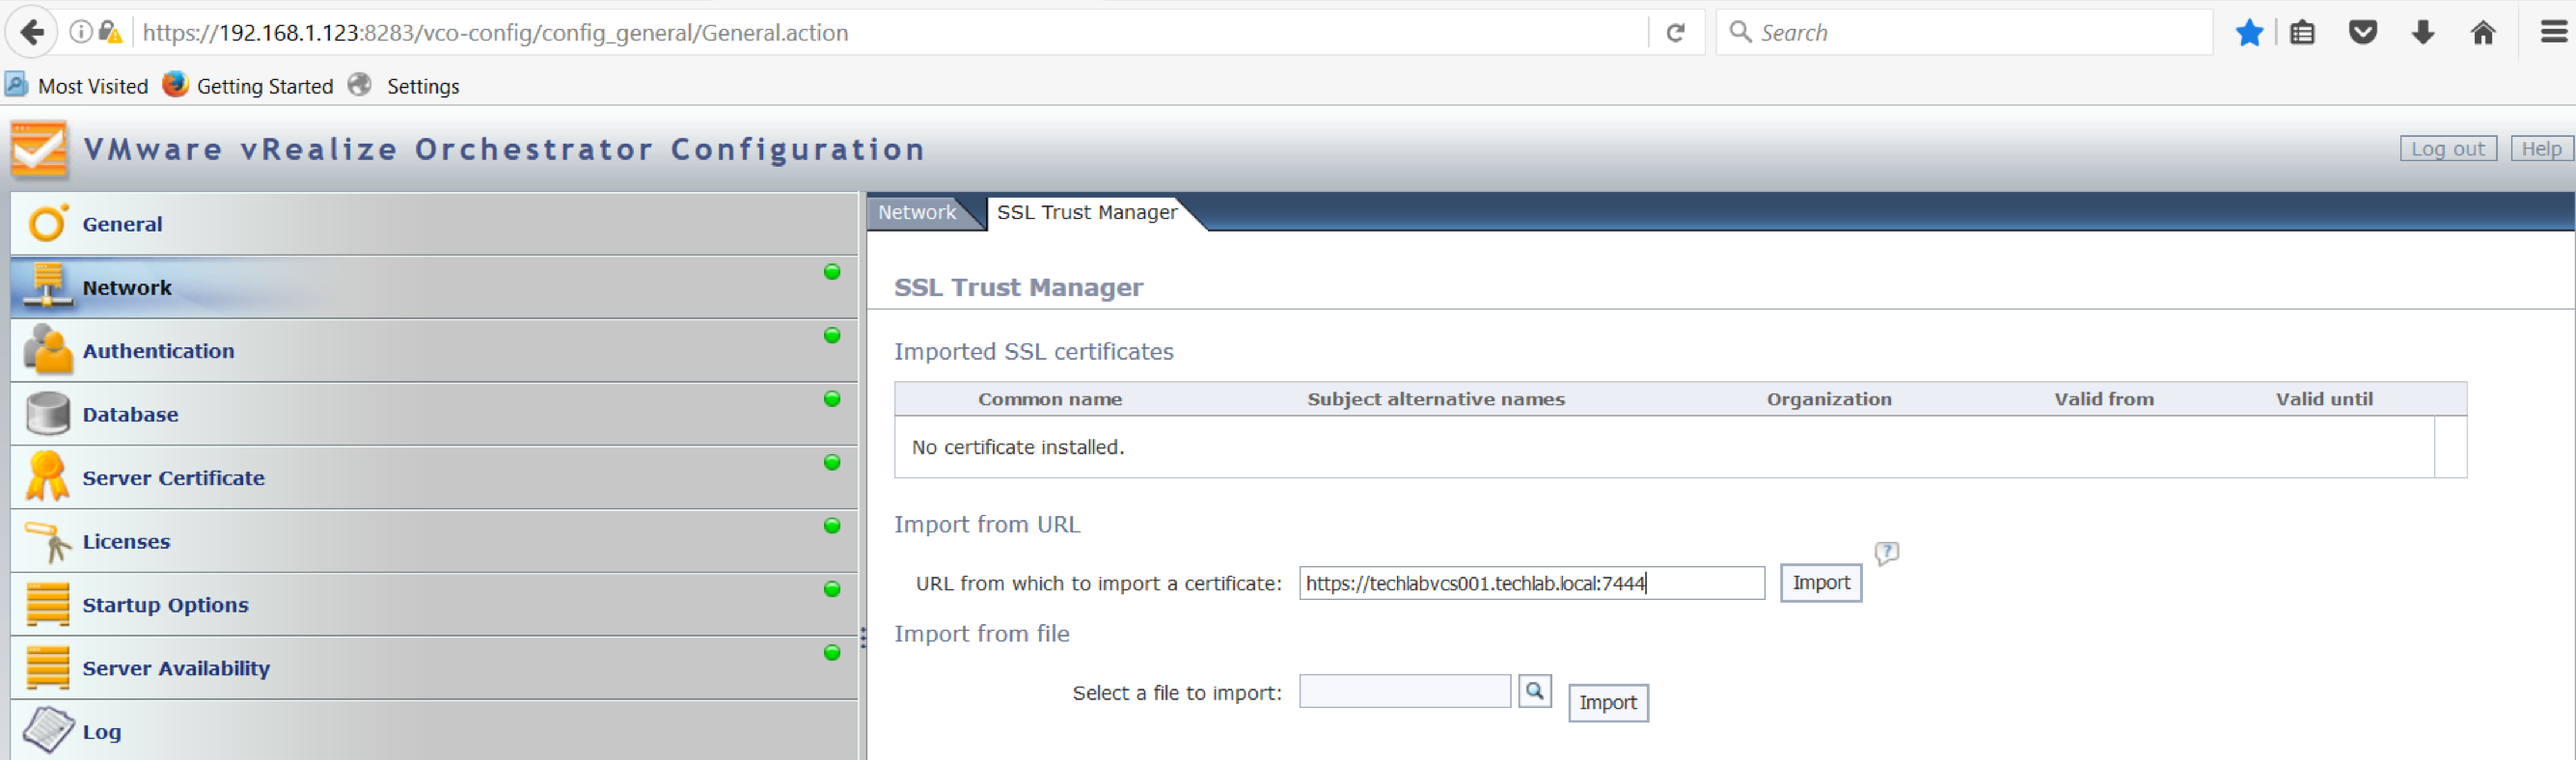
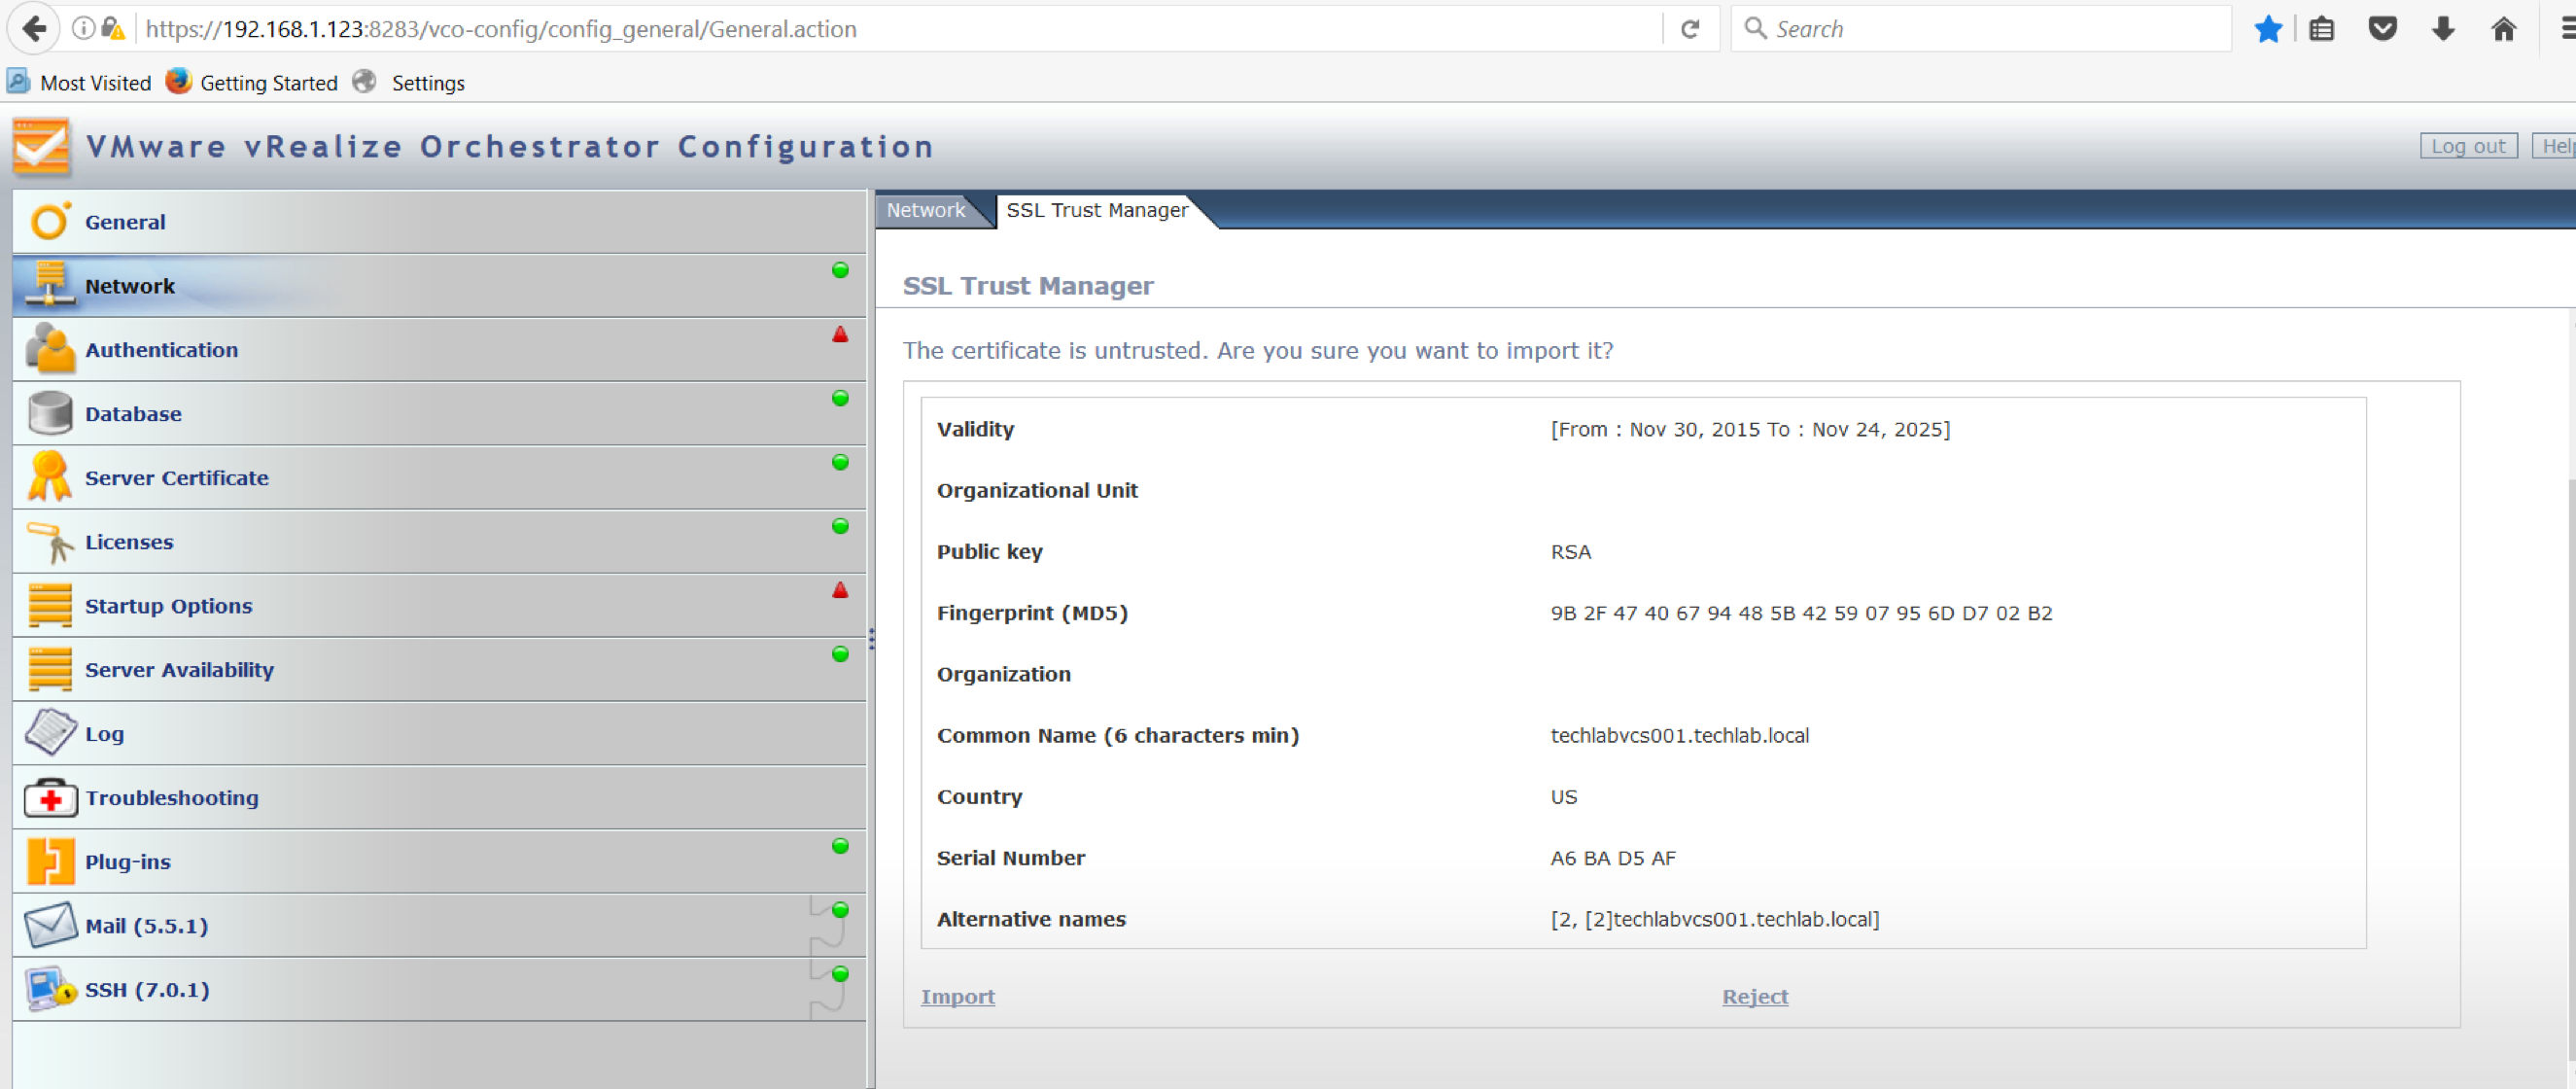
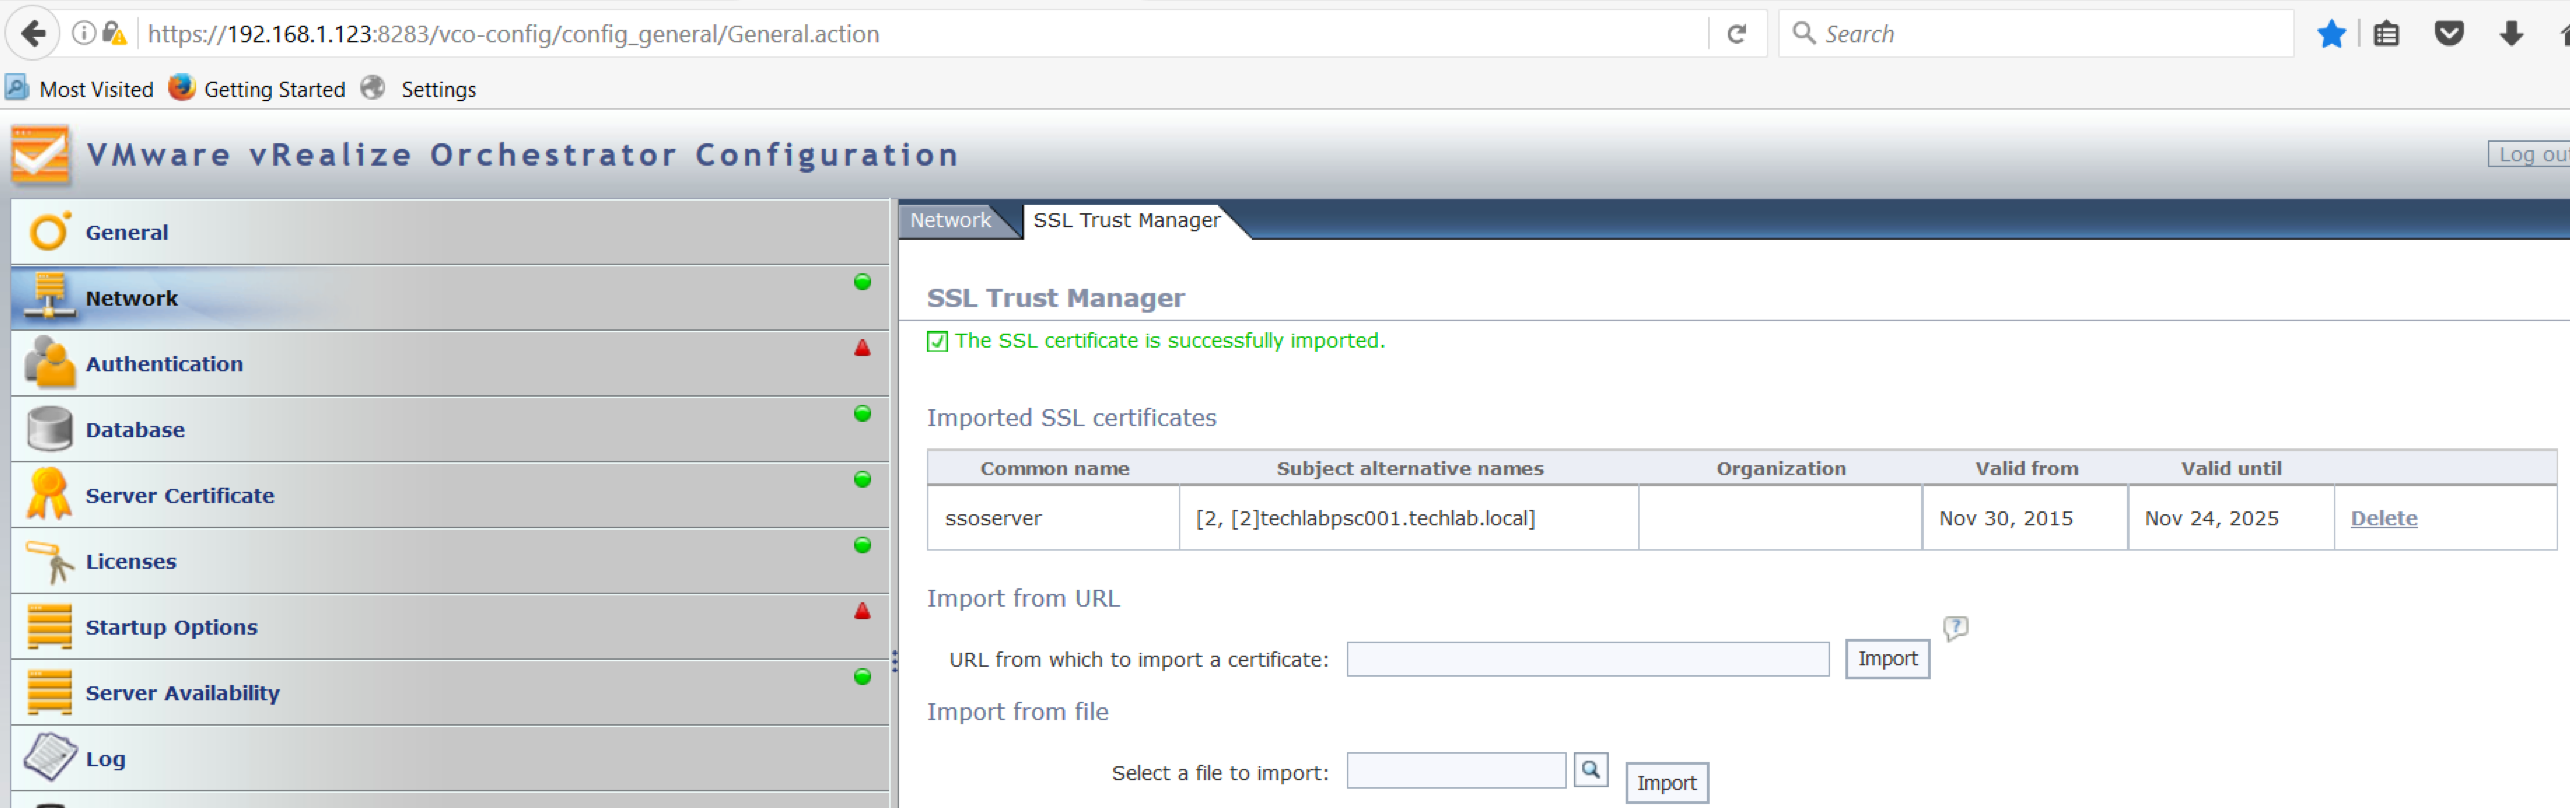
- You need to add the vCenter certificate in to the SSL Trust Manager. You will also need to add the Platform Services Controller if you use this with vSphere 6
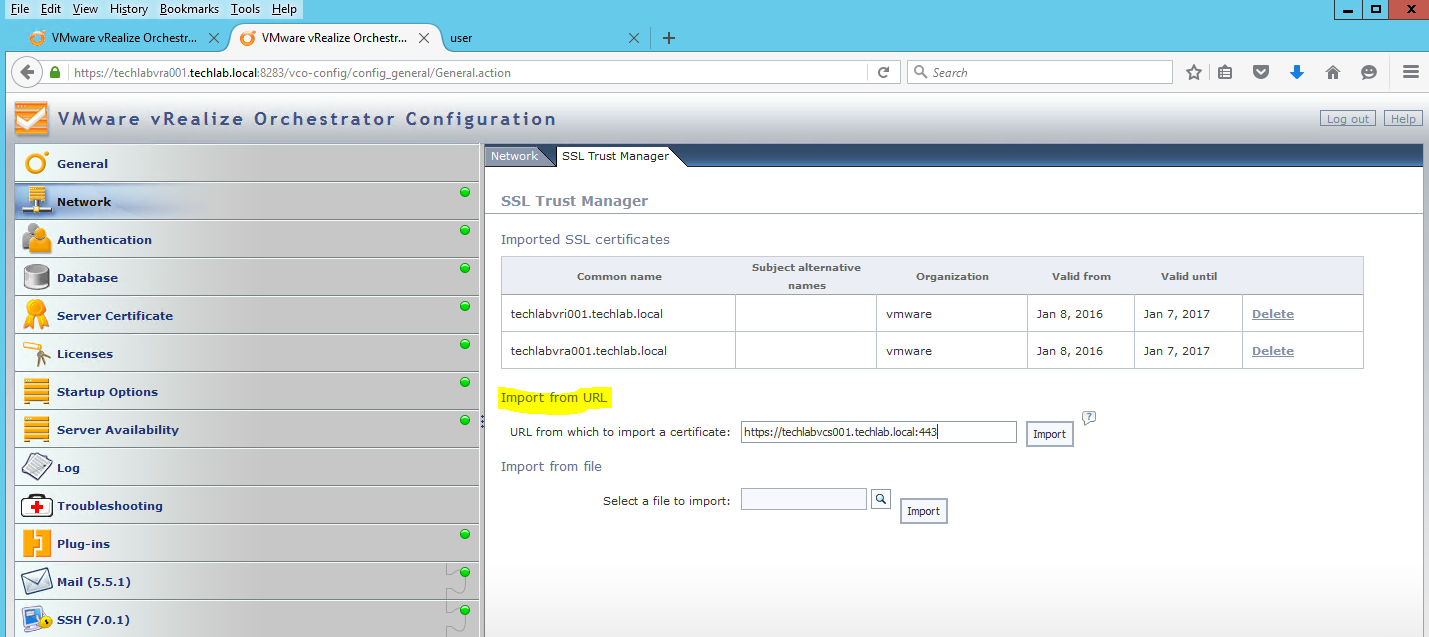
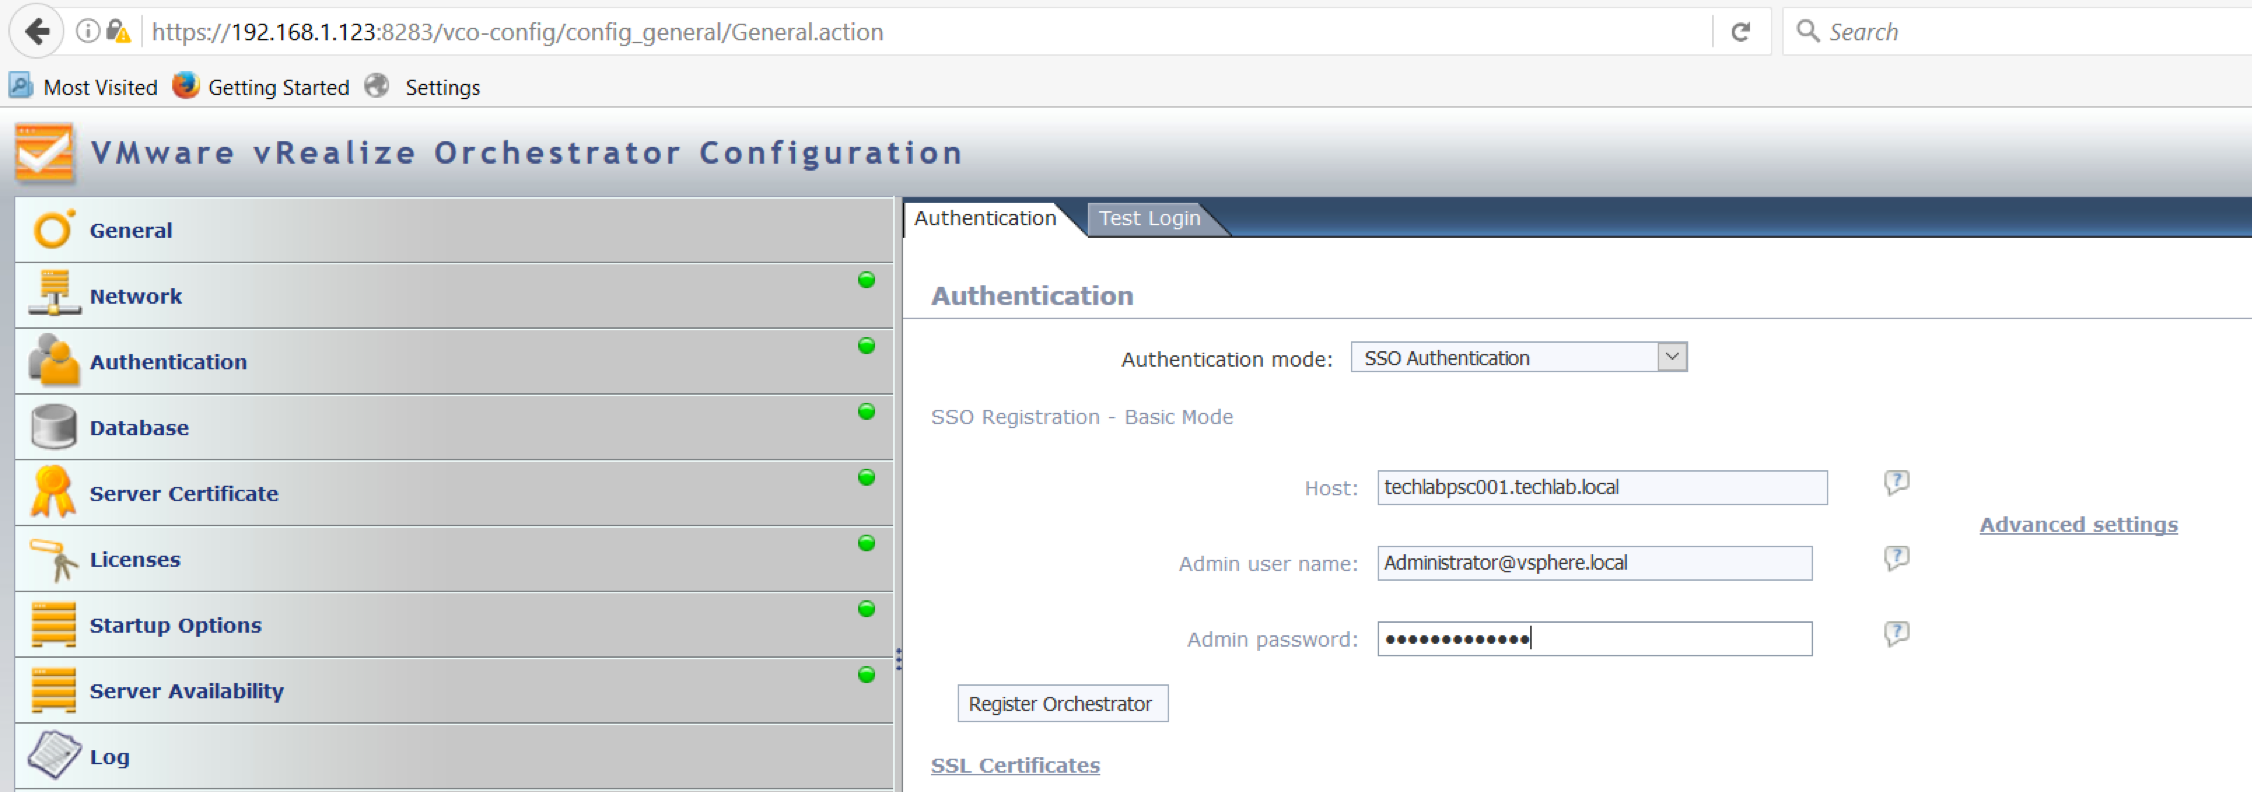
- You need to add your IAAS Server with the FQDN and add the vRA appliance if this is not here but mine already was. (if it is embedded and not external)

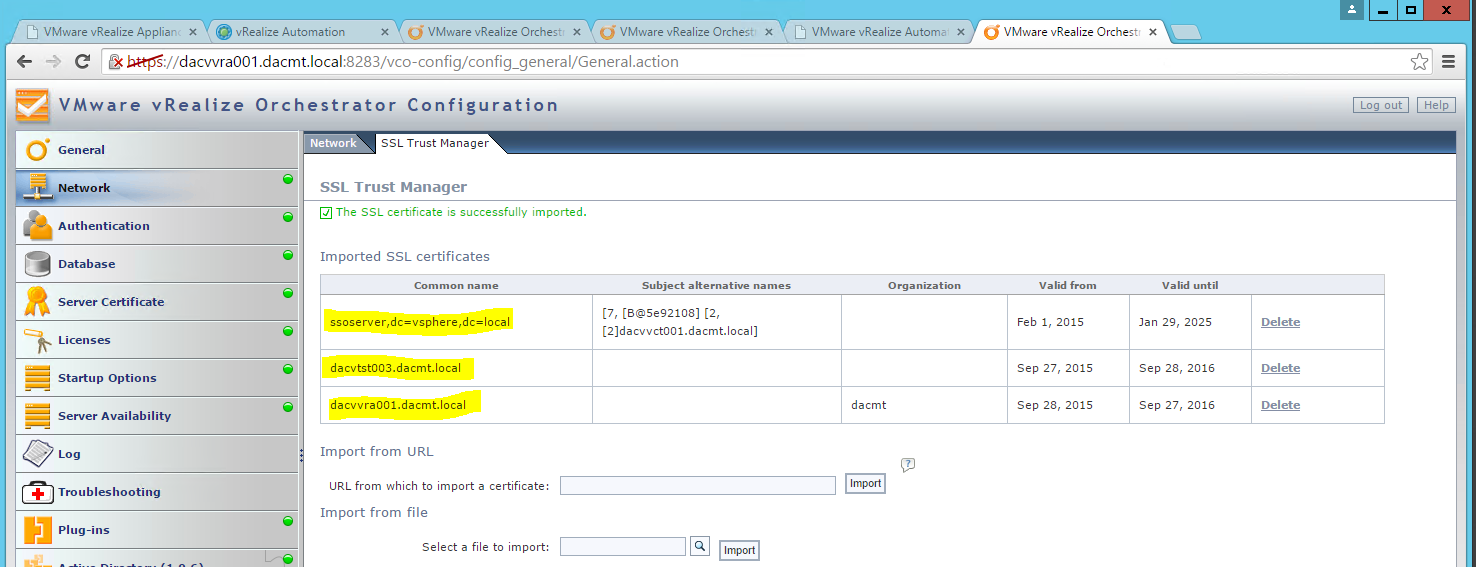
- You should see your certificates
- Next go back and log into your vRA appliance https://vRA_Appliance.FQDN/shell-ui-app
- Go to Infrastructure > Endpoints > Credentials > Add new credentials
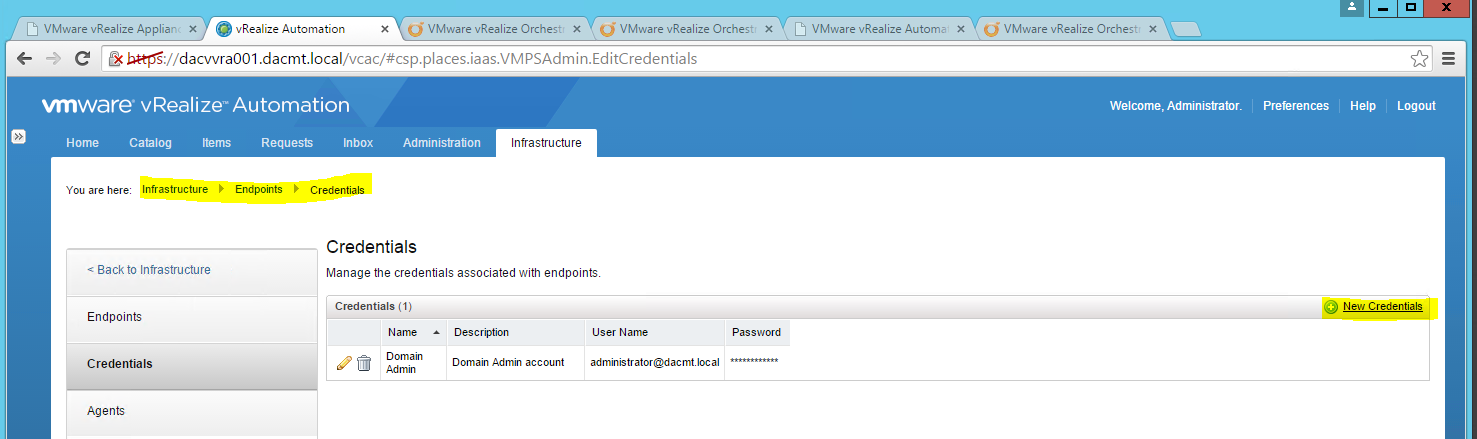
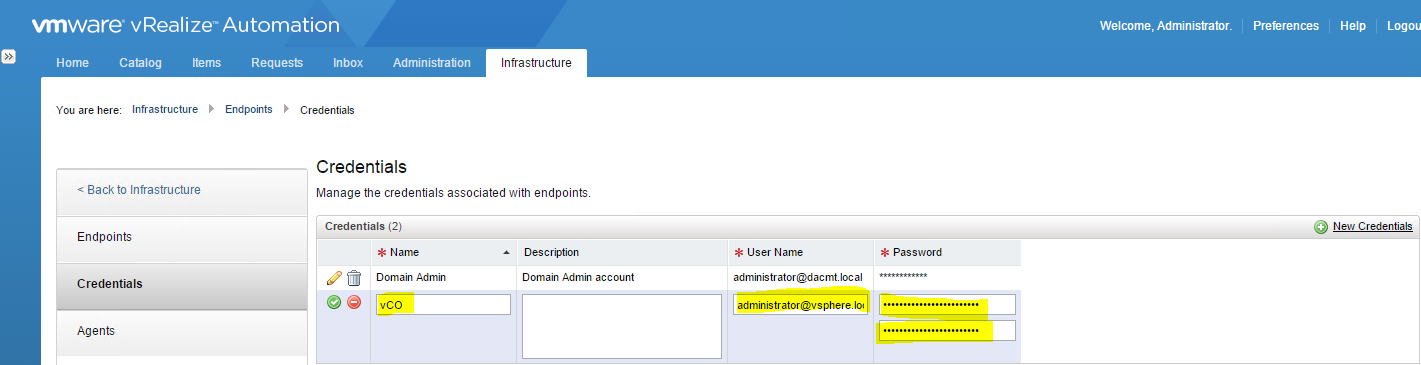
- Put in vCO as the Name
- Put in administrator@vsphere.local as the username
- Put in the password
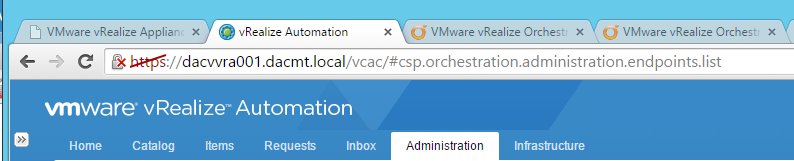
- Go to Endpoints > New Endpoint > Orchestration > vCenter Orchestrator
Install the vSphere Orchestrator Client
- Go to https://vRA_Appliance.FQDN:8281/vco
- Click Start Orchestrator client
- I got an error saying Windows cannot open .jnlp files so I had to select open with then navigate to my java folder and choose javaws
- Whatever you do don’t update from version 1.7 to 1.8 or things will break
- You should then see the below 2 screens
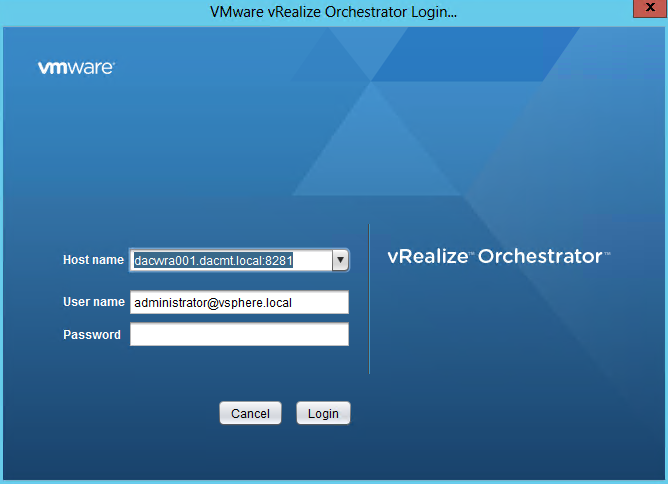
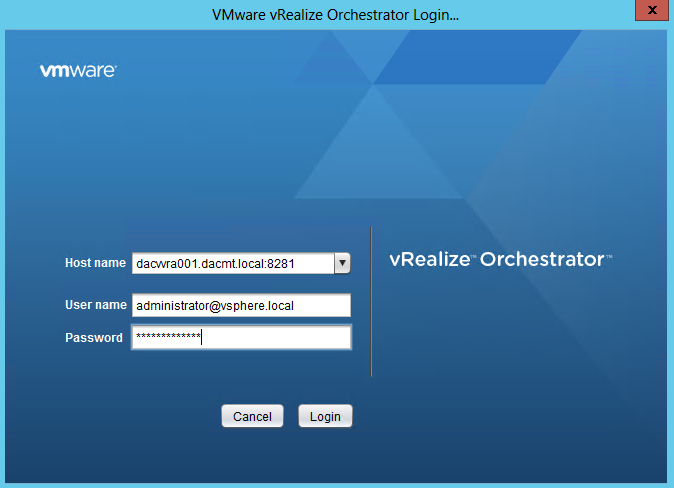
- You should then see the logon screen for vCO appear
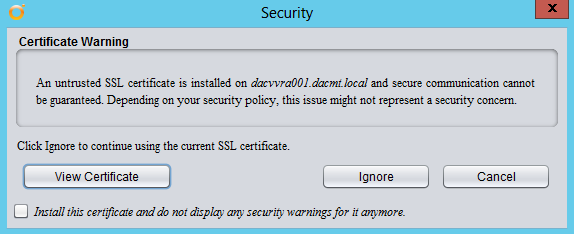
- A certificate warning will appear
- vCenter Orchestrator will now open
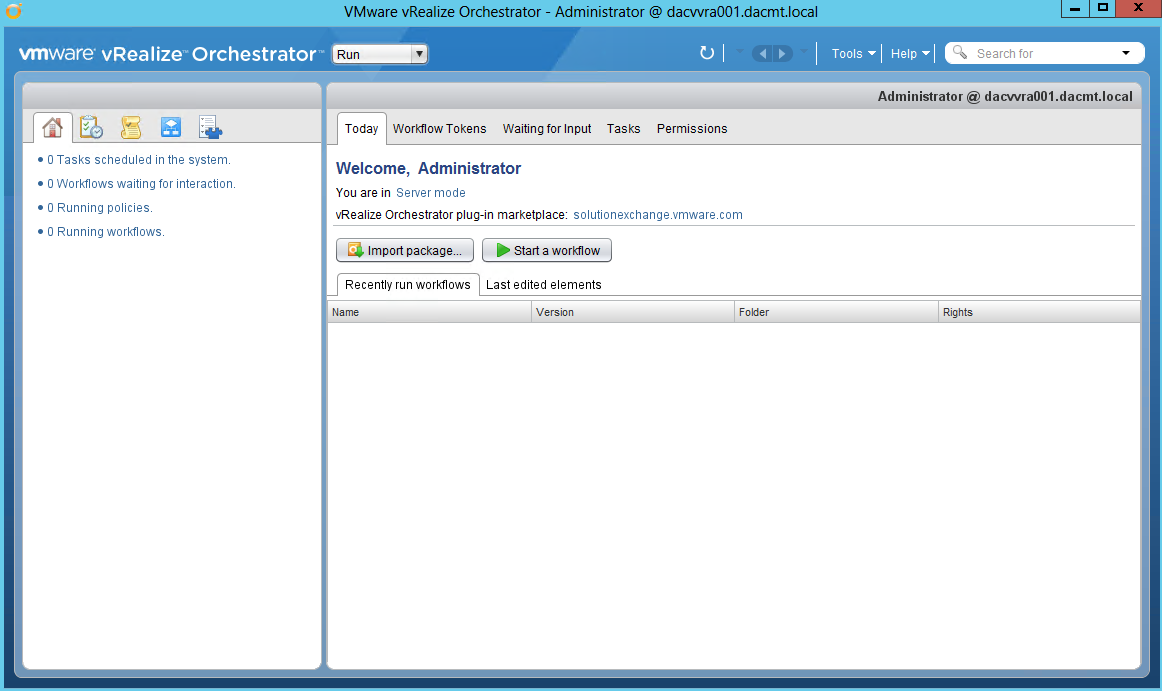
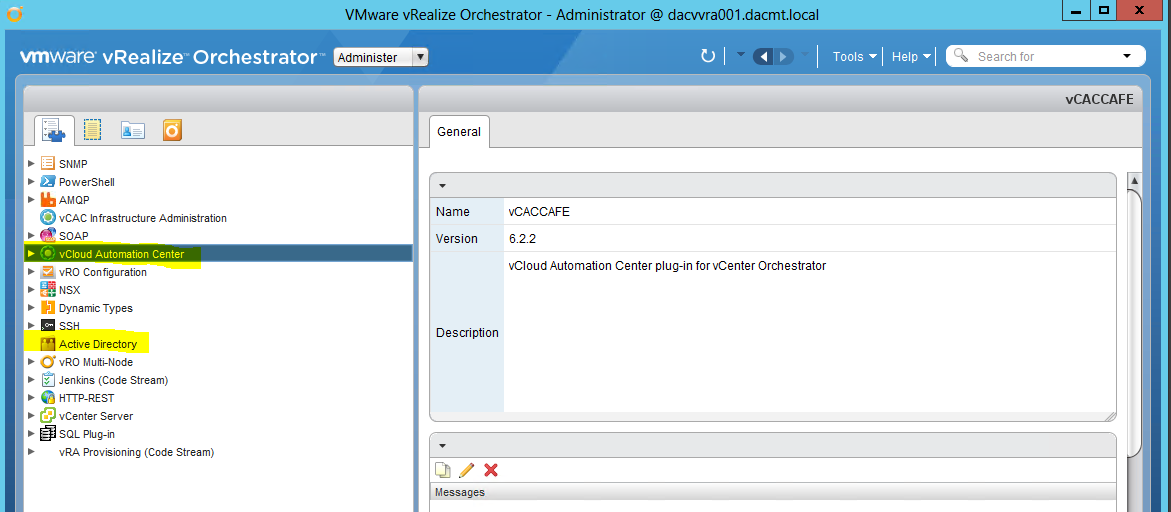
- Expand VCAC and Active Directory in the Inventory section. You should see these are empty although there may already be something in vCloud Automation Center
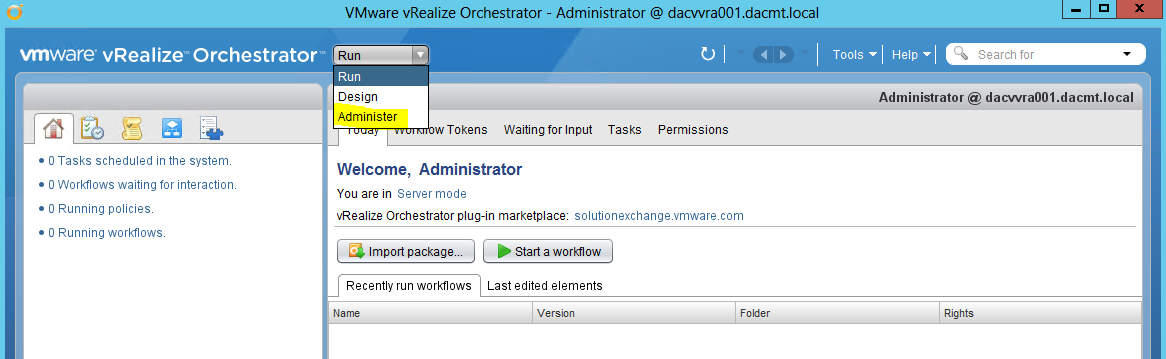
- Select Run
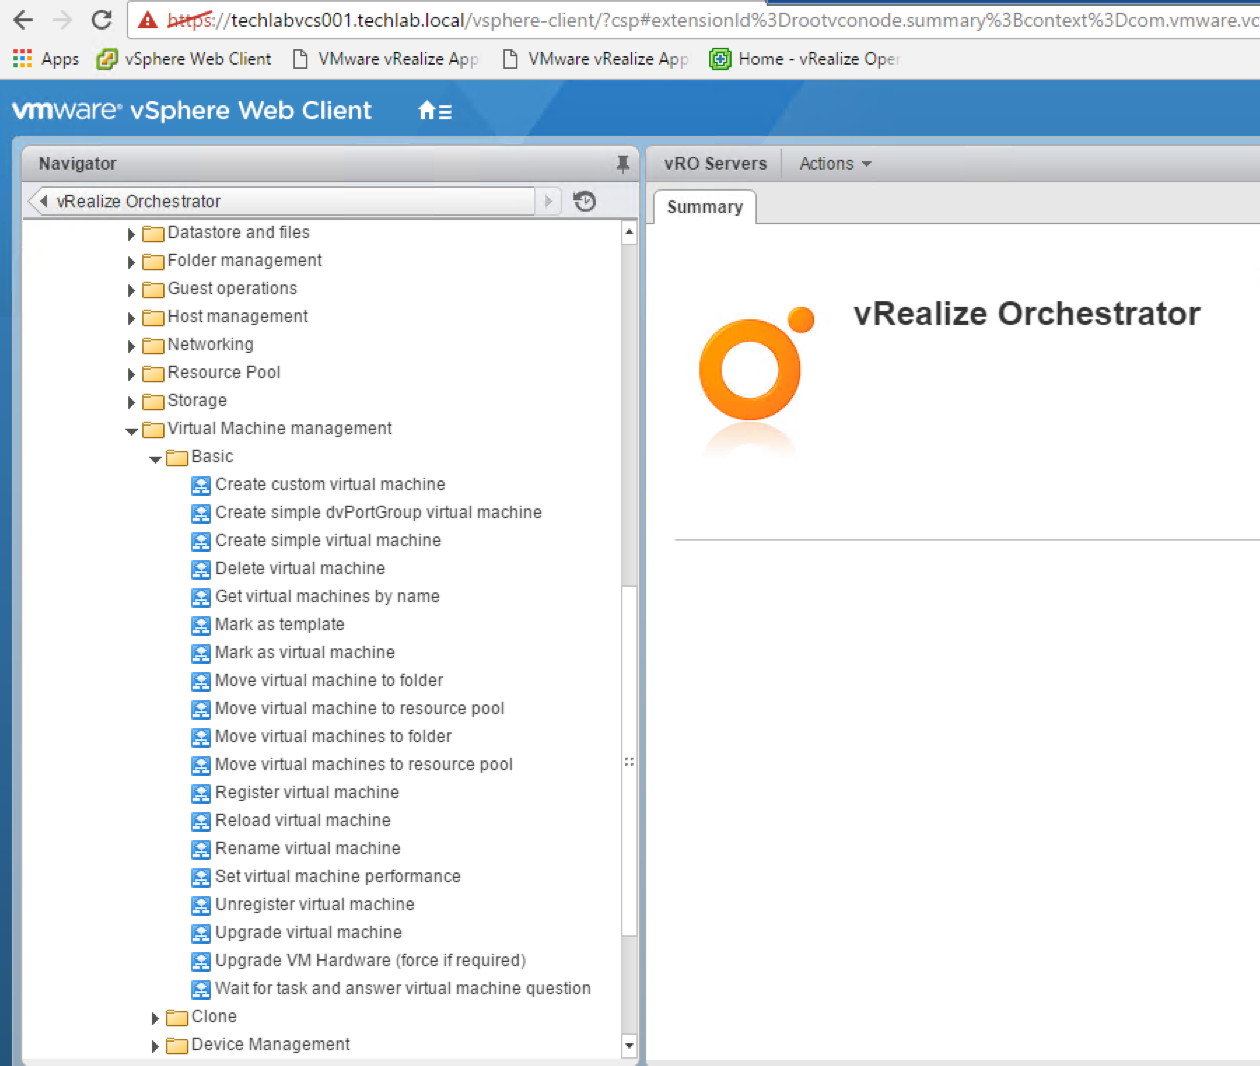
- Go to Workflows
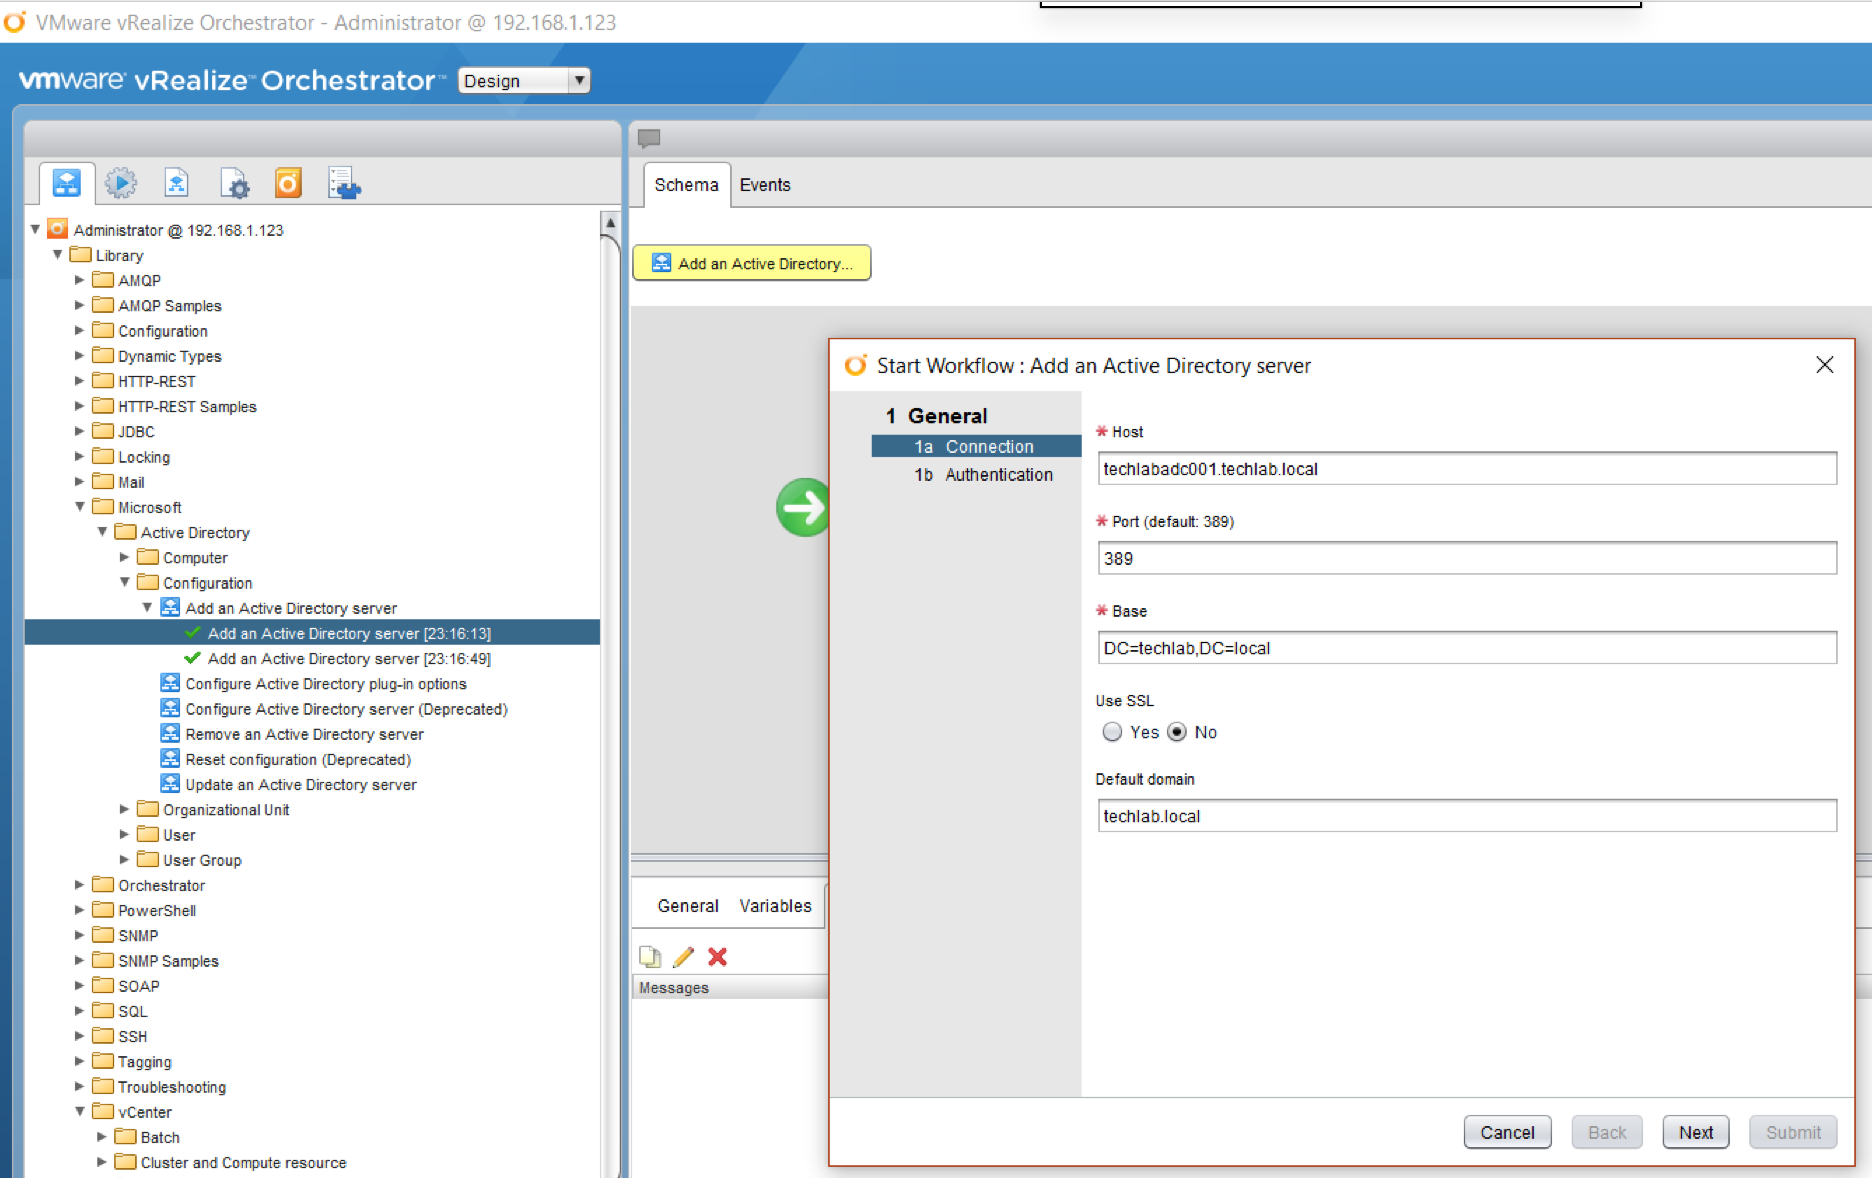
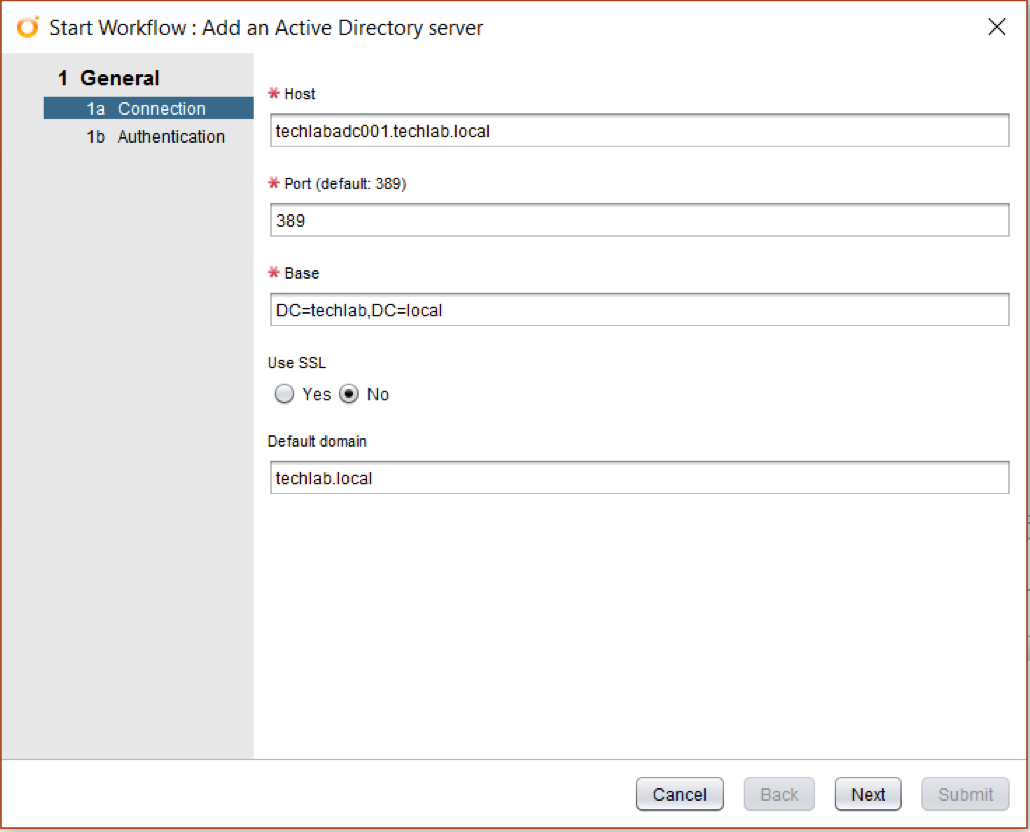
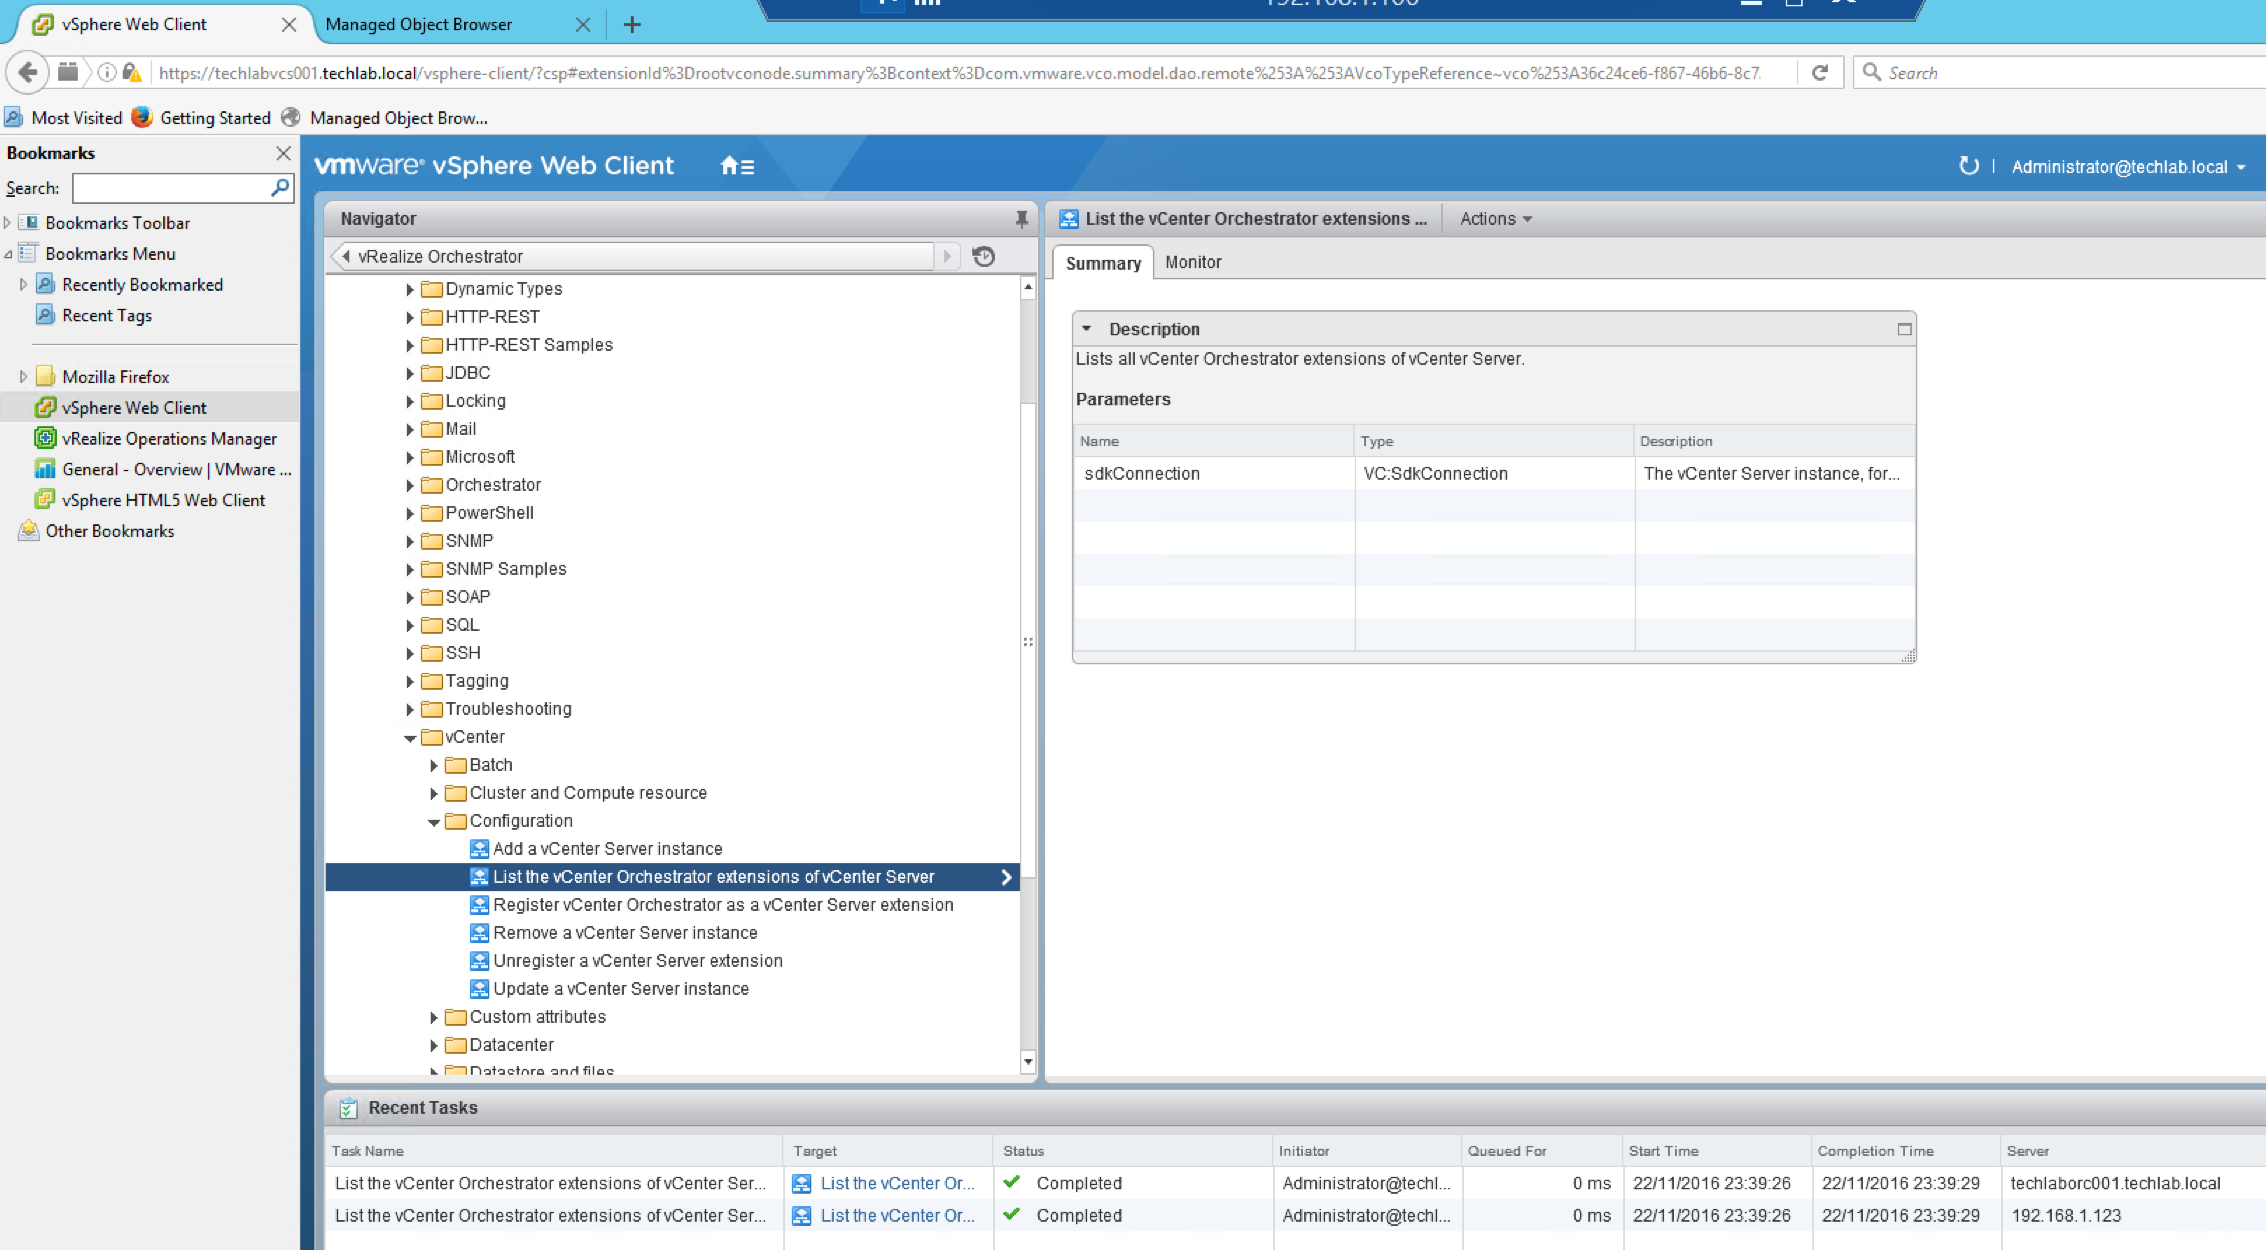
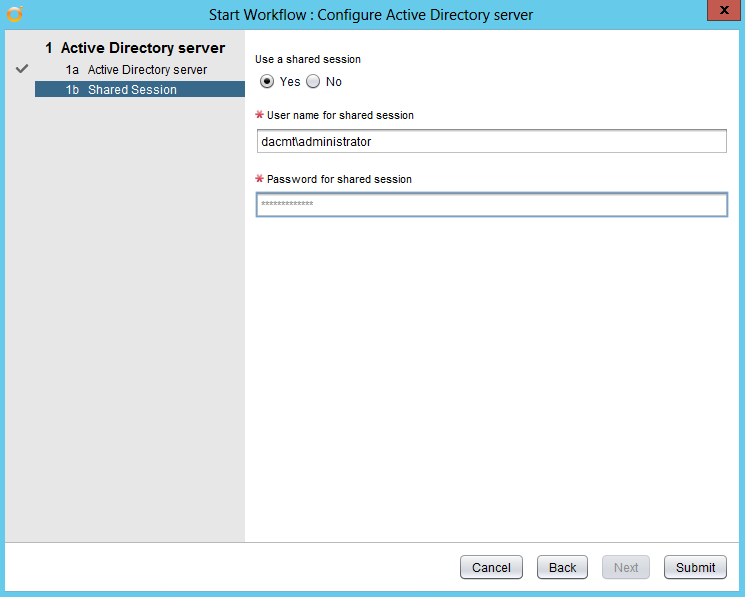
- Go to Library > Microsoft > Active Directory > Configuration > Configure Active Directory
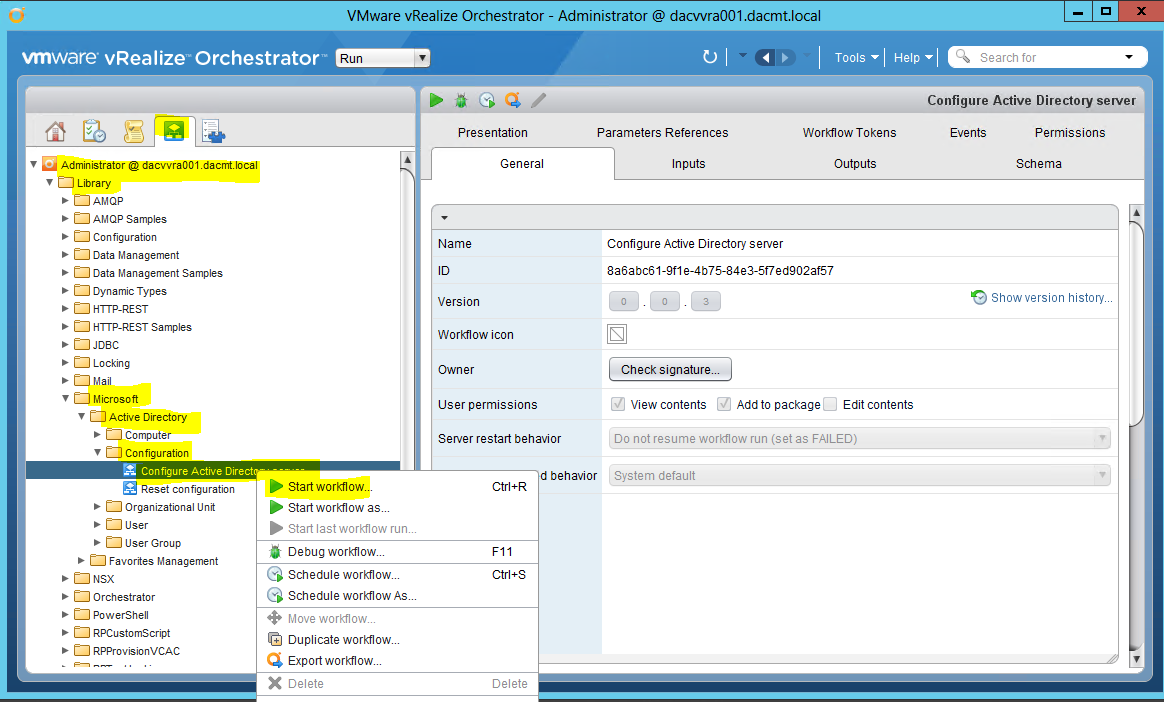
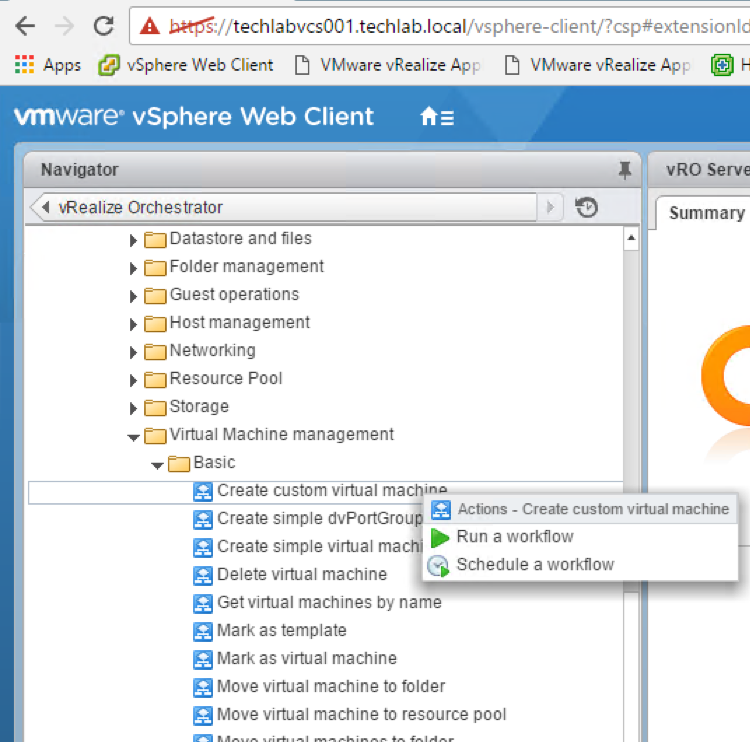
- Click Start Workflow
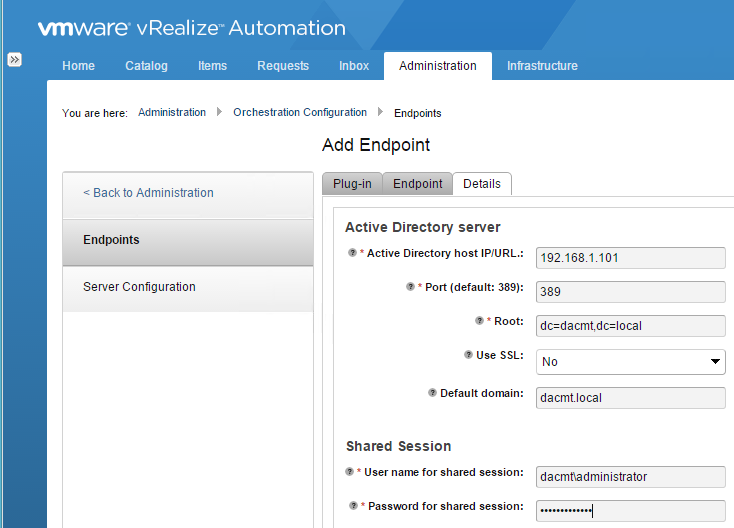
- Put in the following details
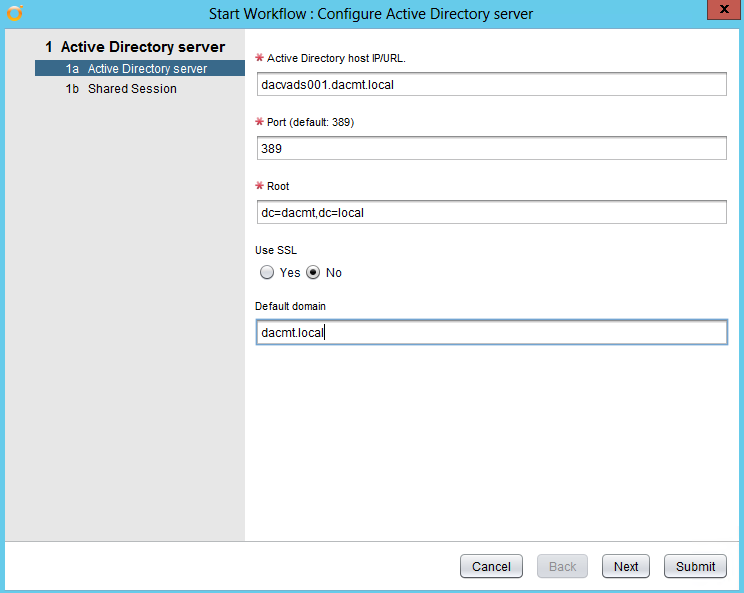
- Click Use a Shared Session
- Put in your credentials
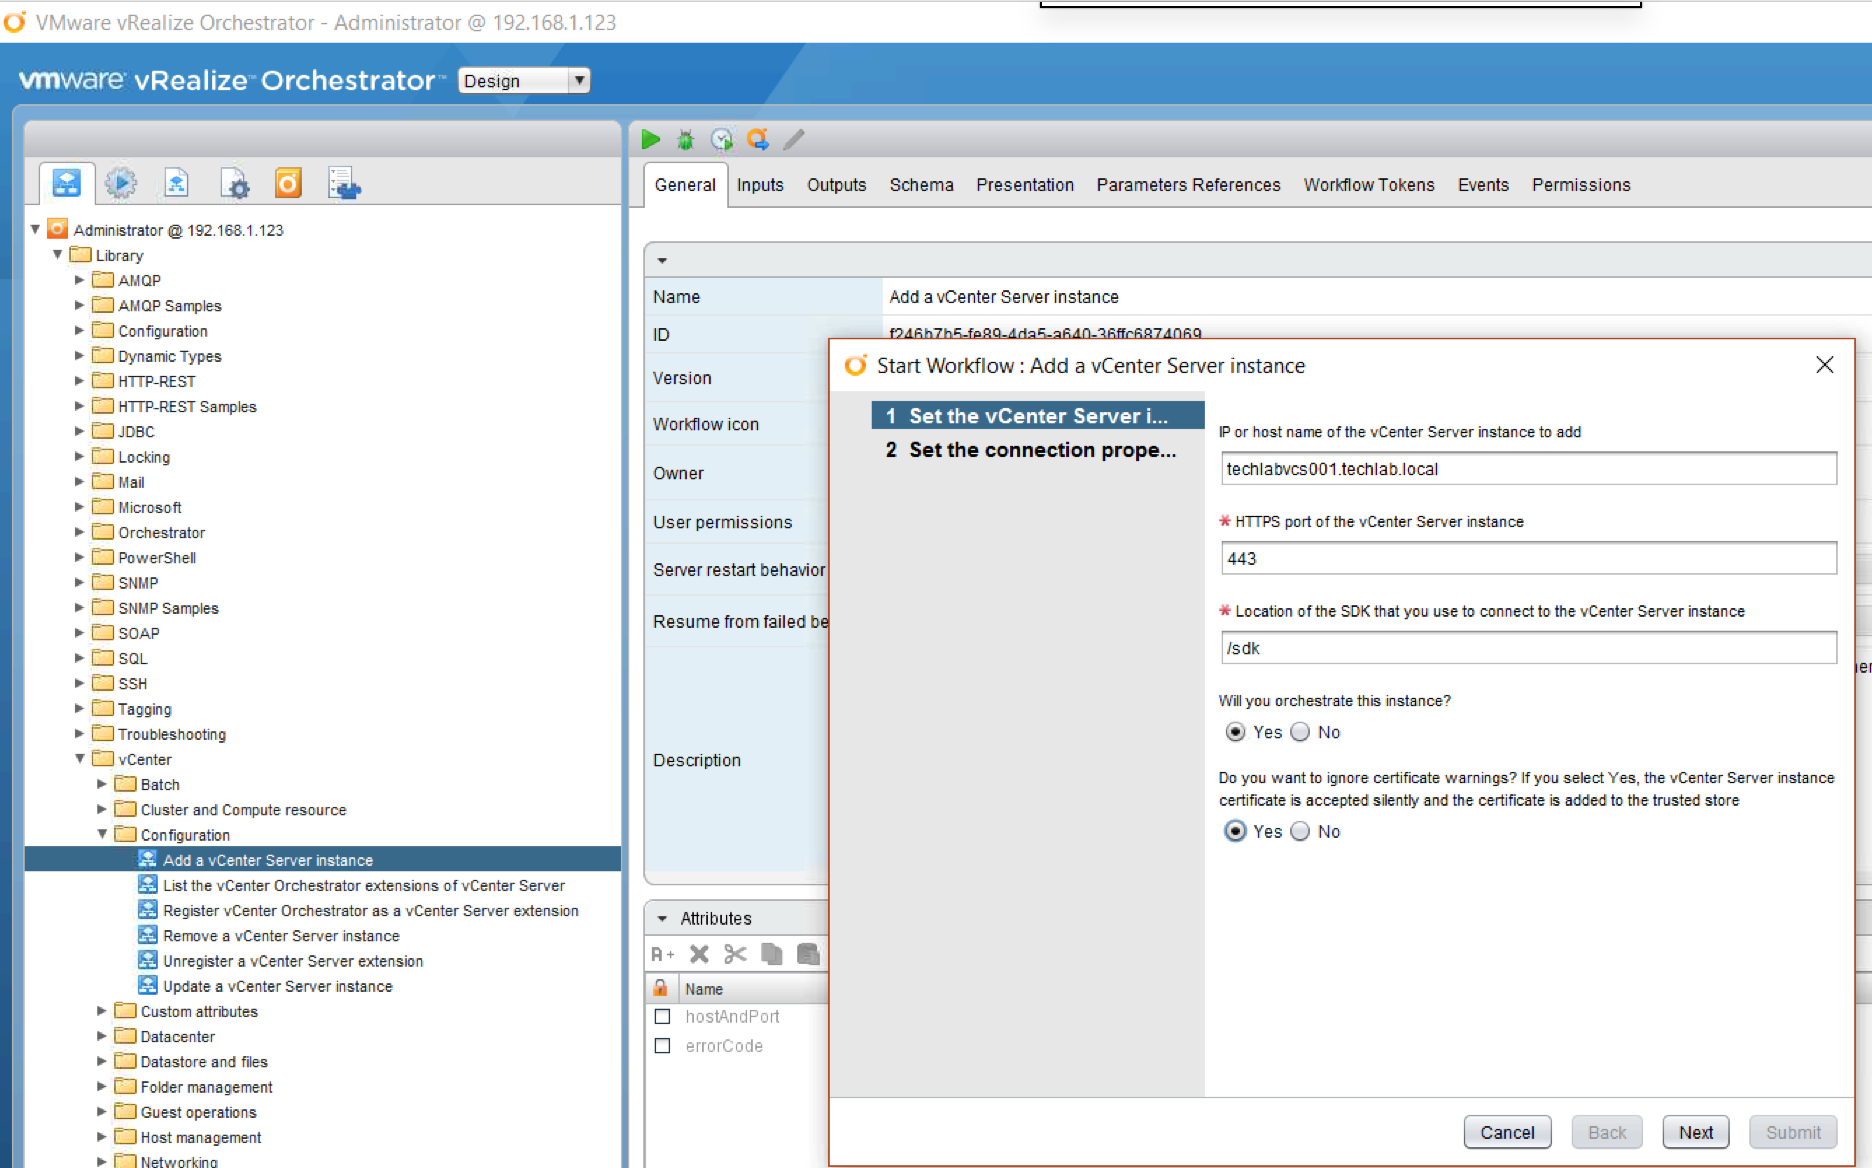
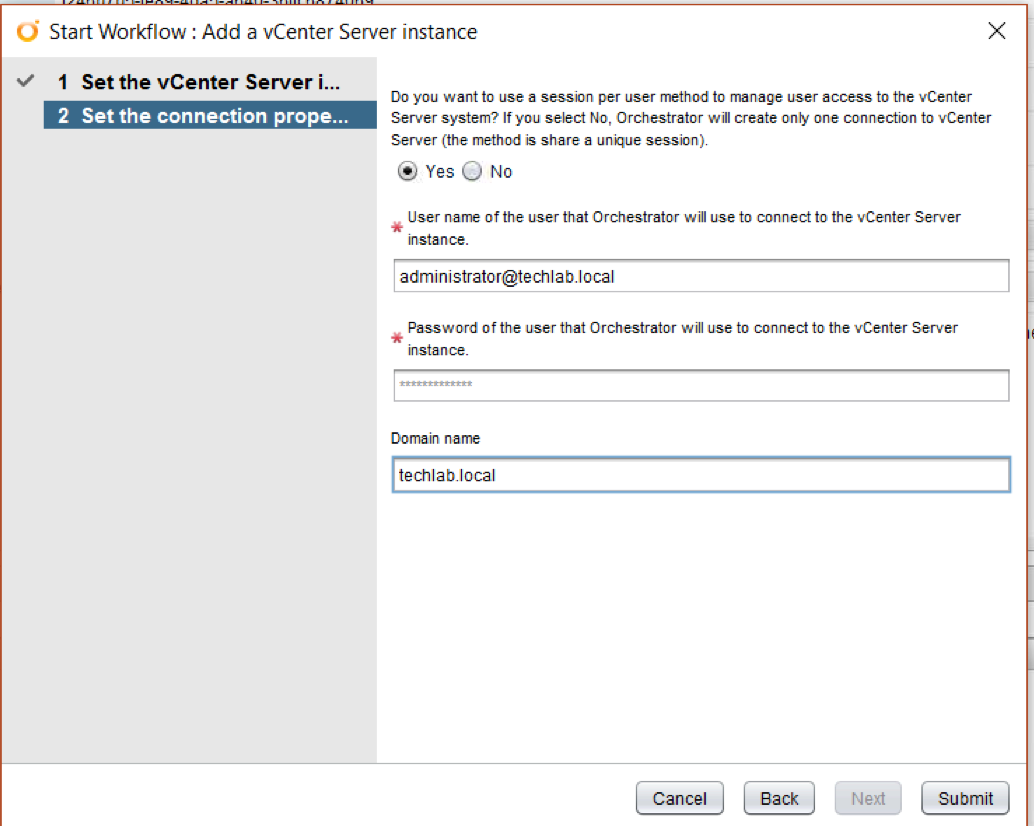
- Next in the same Workflow screen, navigate to Library > vCloud Automation Center > Configuration > Add the IAAS host of a vCAC host
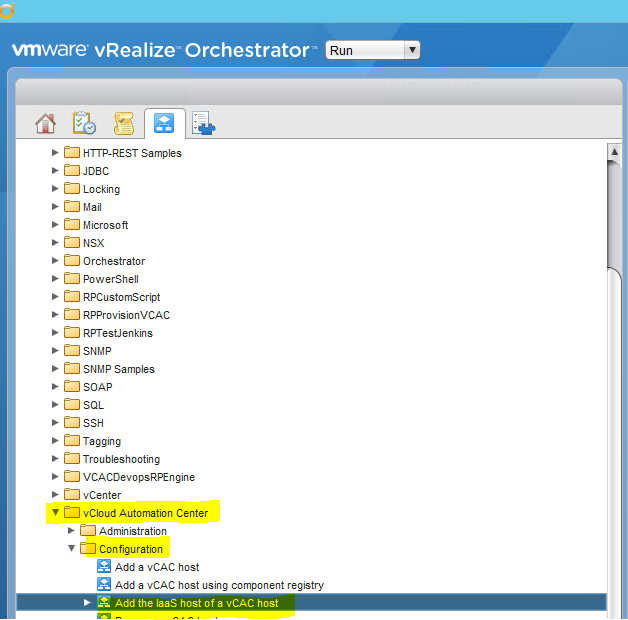
- Right click on Add the IaaS host of a vCAC host and select Start Workflow
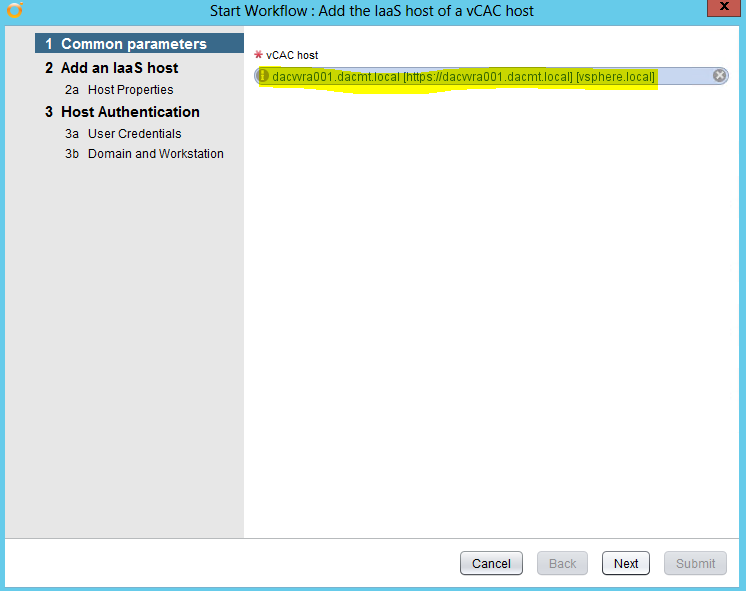
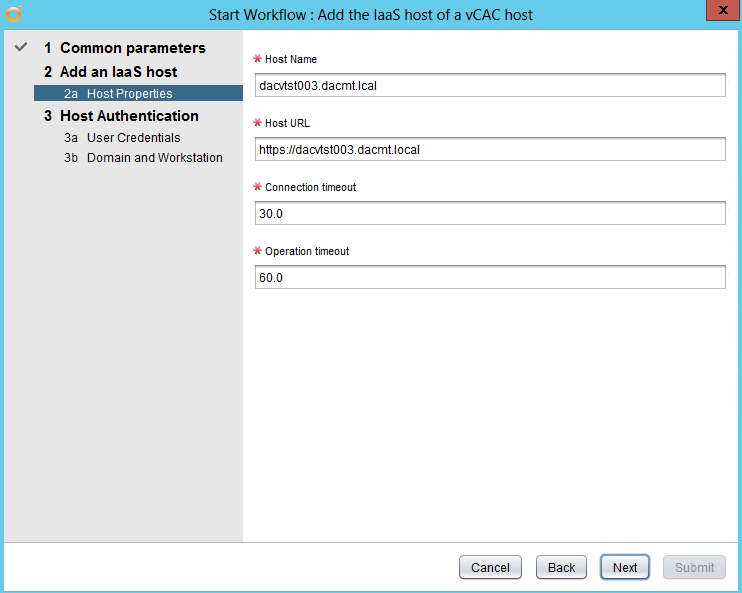
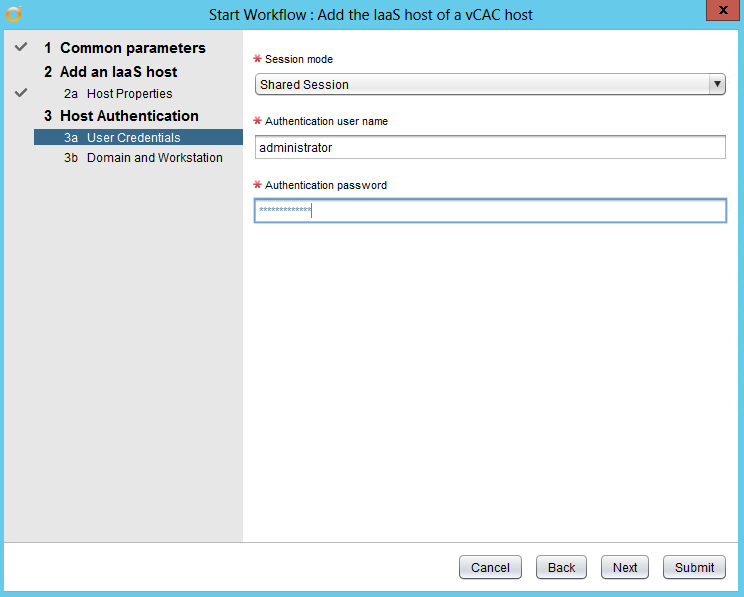
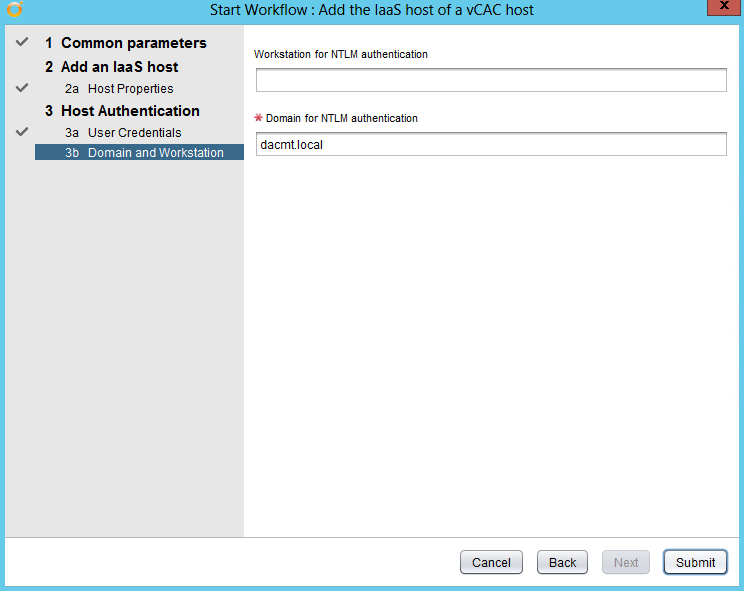
- Click Submit
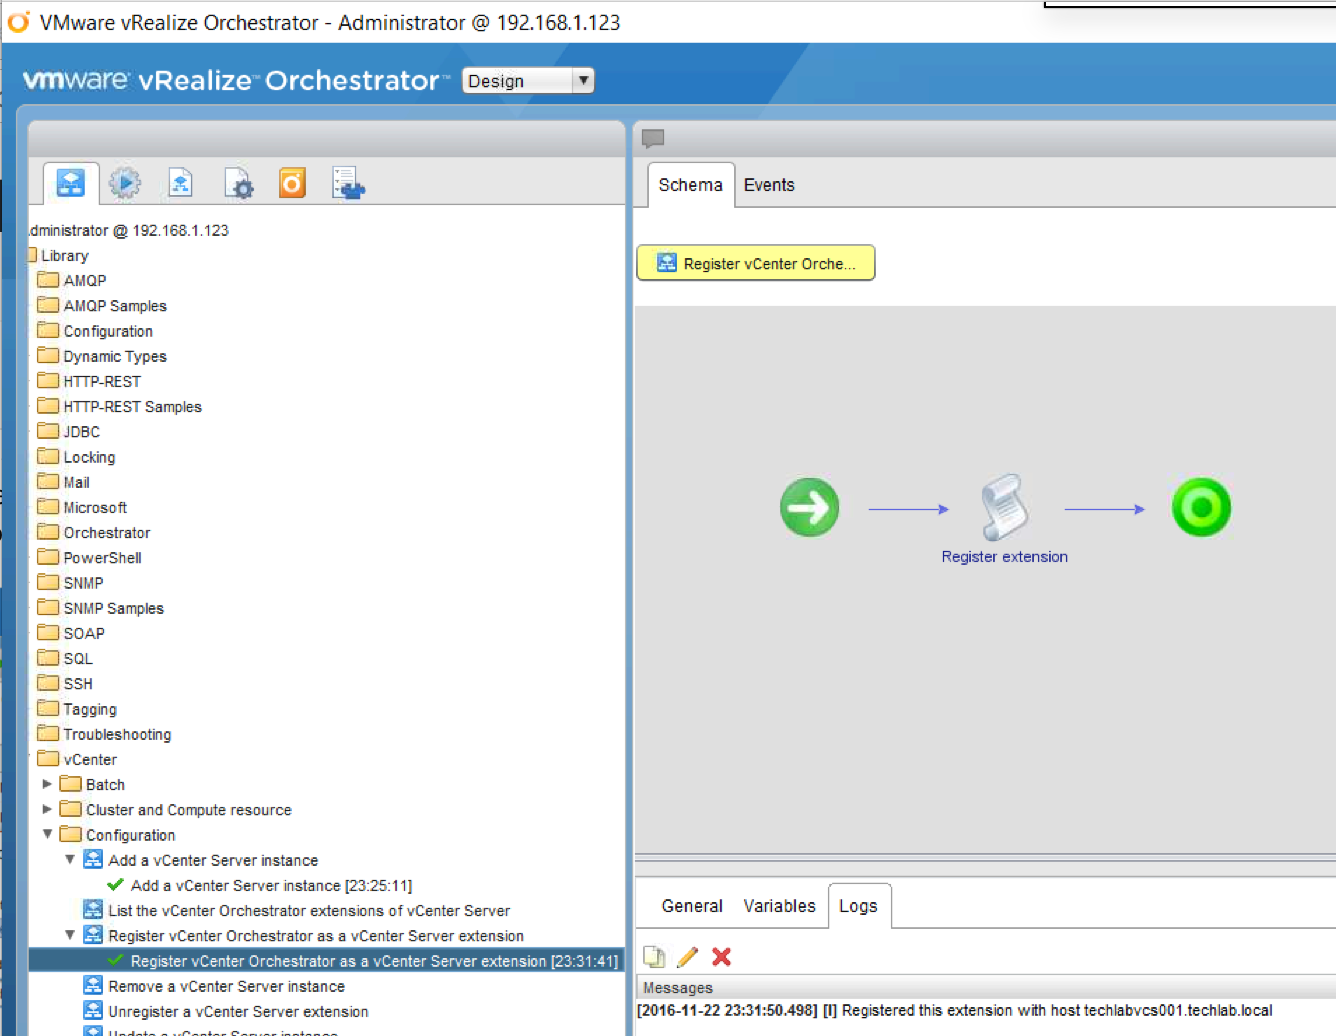
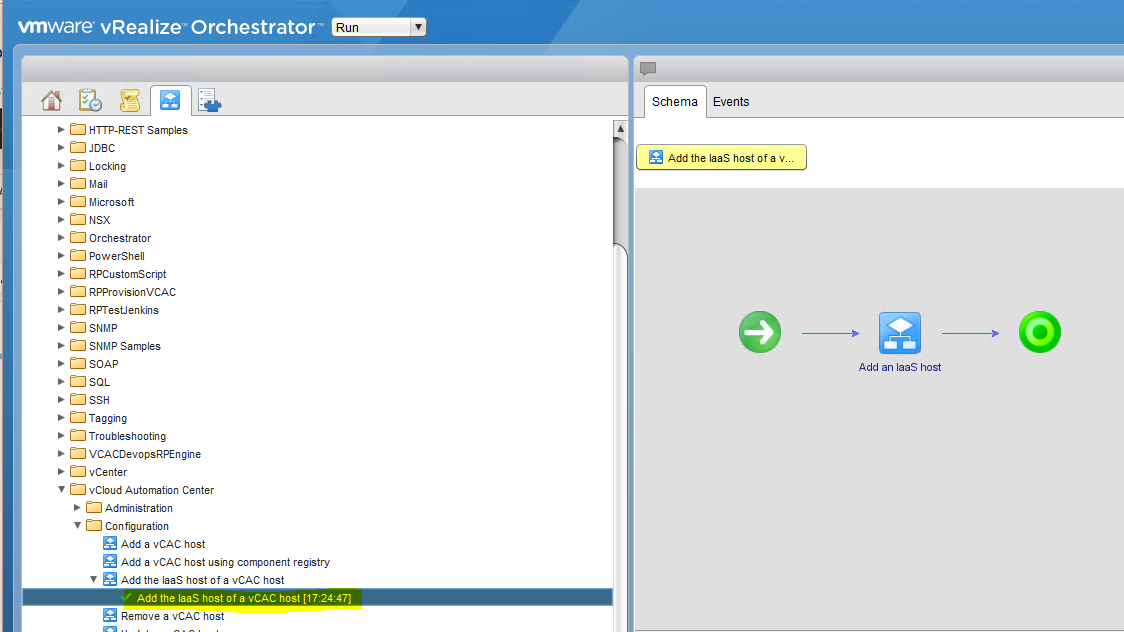
- You should see a green tick and confirmation in the events screen on the right that everything has started
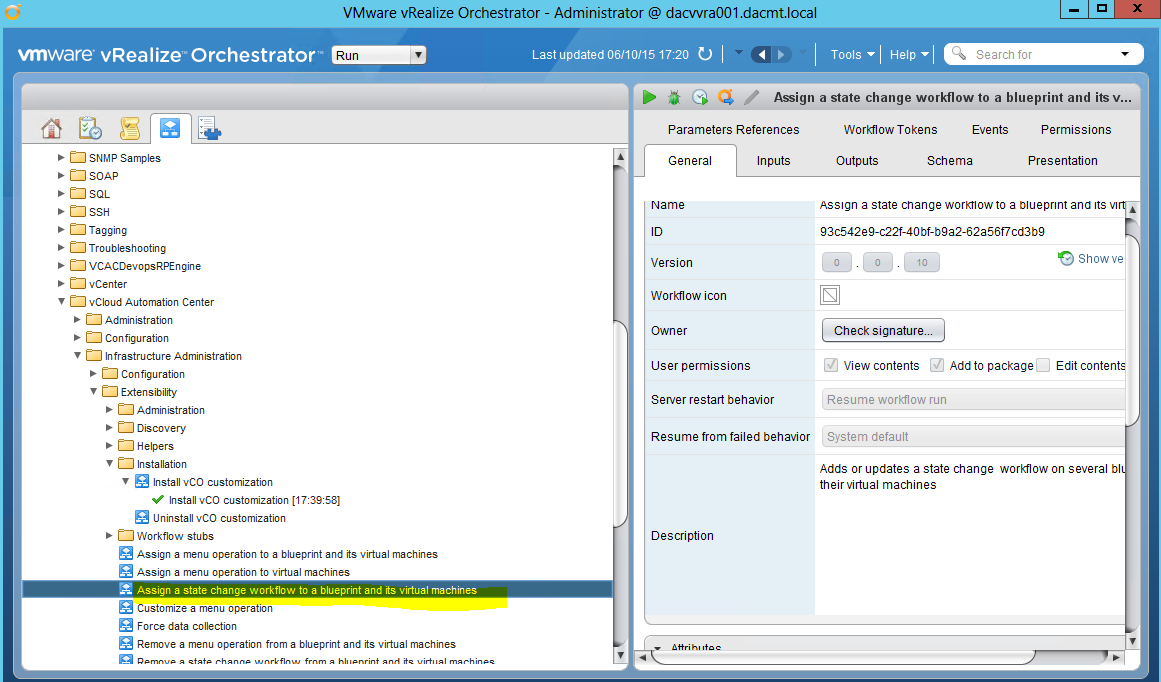
Configuring the vRA workflows templates from vCenter Orchestrator
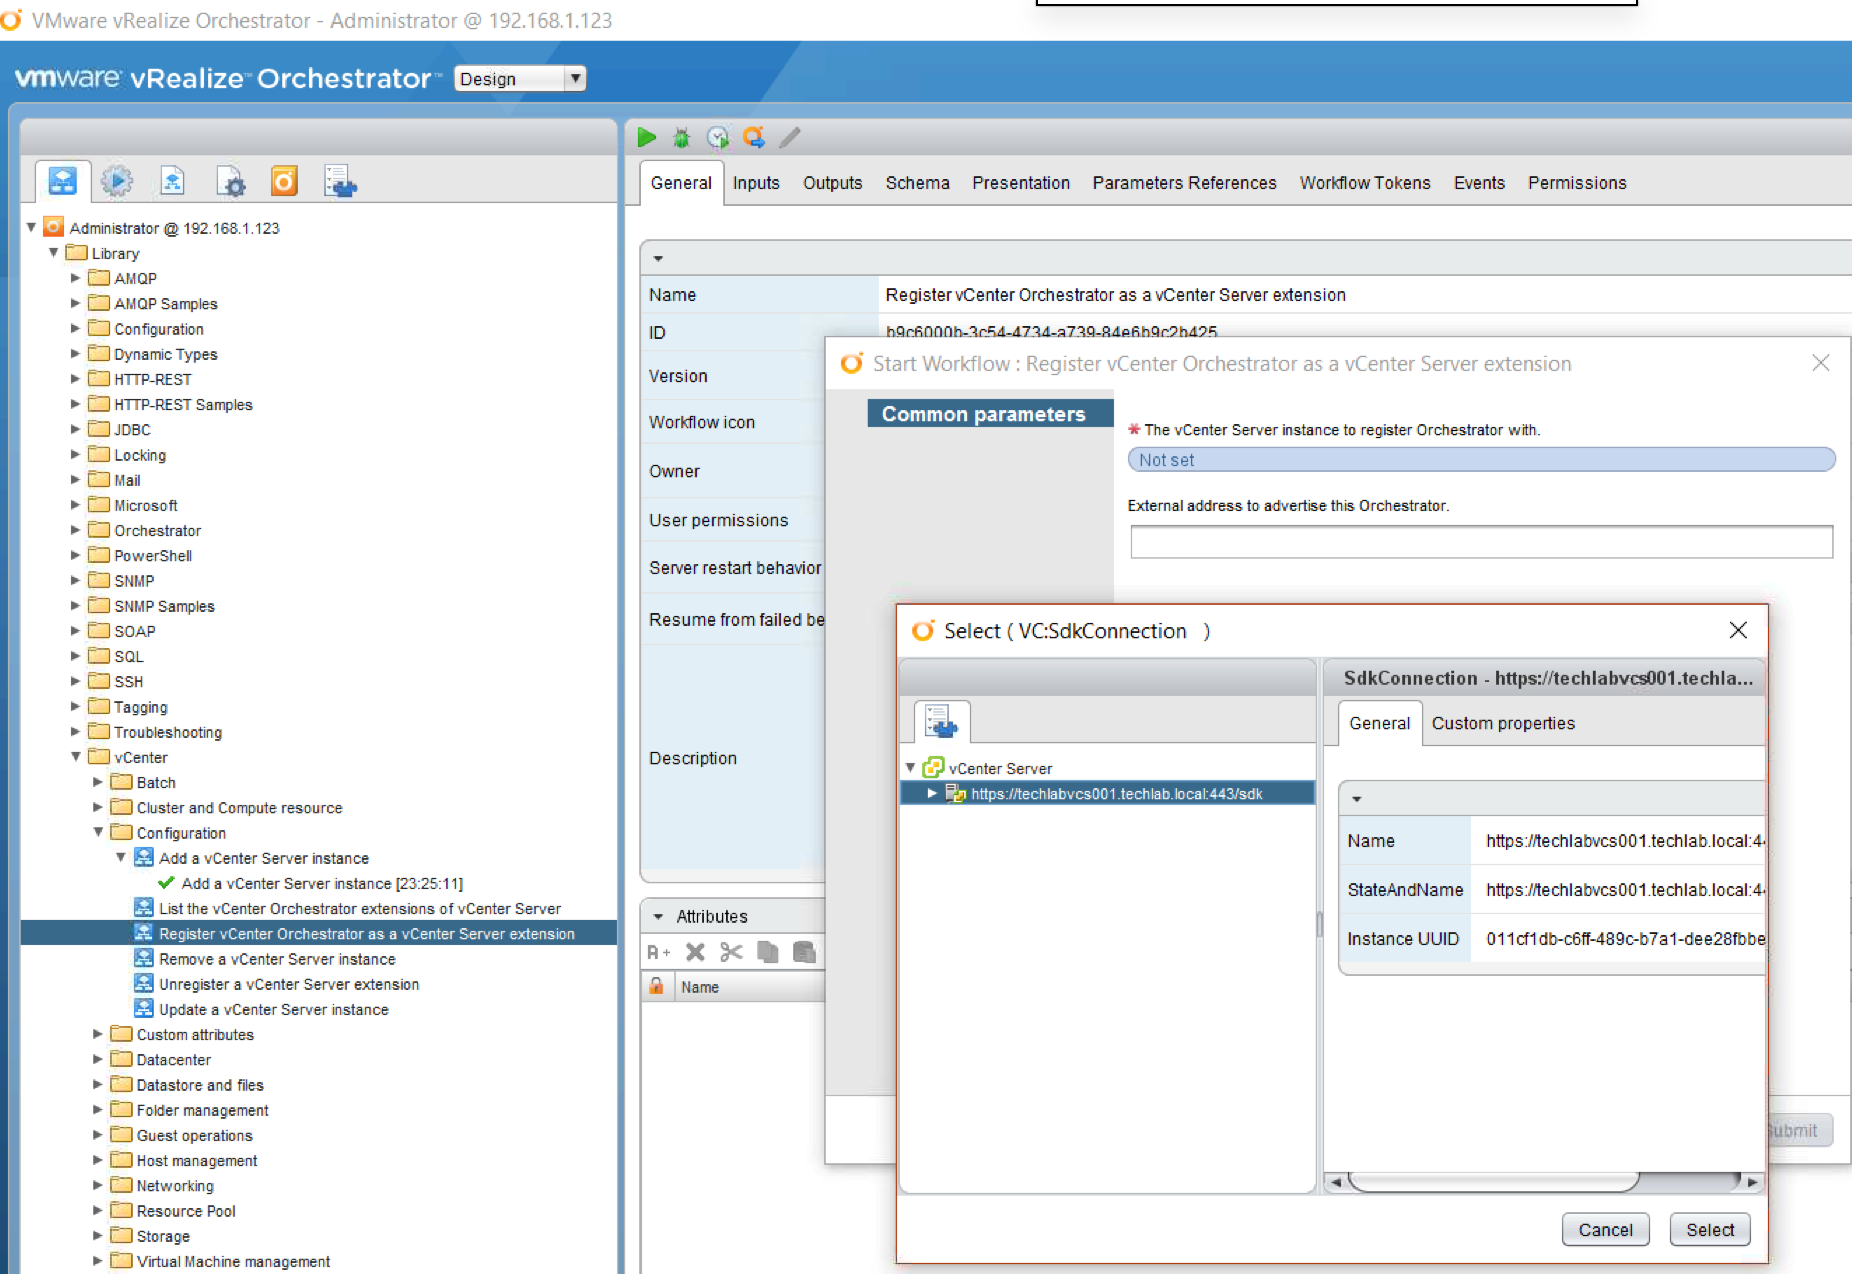
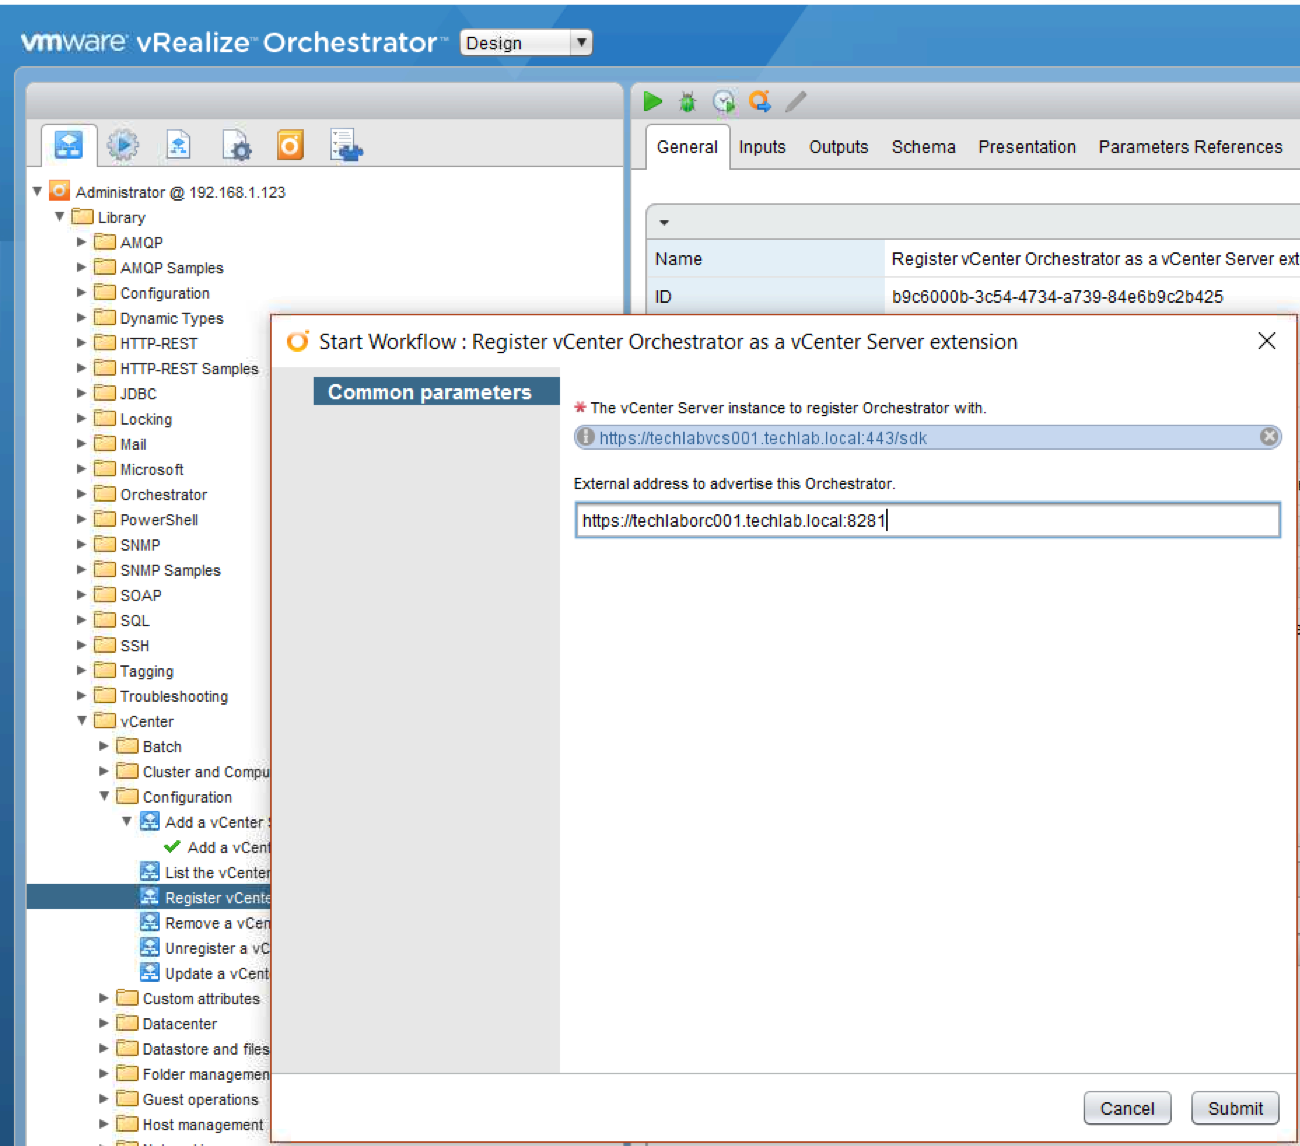
- In Orchestrator, navigate to the below menu in Workflow view
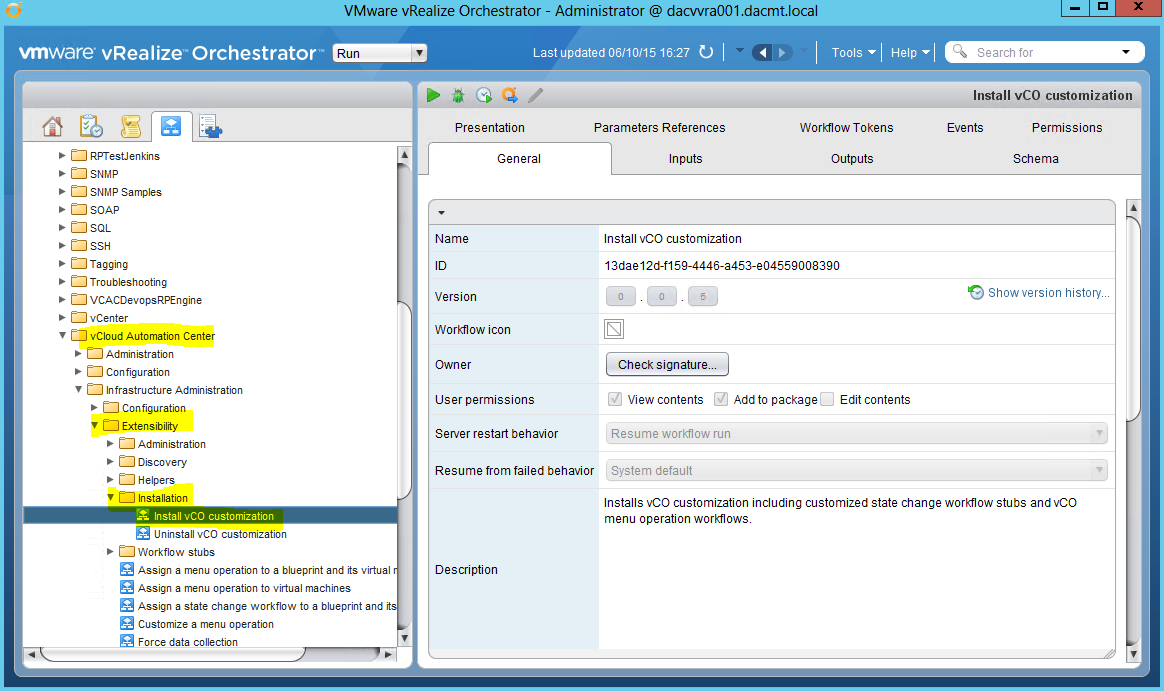
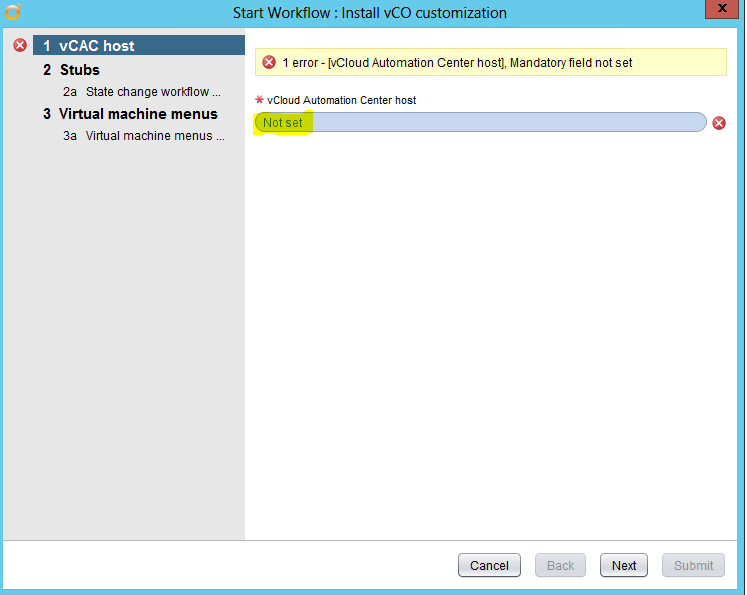
- Right click Install vCO customization and select Start Workflow
- In the Install vCO customization dialog box choose Not Set and select your vRA server
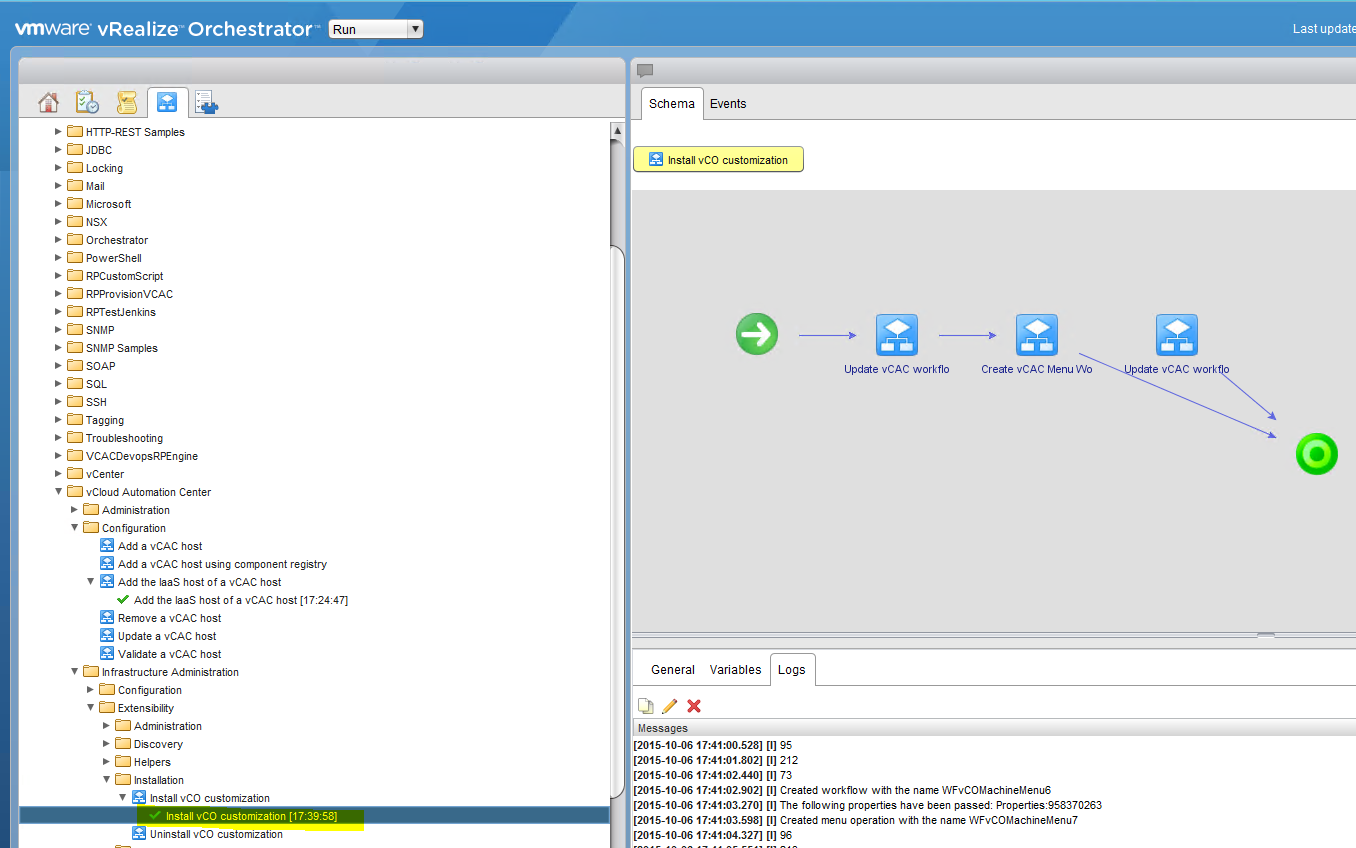
- If you now go back to the ASD and click Load, you will see the new versions of the state change templates (Note you may need to install ASD first, in which case there are instructions further down this post)
Configuring a state change workflow from vCenter Orchestrator
- Go to https://vRA_Appliance.FQDN/shell-ui-app
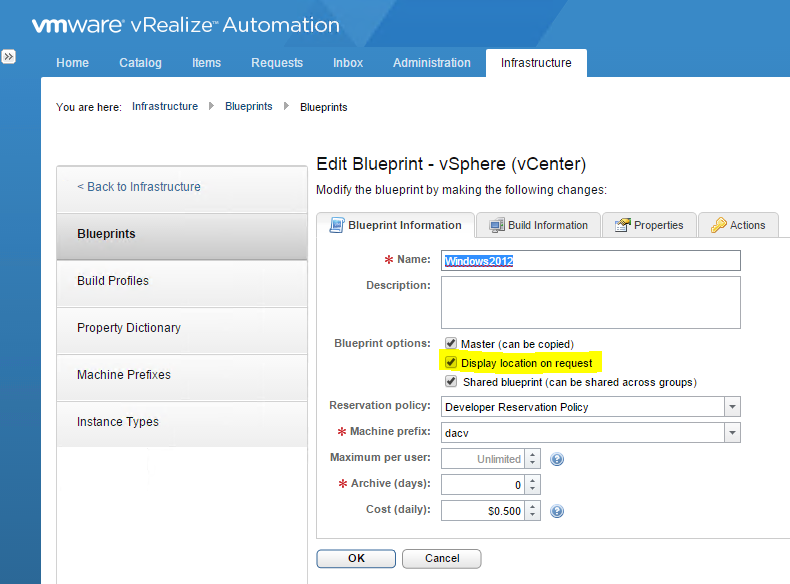
- Go to Infrastructure > Blueprints > Blueprints > Edit your Blueprint
- If any custom properties are attached to the blueprint then remove them
- Next log into vCenter Orchestrator > Library > vCloud Automation Center > Infrastructure Administration > Extensibility
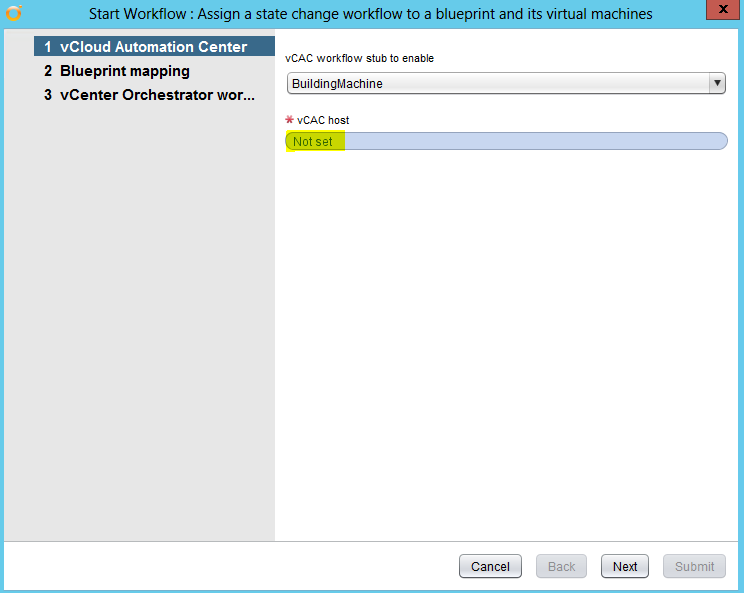
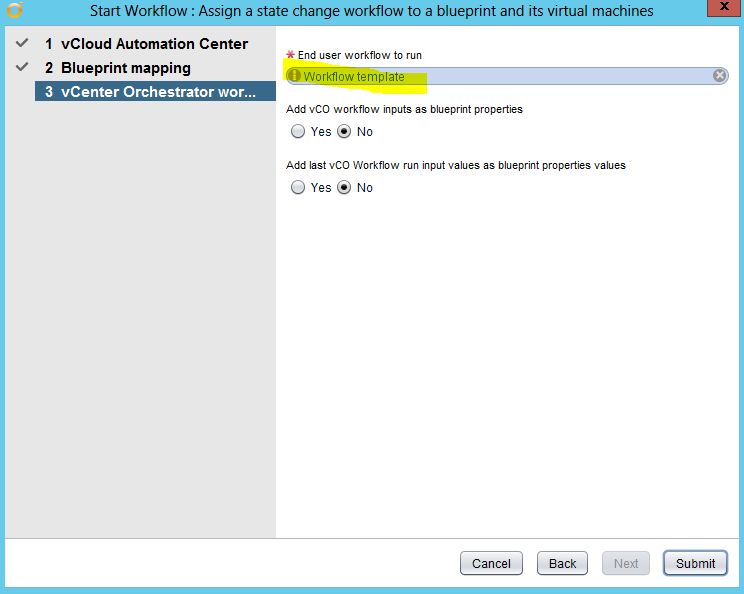
- Right click Assign a state change workflow to a blueprint and select Start Workflow
- Click Not set and chose the VRA server
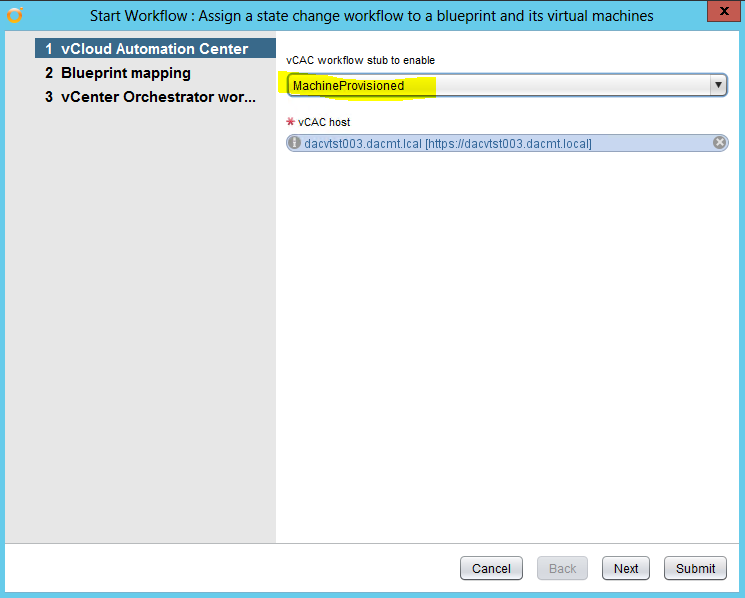
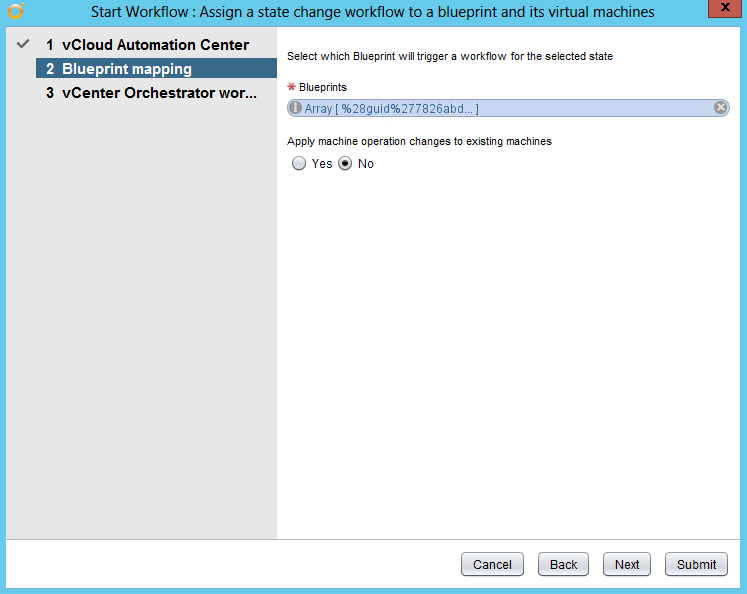
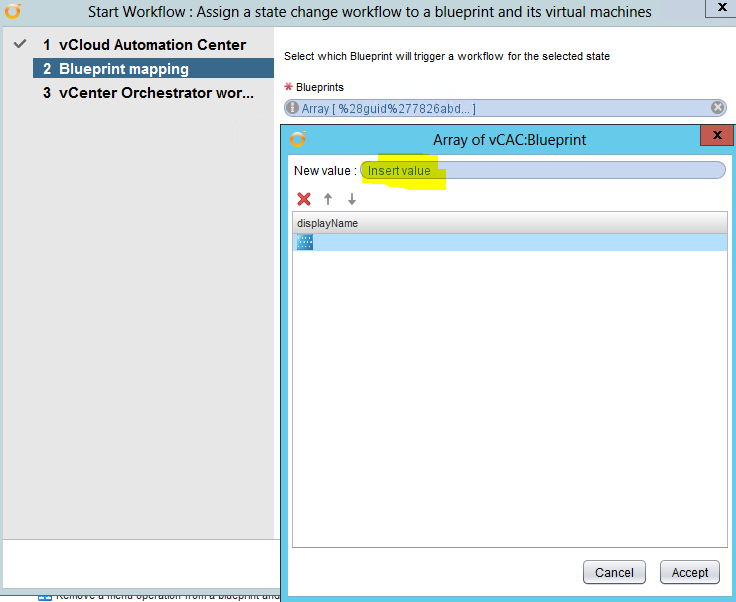
- Expand down until you can see your Blueprint
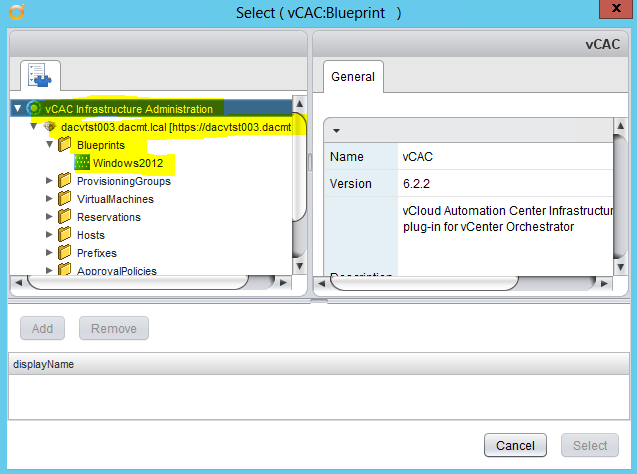
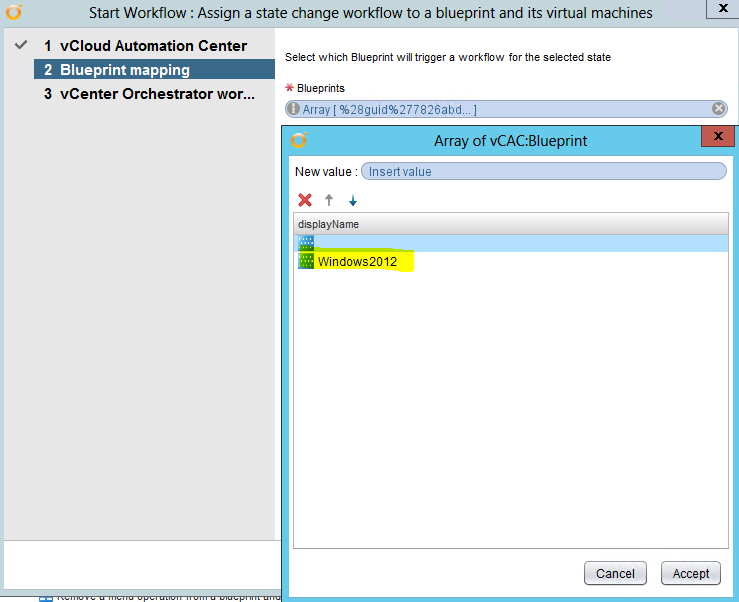
- Click Accept > Next
- Click on Workflow template
- Type Tools into filter > Select Mount tools installer
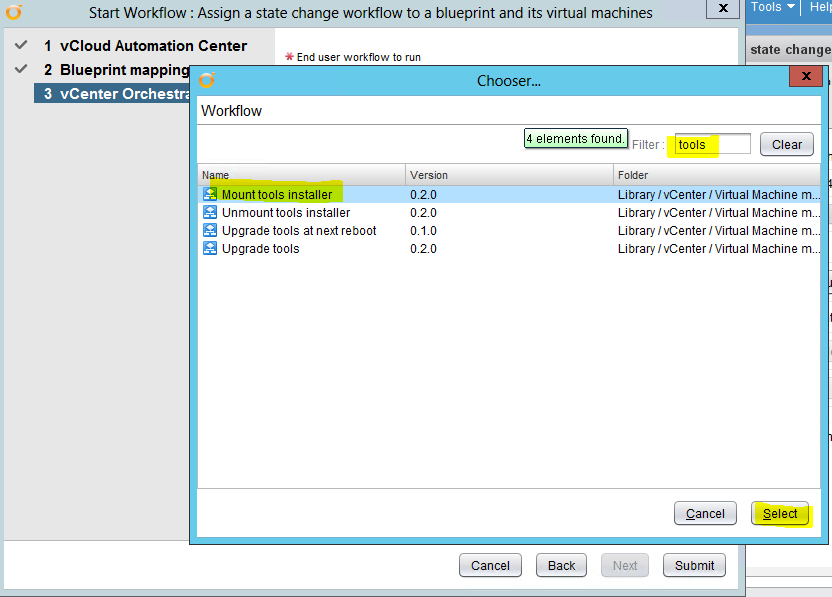
- Click Select
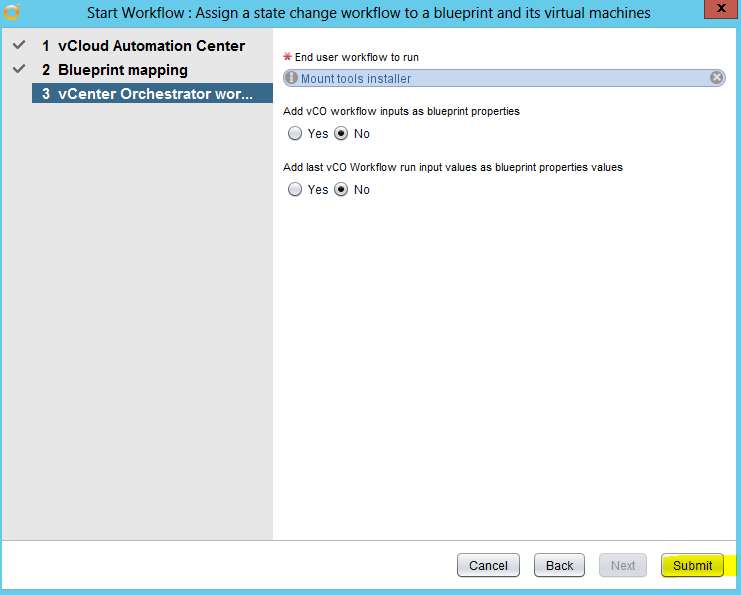
- Select Submit
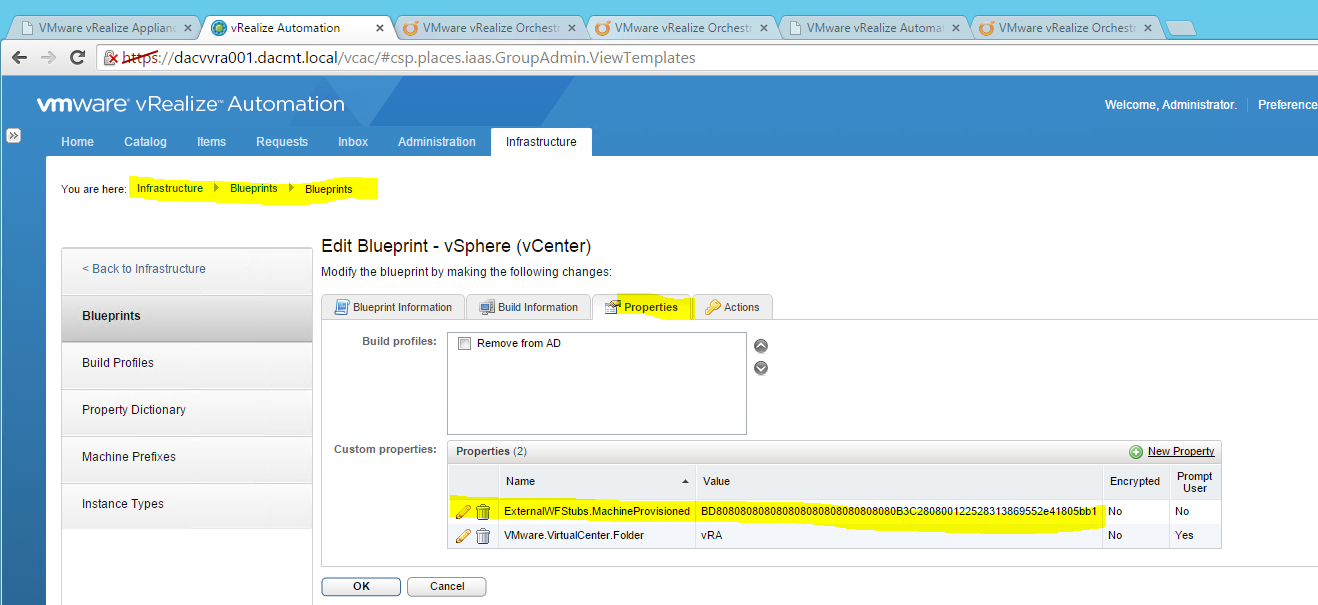
- Go to https://vRA_Appliance.FQDN/shell-ui-app
- Click Infrastructure > Blueprints > Blueprints and edit your blueprint
- Click Properties
- Review the settings. You can see that Orchestrator added the new required custom property
- You can then go through the process of requesting a VM and seeing if it has indeed mounted the CD Drive
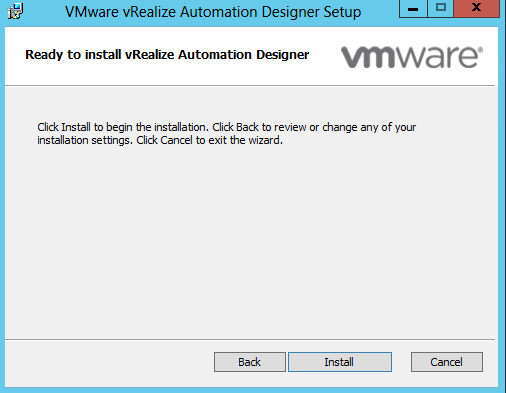
Installing the ASD
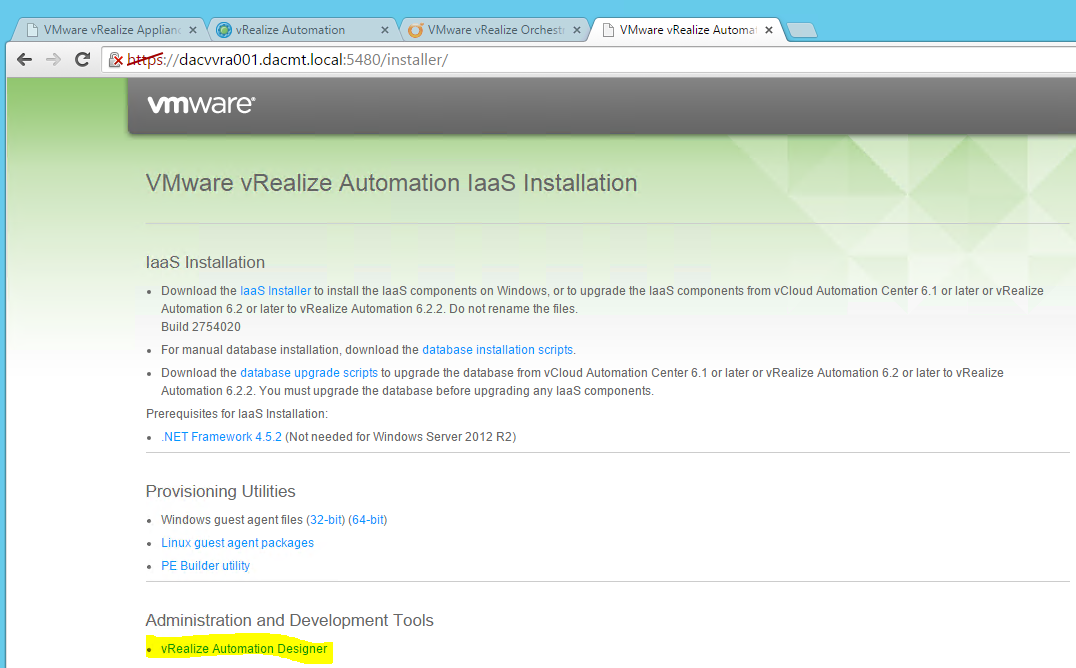
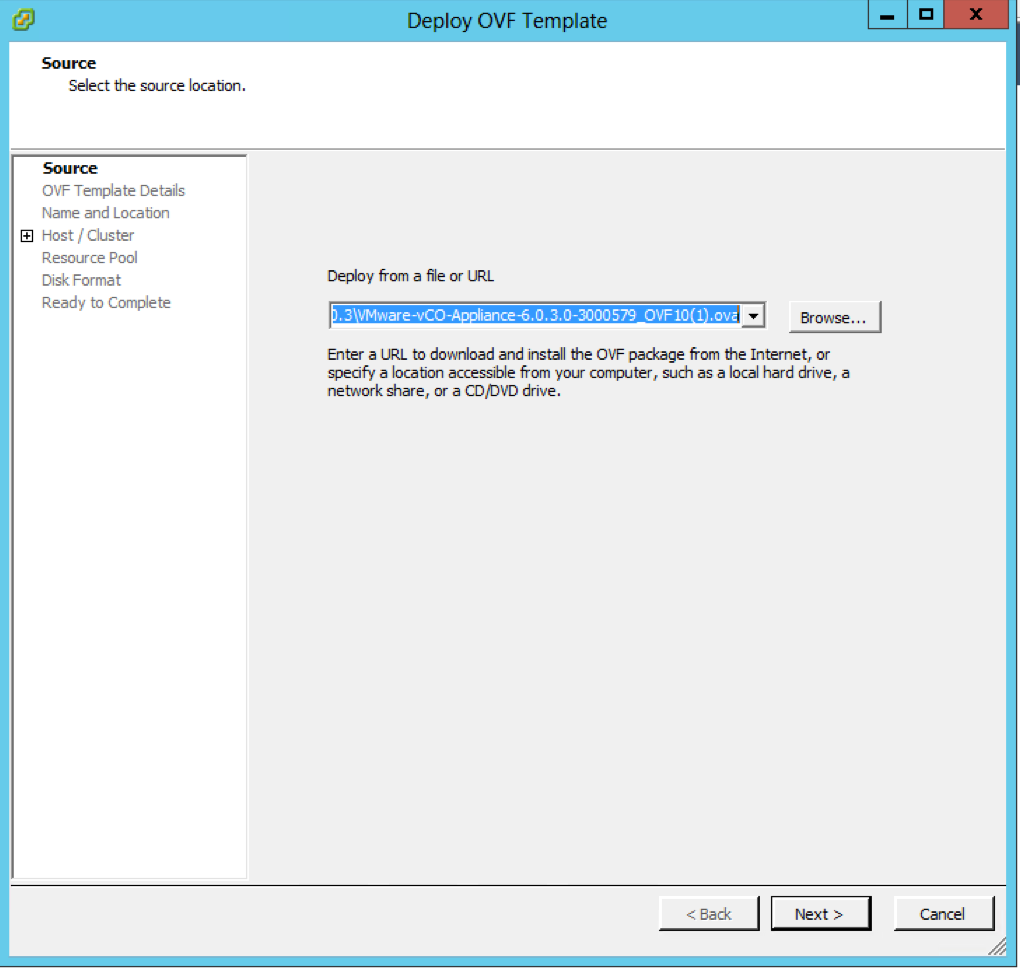
- Go to https://vRA_Appliance.FQDN:5480/installer
- Click vRealize Automation Designer
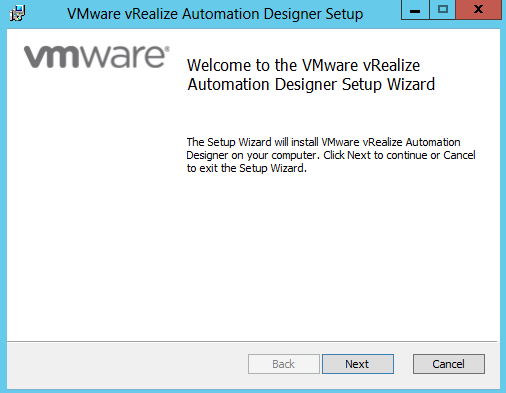
- On the Welcome Page click Next
- Accept the License agreement

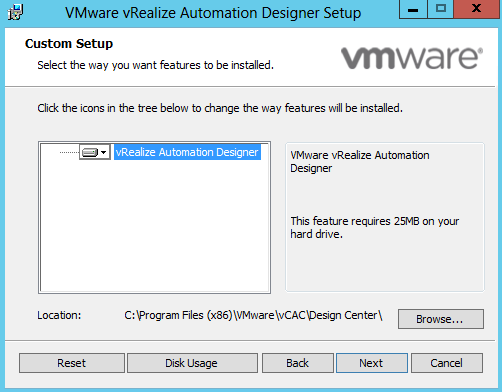
- Check the location for the install is correct and click Next
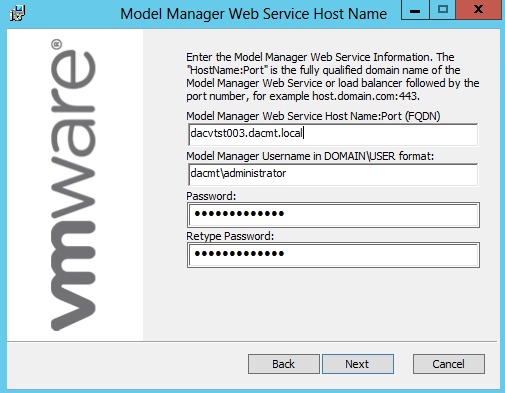
- Put in the IAAS server FQDN. In my case it is dacvtst003.dacmt.local
- Put in a username and password
Configuring ASD Endpoints for VMware vCenter Server
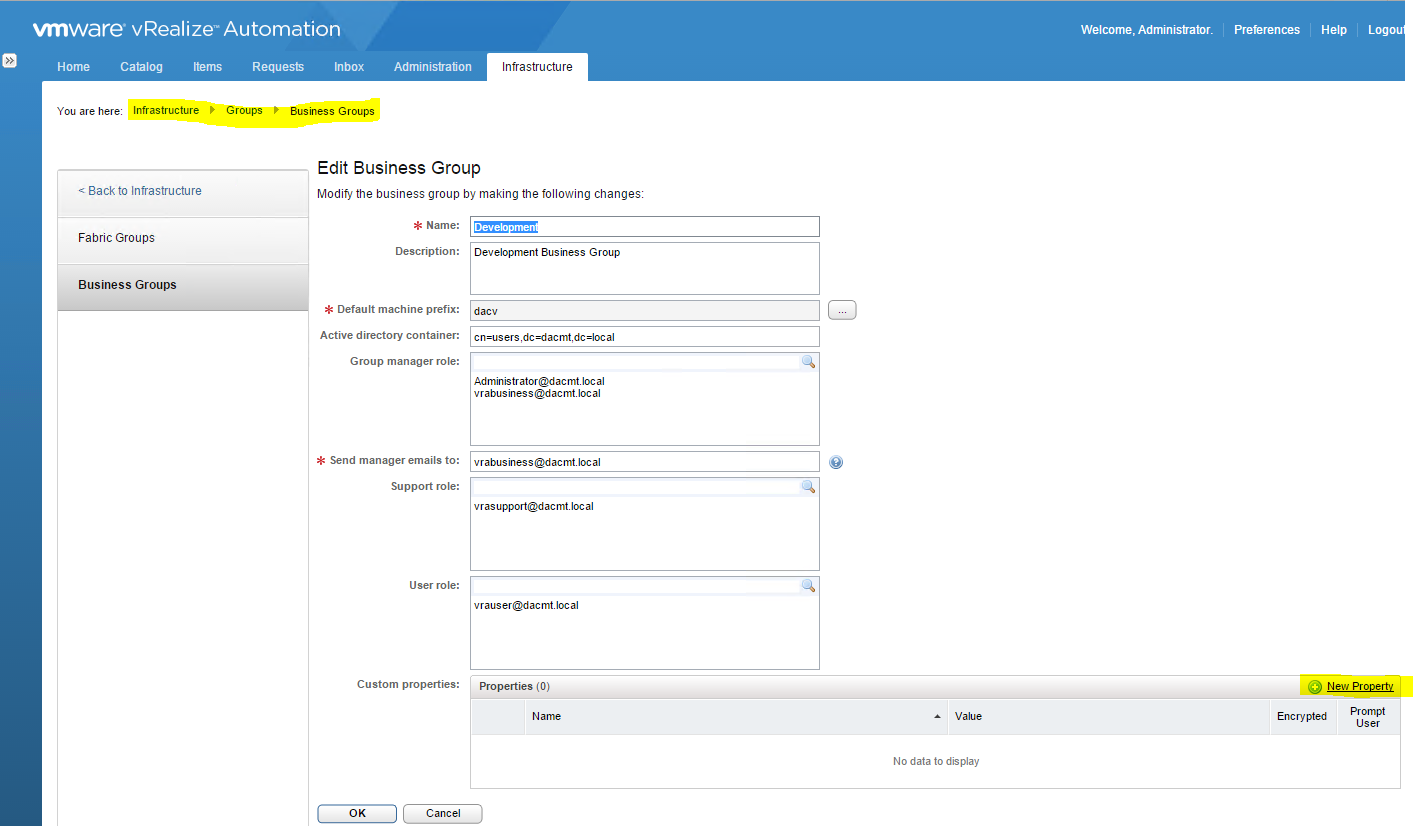
- Log into https://VRA_Appliance.FQDN/shell-ui-app
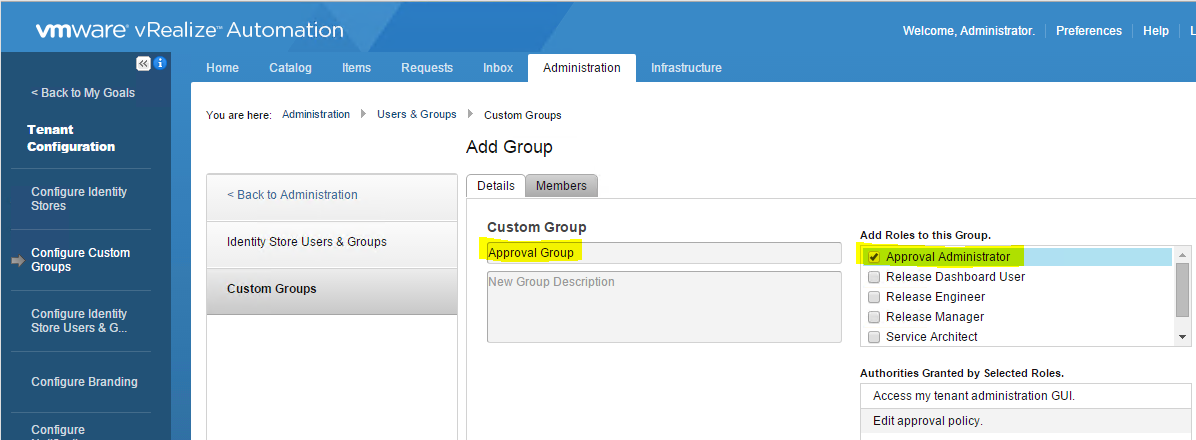
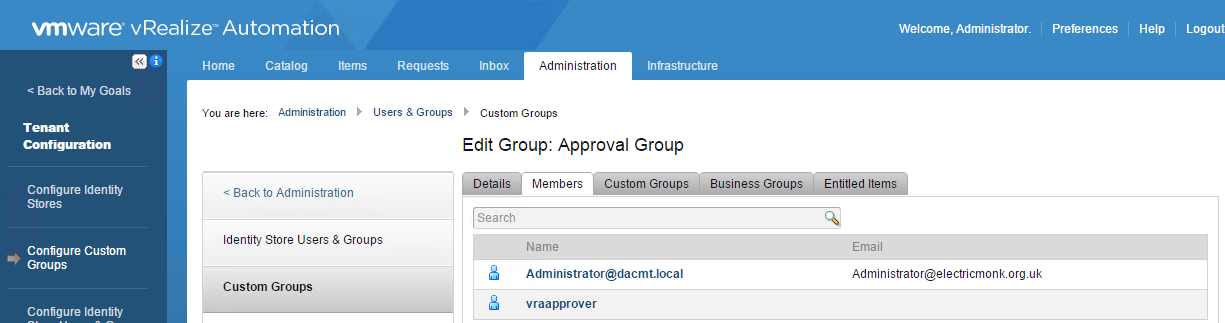
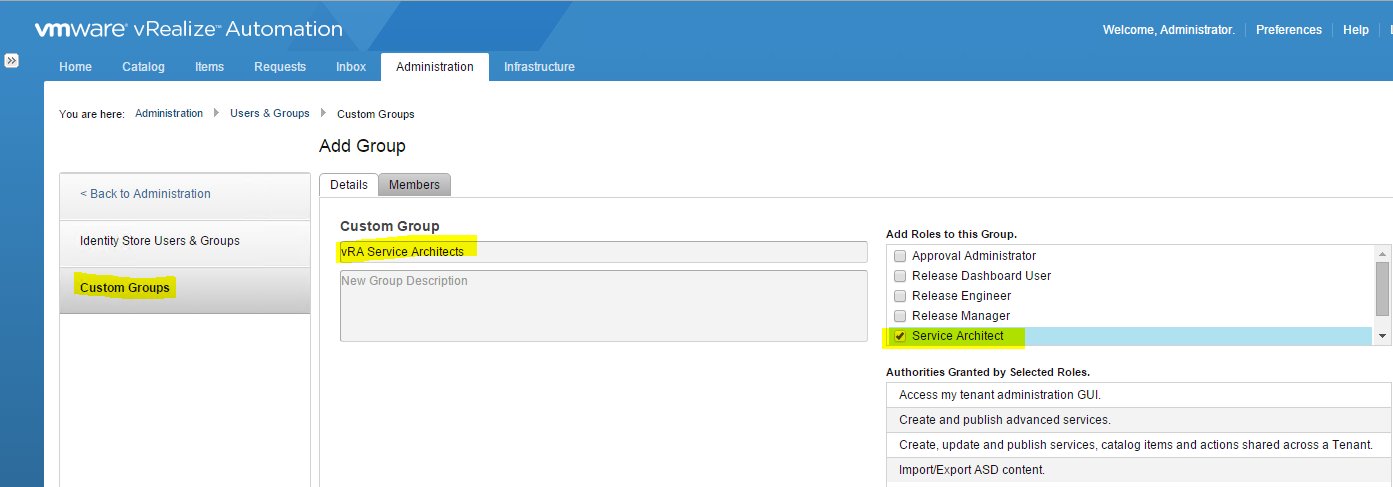
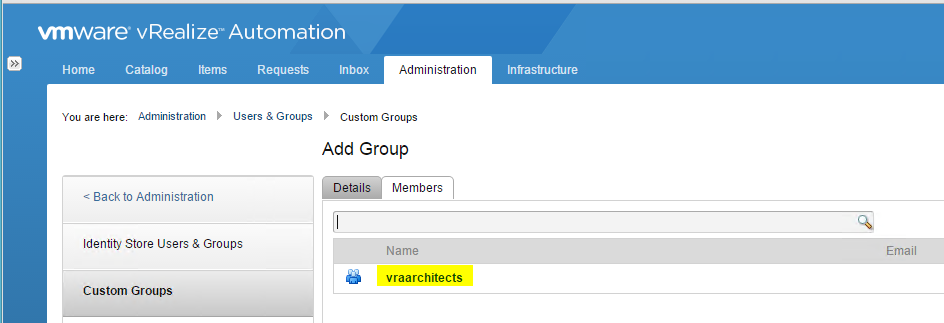
- Go to Administration > Users and Groups > Custom Groups
- Add an AD group and add to Service Architects
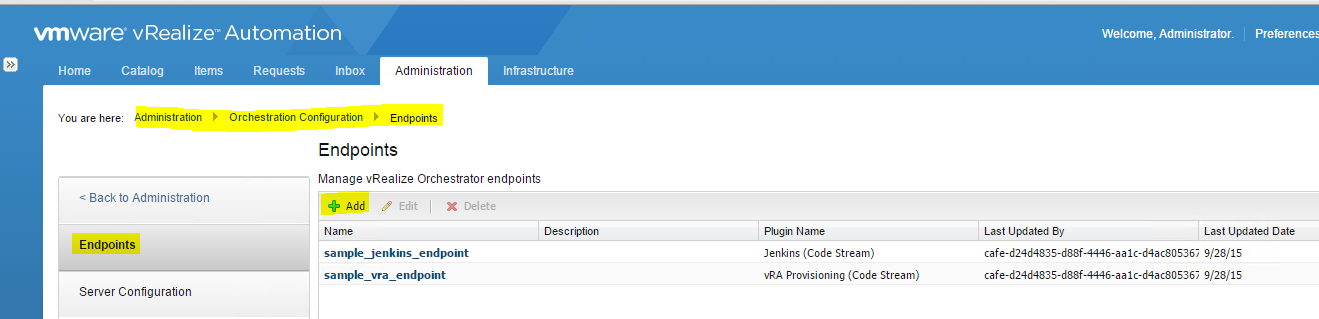
- Next go to Administration > Orchestrator Configuration > Endpoints
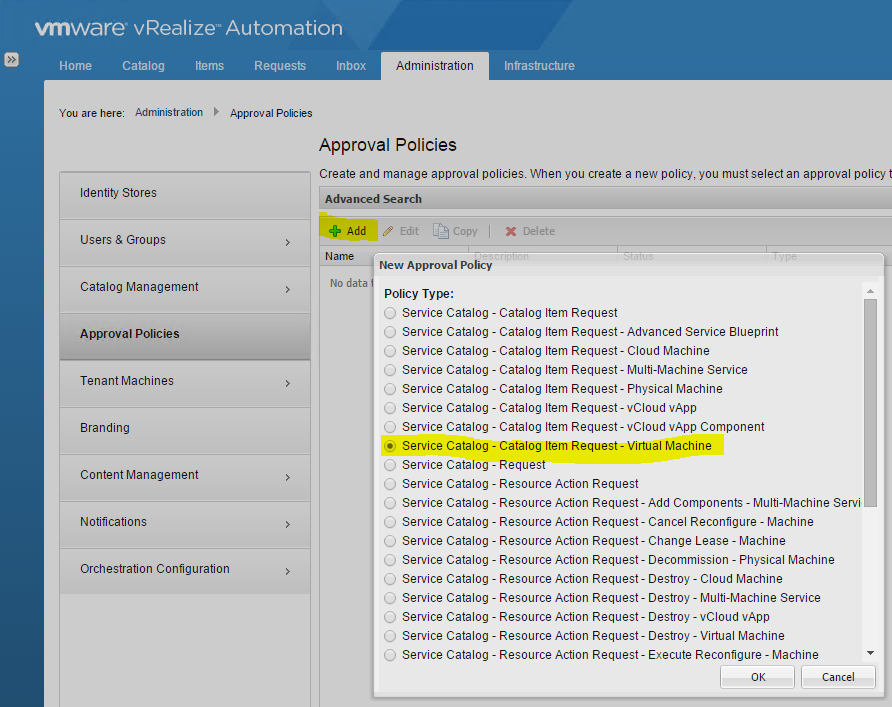
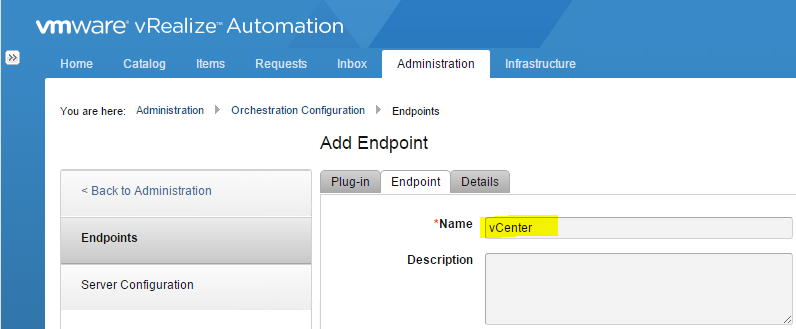
- Click Add
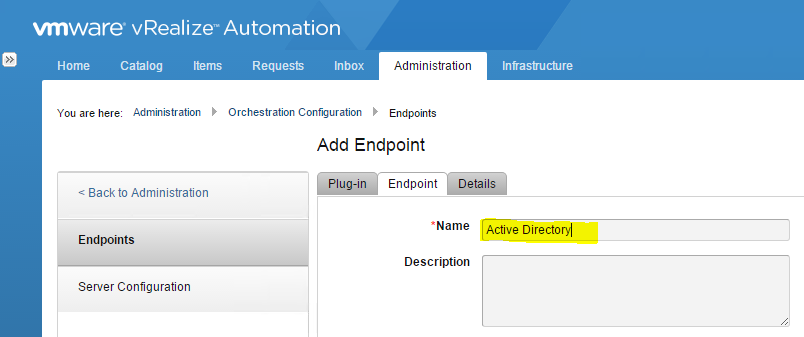
- Choose Active Directory from the drop down menu
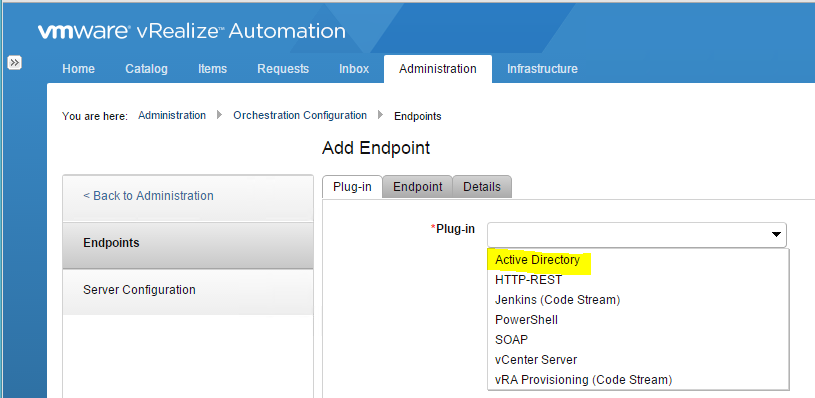
- Type a name. I’ve just called mine Active Directory
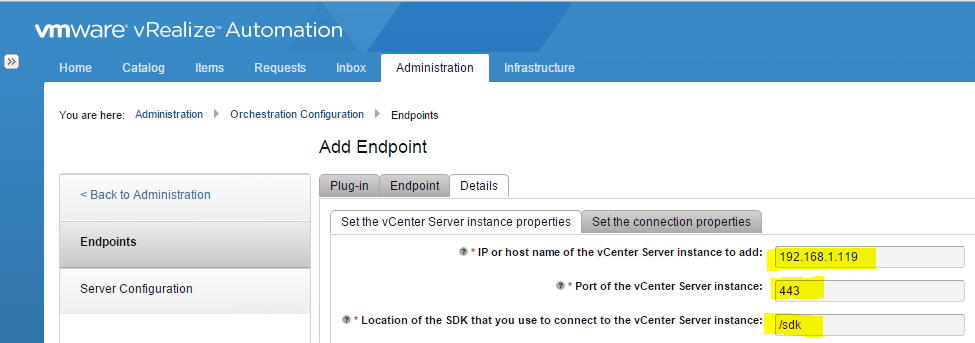
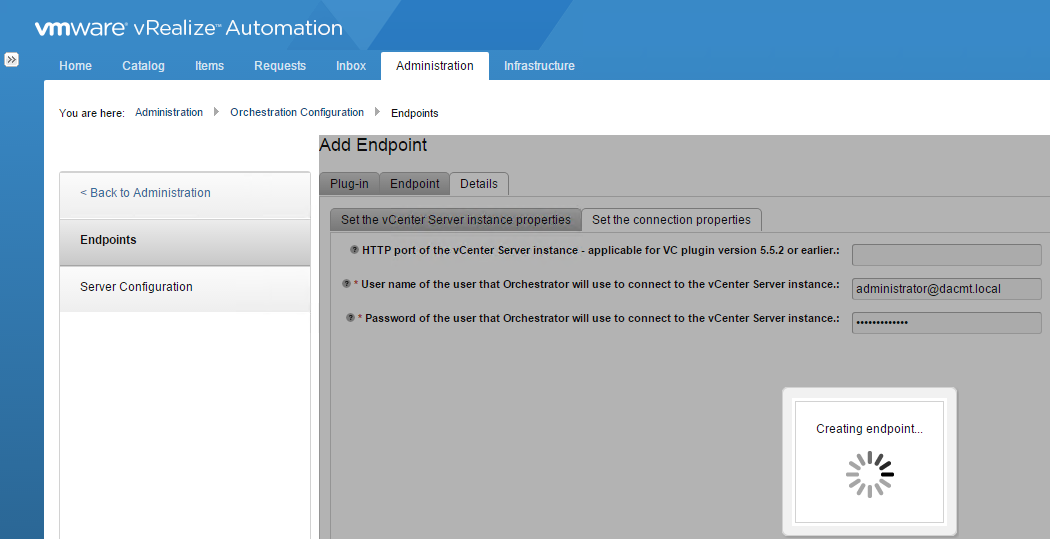
- Next add an endpoint for vCenter
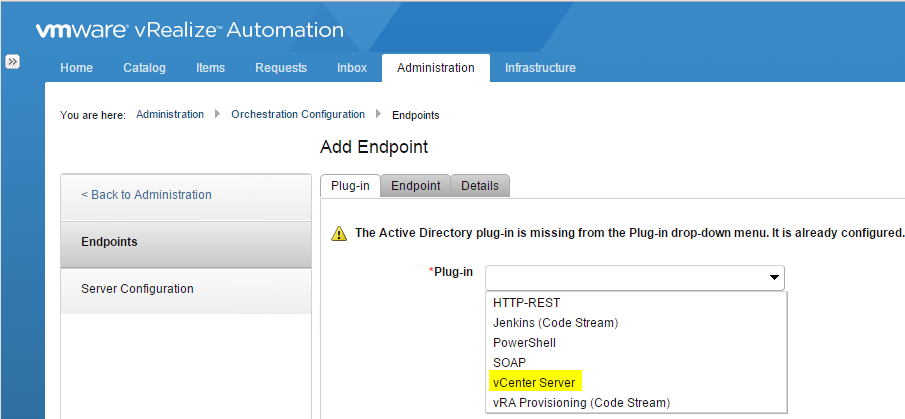
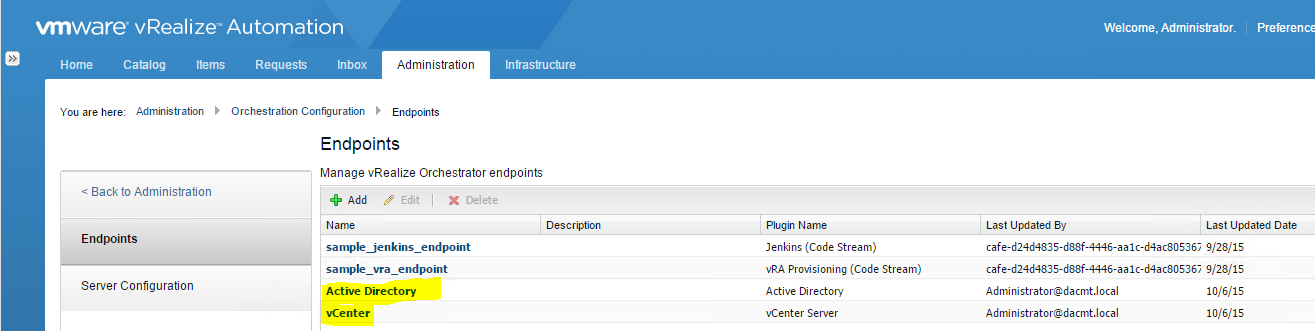
- You should now see your 2 endpoints
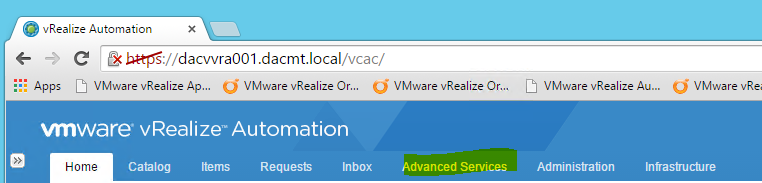
- Log out of vRA and you may need to log out of the server and back in again. As you can see below this will add the Advanced Service Designer tab to vRA
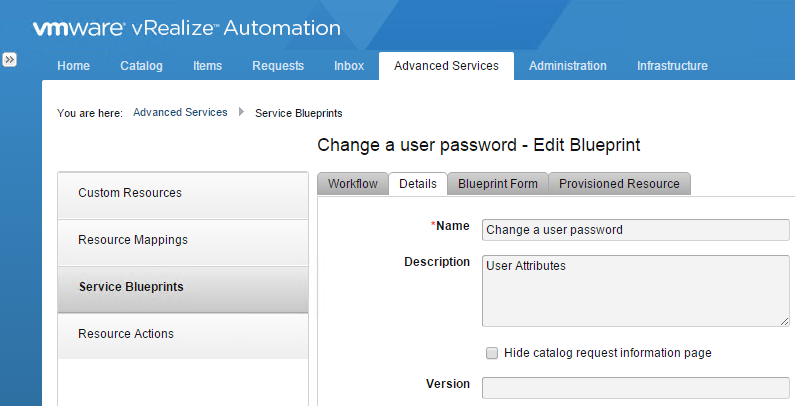
Create and publish a service to change an AD Users password
- Log into https://VRA_Appliance.FQDN/shell-ui-app
- Click the Advanced Services tab
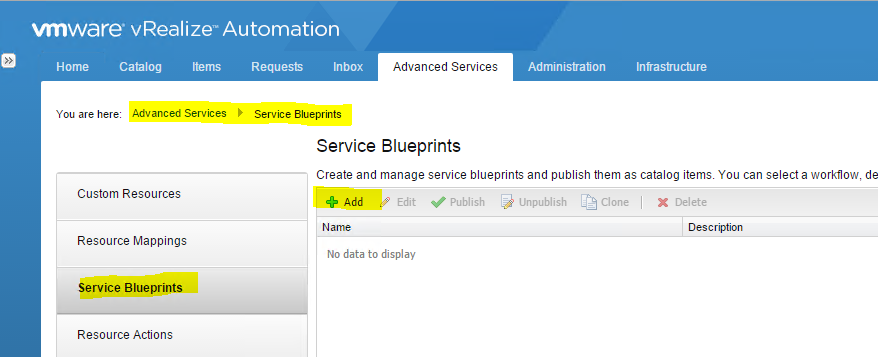
- Select Service Blueprints
- Click the + sign next to Service Blueprints
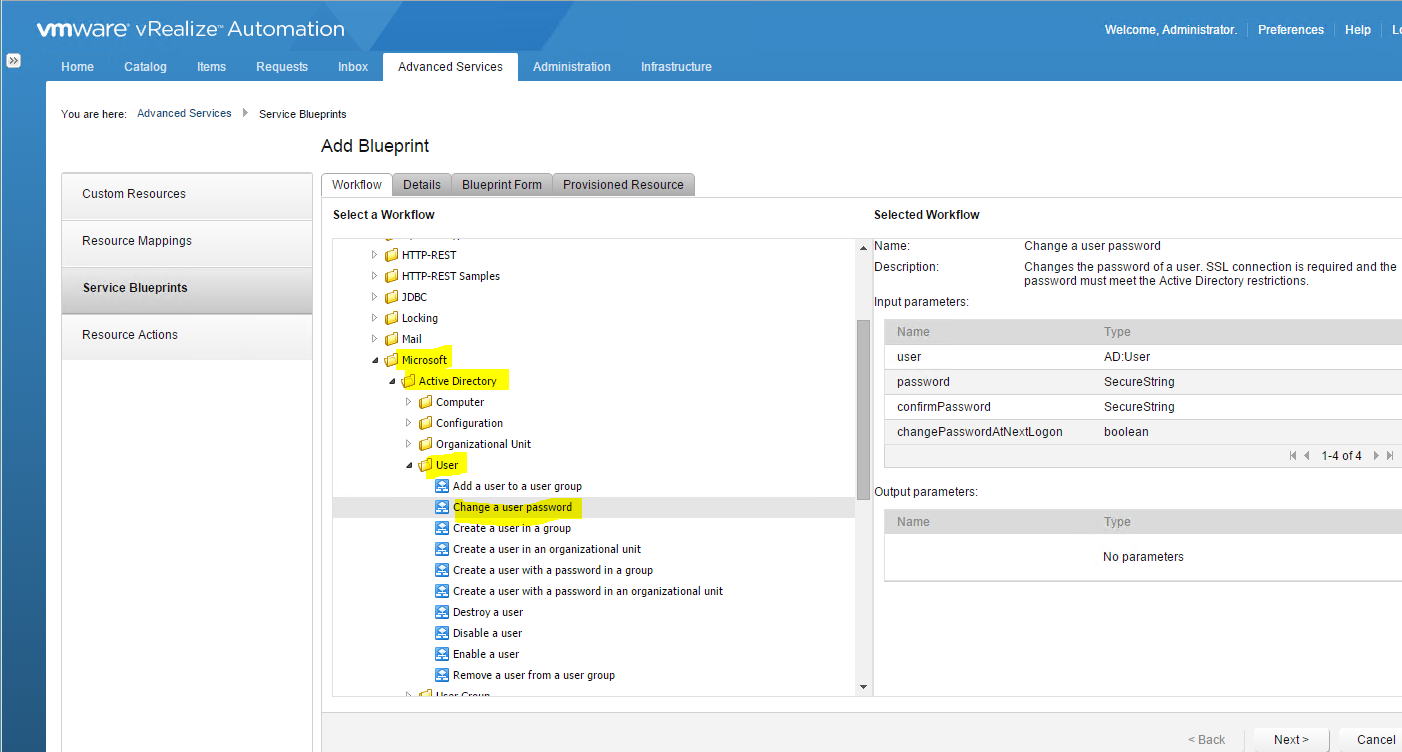
- Expand Library > Microsoft > Active Directory > User
- Click Next
- Click the pencil icon to bring up the edit box and change the name to user and the type to search
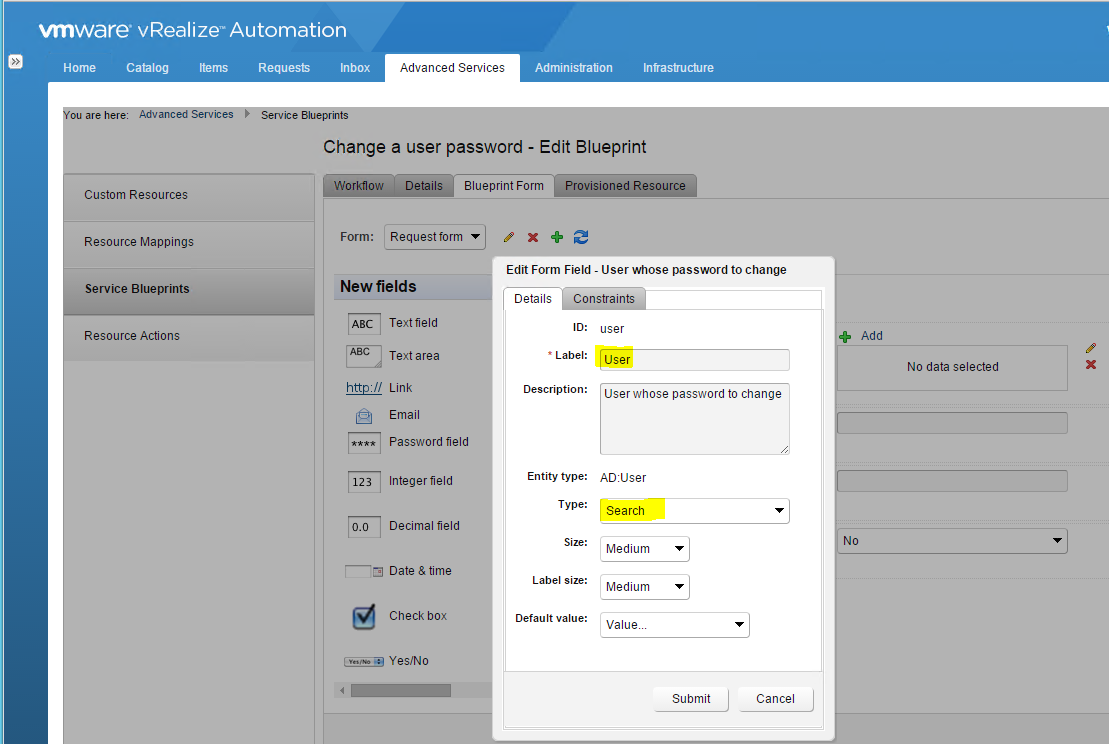
- Click Add
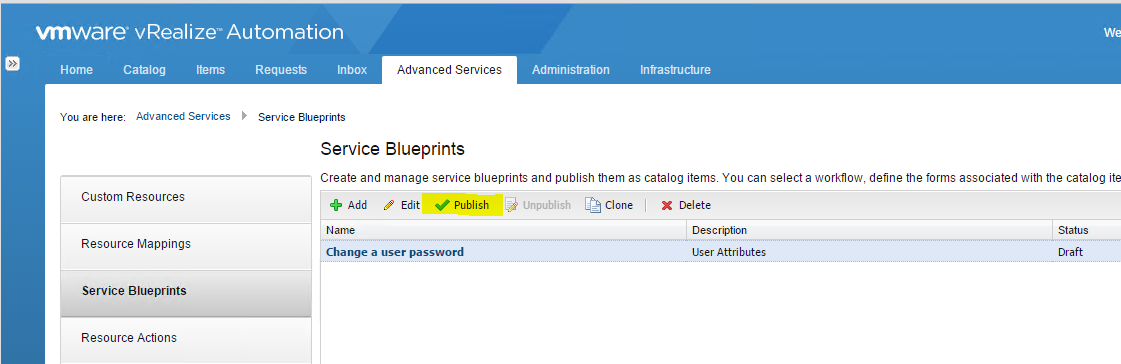
- In the list of Service Blueprints select Action > Publish
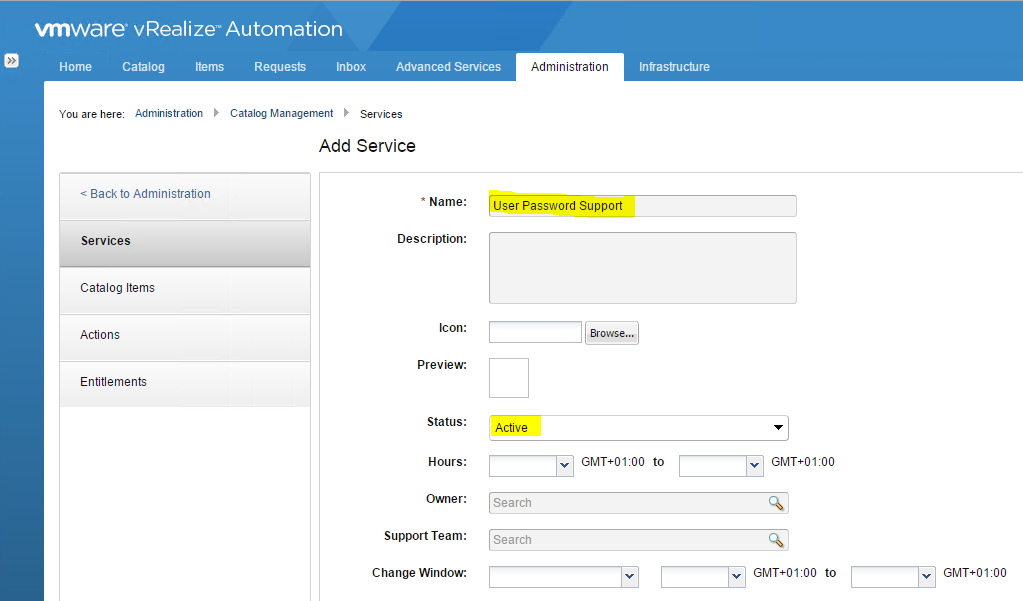
- Go to Administration > Catalog Management > Services
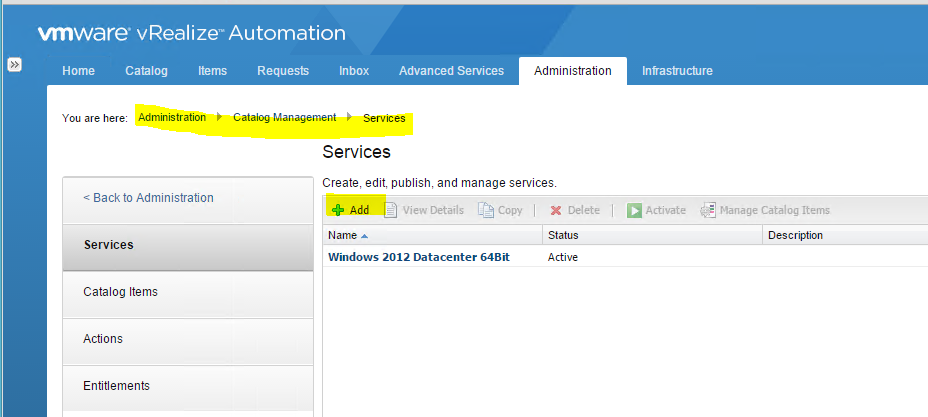
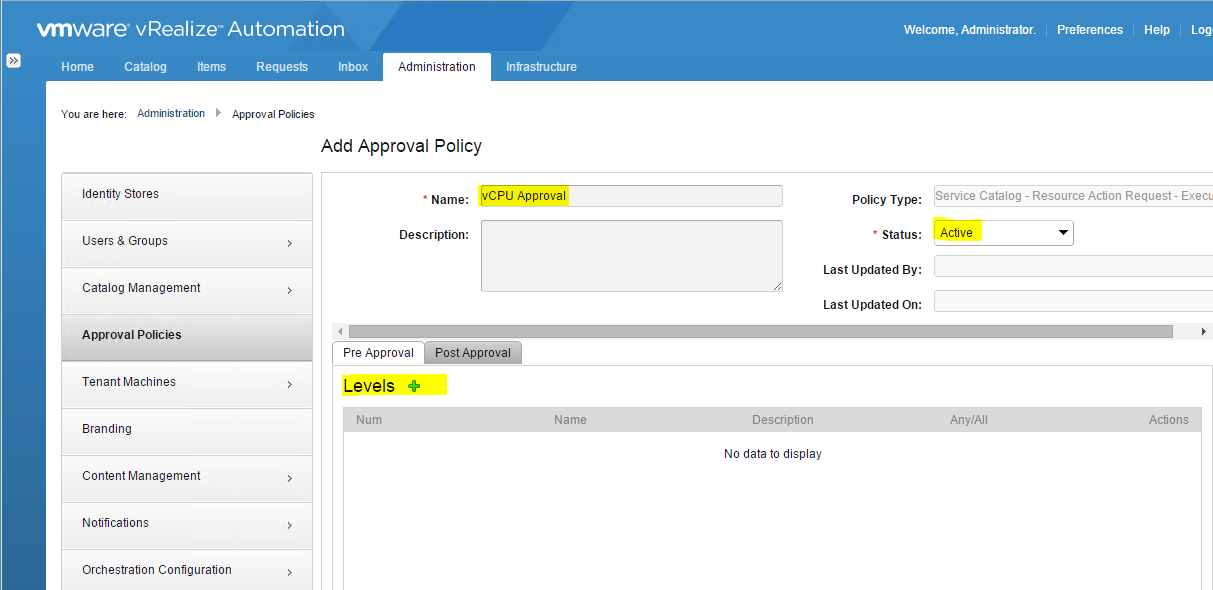
- Add a name for the password service and set to active
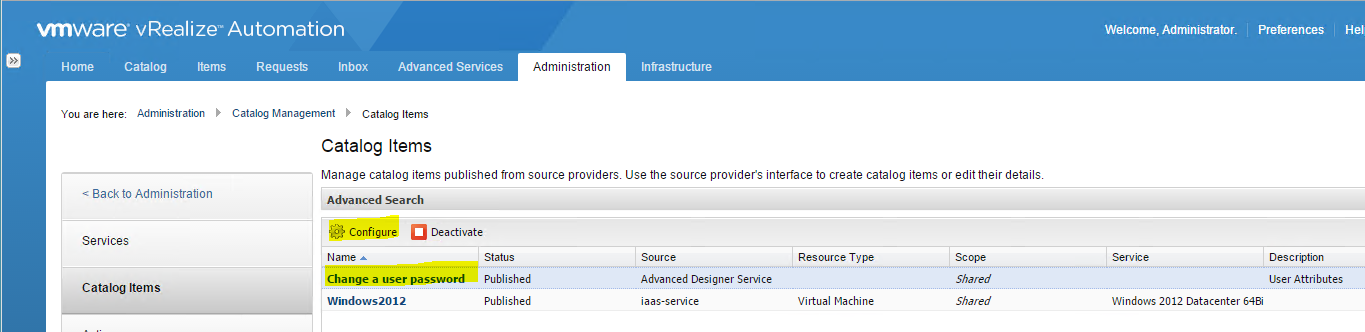
- Select Catalog Items
- Select your service and select Configure
- On the Service drop down, select User Password Support or whatever you have named your service
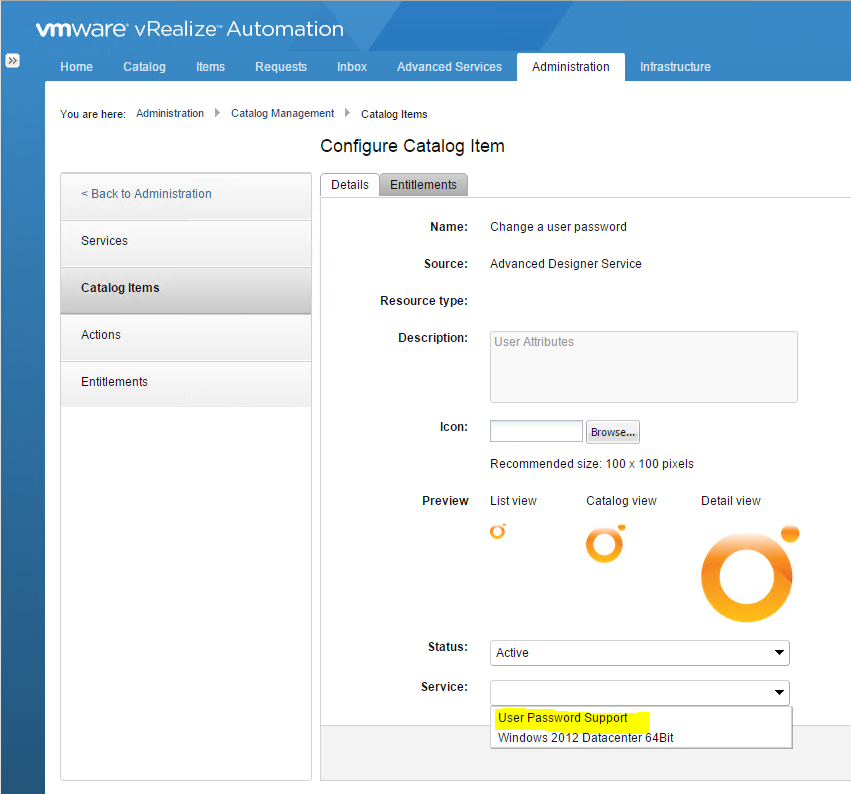
- Click Update
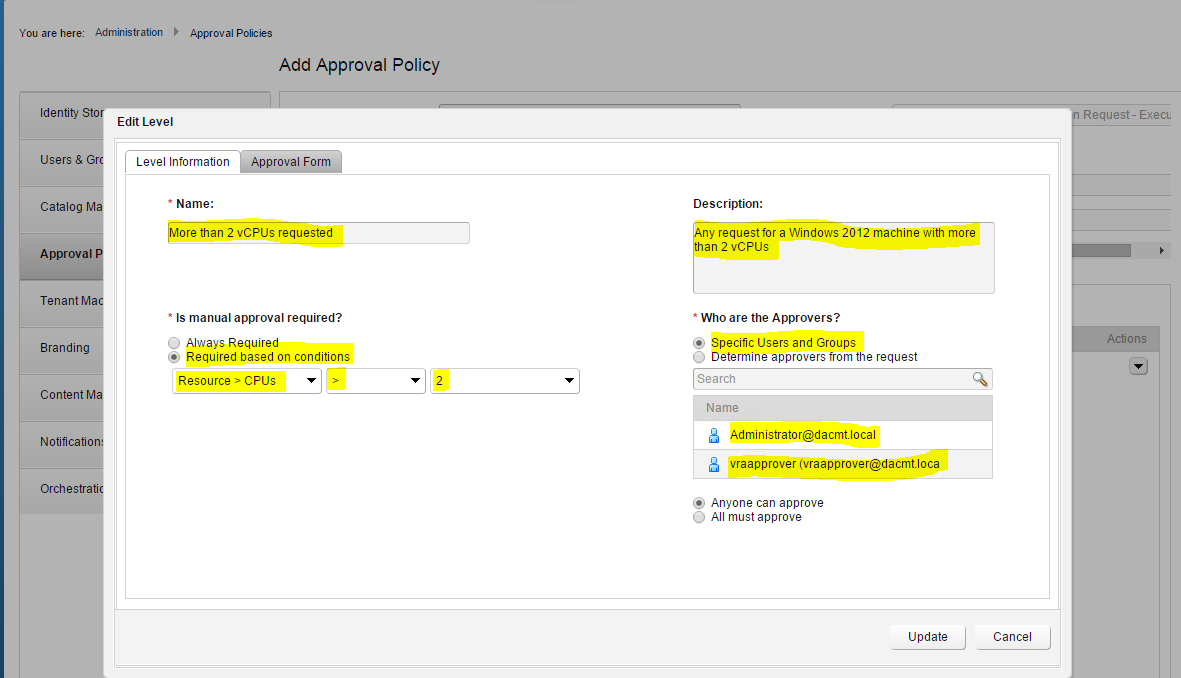
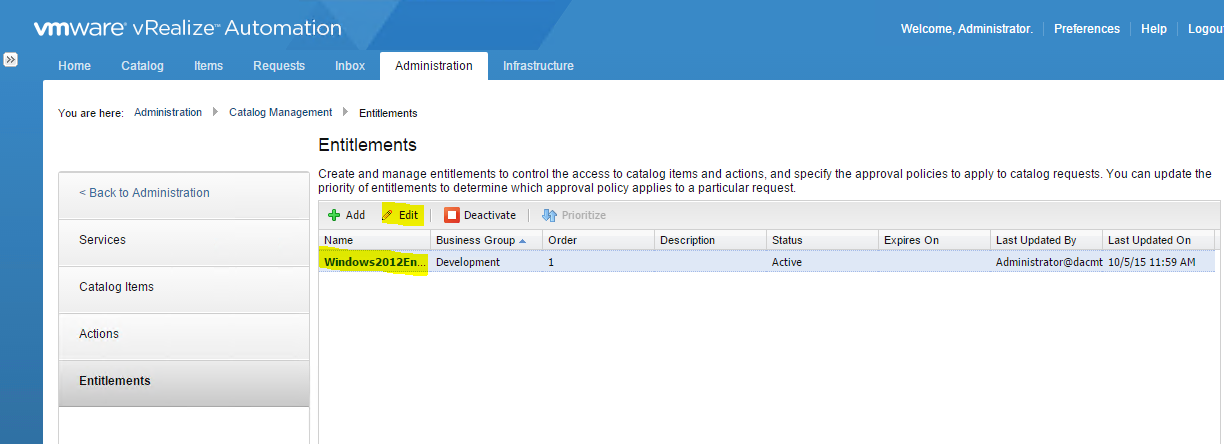
- Now select Entitlements from the left hand menu and click Add
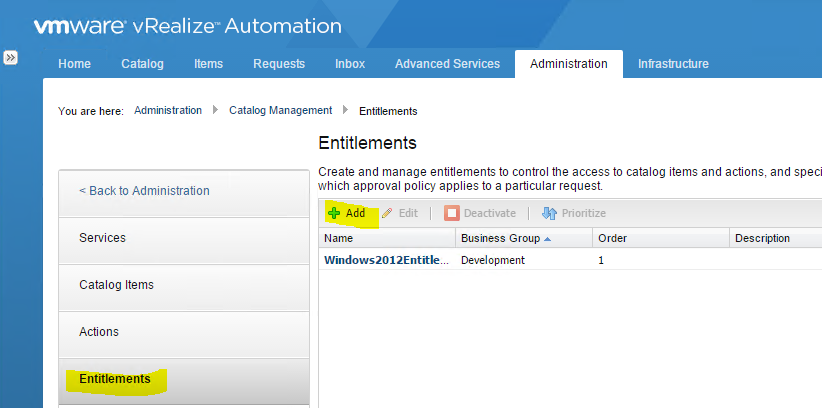
- Put in a name and set to active and add the relevant users and groups
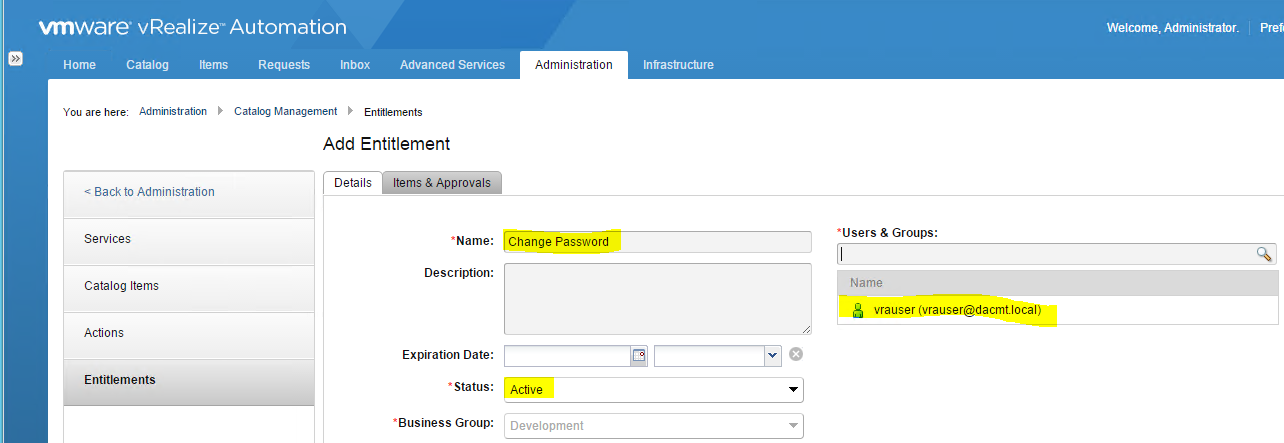
- Click Next
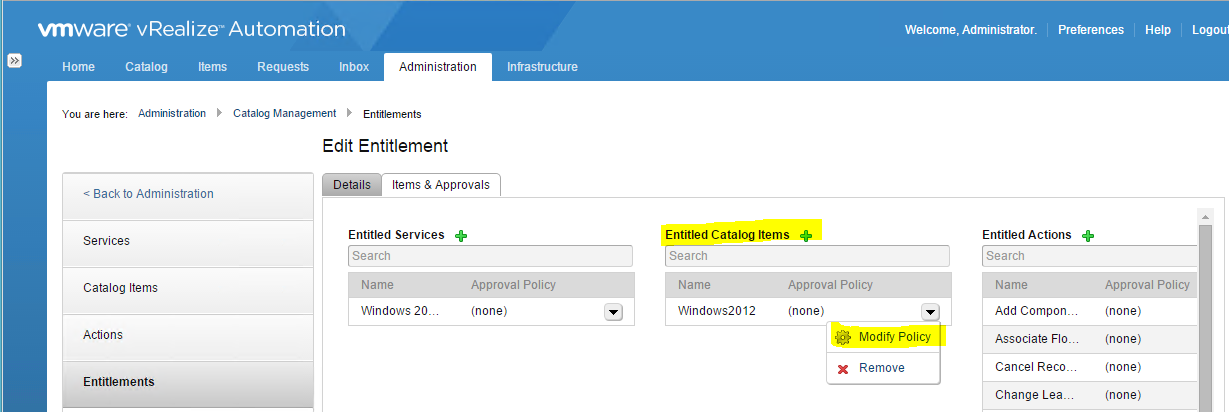
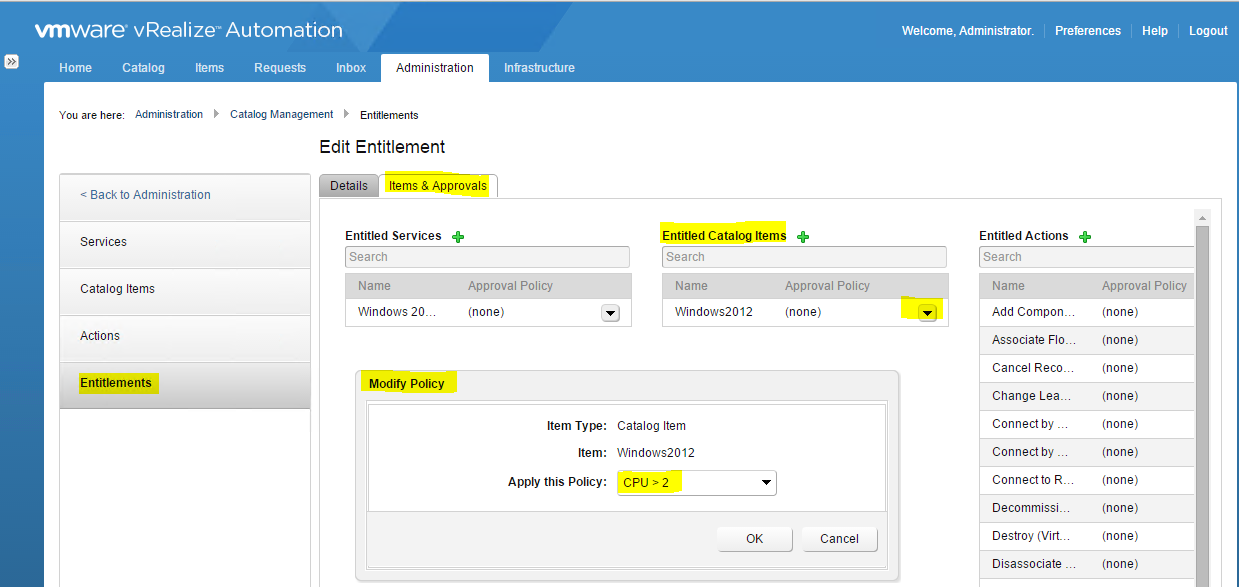
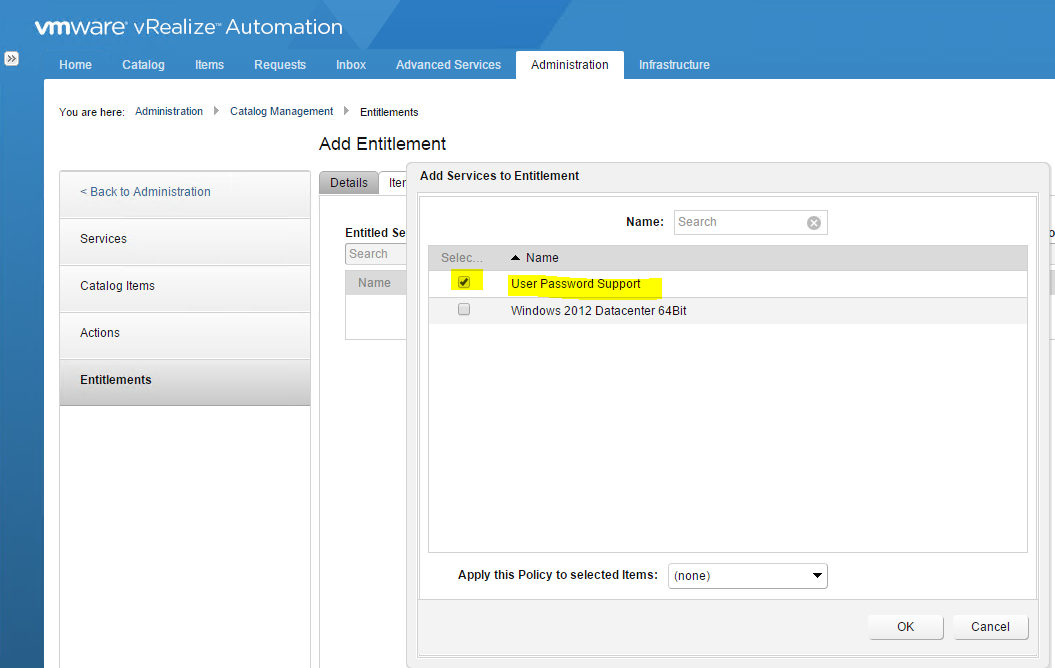
- Click Entitled Services and add your service
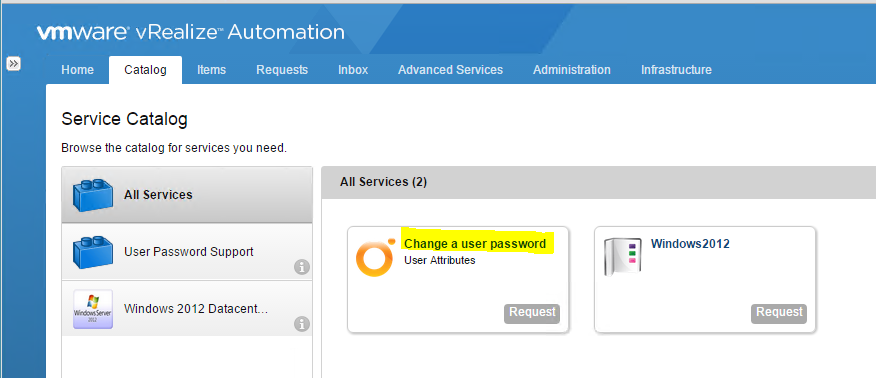
- Log out and in again and check that when you click on the catalog tab that you see the Change a user password service
Looking further into Advanced Service Designer
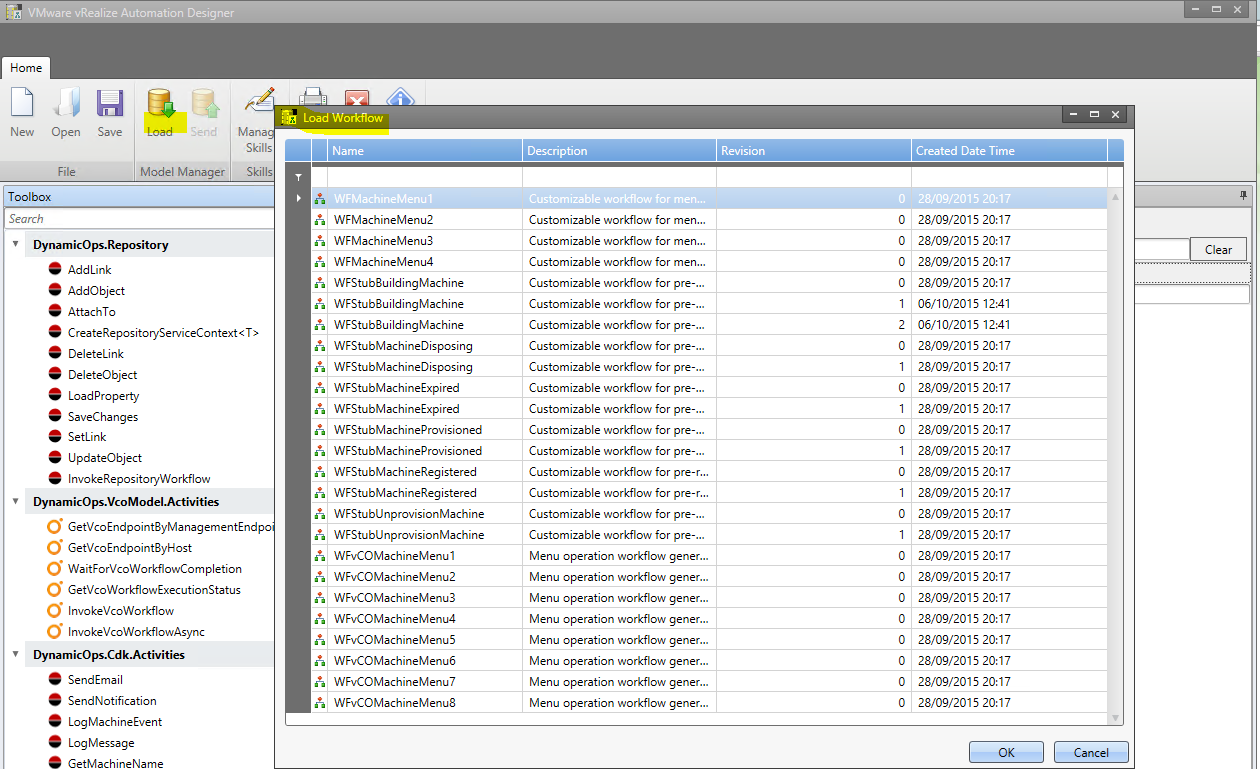
- On the desktop, click vRealize Automation Designer
- On the vRA Automation Designer ribbon, click Load
- You will get the following box
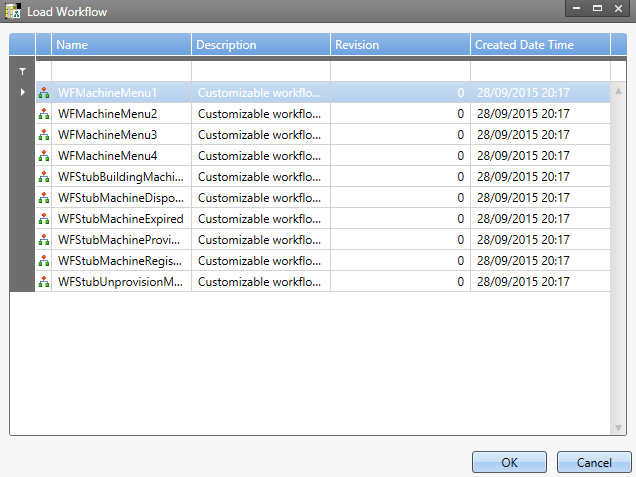
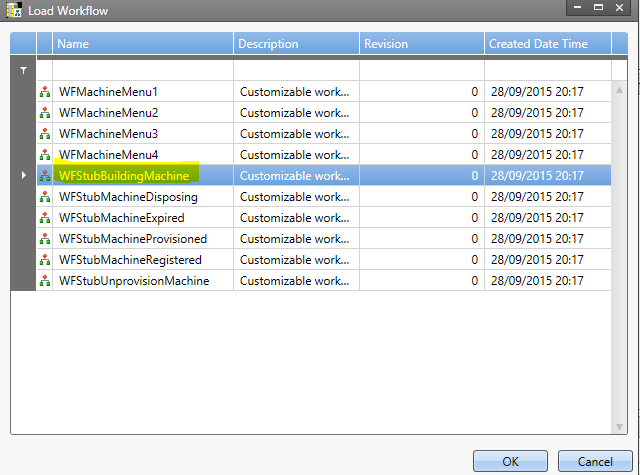
- Select the WFStubBuildingMachine workflow stub. If multiple versions exist, select the revision 0 version
- You should see the below screen
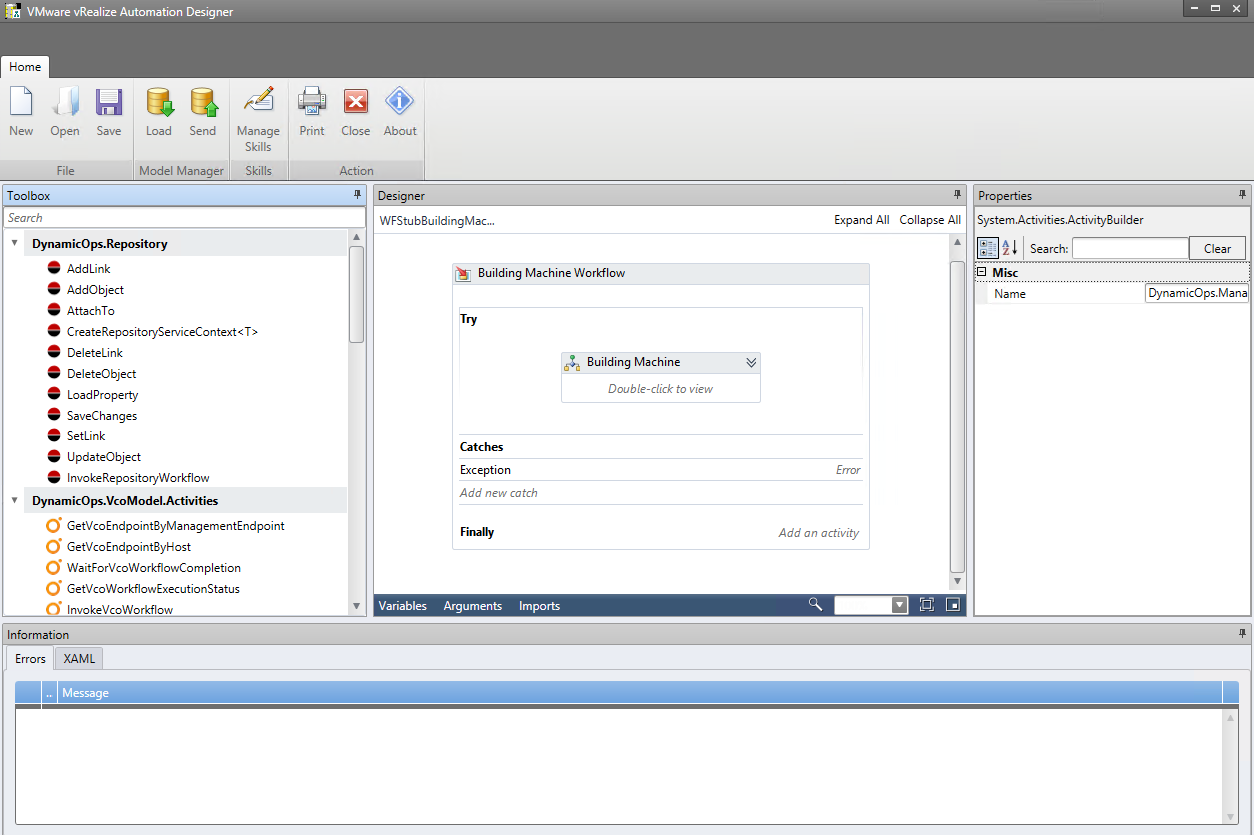
- In the Try area, double click the Building Machine activity
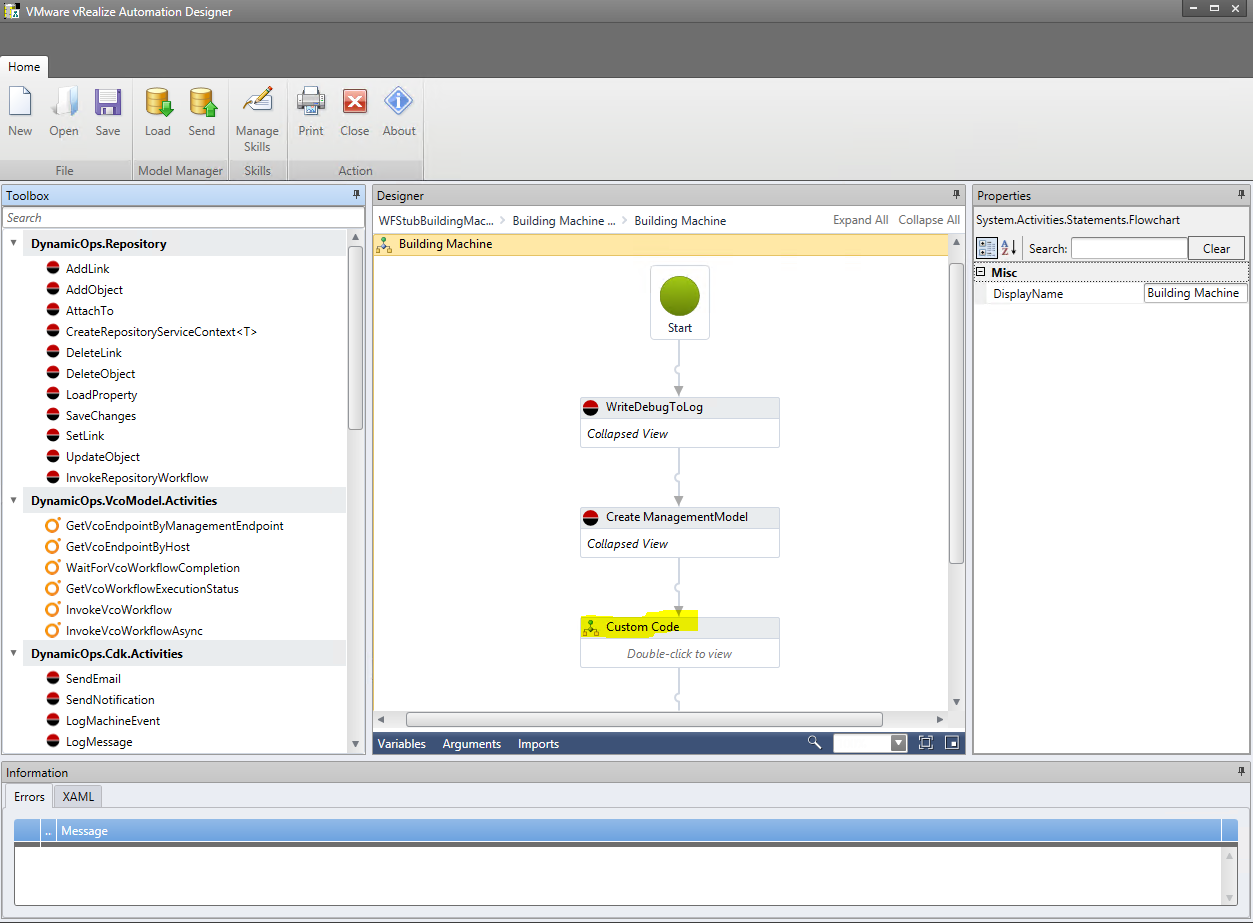
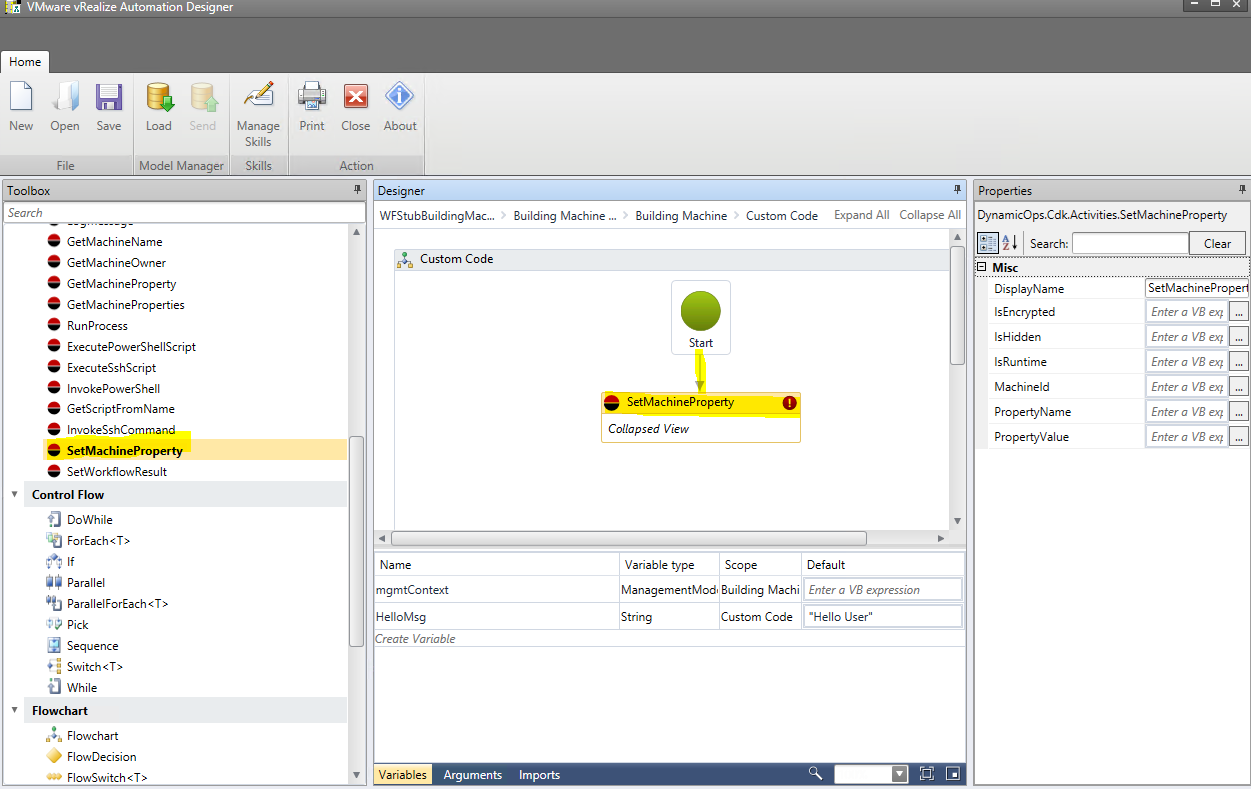
- Double click the Custom Code activity as highlighted above
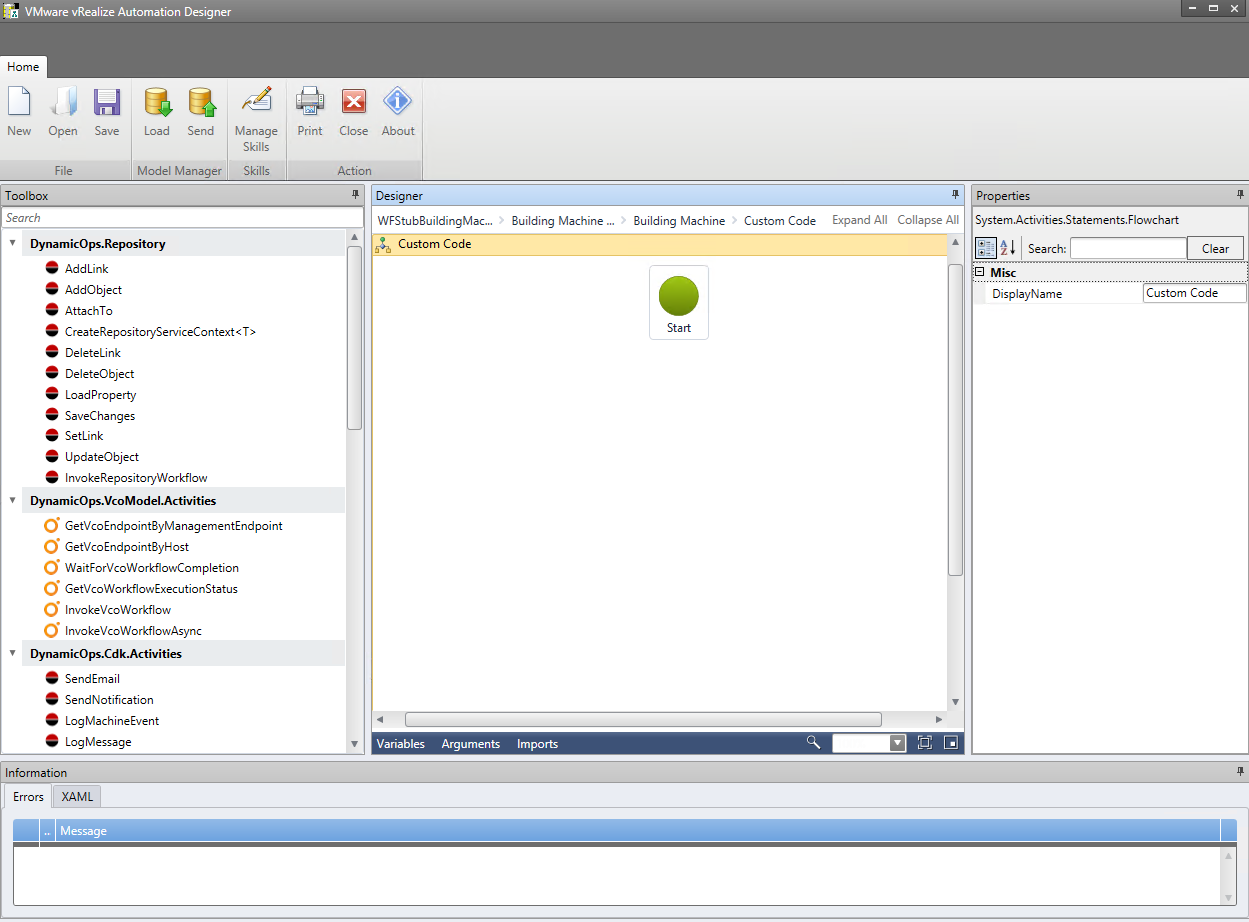
- At the bottom of the design surface in the middle pane, click Variables and click Create Variable
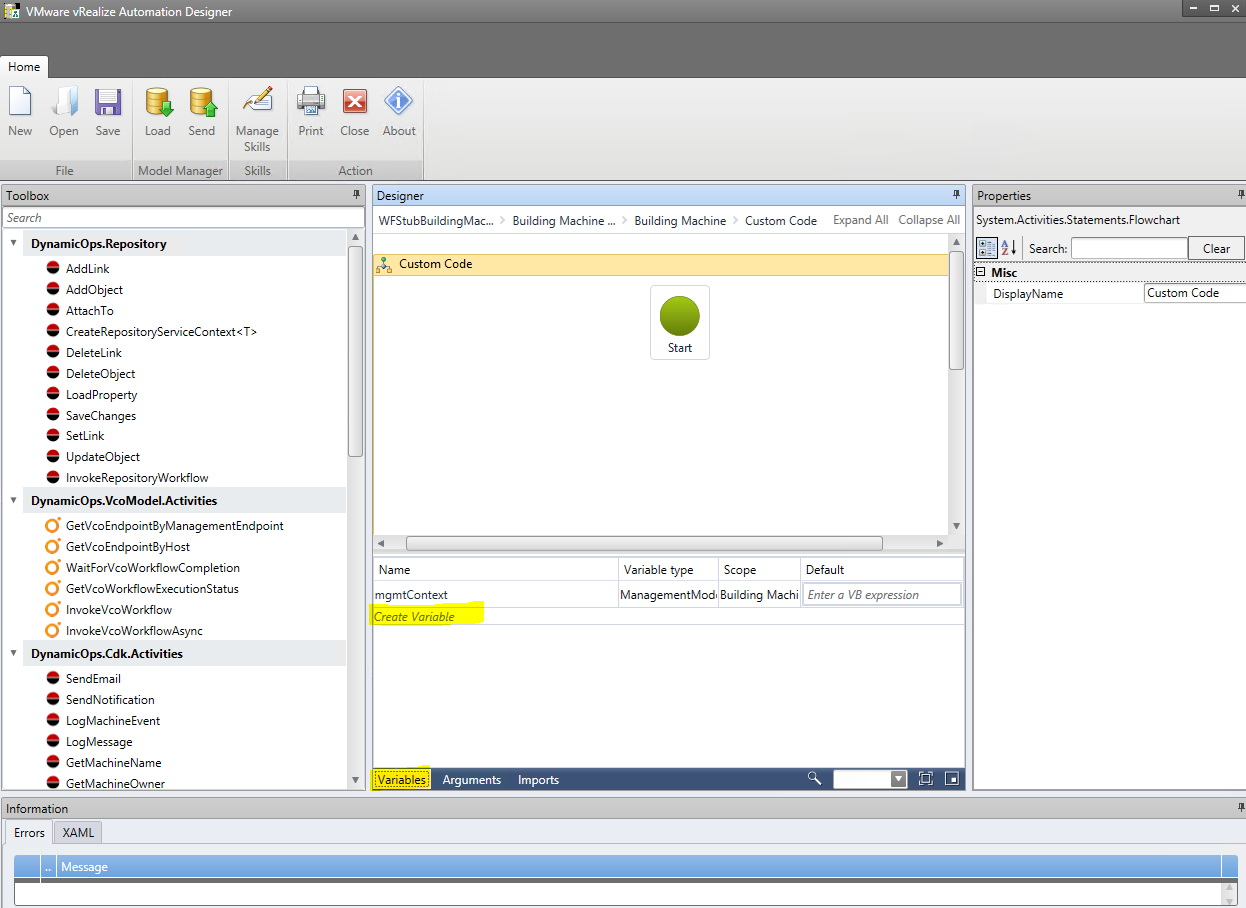
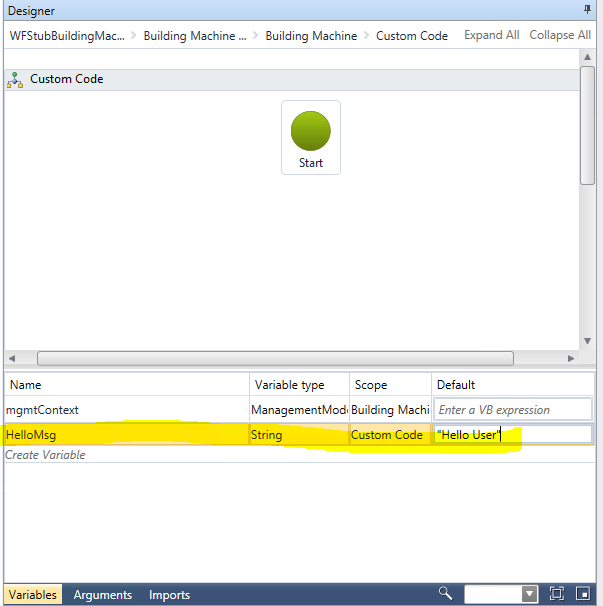
- Add the following variables
- Name = HelloMsg
- Variable Type = String
- Scope = Custom Code
- Default = “Hello User”
- In the Toolbox pane on the left hand side, drag the SetMachineProperty activity to the design surface underneath Start
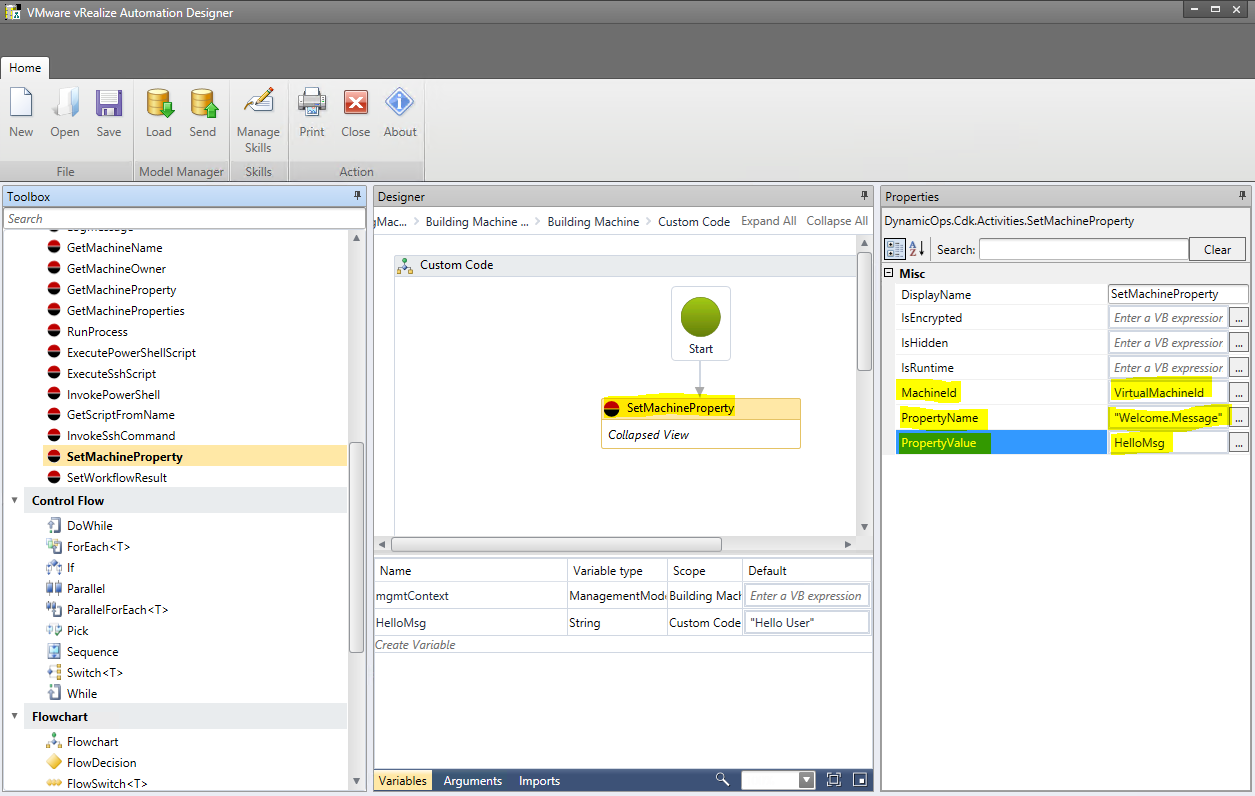
- Connect Start to SetMachineProperty by pointing to the bottom of Start and dragging a connecting Line between them
- Select the SetMachineProperty activity and set the following properties in the Properties pane on the right panel
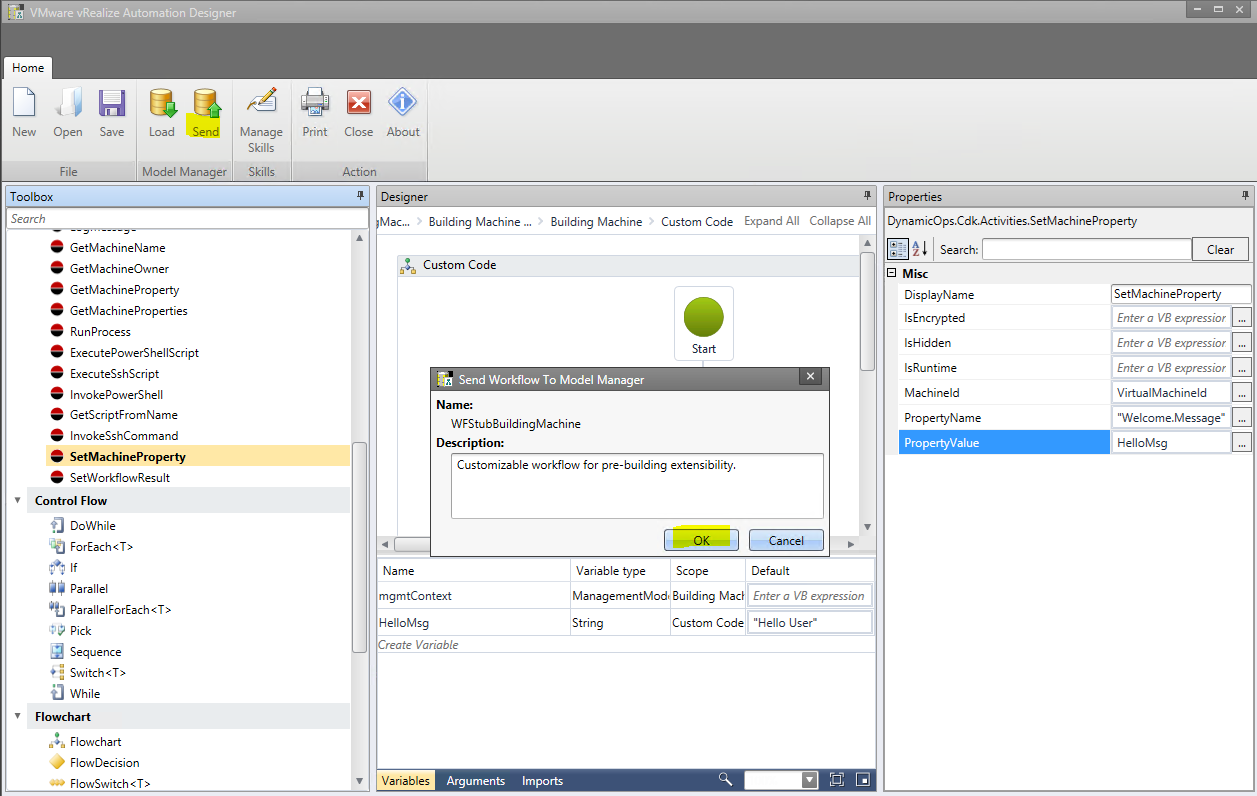
- Click Send on the top menu
- Click ok to the message Send Workflow to Model Manager
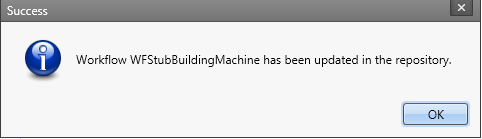
- In the success dialog box, click OK
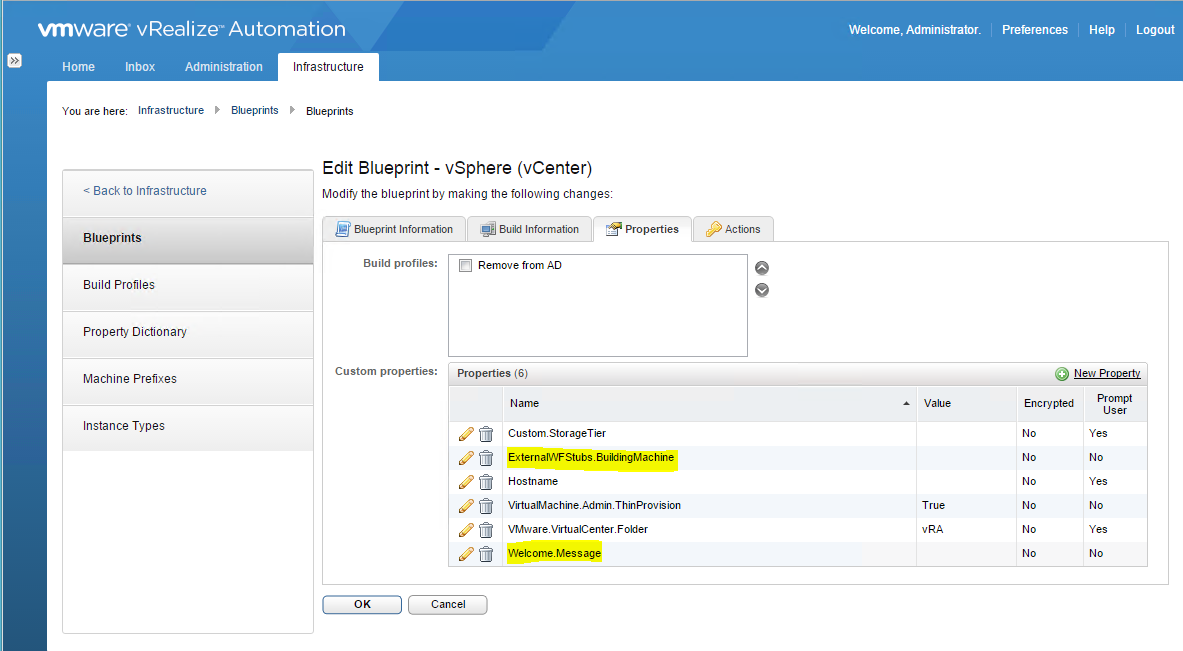
Assign the Building Machine Workflow to a blueprint
- Log into https://vRA_Appliance.FQDN/shell-ui-app
- Go to Infrastructure > Blueprints > Blueprints
- Edit your Blueprint
- Click Properties > New Property
- Add 2 custom properties to the blueprint
- Click the green tick when complete and click OK
- Logout and log in again
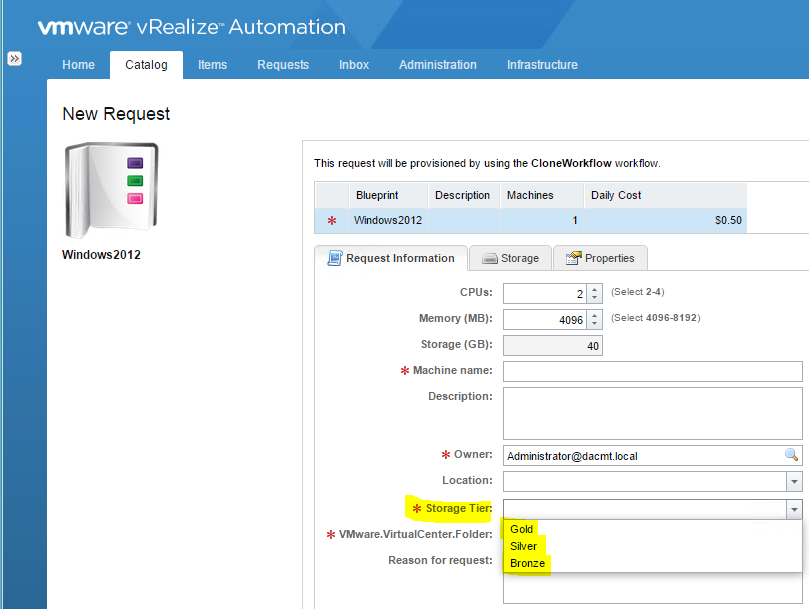
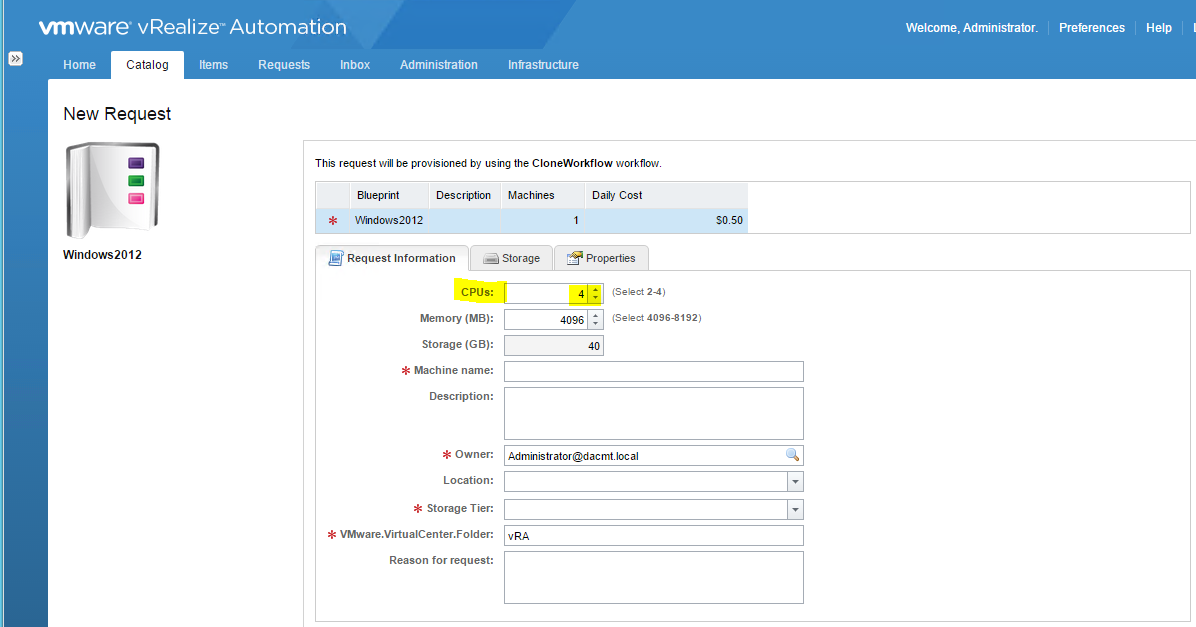
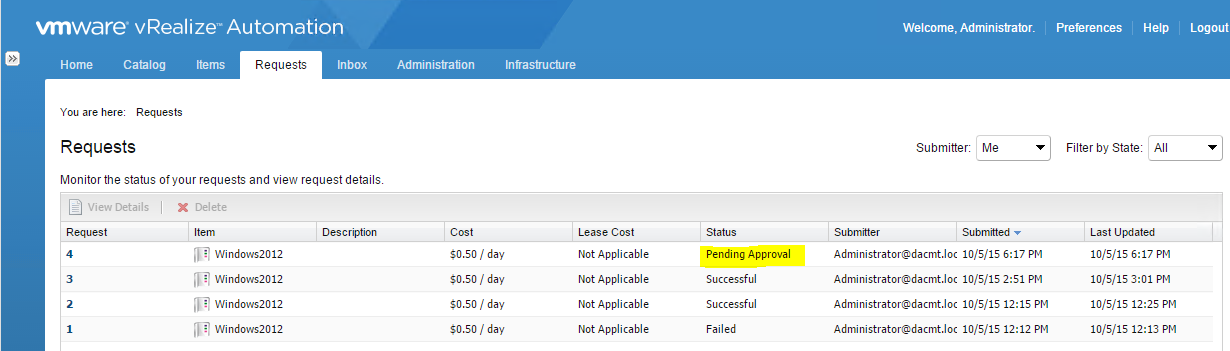
- Go to Catalog and request your VM
- Monitor the build in Requests
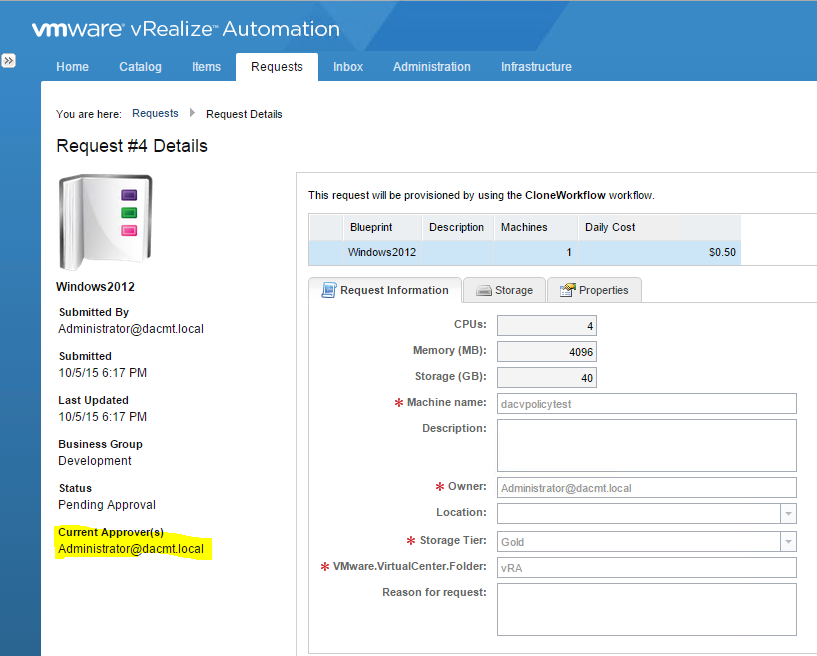
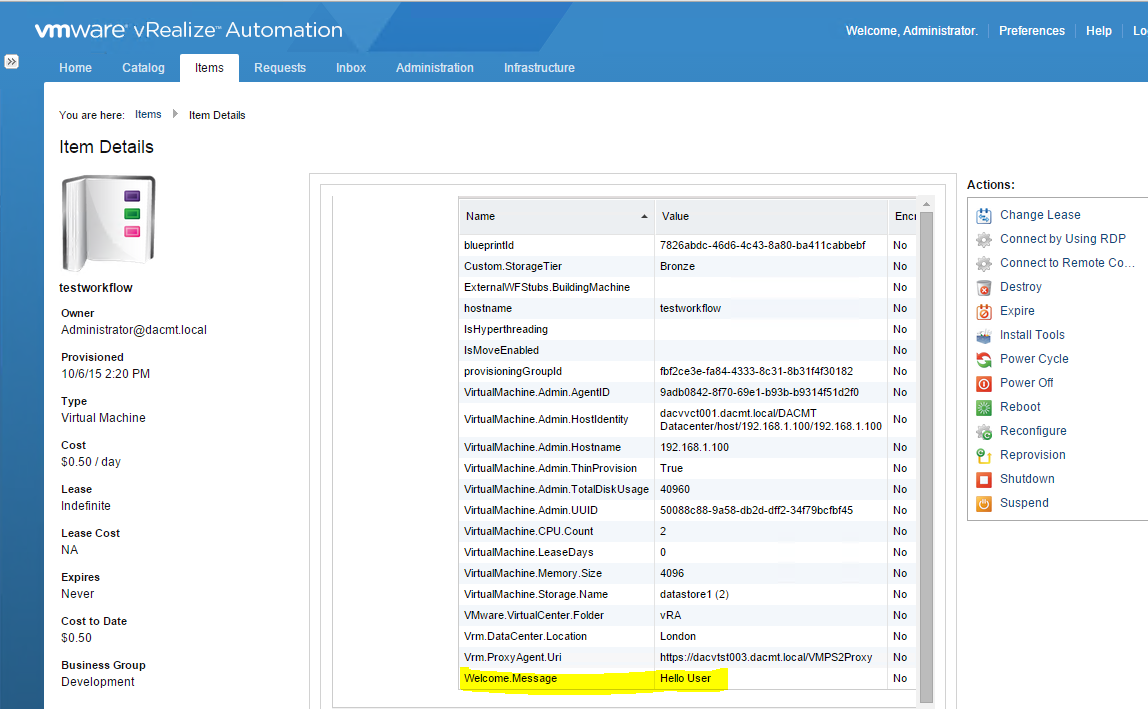
- Once built go to Items select your machine and click the View Details tab
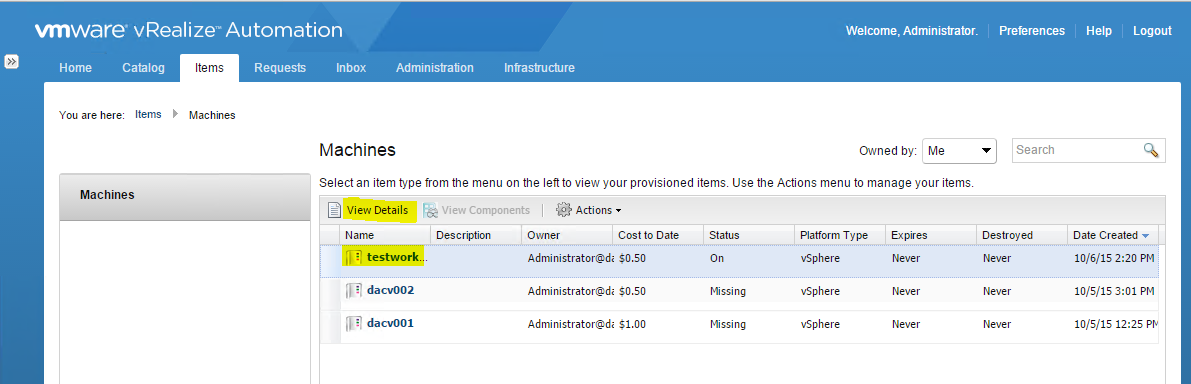
- Click the Properties tab and check the value
n


 NEXT
NEXT