
vCenter 6.5/vSAN 6.6 new install
This is a blog based on my Dell Poweredge T710 lab which I’ve set up to take advantage of testing vSphere 6.5 and vSAN 6.6 as a combined install of a new installation which should bootstrap vSAN, create a vCenter and then place the vCenter on the vSAN automatically.
Note: vSAN will be a hybrid configuration of 1 x SSD and 6 SATA hot plug drives per server.
New integrated bootstrapping feature explained
In some environments where new hardware being deployed, high availability shared storage may not be accessible during day-zero installation meaning if you were building a greenfield deployment, it was almost a catch 22 scenario. How did you build your vSAN with a vCenter server when you only had the disks for a vSAN deployment. There were ways around this via command line but it has now been built into the functionality of vSphere 6.5/vSAN 6.6.
Local disk, if available, can be used as a temporary location for vCenter installation, but vCenter migration after bringing up the cluster could be time consuming and error prone. Bootstrapping vSAN without vCenter can solve this problem and remove the requirement to have high availability storage or temporary local disk at day-zero operations. This could be applicable to a greenfield deployment scenario. With the Bootstrapping vSAN method, a vSAN based datastore can be made available at day-zero operation to bring-up all management components.
Lab Setup
3 x Dell Poweredge T710 servers each with
- 2 x 6 core X5650 2.66Ghz processors
- 128GB RAM
- 6 x Dell Enterprise 2TB SATA 7.2k hot plug drives
- 1 x Samsung 256GB SSD Enterprise 6.0Gbps
- Perc 6i RAID BBWC battery-backed cache
- iDRAC 6 Enterprise Remote Card
- NetXtreme II 5709c Gigabit Ethernet NIC
Initial Steps for each 3 hosts
- The Perc 6i controller is not on the vSAN HCL but vSAN can still be setup using RAID0 passthrough which involves configuring a RAID0 volume for each drive in the BIOS (Ctrl + R at bootup) Always make sure the drive is initialized in the BIOS which clears any previous content because vSAN requires the drives to be empty. Press Control > R during boot up and access the Virtual Disk Management screen to create disks as RAID0. See the link below for full information
https://community.spiceworks.com/how_to/8781-configuring-virtual-disks-on-a-perc-5-6-h700-controller
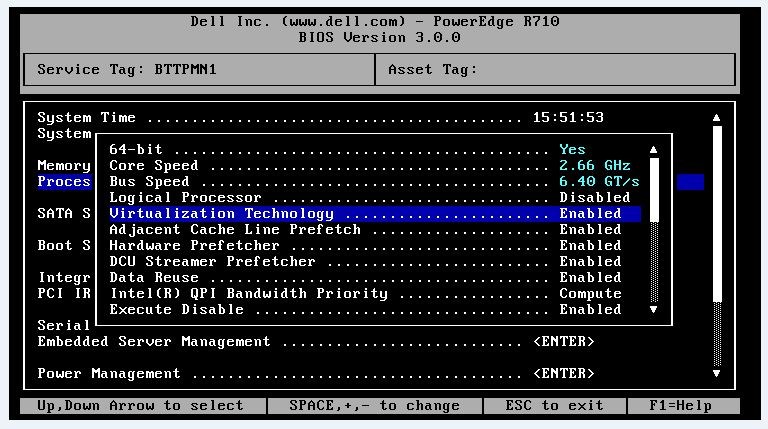
- In the System Setup BIOS screen you will need to enable Virtualization Technology. Not enabled by default and will stop any VMs from powering on if not enabled
- Make sure you have an AD/DNS Server with entries for your hosts and vCenter
- Put in your license keys
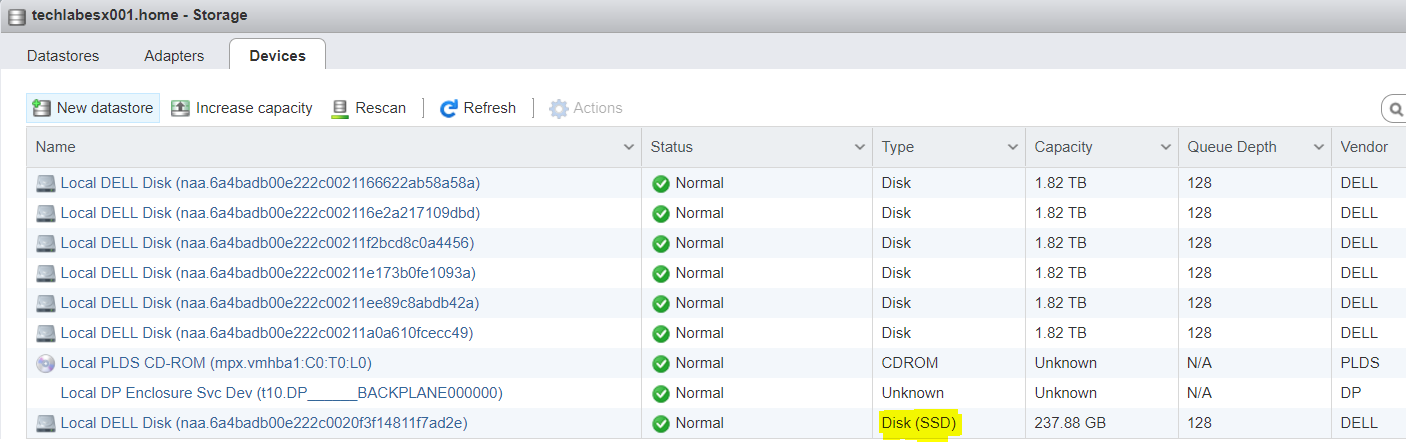
- Disks may not come up marked as SSD. In this case I had to run the following commands on each server (Replace your disk naa id with yours and the SATP Type)
Find your disk information as per below command but you can also find the disk ID’s in the host client
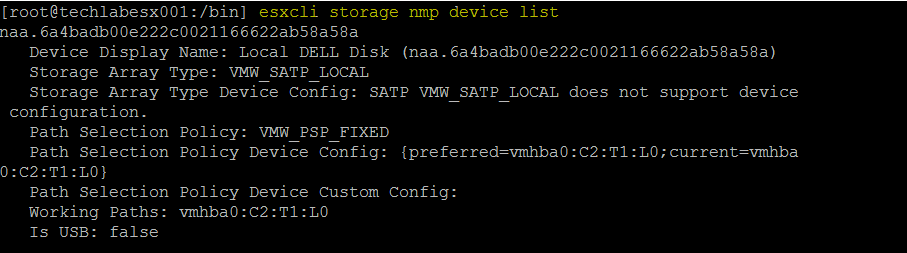


- Your SSD disks should then come up marked as SSD. I didn’t have to reboot.
Install the vCenter Appliance
- Make sure you have the software downloaded. I’m using the VMware-VCSA-all-6.5.0-5705665.iso
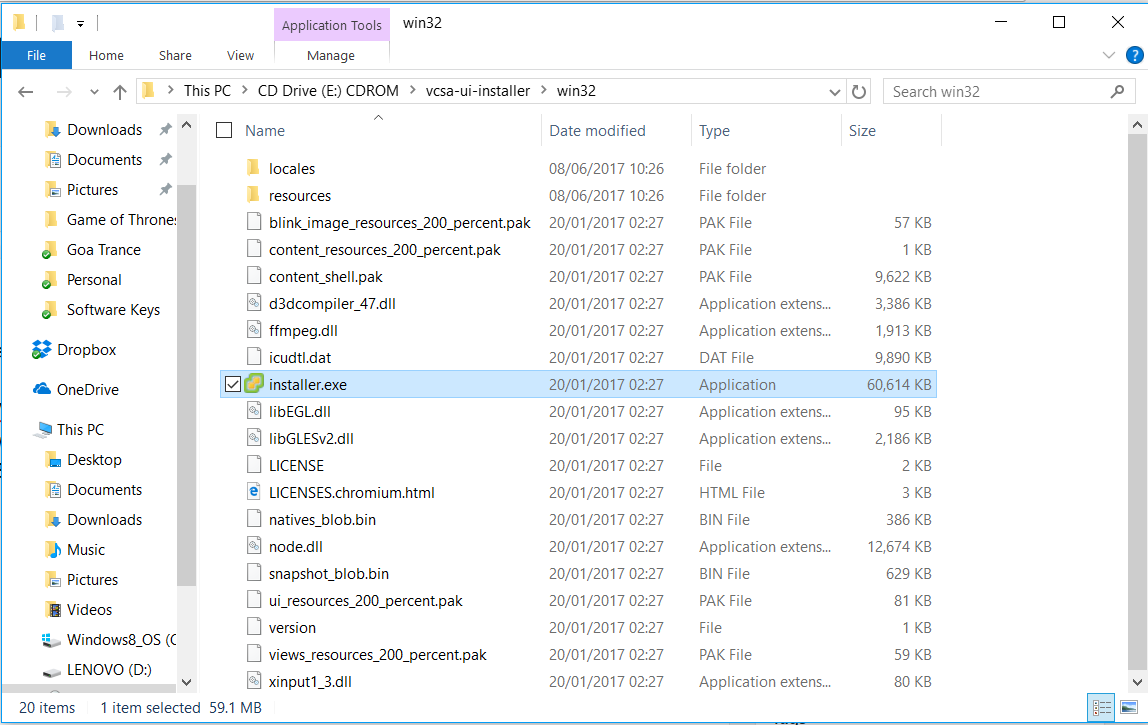
- On another machine, mount the VMware-VCSA-all-6.5.0-5705665.iso. I connected this to my Windows 10 laptop as a virtual drive. Start the vCenter Server Appliance 6.5 installer located at \vcsa-ui-installer\win32
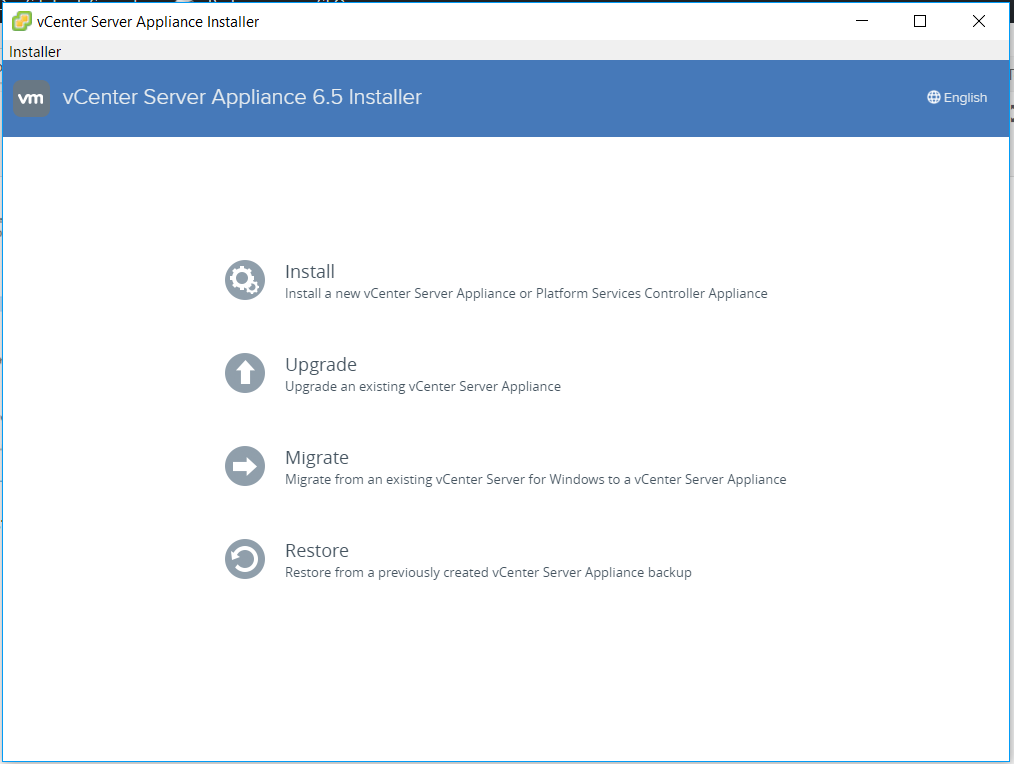
- Select Install from the VMware vCenter Server Appliance 6.5 Installer.
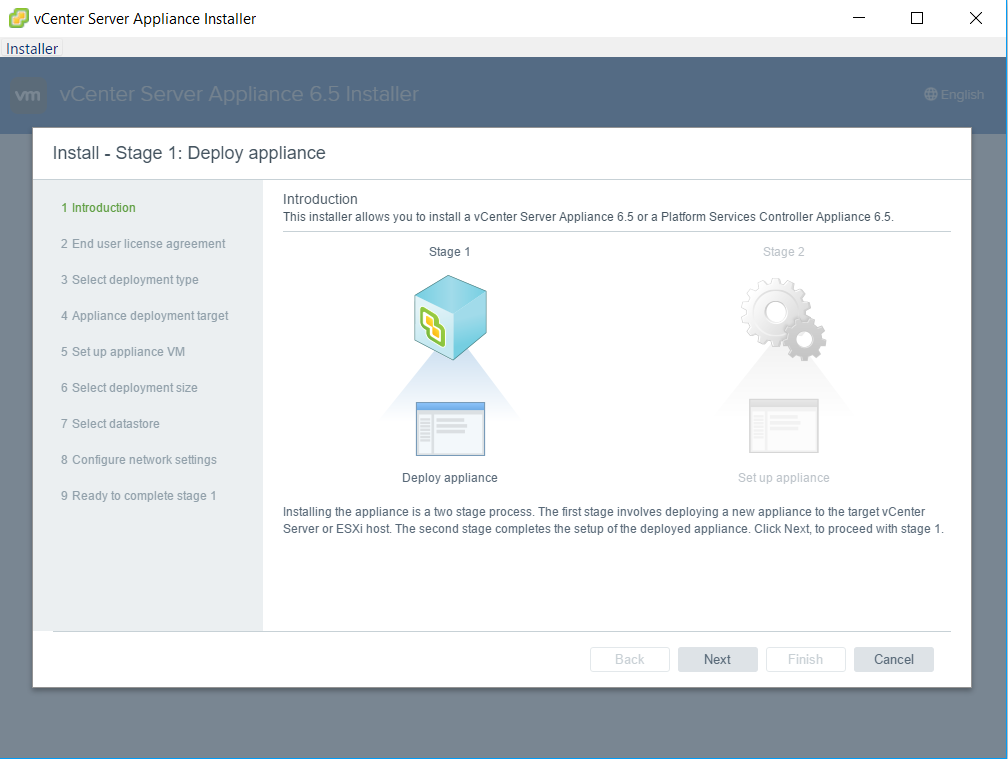
- You will see the Introduction screen
- Accept the License Agreement
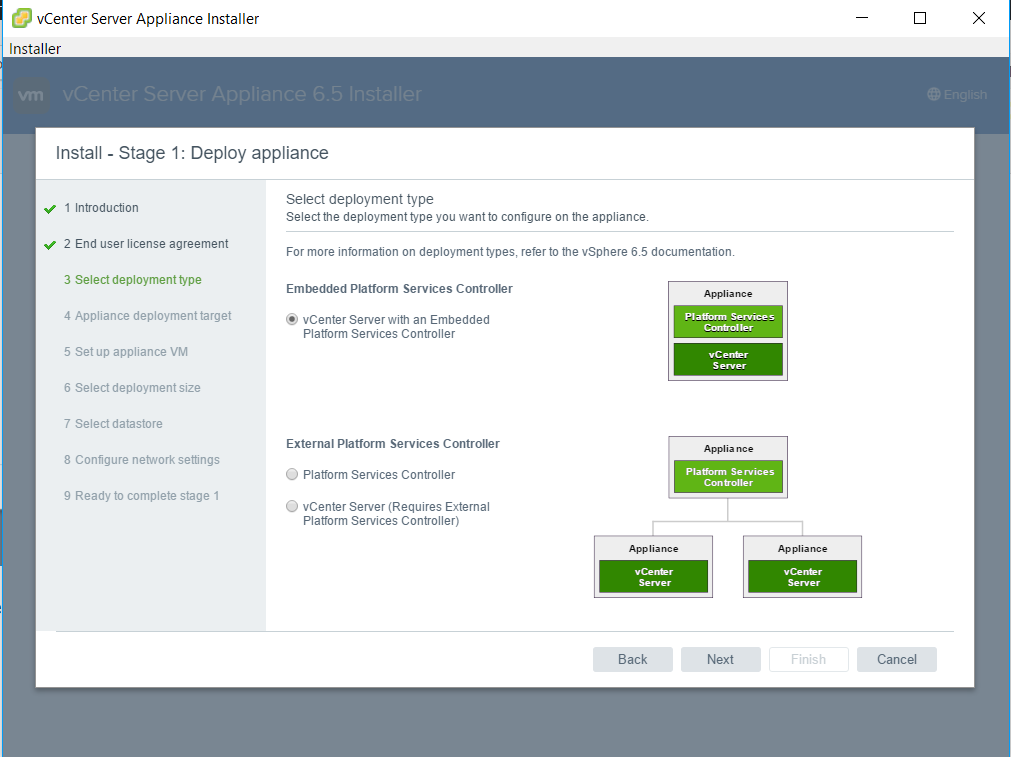
- Select Deployment Type. For now I’m going to use an embedded Platform Service Controller
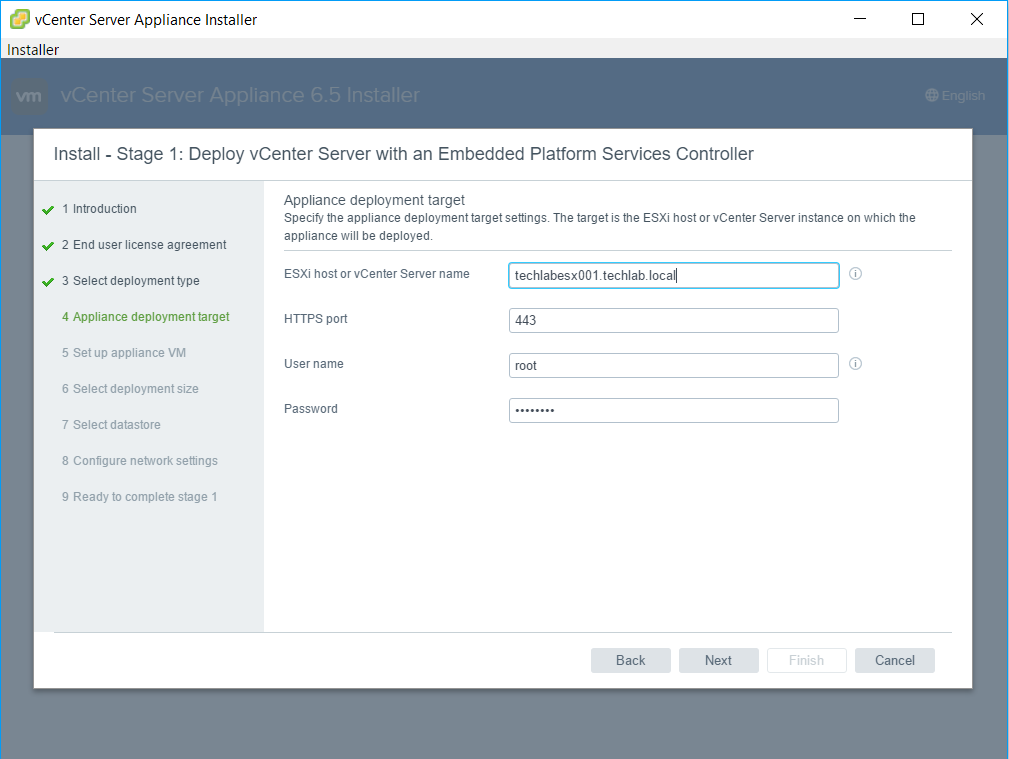
- Enter the details for the appliance target. Try an IP Address if a FQDN doesn’t work.
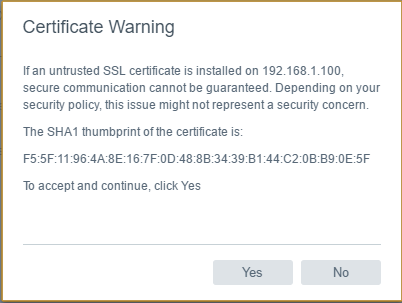
- Accept the certificate
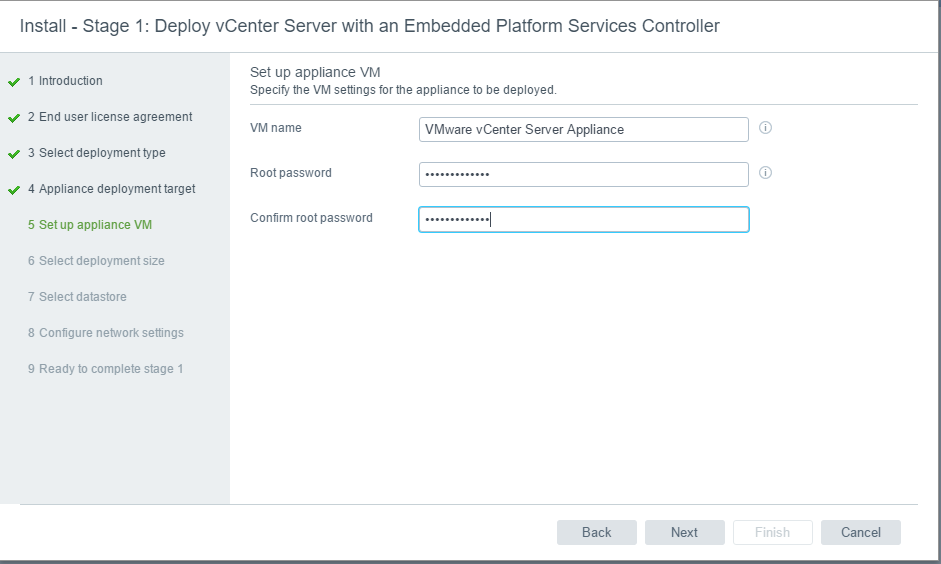
- Put in a root password for the vCenter Server Appliance
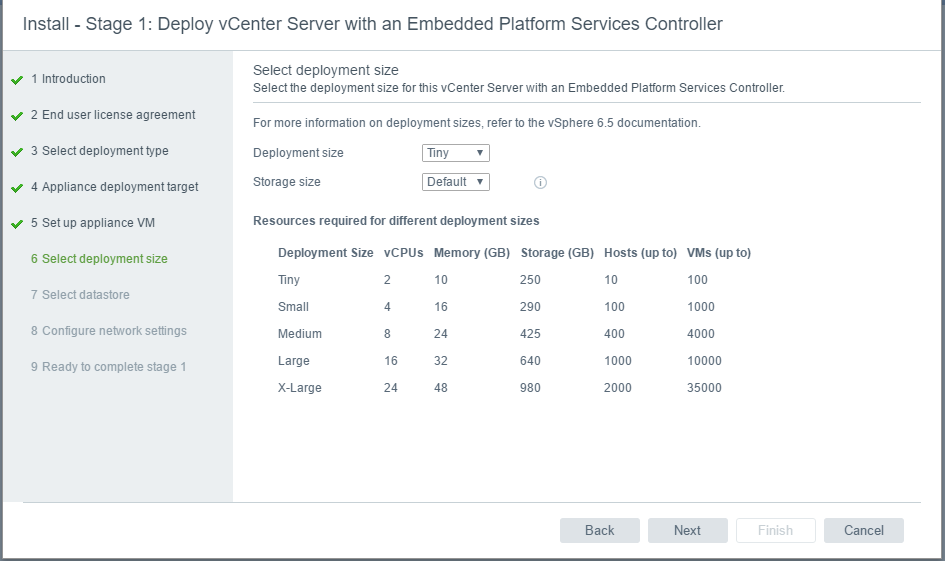
- Select a deployment size
- There are now 2 deployment types. You can install as normal or you can “Install on a new Virtual SAN cluster containing the target host”
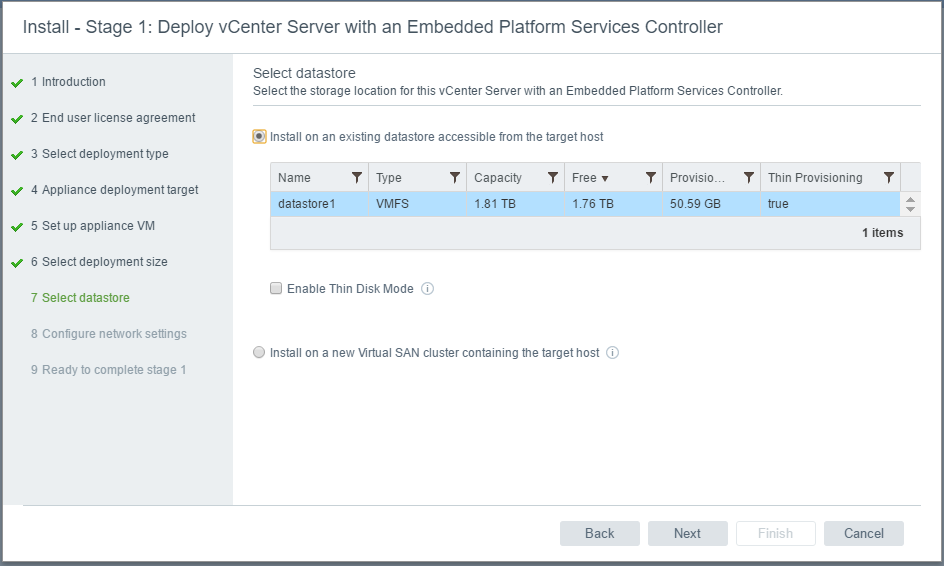
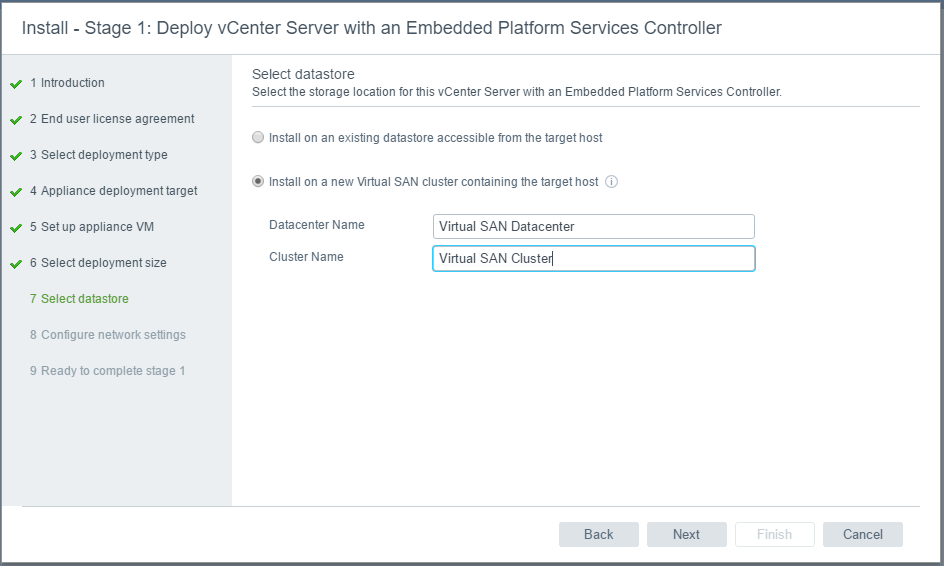
- I am going to test this new feature of a combined install of vCenter and vSAN placing the vCenter on vSAN
- Put in a name for your Datacenter and Cluster and click Next. It will say Loading

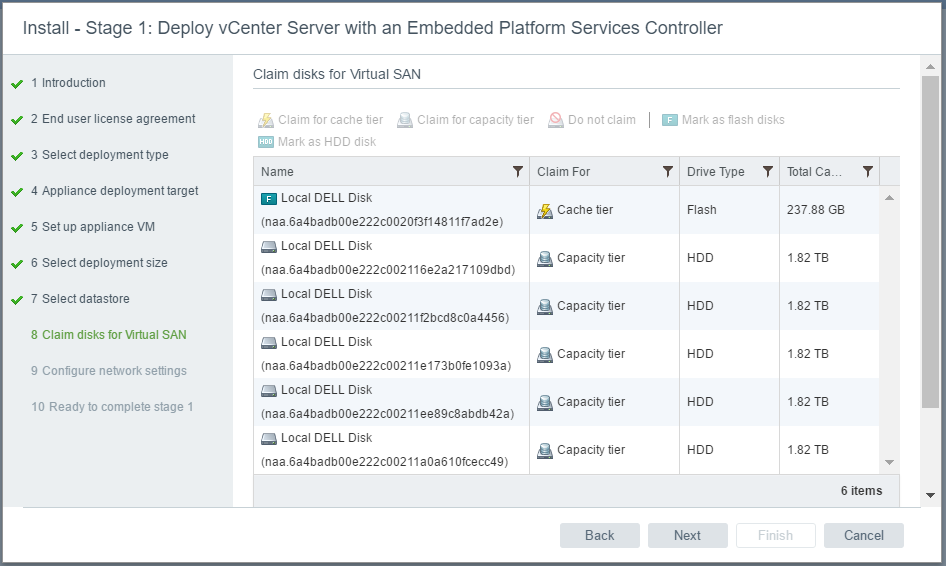
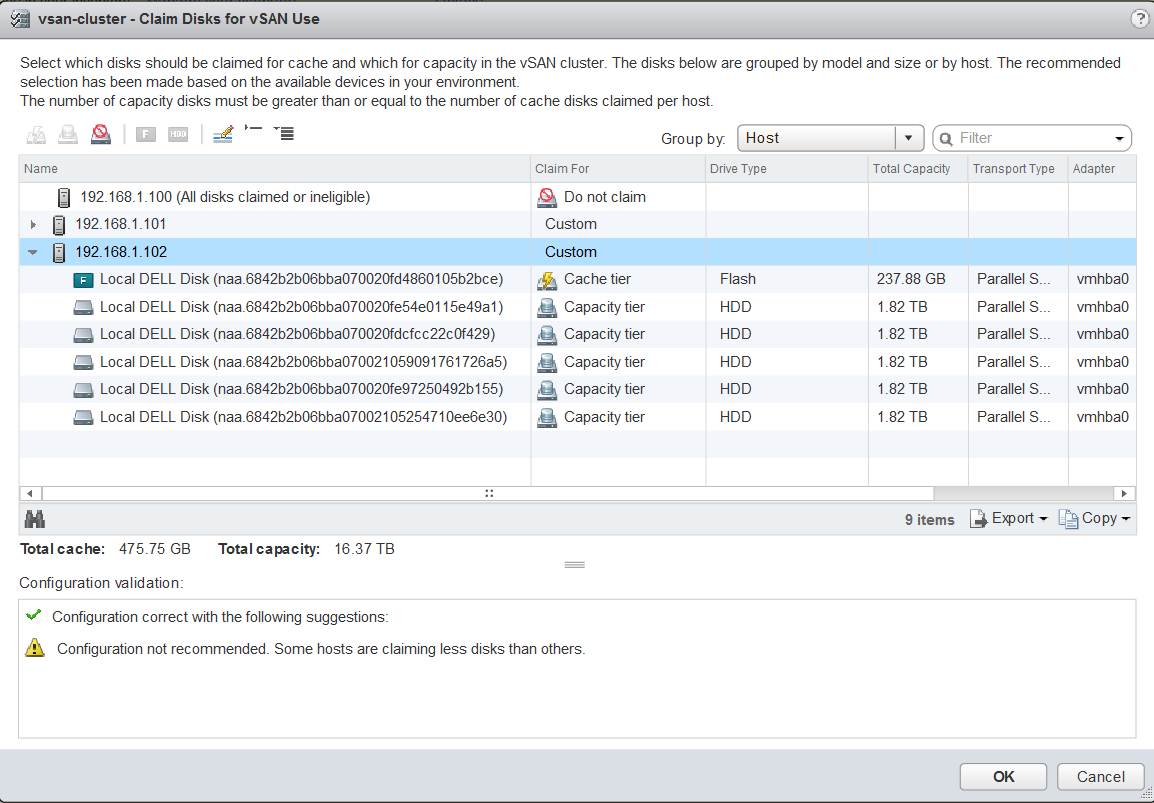
- Claim disks for Virtual SAN. You can see it has picked up all my disks on my first host and recognizes the SSD and sets it as a cache Disk while the other non SSD Disks are set as Capacity Disks
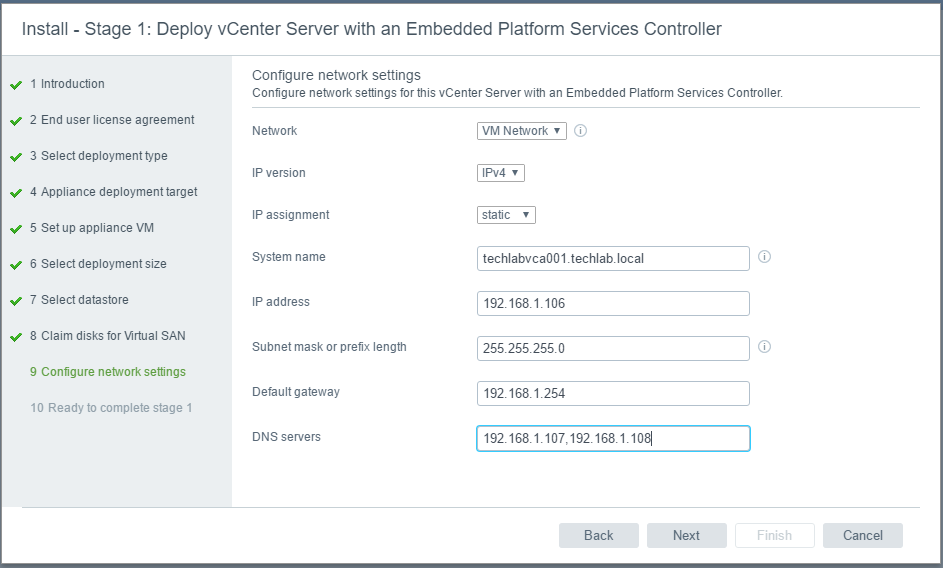
- Next enter your network settings
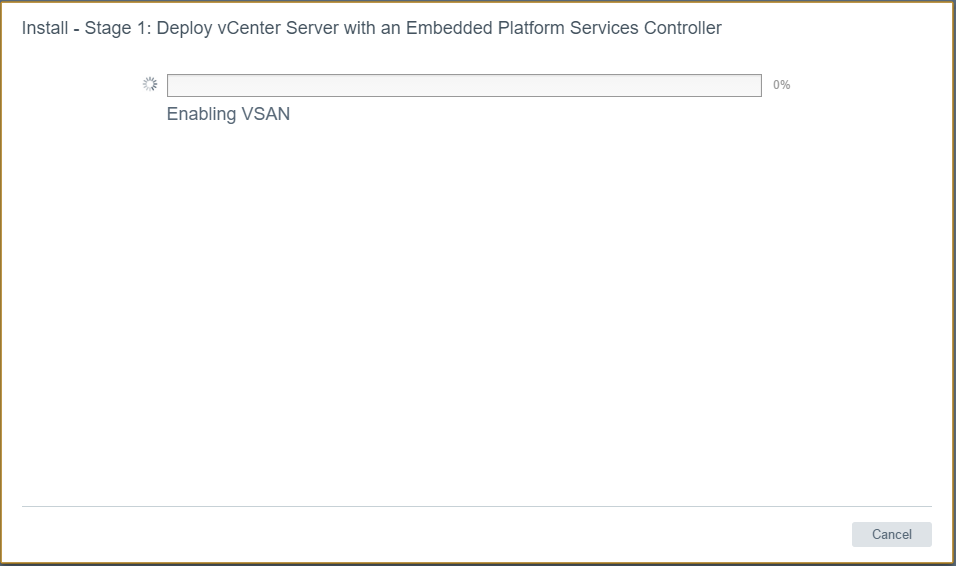
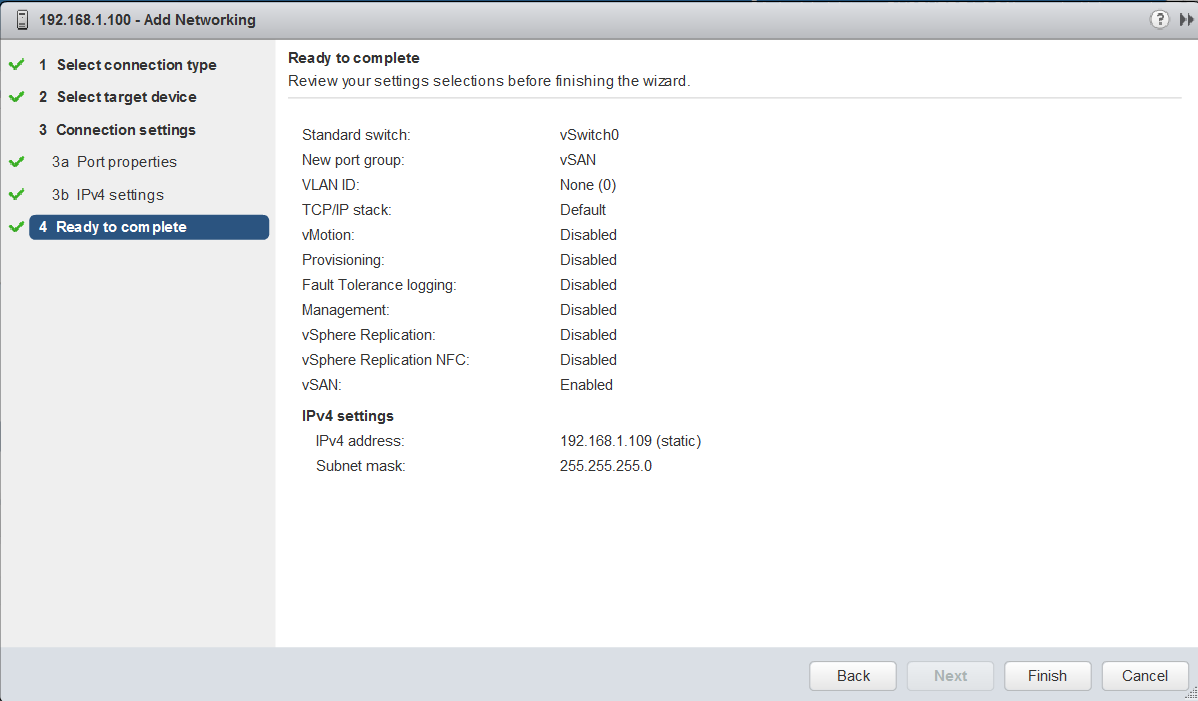
- You are now ready to complete at Stage 1. Check the settings and click Finish

- It will now show the following screen
- When it has finished you should see the below screen
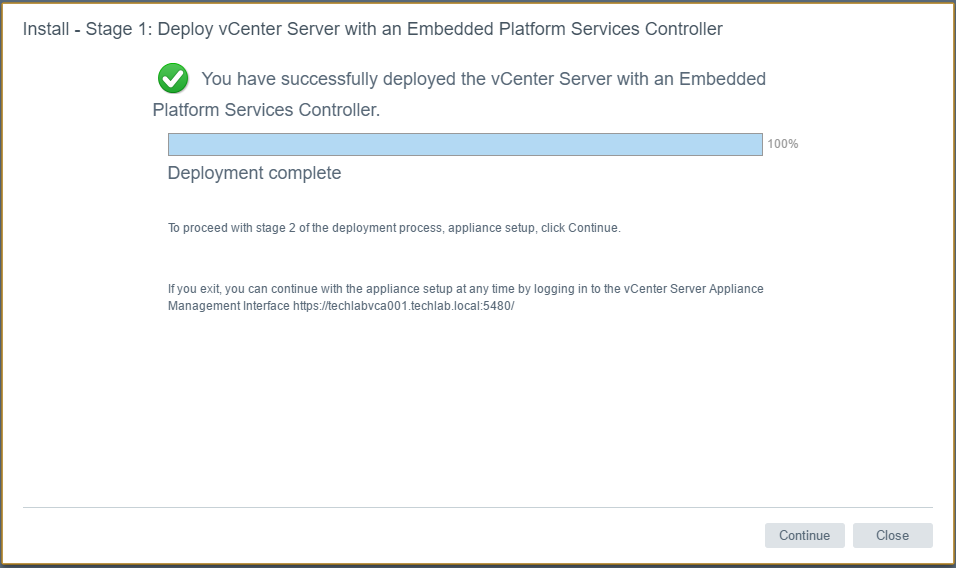
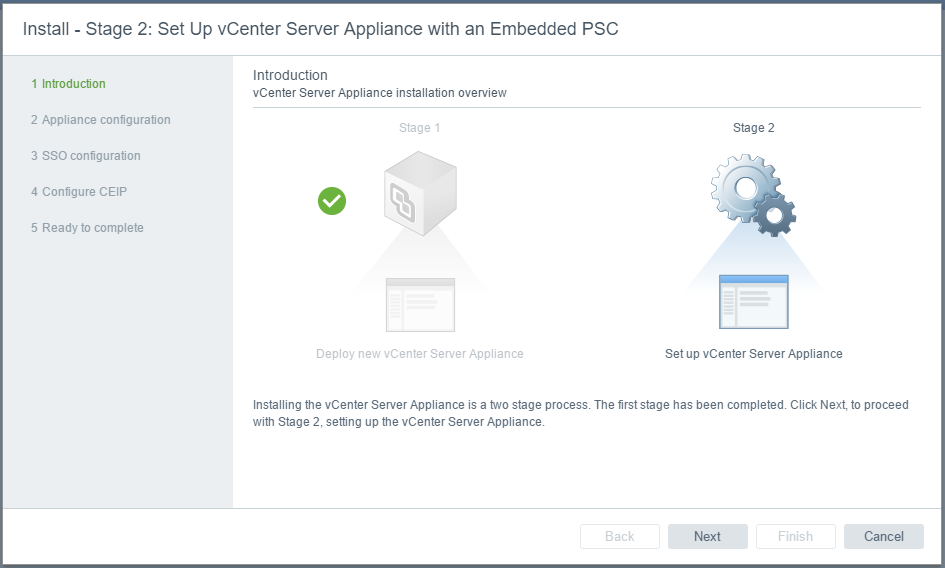
- Click Continue and we will be on to Stage 2
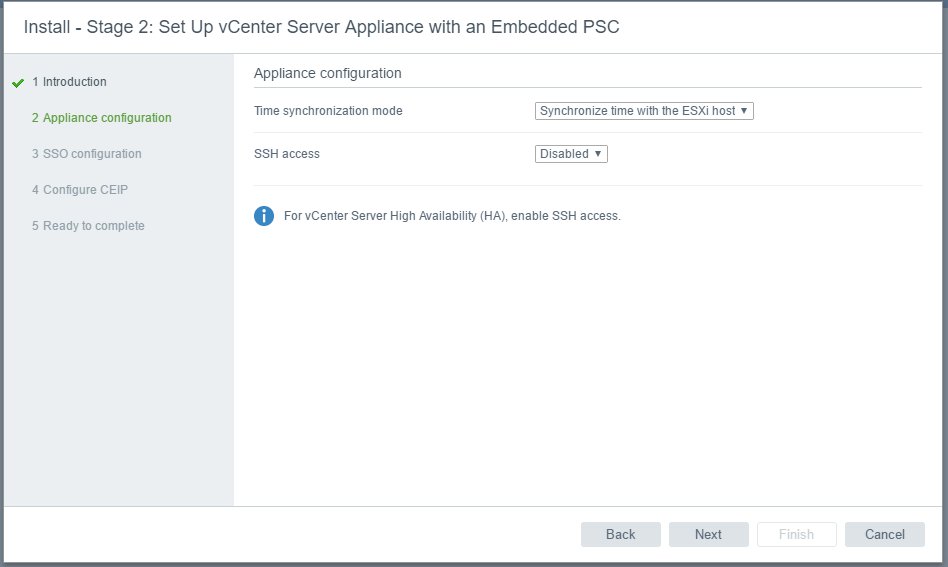
- Next Enter the time settings. You can use NTP Servers or sync with the local host. You can also enable SSH
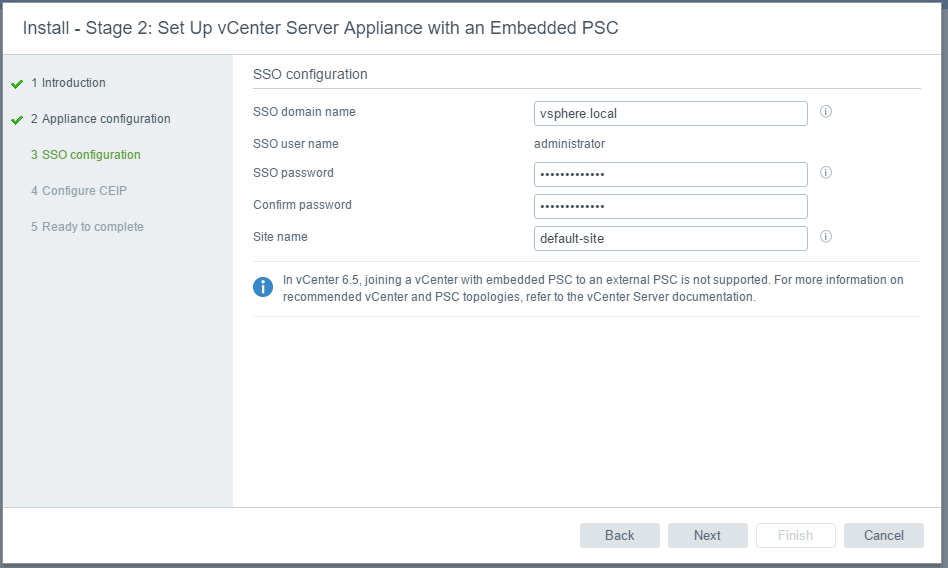
- Next set up the embedded PSC
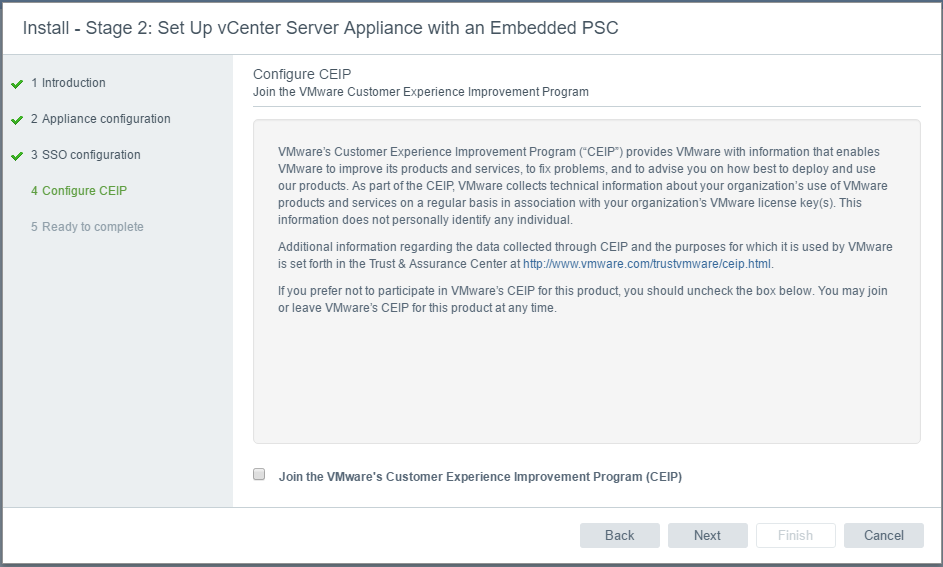
- Next decide if you want to join the Customer Experience Program
- Finish and check the config
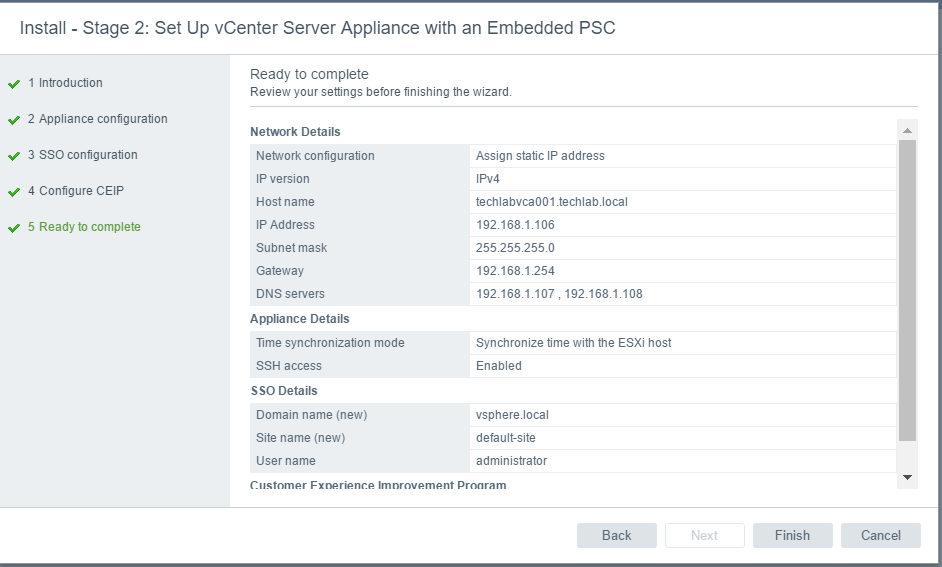
- You should now see the below screen
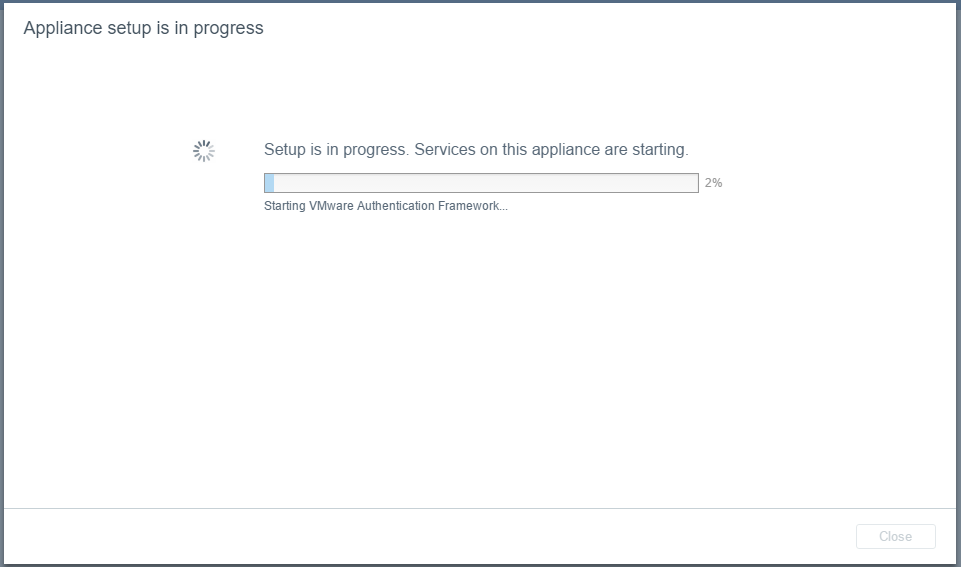
- When it has finished you will see the below screen
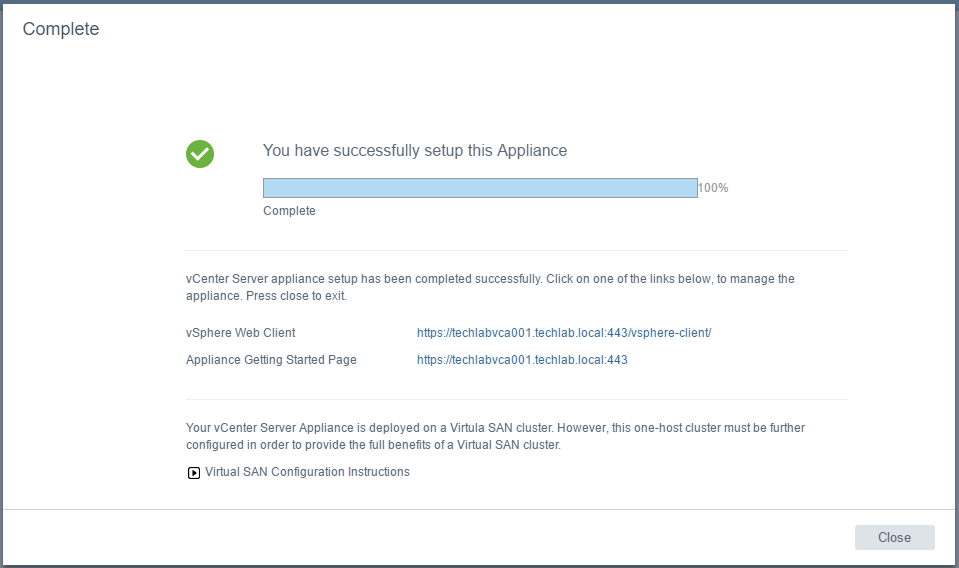
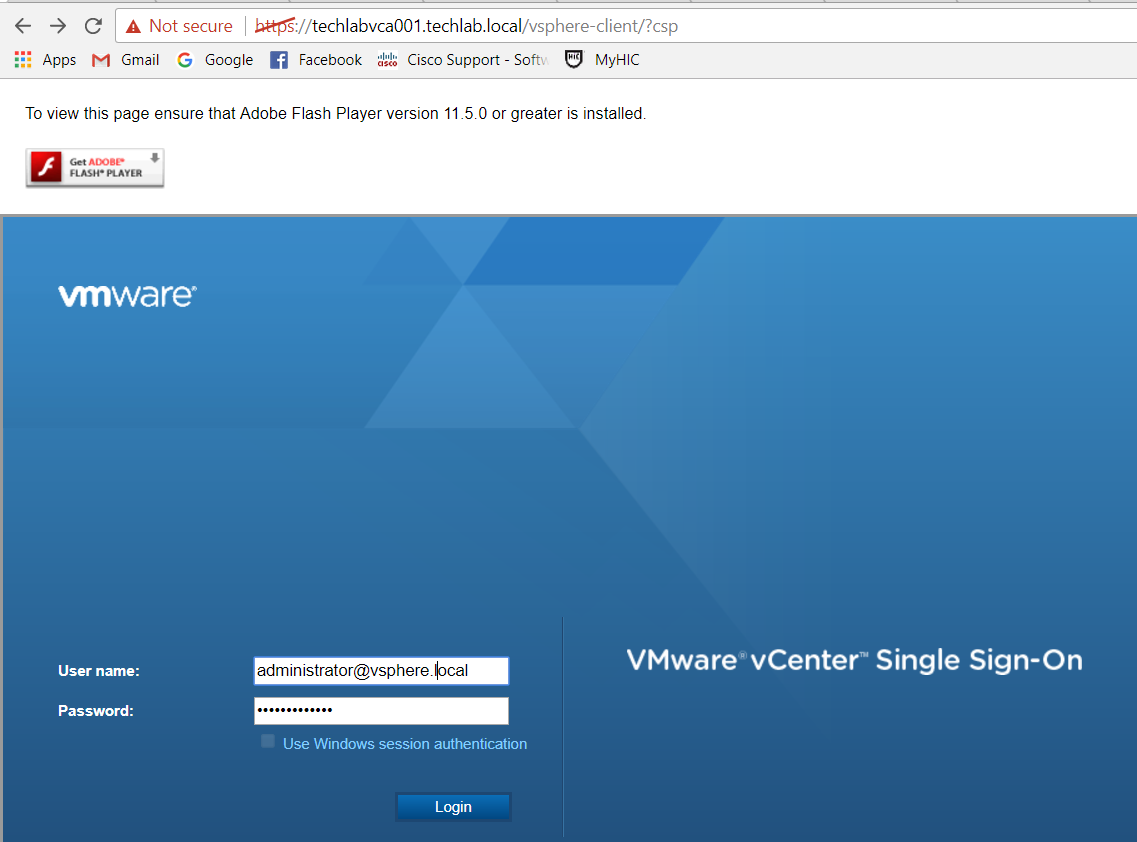
- Next connect to the vCenter appliance with the administrator@vsphere.local account and the password you set up previously
https://techlabvca001.techlab.local/vsphere-client/
- Select the Host > Select Configure > Select Networking > VMkernel Adapters
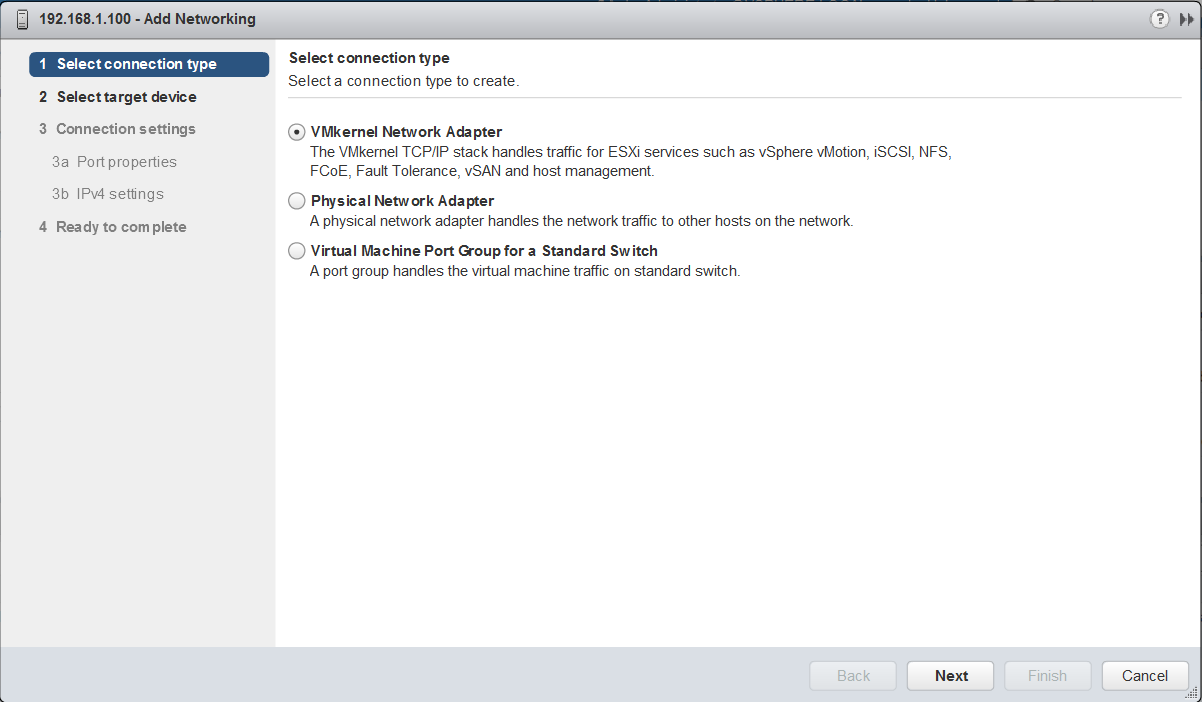
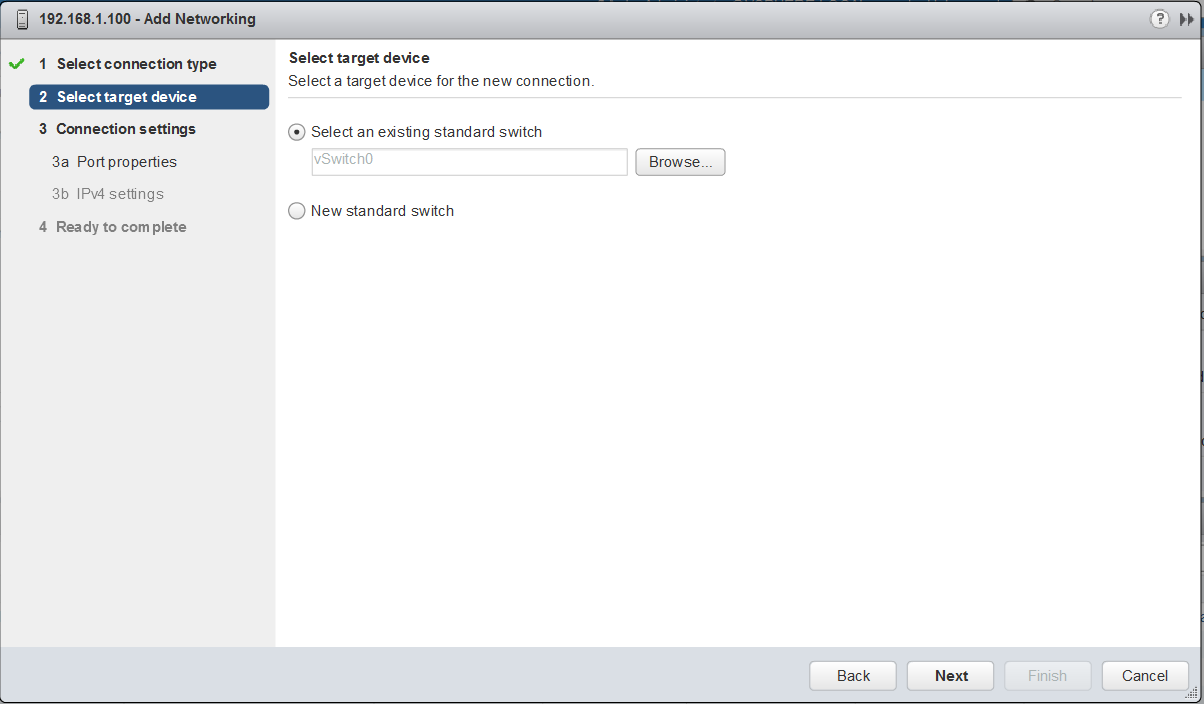
- Select a switch
- Add a VMkernel adapter for vSAN
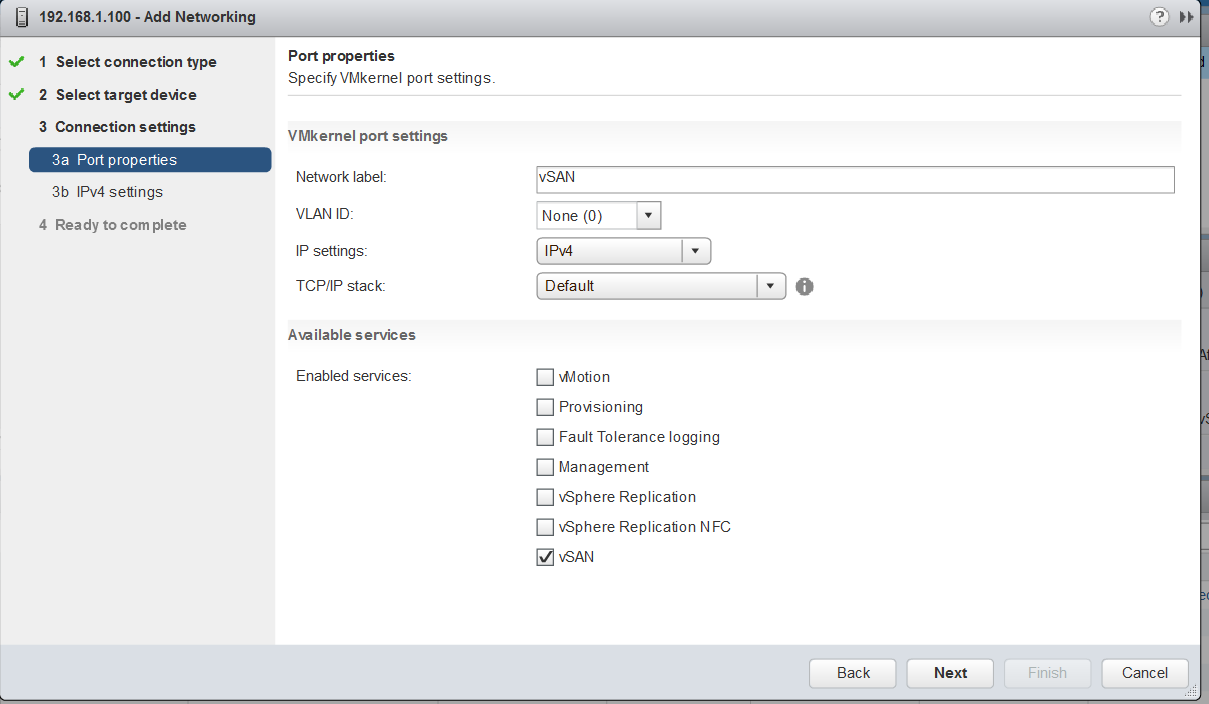
- Specify VMkernel networking drivers

- Check Settings and Finish
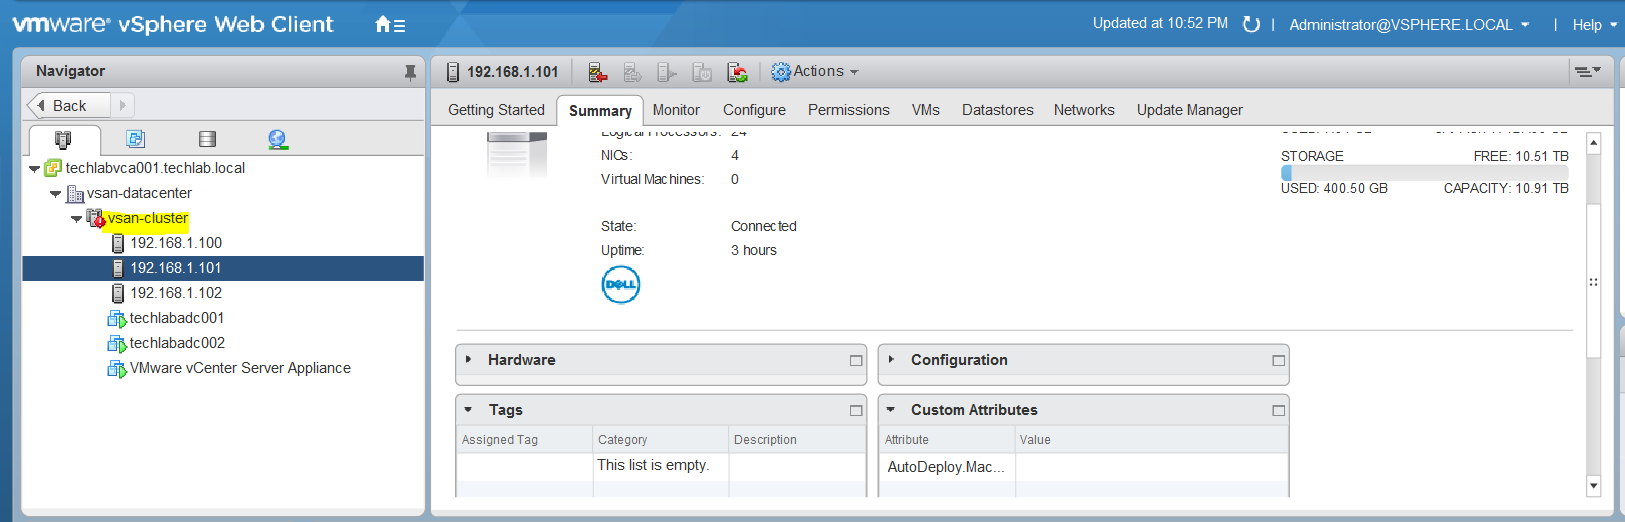
- Next I need to add my other 2 hosts to the Datacenter and create a vSAN VMkernel port on each host followed by adding them into the cluster
- Click on the cluster > Select Configure > vSAN > Disk Management and select your disks on the other servers and make them either the cache disk or capacity disk
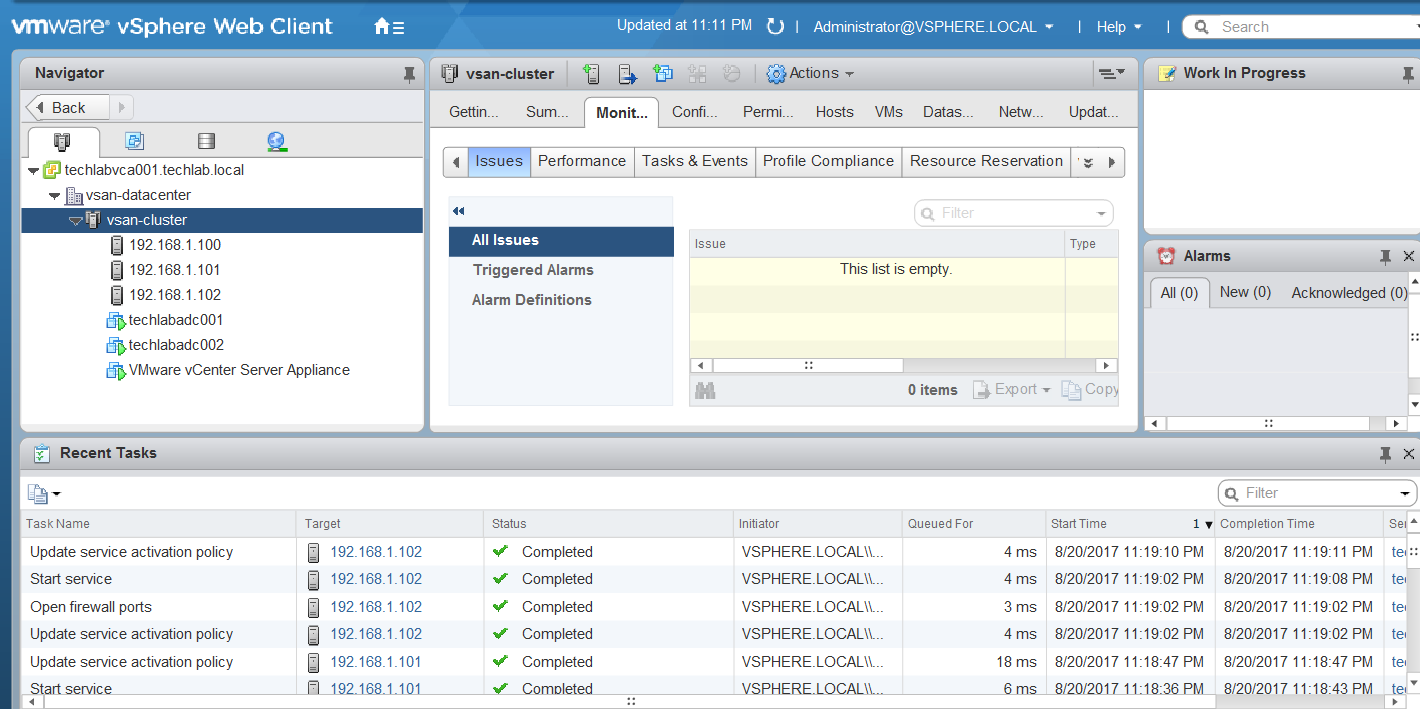
- This process is normally quite quick and once complete you should have your vSAN up and running!
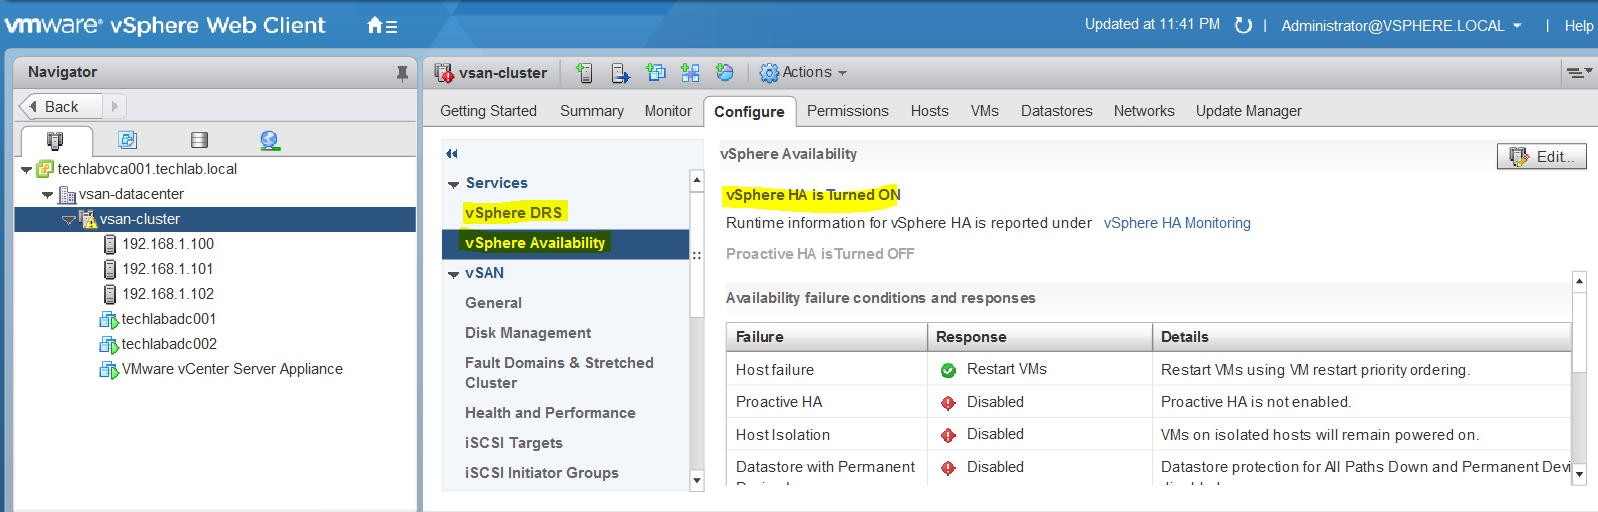
- Click on the cluster > Select Configure > Services and Edit Settings to turn on HA and DRS
- Once everything is looking ok click on the cluster > vSAN > General > Configuration Assist to check any errors or warnings about any issues so you can fix these.
Procedure to shutdown the vSAN cluster and start it up again.
So it crossed my mind that as this is my lab, it is not going to be running 24×7 or my house is going to be rather warm and my electricity bill will definitely rise! I need to power it off therefore what is the correct way to shut everything down and power up again?
Normally to shutdown an ESXi Cluster, using vCenter Webclient, ESXi hosts have to be put into maintenance mode and then ESXi hosts are powered off. Also to start ESXi Cluster, vCenter Server is used to remove them from maintenance mode after powering on the hosts. However if the VSAN cluster is running management components such as vCenter Server and other management VMs, the ESXi host that is running vCenter Server cannot be put into maintenance mode. So vSAN Cluster shutdown and starting procedures have to be properly sequenced.
VMware KB
Steps for Power Off
- Start by powering off all virtual machines on ESXi cluster except the vCenter Server. If your Management cluster has ActiveDirectory which provides services to vCenter Server, then do not power off Active Directory VM as well
- Migrate the vCenter Server VM and ActiveDirectory VM(s) to a single ESXi Host
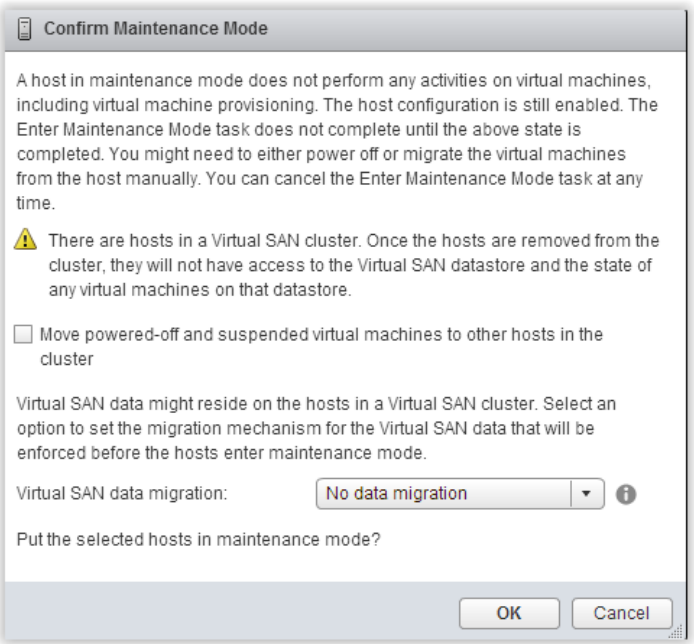
- Place all the remaining hosts in the cluster into maintenance mode. When confirming the maintenance mode for ESXi Host, ensure the following selection is made ( deselect checkbox for Move powered-off VMs and “No data migration” is chosen for Virtual SAN data migration)
- You can put the hosts in Maintenance Mode manually as per the baove step or you can use a command line command. You can run the ESXCLI command below to put a host in Maintenance mode. However, you must perform this operation through one of the CLI methods that supports setting the VSAN mode when entering Maintenance Mode. You can either do this by logging directly into the ESXi Shell and running ESXCLI.
esxcli system maintenanceMode set -e true -m noAction
other options are
esxcli system maintenanceMode set -e true -m ensureObjectAccessibility
esxcli system maintenanceMode set -e true -m evacuateAllData
- Power off the vCenter Server VM and Active Directory VM. At this point, the vSphere WebClient access is lost.
- Shutdown all ESXi Hosts. This will complete the Shutdown procedure for VSAN Cluster.
Starting the ESXi Hosts and the vSAN back up
The procedure to start a vSAN Cluster begins with the ESXi host where vCenter Server and Active Directory VMs are running.
- Power on all ESXi hosts in the cluster.
- Take the hosts out of maintenance mode
- Identify ESXi host where vCenter Server and Active Directory VMs are located
- Power on AD servers
- Power on vCenter server
- Note: If the vCenter Server VM has a vmnic that is tied to a VDS network, then vCenter Server can’t be powered on because VM power-on operation on VDS requires vCenter Server to be running. So it is recommended to move any vmnic on vCenter Server to a vSwitch-based network. This can be moved back to the VDS Network afterwards
- Log into vCenter and check vSAN
Useful Troubleshooting Tools
- rvc console on vCenter
- Putty
- esxcli commands
I had an issue at a customer site where they had put some hosts in Maintenance Mode and when they brought them out again, the hosts came out of Maintenance Mode but the vSAN didn’t resulting in the misreporting of storage in your cluster. As a result storage policies will error and you won’t be able to put any more hosts in maintenance mode if there isn’t the visible storage to move them. Note: you won’t have lost any storage. The system will just think it’s not there until you put the host into Maintenance Mode and take it out again for a second time! VMware are aware of this issue which seems to be present in 6.5U1 however this was a customers automated system. I haven’t seen this happen in my home lab!
By running the command vsan.cluster_info 0 in rvc, you are able to see for every disk whether the node is evacuated or not. If you have taken the host out of Maintenance Mode and the vSAN has also come out of Maintenance Mode then it will say Node evacuated: no. If it hasn’t come out properly it will say Node evacuated: yes (won’t accept any new components)

