![]()
vSphere HTML 5 Web Client
The vSphere HTML5 Web Client is here! It is written using HTML5 and Javascript
The following features are available at the moment
- VM Power Operations (common cases)
- VM Edit Settings (simple CPU, Memory, Disk changes)
- VM Console
- VM and Host Summary pages
- VM Migration (only to a Host)
- Clone to Template/VM
- Create VM on a Host (limited)
- Additional monitoring views (Performance charts, Tasks, Events)
- Global Views (Recent tasks, Alarms–view only)
This Fling has been designed to work with your existing vSphere 6.0 environments. The new client is deployed as a new VM from the downloadable OVA. Currently the installation instructions are command line-based, but VMware are working on a GUI installation and plan to release it as an update to this Fling once it is ready.
Download and Information
https://labs.vmware.com/flings/vsphere-html5-web-client
System requirements
- 2 vCPU, 4 GB RAM, 14 GB
- An existing VC6.0 installation (VCSA or Windows). The H5 client appliance will need 4 GB RAM, 2 vCPUs and the hard disk will grow up to 14 GB
- Recommended browsers: Chrome, Firefox, IE11. Others may work, with some functional or layout issues.
- Windows vCenter: Was tested with a vCenter on Windows Server 2012 R2, but should work with other versions as well.
Instructions
Note: I have a Windows 2012 R2 server running vCenter Server 6 and a Windows 2012 R2 server running an external PSC version 6. There are different instructions for running different vCenter/PSC setups.
First of all download the H5 Client Deployment Instructions and Helpful Hints.
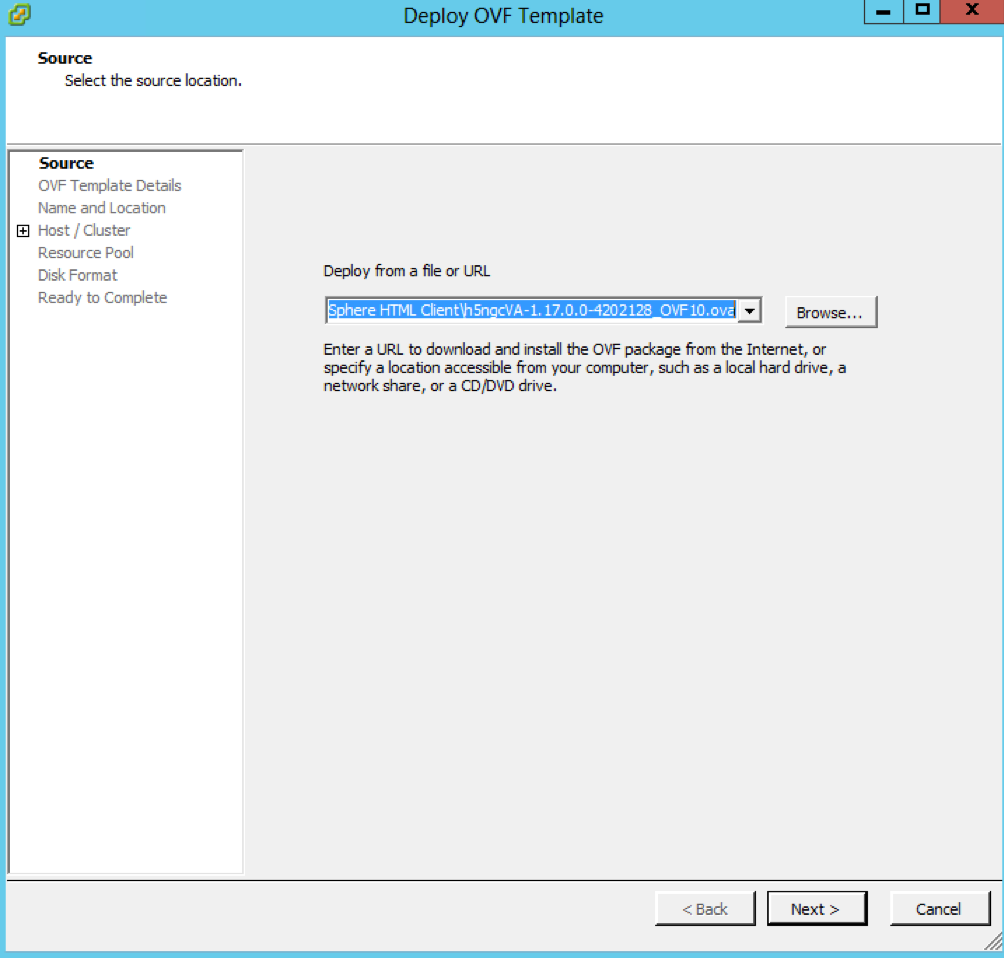
- Download the OVA and server-configure.bat

- In vCenter, go to File > Deploy OVF Template
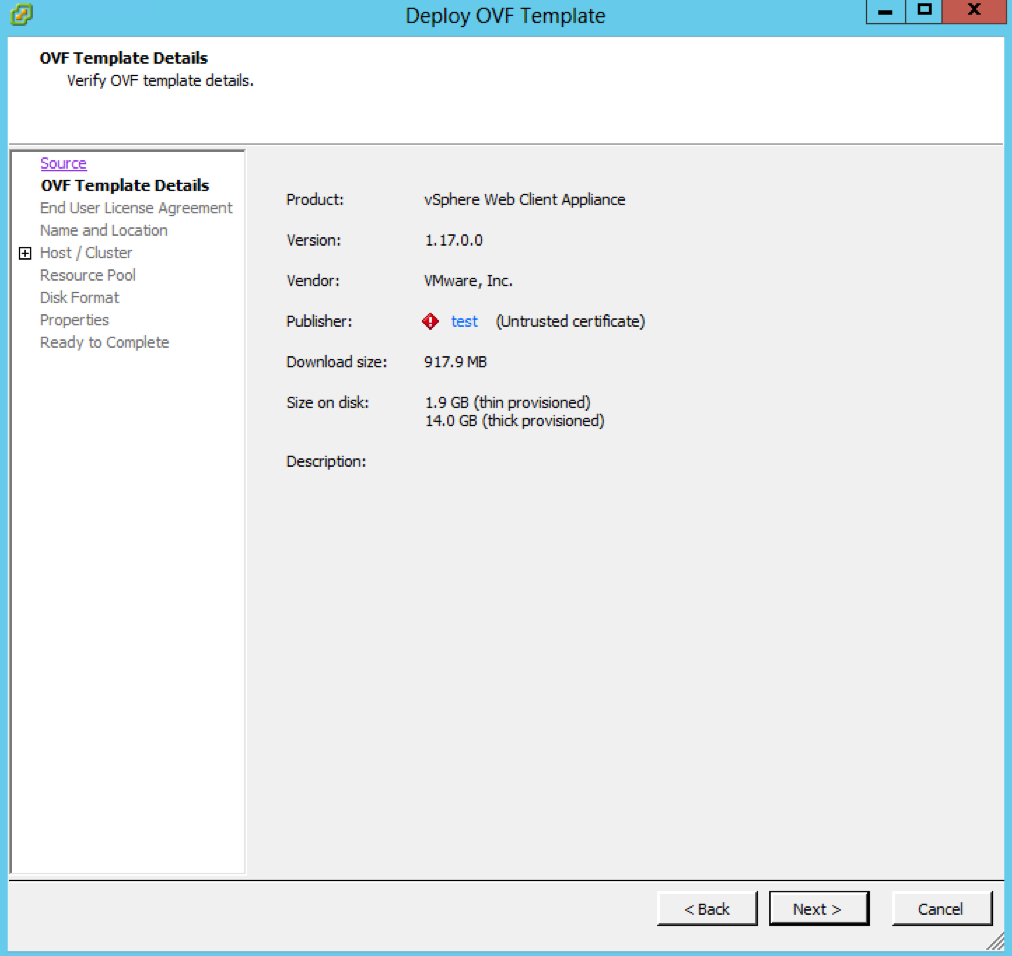
- Check OVF Template details
- Accept the License Agreement
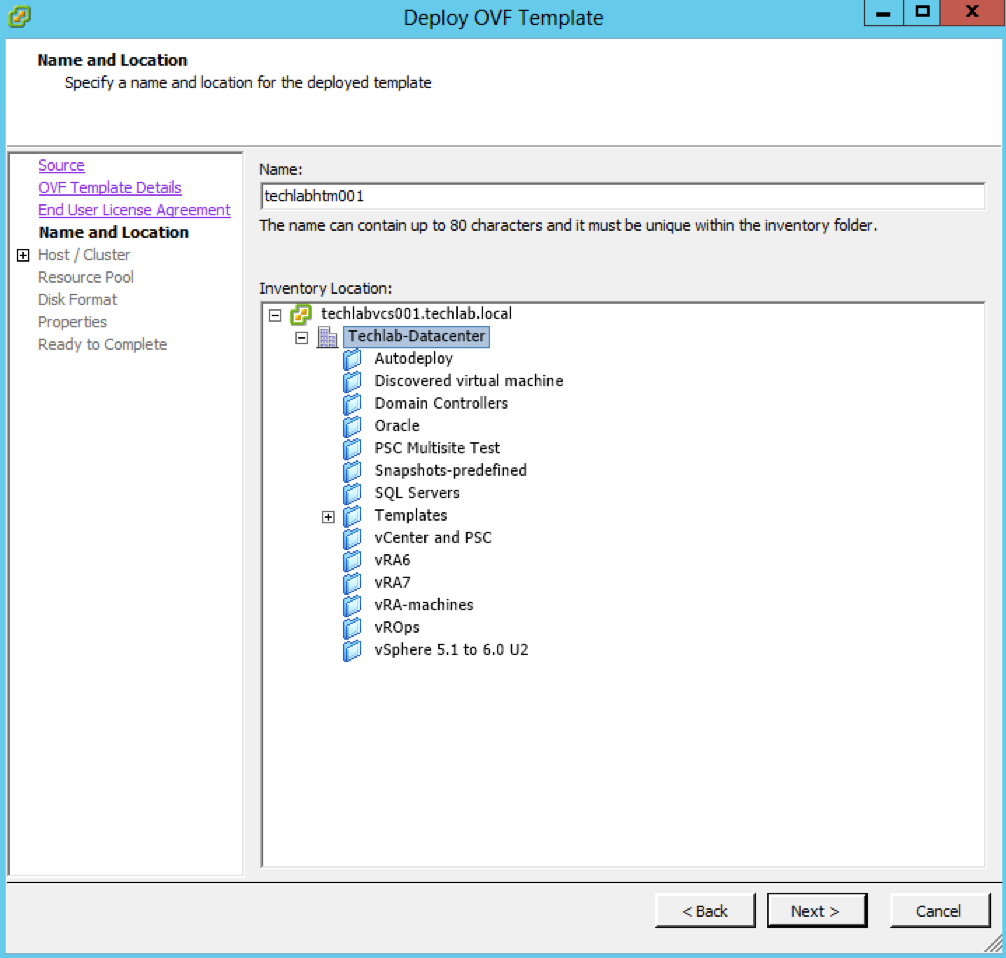
- Put in a name and Location
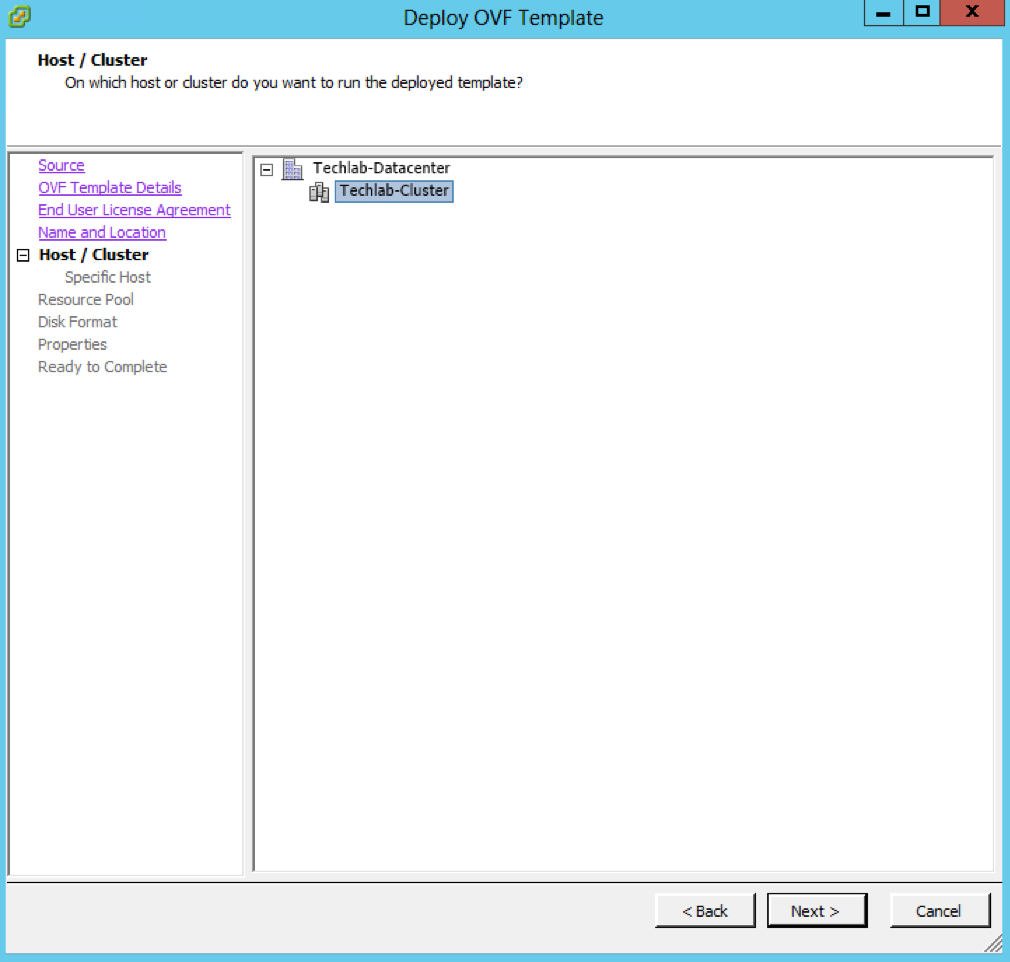
- Choose a host and cluster
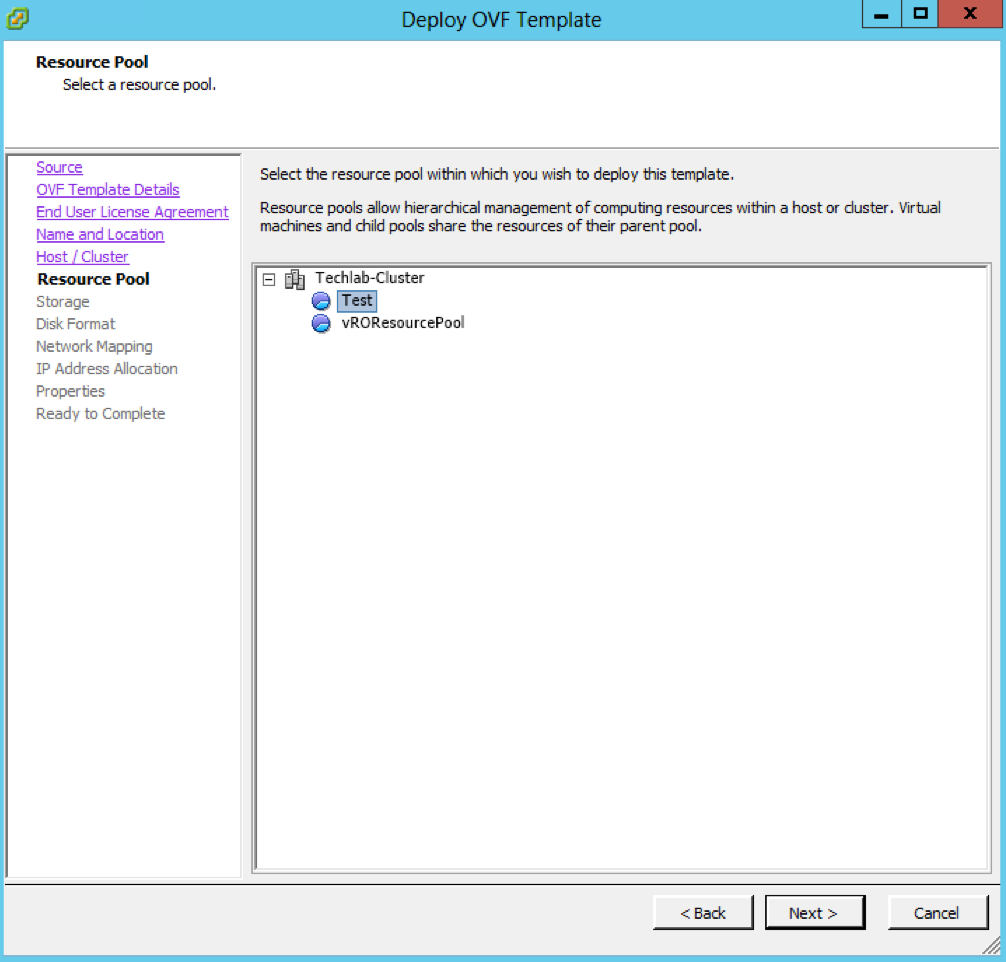
- Select the Resource Pool if any
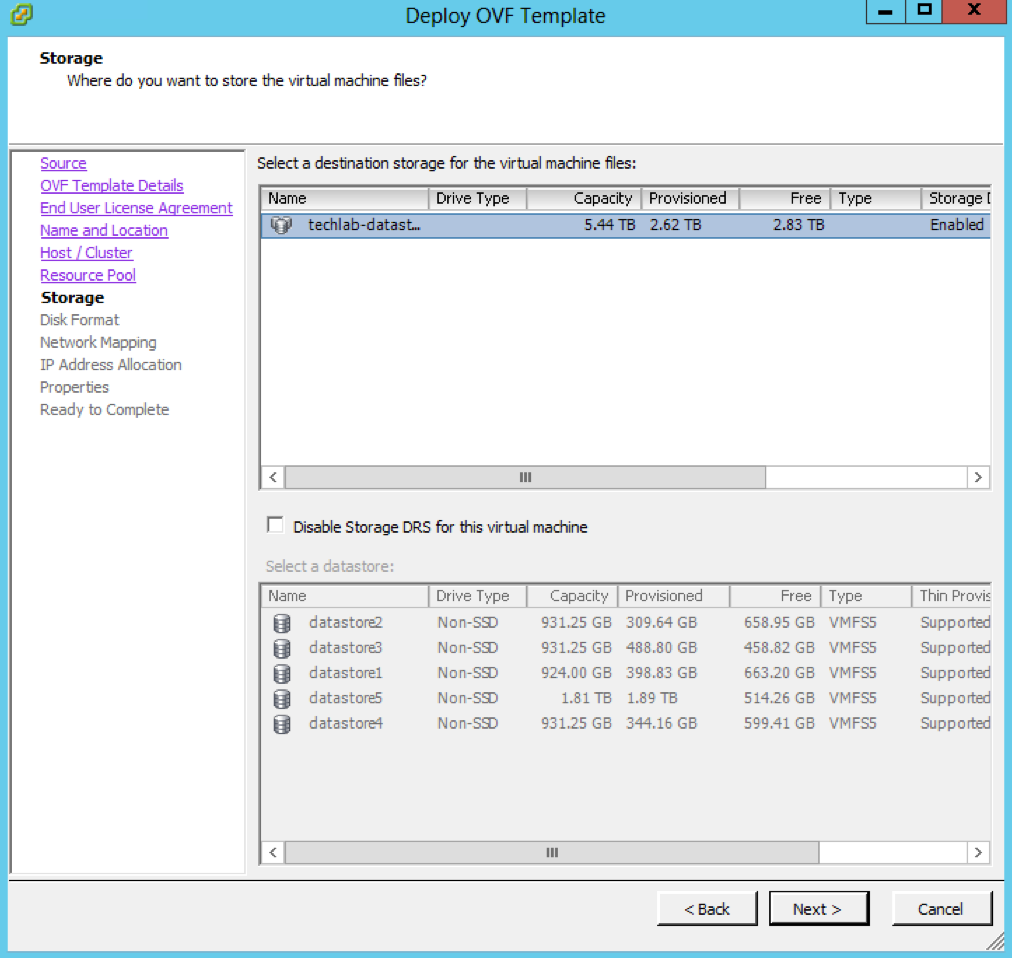
- Choose your storage
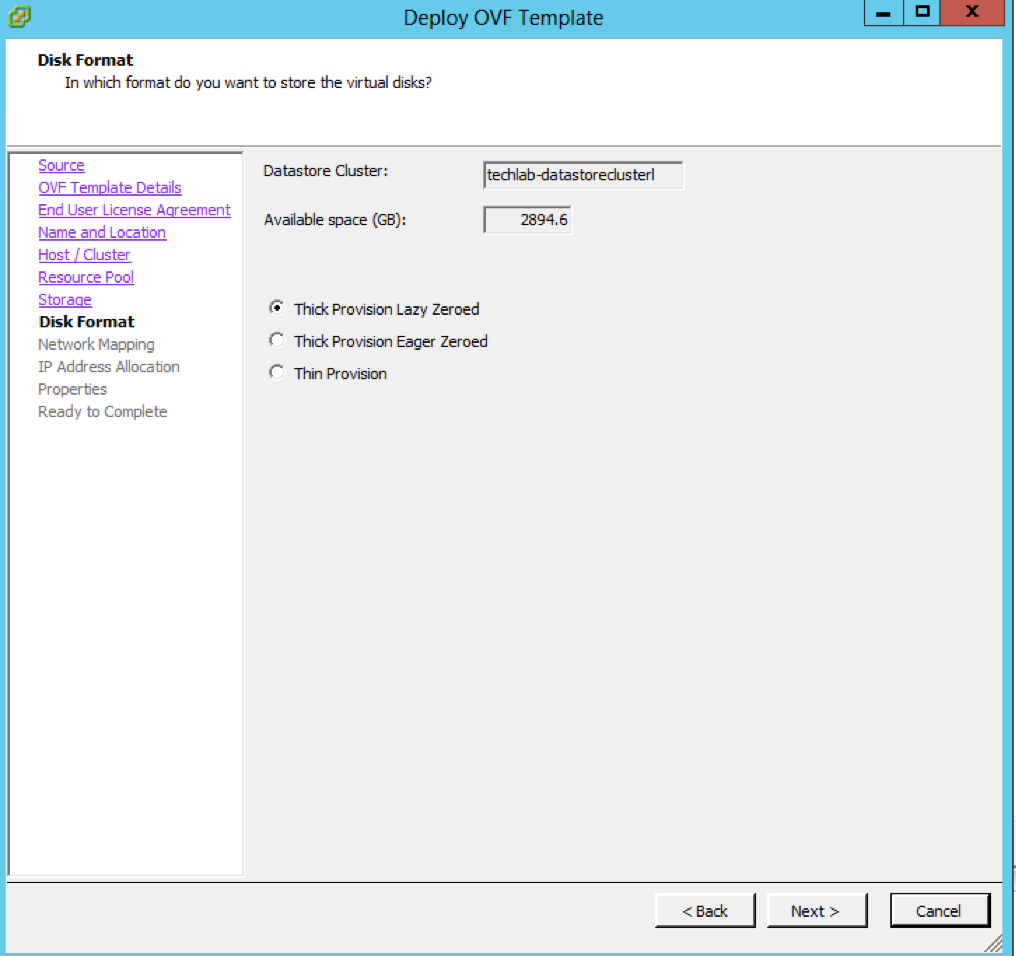
- Check Disk Format
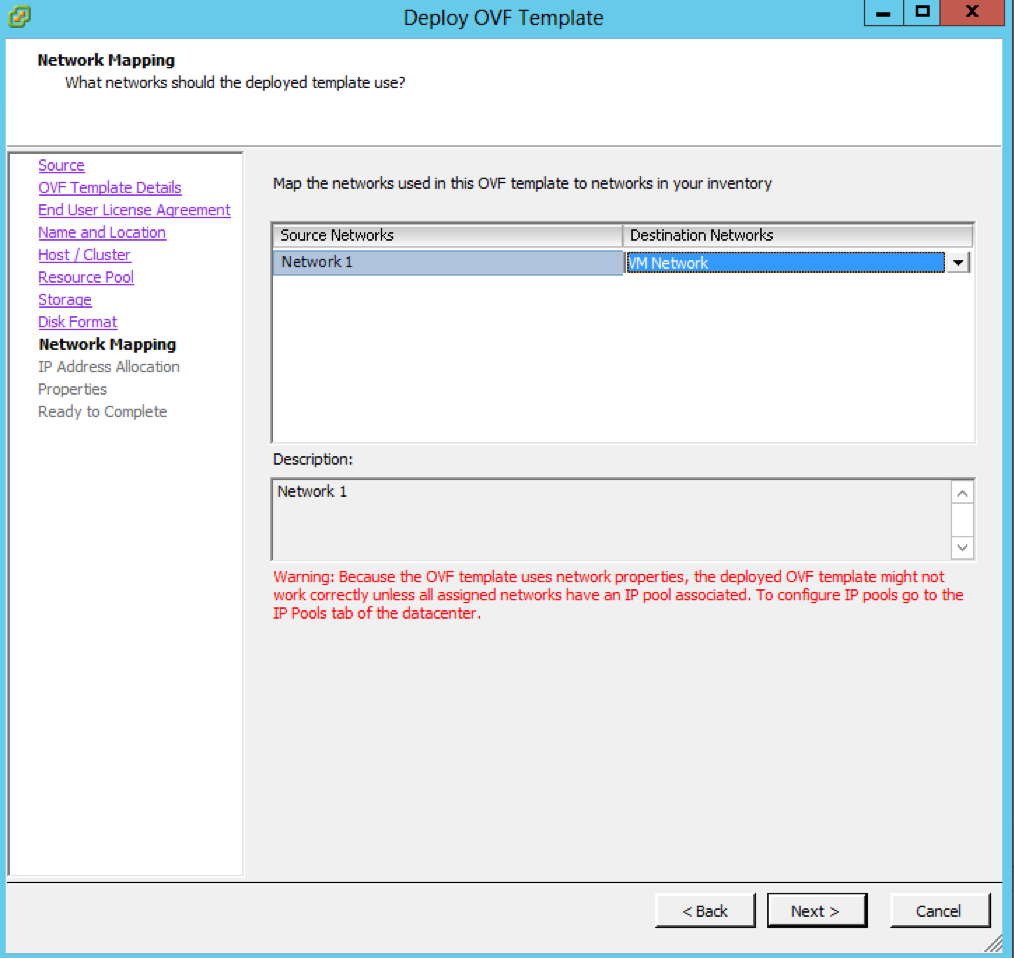
- Check VM Networking and choose a Port Group
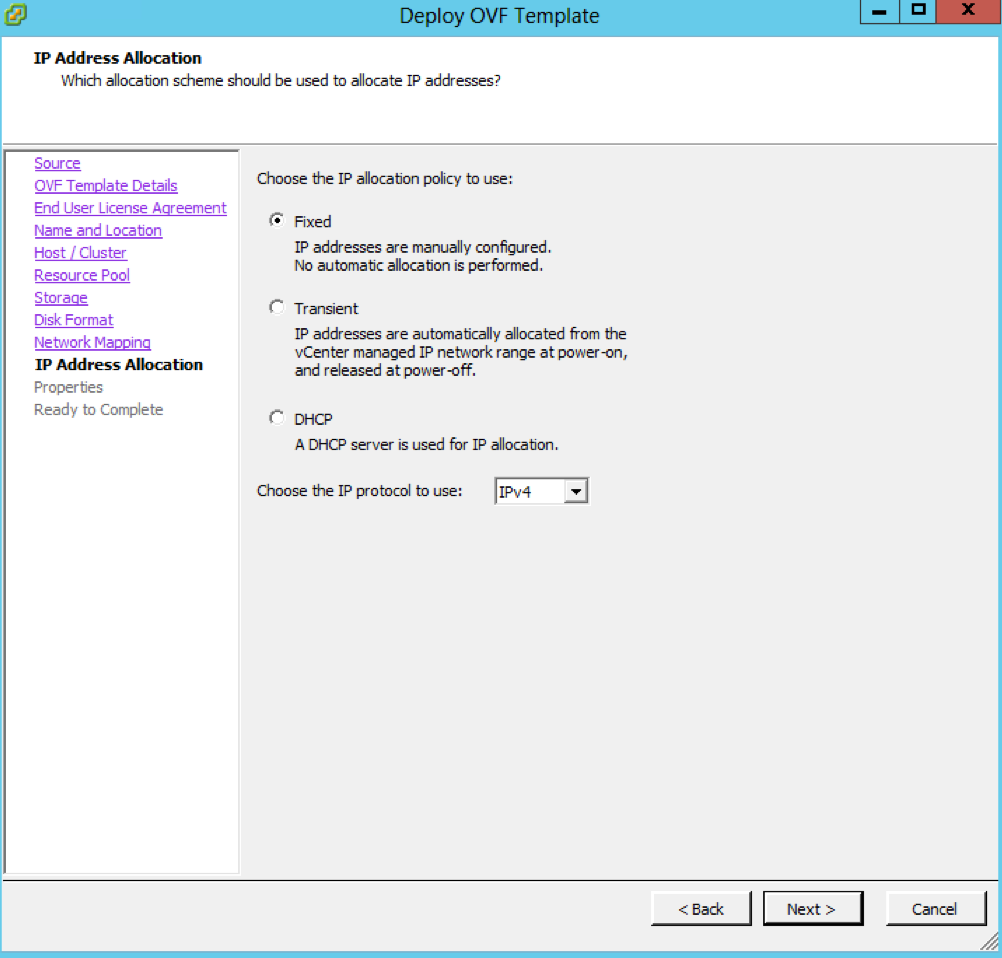
- Choose IP Address allocation
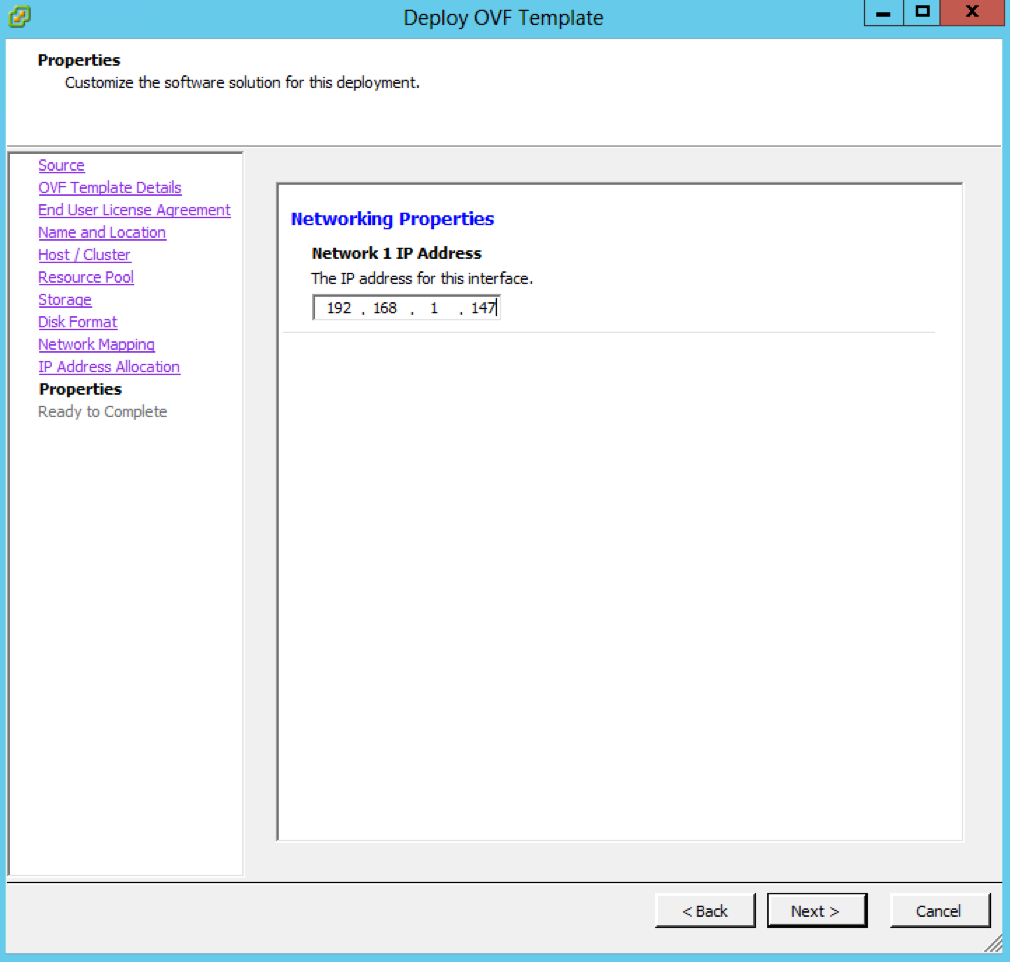
- Put in an IP address
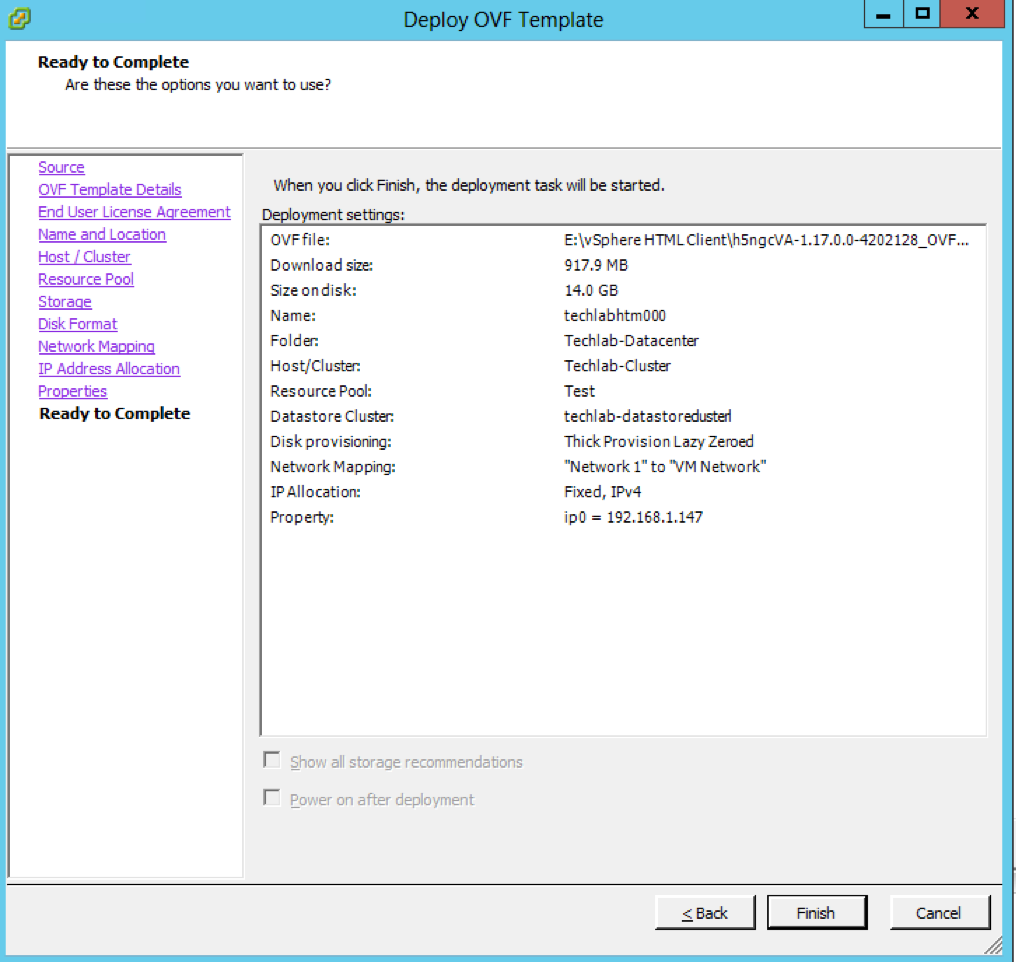
- Click Finish
- I then had to create an IP Pool in vCenter
- Click on the Datacenter object > IP Pools
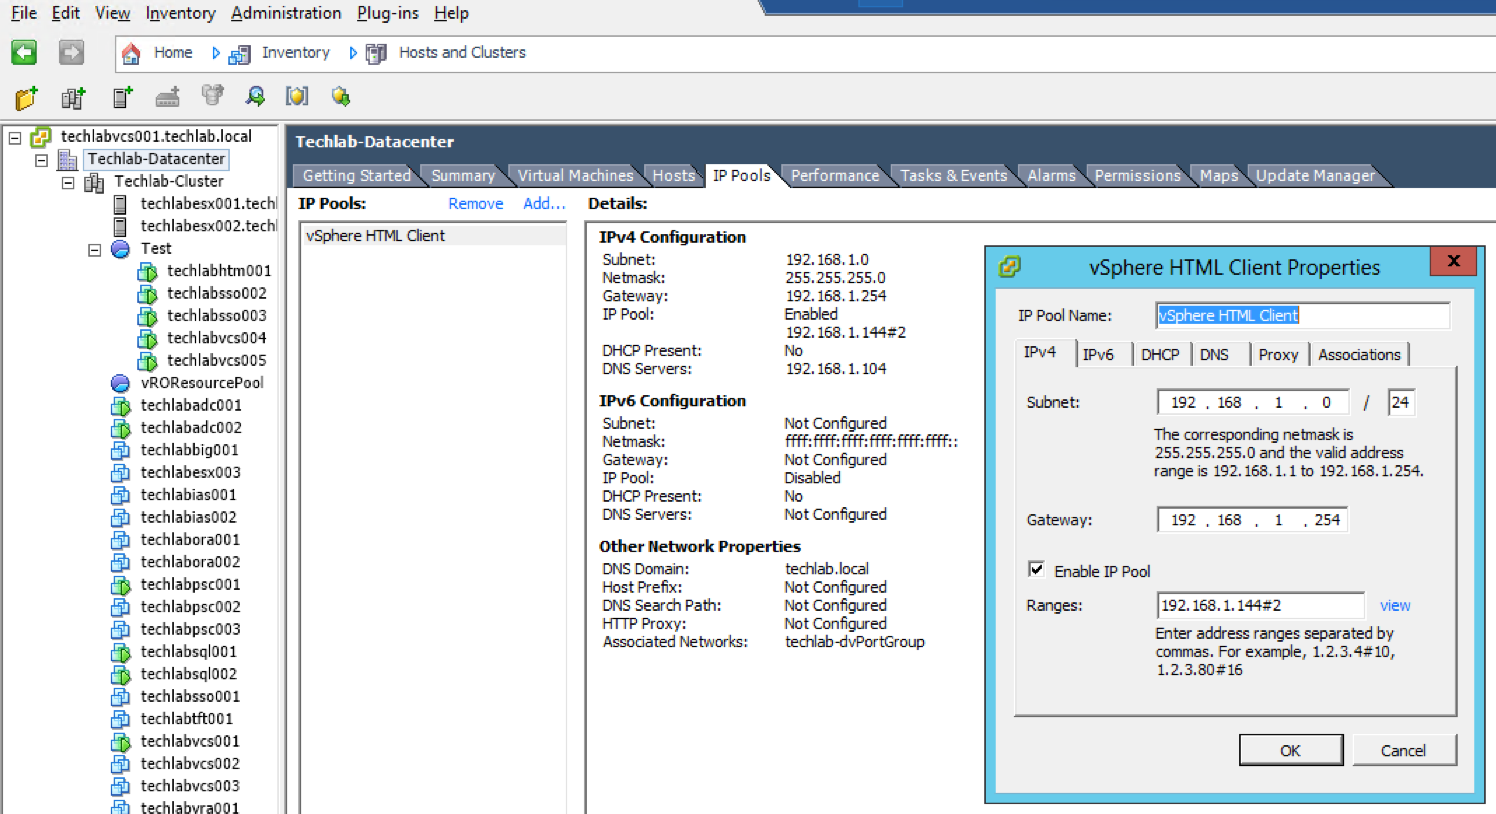
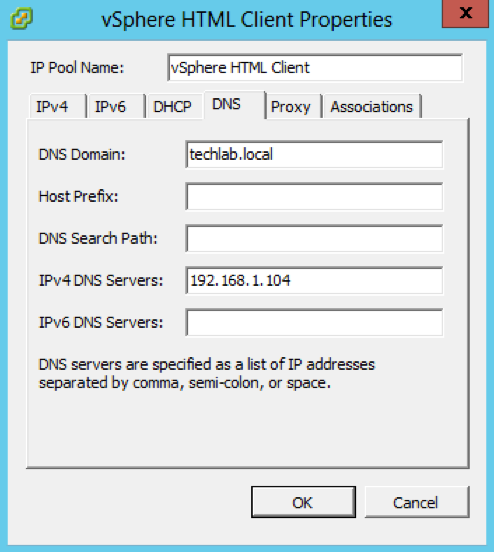
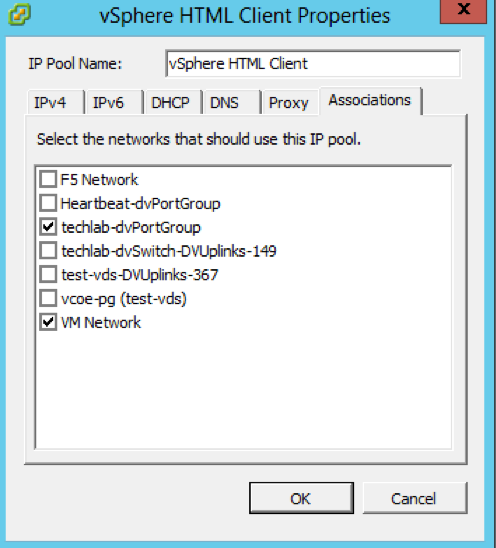
- Click on the tabs and fill in the relevant information. In my case I needed to add some DNS and Association information to associate this resource pool with my networks and in particular the network my HTML 5 client is going to be on
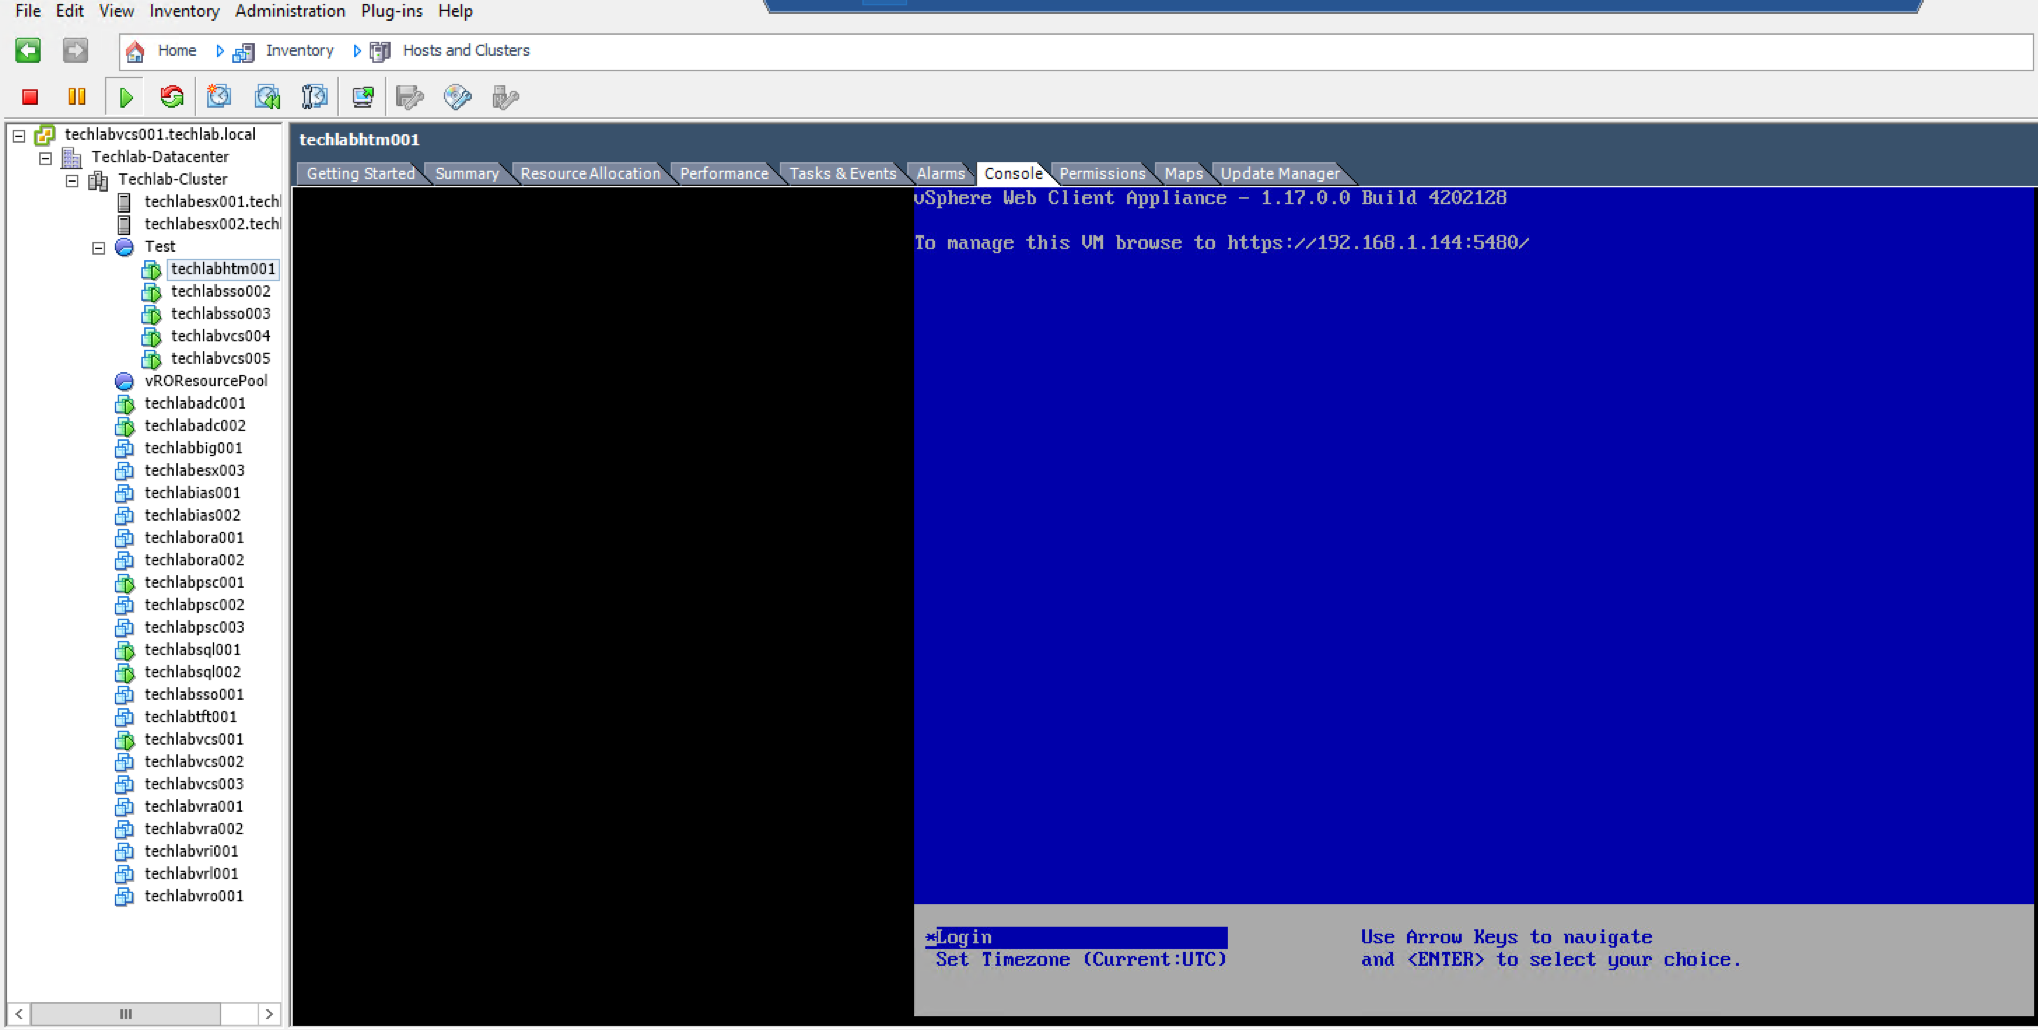
- Power on the VM
- If you click on the console, you should see the below screen
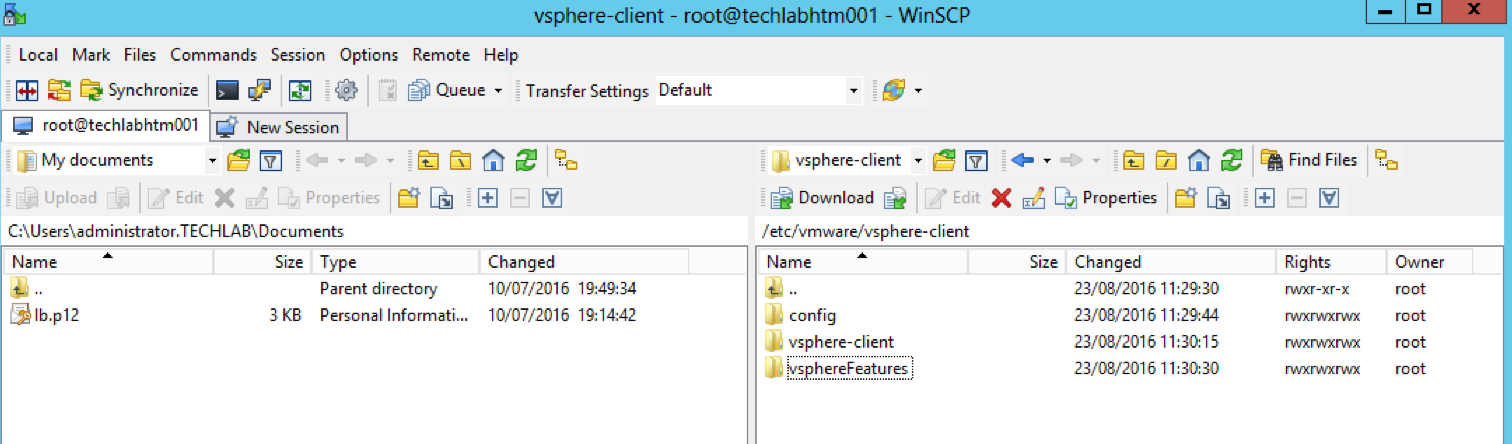
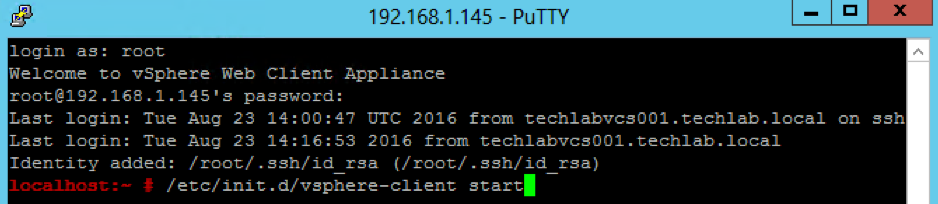
- SSH or WINScp as root into the H5 client appliance VM (Note: Username is root and password is demova)
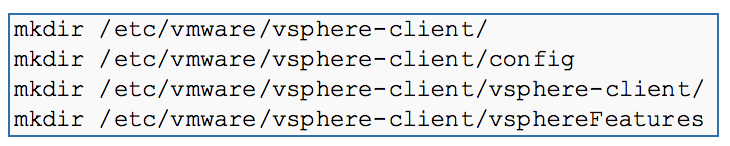
- Create the following folders
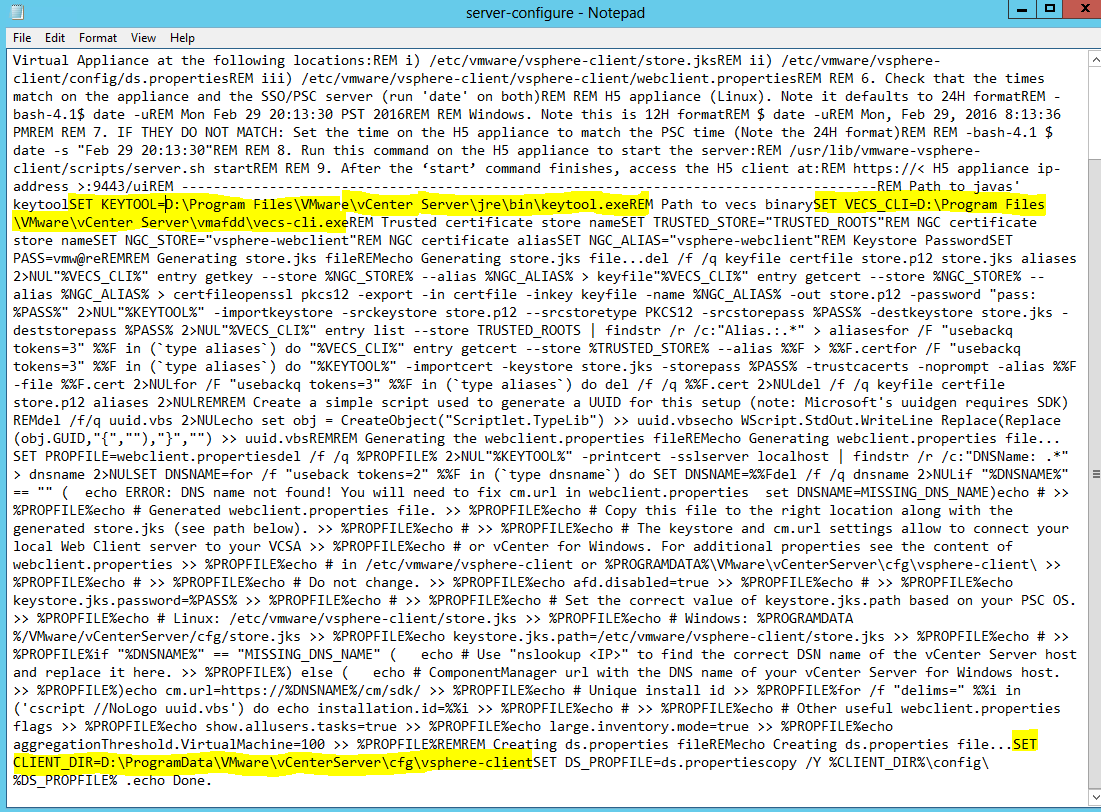
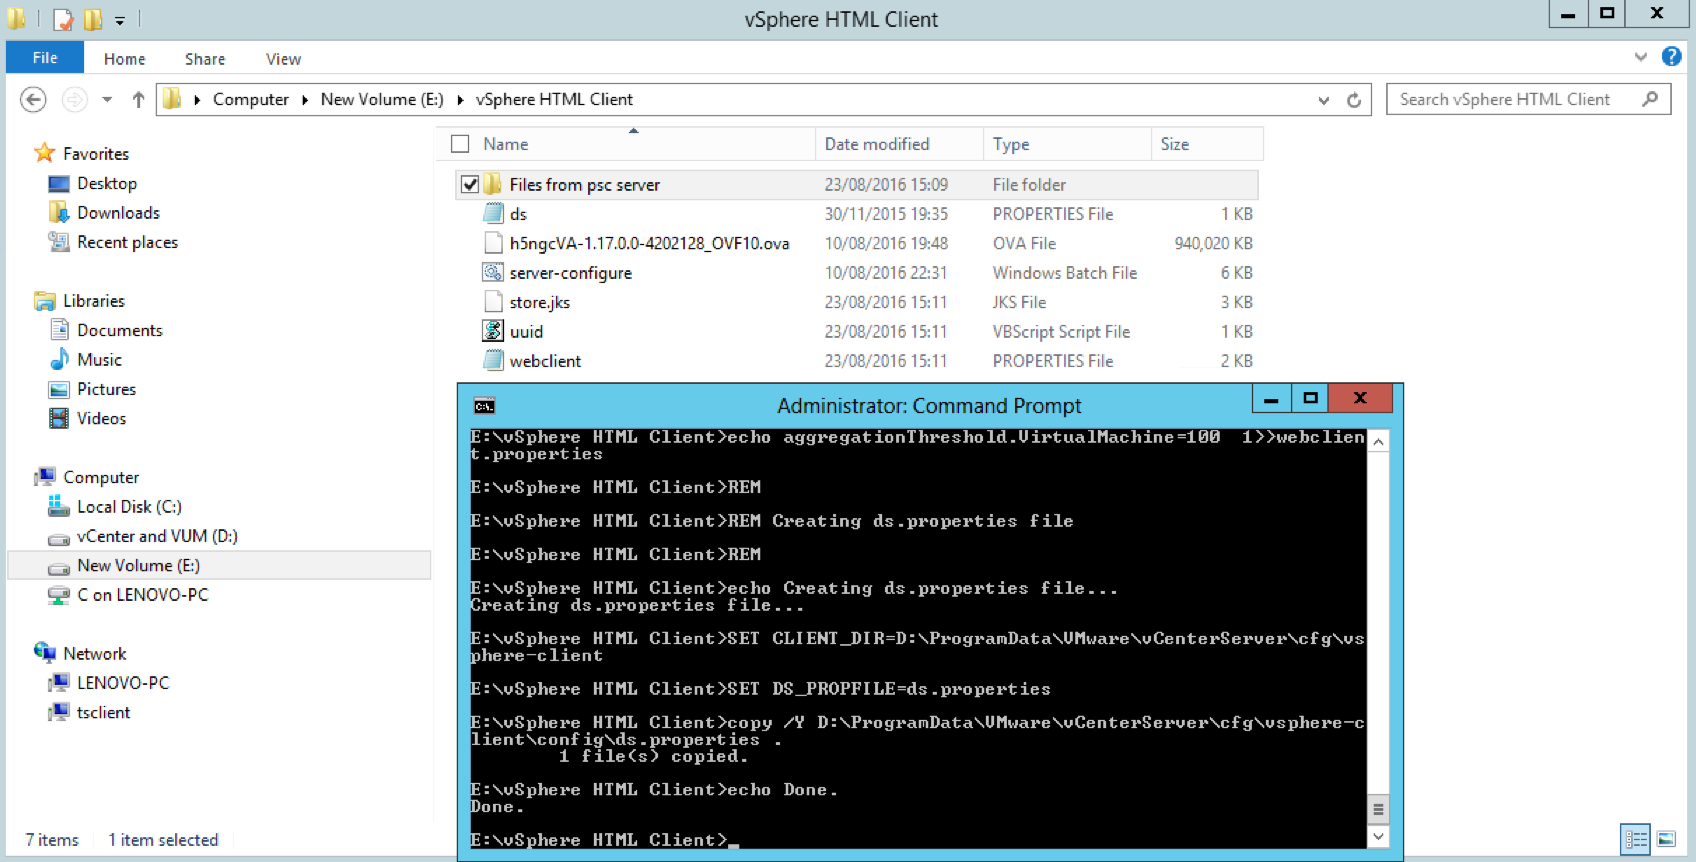
- Copy the provided ‘server-configure.bat’ to any directory on the vCenter and PSC for Windows. (This file is one of the Fling downloads on the top left) NOTE: If you have installed vCenter into any folder other than default (%PROGRAMFILES%), the script may not find the appropriate files. You will need to edit the file and replace the two references to %PROGRAMFILES% with the appropriate path so that the “KEYTOOL” and “VECS_CLI” paths line up. These two variables are at the top of the file.
- You may also need to change this at the end of the file to the correct path (this is for the ds.properties file): SET CLIENT_DIR=%PROGRAMDATA%\VMware\vCenterServer\cfg\vsphere-client
- My PSC was all installed on the C Drive but I had my vCenter installed on the D Drive so I had to change the file below which is highlighted in yellow to my correct path
- Run the server-configure.bat on your PSC server as Administrator
- The store.jks and webclient.properties file will be created
- Ignore the Creating ds.properties error message
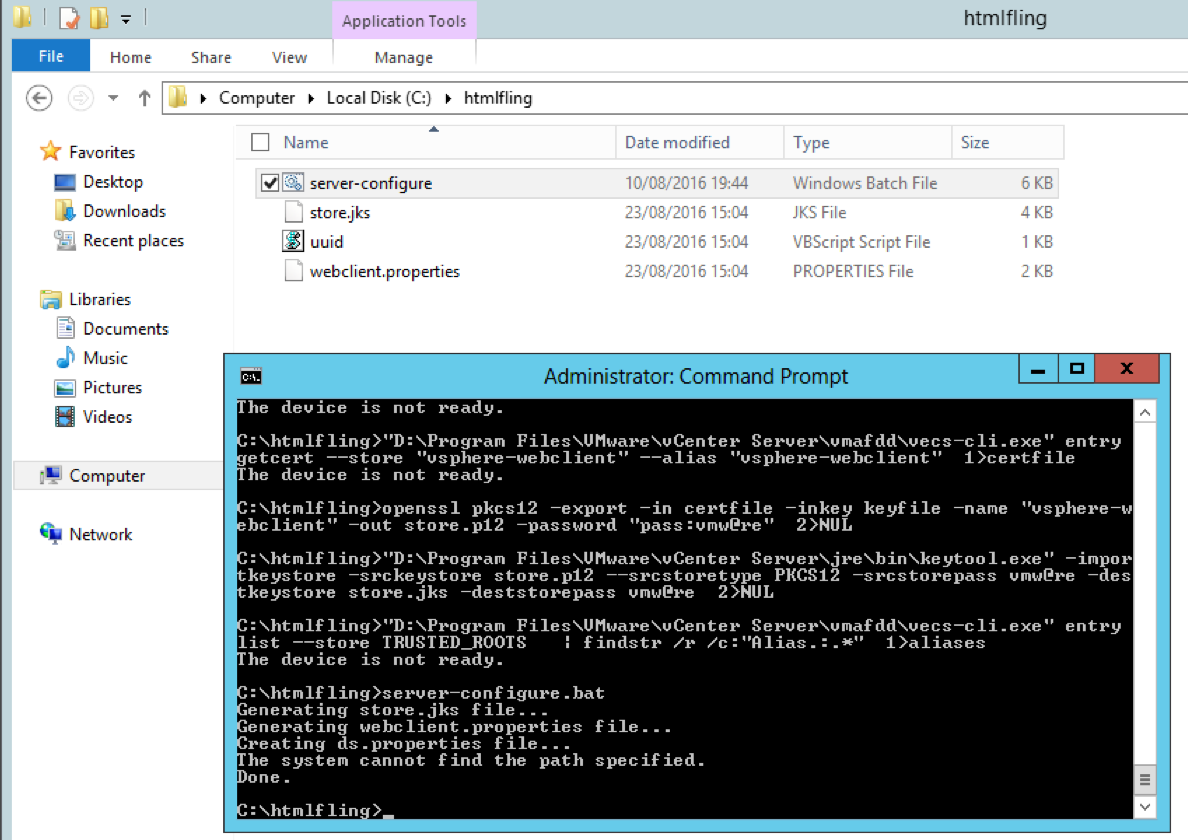
- Copy the files store.jks and webclient.properties which are generated to the below locations
- /etc/vmware/vsphere-client/store.jks
- /etc/vmware/vsphere-client/vsphere-client/webclient.properties
- In the Windows VC machine, open an Administrator Command Prompt and run the ‘server-configure.bat’ script. The following files will get generated:
- Copy the ds.properties file to H5 client virtual appliance at the following location
- /etc/vmware/vsphere-client/config/ds.properties
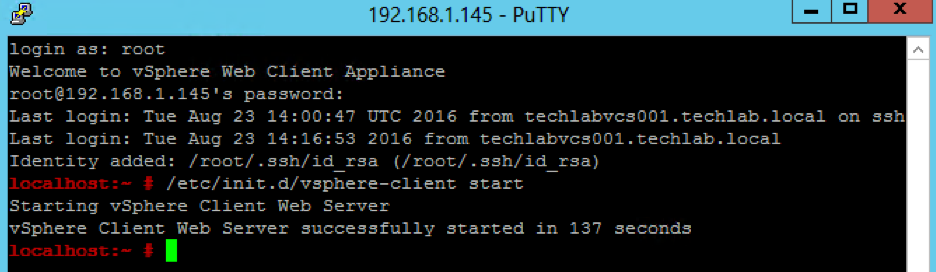
- Log into the H5 appliance and run this command to start the server:
- /etc/init.d/vsphere-client start
- It should come up and say started in xxx seconds
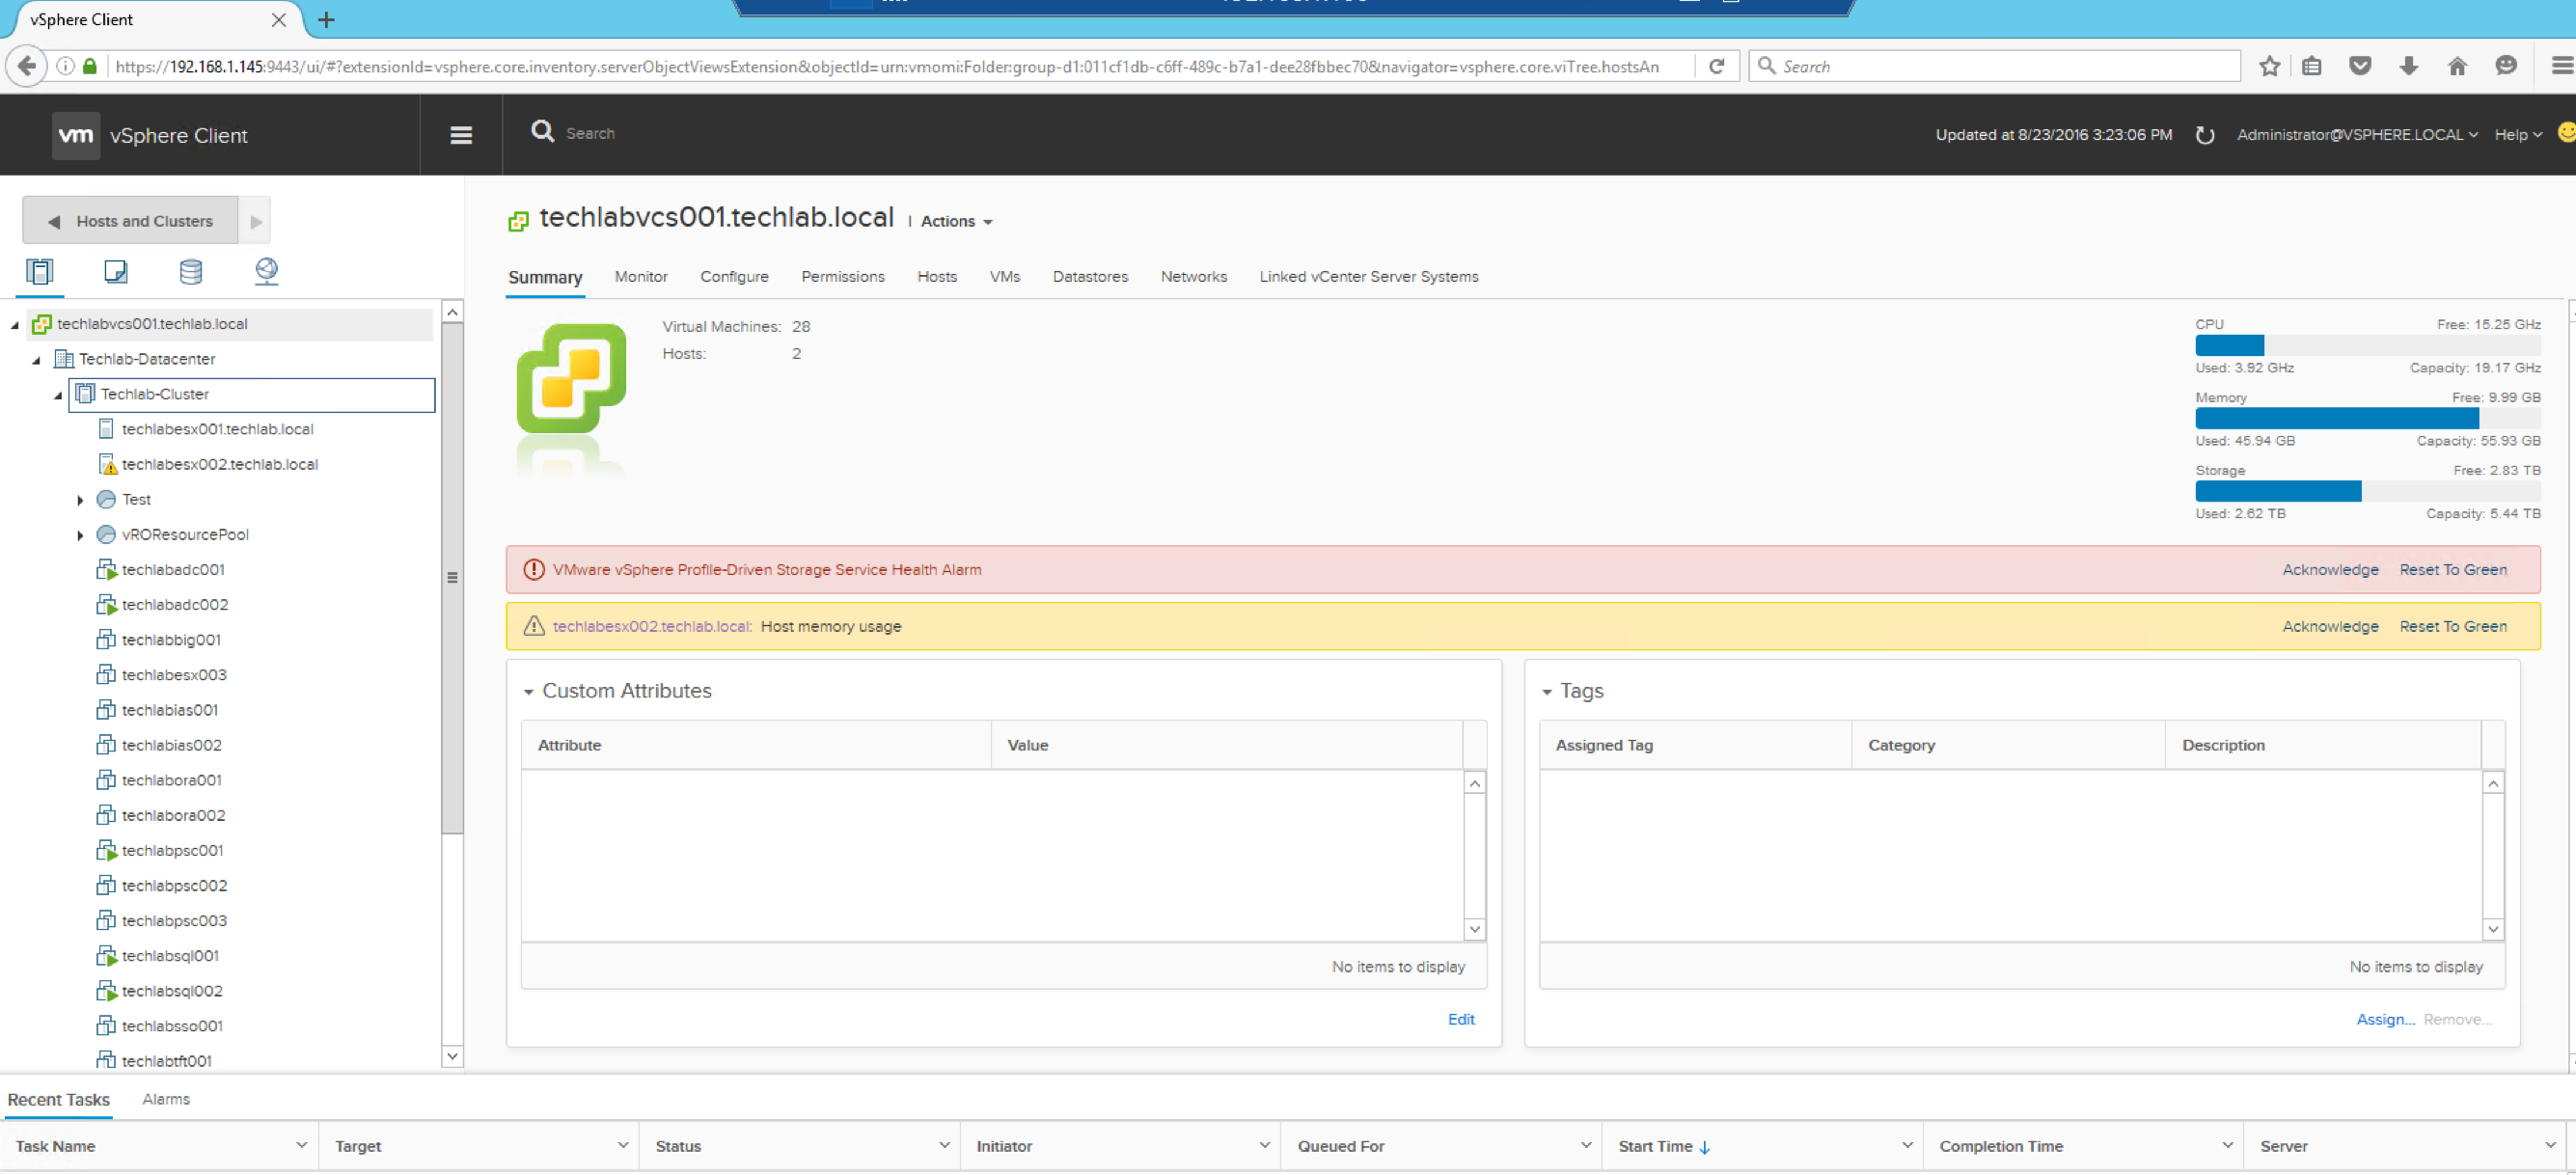
- Once the installation steps above are completed, point your browser to this URL, and log in with your normal vCenter credentials:
- https://H5_Appliance_Address:9443/ui