
vRealize Automation large scale deployment Part 2 IaaS Server Install
In a distributed installation, the system administrator can deploy multiple instances of the appliances and install IaaS components over multiple machines in the deployment environment.
This install will include the following
- 2 x Windows 2012 R2 Server running IaaS
- 2 x Windows 2012 R2 Servers running SQL 2012 in a SQL failover cluster
IP Addresses

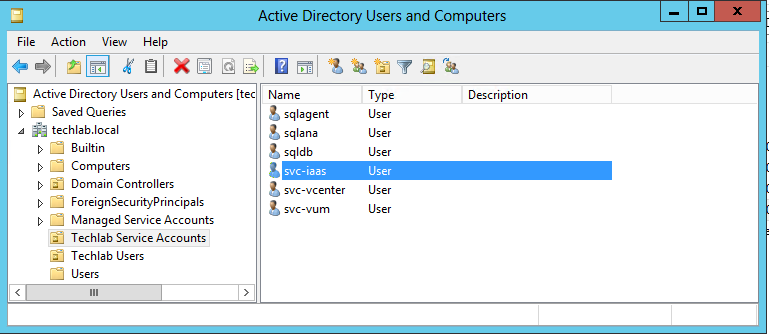
IaaS Service Account
Step 1 – Check Pre-requisites
Make sure the server is fully patched and snapshotted prior to installation to allow easy rollback in the event of any issues
There is a great PowerShell script which will install the pre-requisites for you but it is always worth checking all the steps I’ve listed following this for your own sanity. Reboot after running the script
https://github.com/vtagion/Scripts
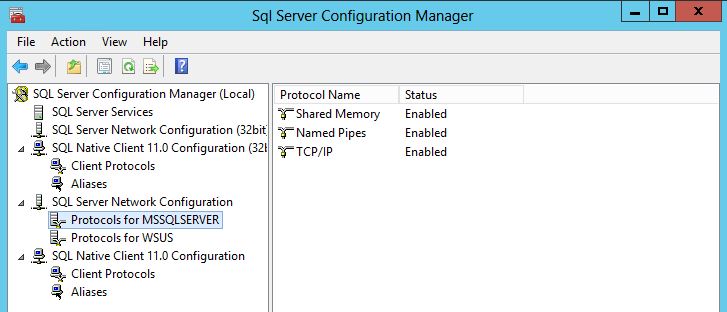
SQL
- TCP/IP protocol enabled for SQL Server
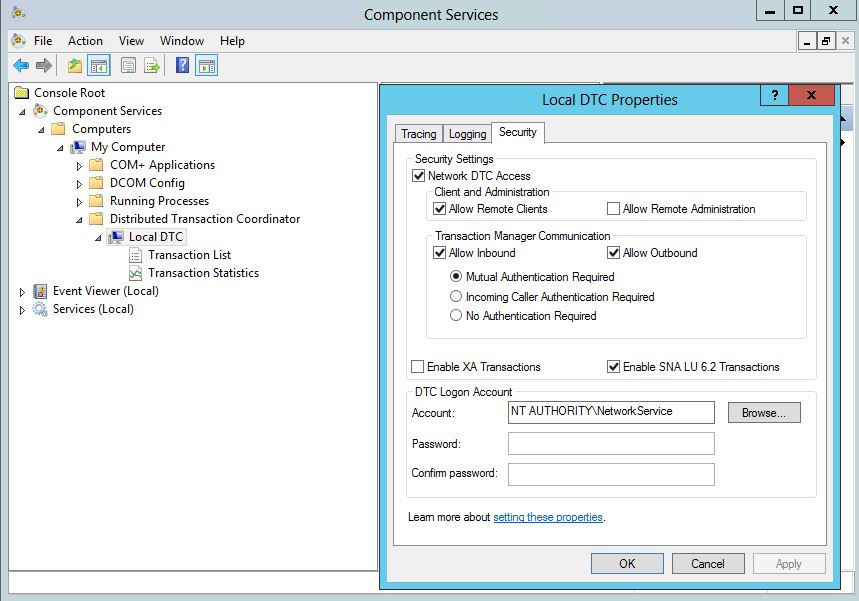
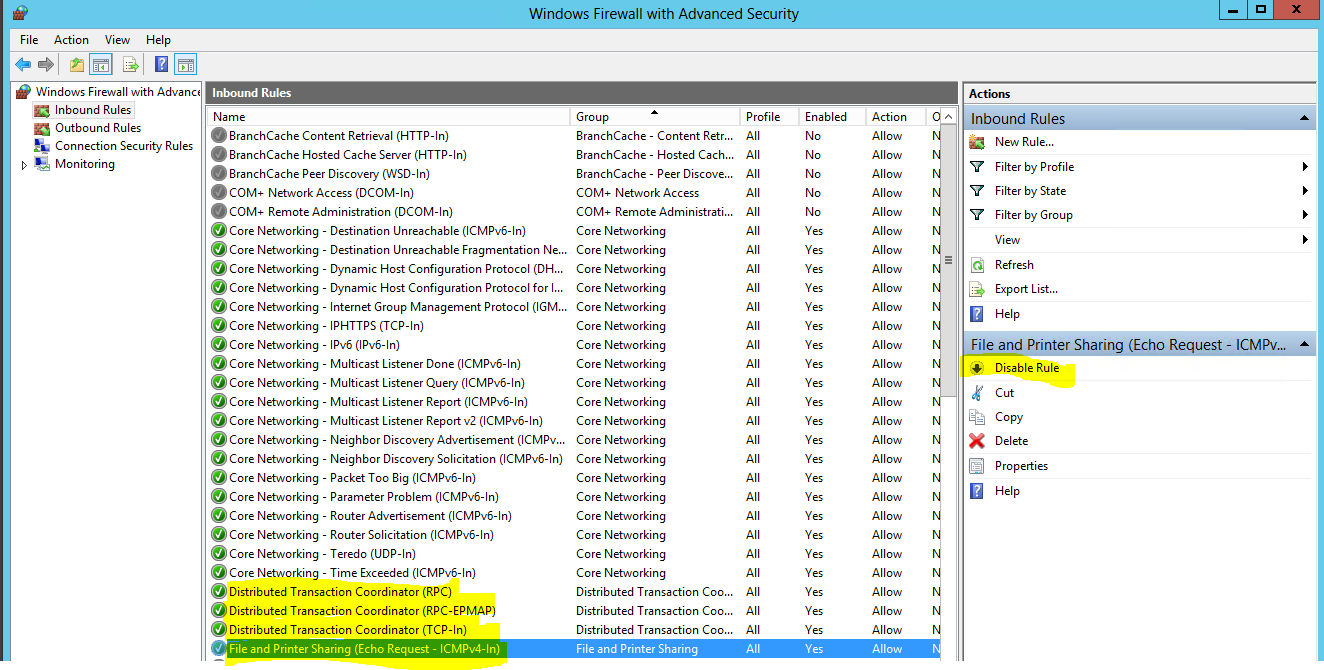
- Microsoft Distributed Transaction Coordinator Service (MS DTC) enabled on all SQL nodes and IaaS nodes in the system. MS DTC is required to support database transactions and actions such as workflow creation. Start > Run > dcomcnfg > Computer > My Computer > Distributed Transaction Coordinator > Local DTC > Properties
- Note there may be a clustered DTC, in which case modify this as well
- No firewalls between Database Server and the Web server or IaaS Server, or ports opened as described in Port Requirement
- If using SQL Server Express, the SQL Server Browser service must be running
- For 6.0.x installations, the database name cannot contain a space. For 6.1 and later installations, the use of spaces in names is supported
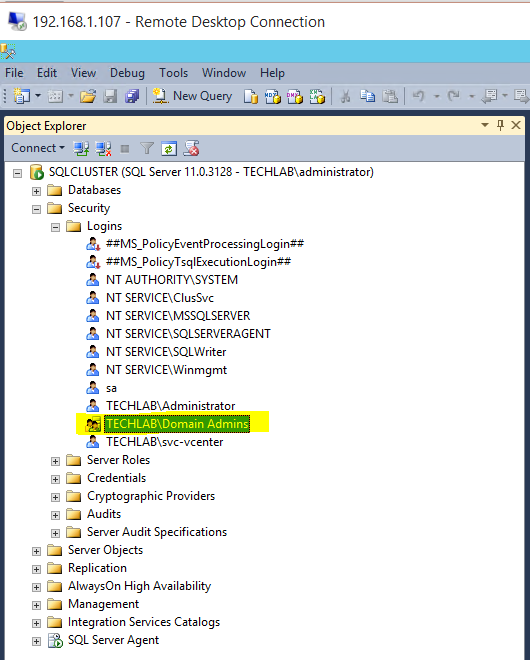
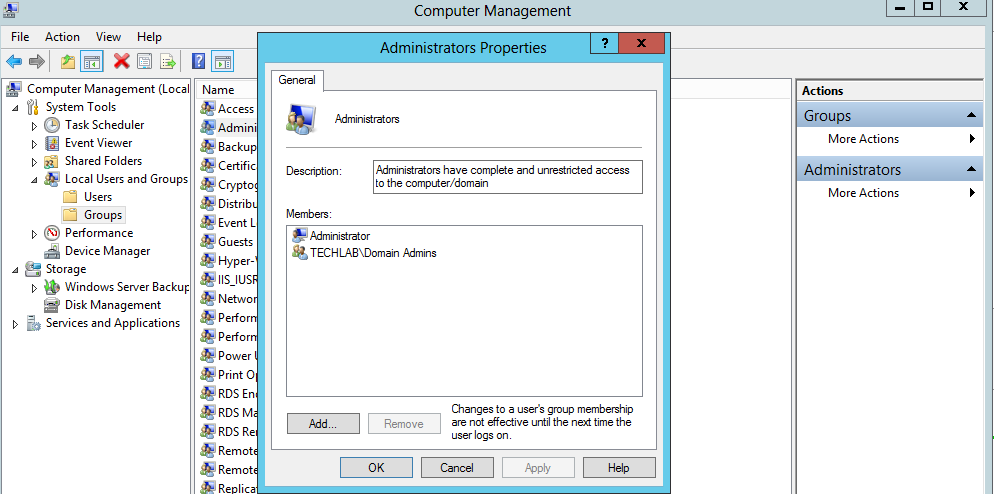
- Log into SQL Management Studio and add Domain Admins to Logins
IaaS Pre-requisites
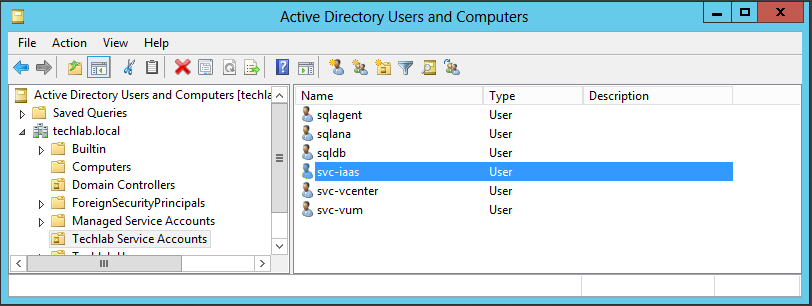
- Configuration of Active Directory Domain Service Accounts for Local Administrators Group
- Configuration of Windows Server 2012 R2 Firewall
The firewall can either be turned off or there are certain rules which need enabling as per below if it is turned on
- Installation of Microsoft .NET 4.5.2 Framework
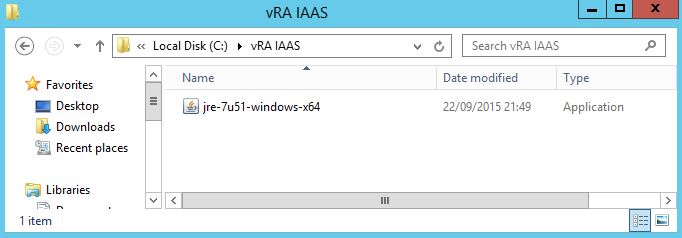
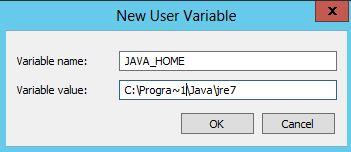
- Installation of Java Runtime 64-bit Environment (jre-7u67-windows-x64.exe; required to install the database)
- Note I had to use the below version. 1.8 did not work and you can use the latest 1.7 version which is jre-7u79 currently I think
- Click New
- Type the following path to the Java installation directory
- Installation and configuration of IIS Server
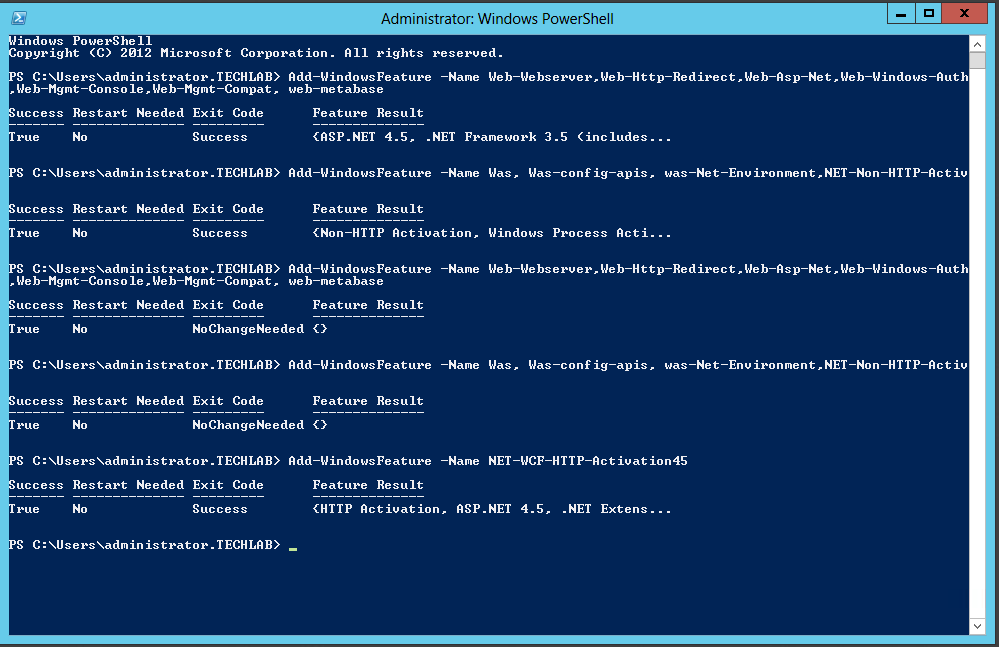
You can run these commands in PowerShell
- Add-WindowsFeature -Name Web-Webserver,Web-Http-
Redirect,Web-Asp-Net,Web- Windows-Auth,Web-Mgmt-Console, Web-Mgmt-Compat, web-metabase

- Add-WindowsFeature -Name Was, Was-config-apis, was-Net-Environment,NET-Non-HTTP-Activ
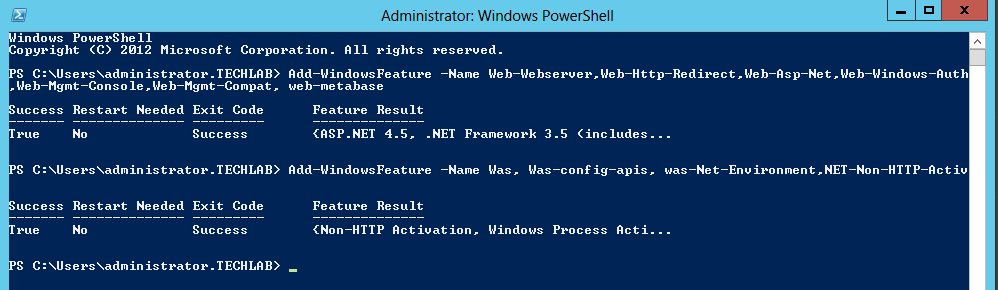
- Add-WindowsFeature -Name Web-Webserver,Web-Http-Redirect,Web-Asp-Net,Web-Windows-Auth,Web-Mgmt-Console,Web-Mgmt-Compat, web-metabase
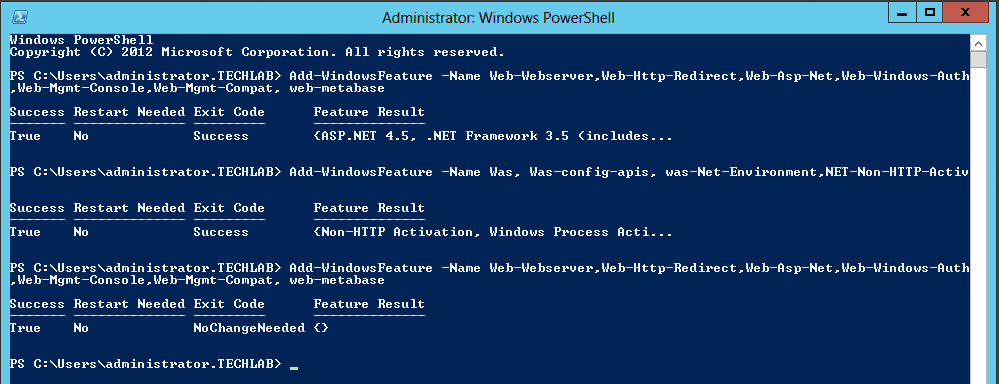
- Add-WindowsFeature -Name Was, Was-config-apis, was-Net-Environment,NET-Non-
HTTP-Activ
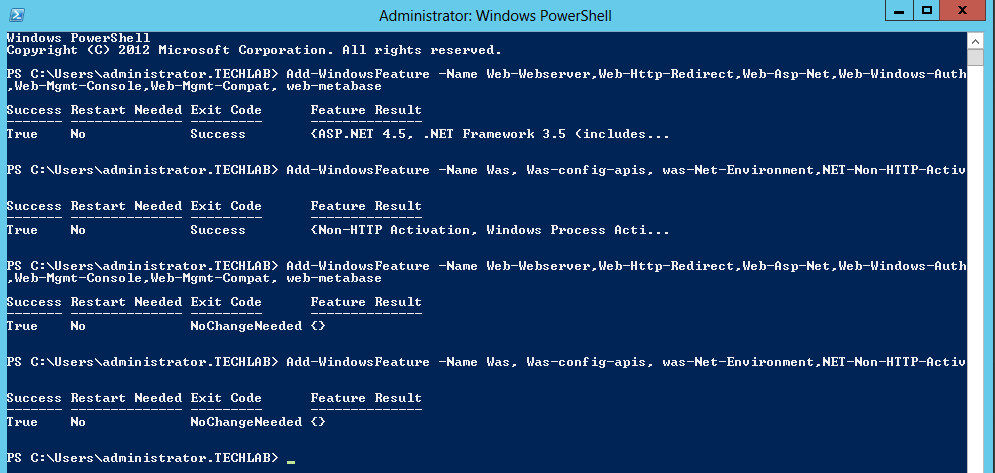
- Add-WindowsFeature -Name NET-WCF-HTTP-Activation45
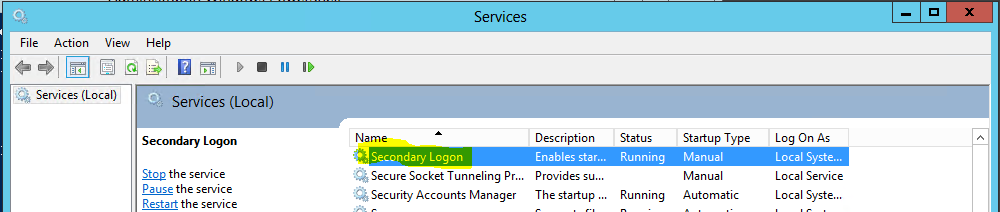
- Enabling the Secondary Login Service. You can just start this for the installation process then it can be stopped afterwards
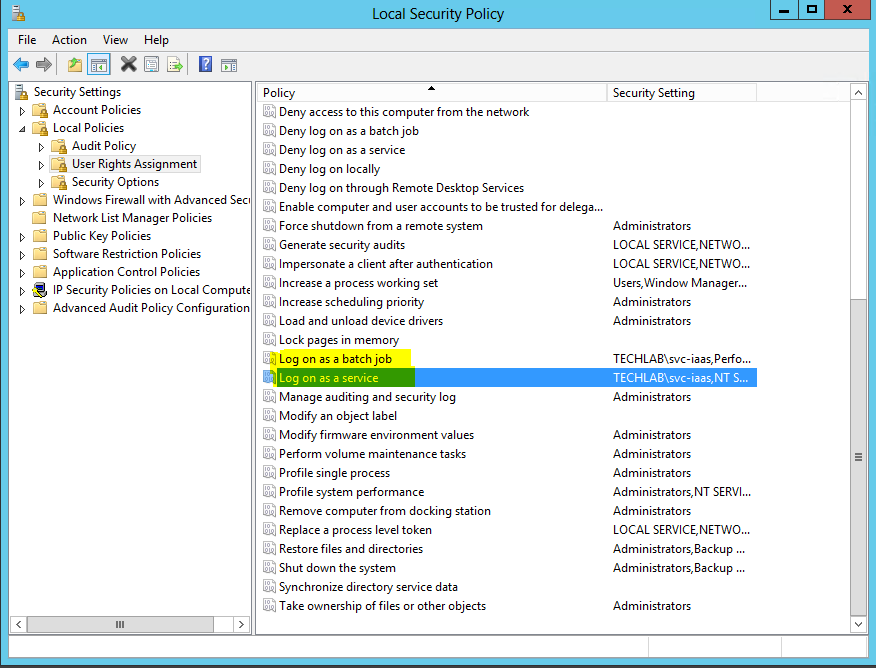
- Configuration of the batch login access and service login
- Open Local Security Policy
- Modify the Log on as a batch job and Log on as a service with the account you are going to install IaaS on
- Next open IIS Manager and navigate to the default website
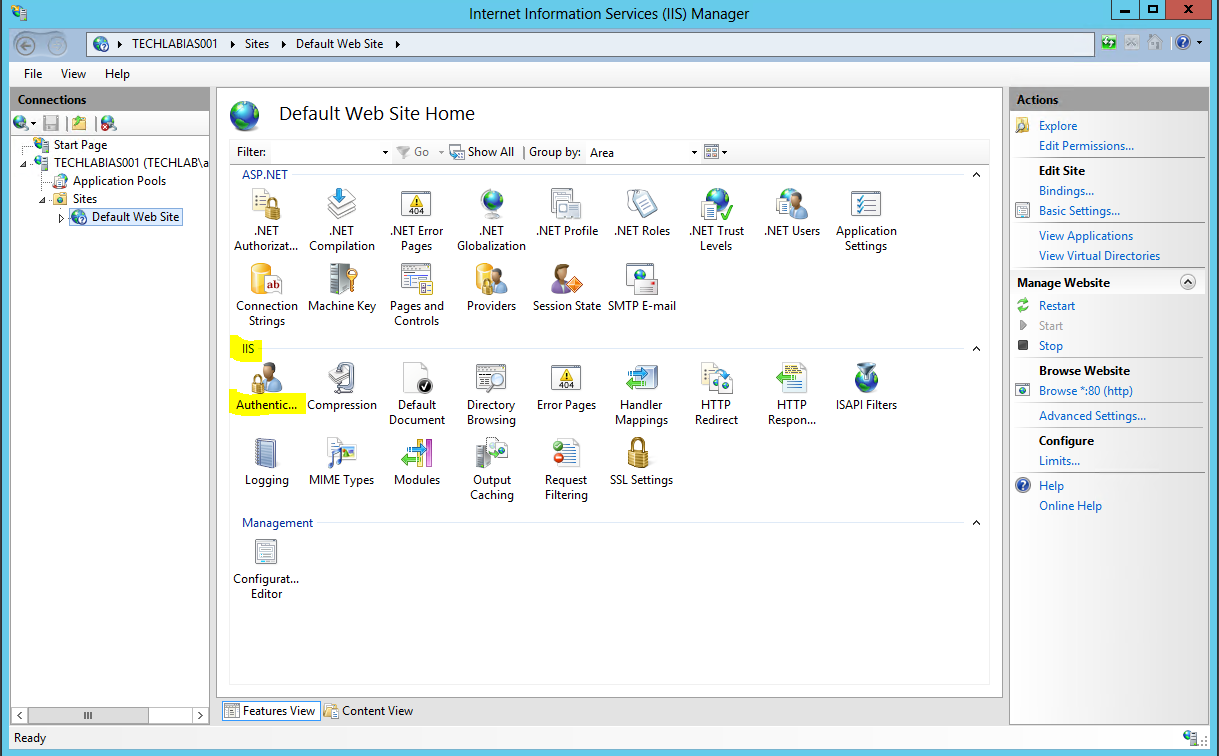
- Click on Authentication
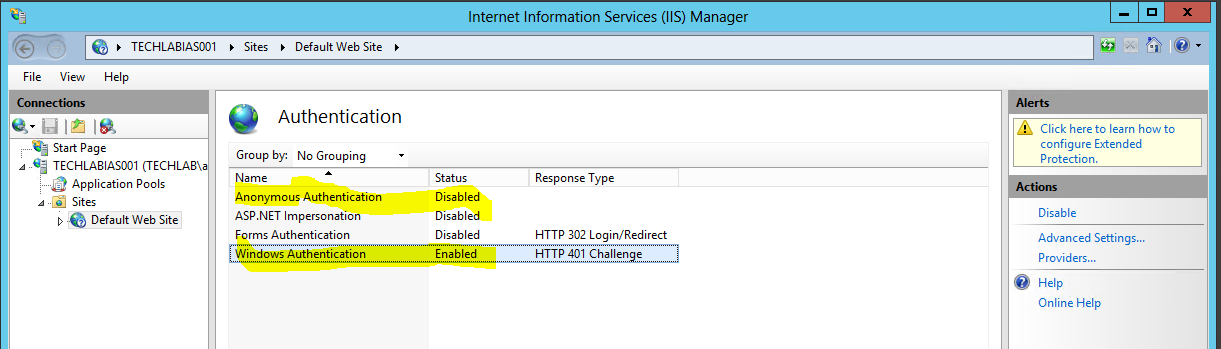
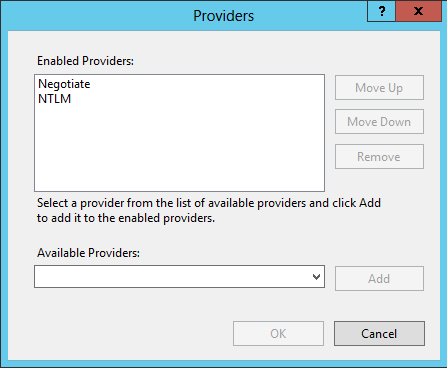
- Next click on Providers and remove NTLM and Negotiate then add Negotiate back in followed by NTLM
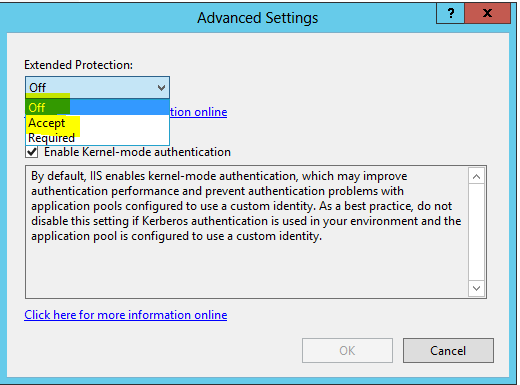
- Next click on Advanced Settings
- Change it from Off to Accept. Click on OK then change it back to Off
- Do an iisreset

- Next we need to register asp.net
- Go to c:\Windows\Microsoft.Net\Framework64\v4.0.30319
- Type aspnet_regiis -i
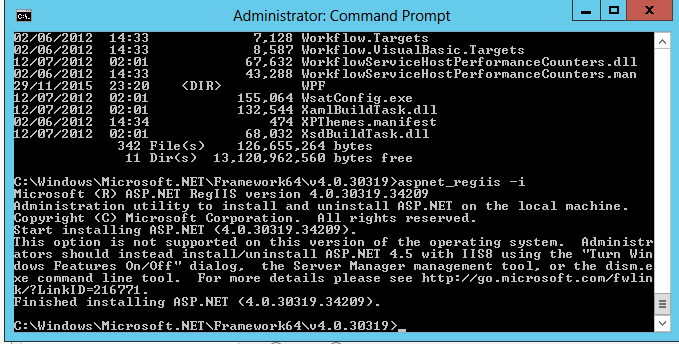
- Do another iisreset
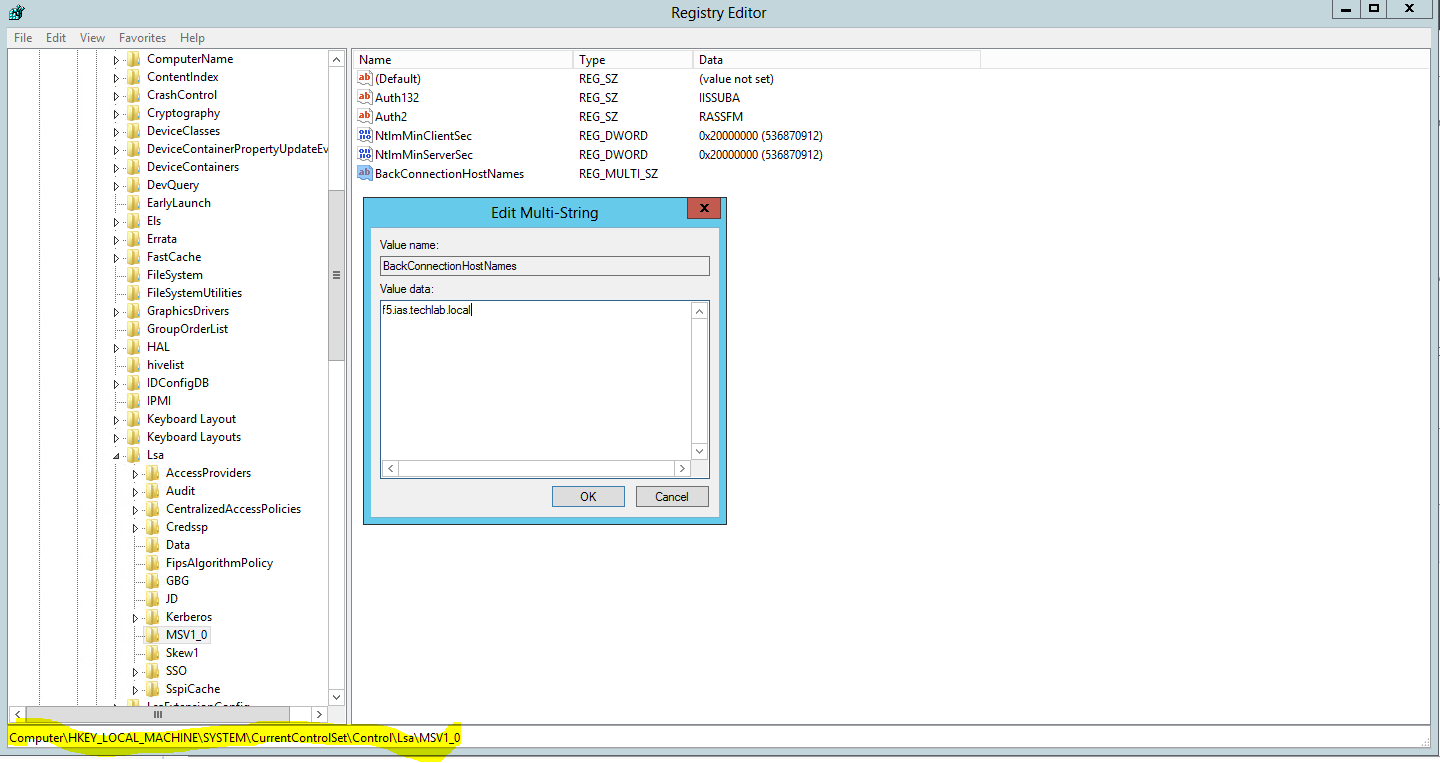
- The following registry modification is required for the IaaS web server to include Local Security Authority host names that can be referenced in in the NTLM authentication requests for CNAME and load balancer FQDN addresses.
- Open the Windows registry and browse HKEY_LOCAL_MACHINE\SYSTEM\CurrentControlSet\Control\Lsa\MSV1_0.
- Right-click MSV1_0, point to New, and click Multi-String Value.
- In the Name column, type BackConnectionHostNames, and press Enter.
- In the Value text box, type the CNAME or DNS alias that is used for the local shares on the computer, and click OK.
- Example for IaaS Web Servers: f5.ias.techlab.local
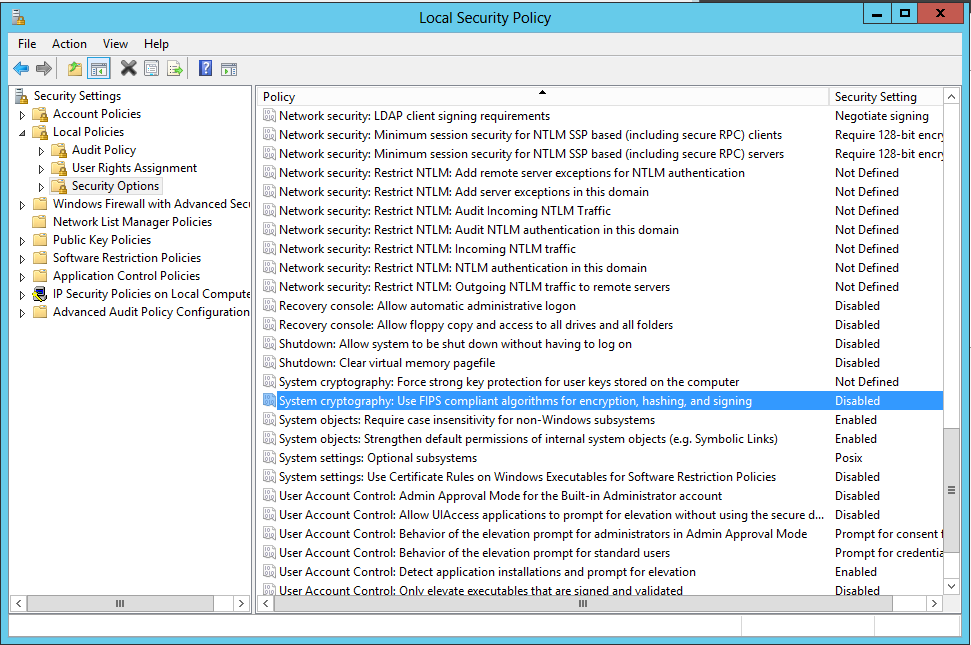
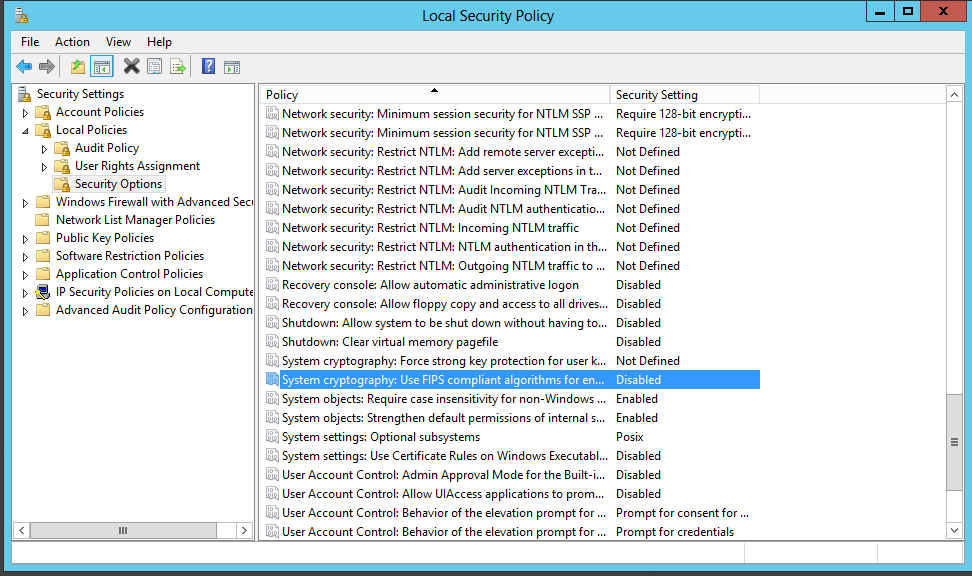
- Before the installation of the IaaS components, verify system cryptography
- Go to the Local Group Policy Editor, expand Computer Configuration, expand Windows Settings, expand Security Settings, expand Local Policies, expand Security Options and use FIPS-compliant algorithms for encryption and hashing. Verify that signing is set to Disabled.
- Next I also like to add my IaaS service account to the Local Admins group on the server or if it is the Domain Admins group then add this for lab purposes
- Add REG_DWORD key DisableLoopbackCheck 1
- HKEY_LOCAL_MACHINE\SYSTEM\CurrentControlSet\Control\Lsa\
- Add REG_DWORD key DisableStrictNameChecking 1 HKEY_LOCAL_MACHINE\System\CurrentControlSet\Services\LanmanServer\Parameters
- Next I like to shutdown the server and take a snapshot at this point
- Do exactly the same procedure on the second IaaS server
Note: Once DTC was enabled on both the IaaS and the remote SQL server, the installation still failed. After some searching, I found that since the IaaS server and SQL server VMs were provisioned using the same Virtual Machine template in vSphere, DTC had to be uninstalled and re-installed on one of the servers, either the IaaS server or the SQL server. To perform this task, execute the following commands from an elevated command prompt (run cmd.exe as an Administrator):
- msdtc -uninstall
- msdtc -install
- Reconfigure settings
- Reboot
Step 2 – Install certificates
You will need to refer to my other blog about creating and installing vRA IaaS certificates here if you haven’t created them already.
http://www.electricmonk.org.uk/2015/12/03/installing-vra-6-x-certificates/
Import the certificate into IIS
Step 3 – Install IaaS Website and Model Manager Data
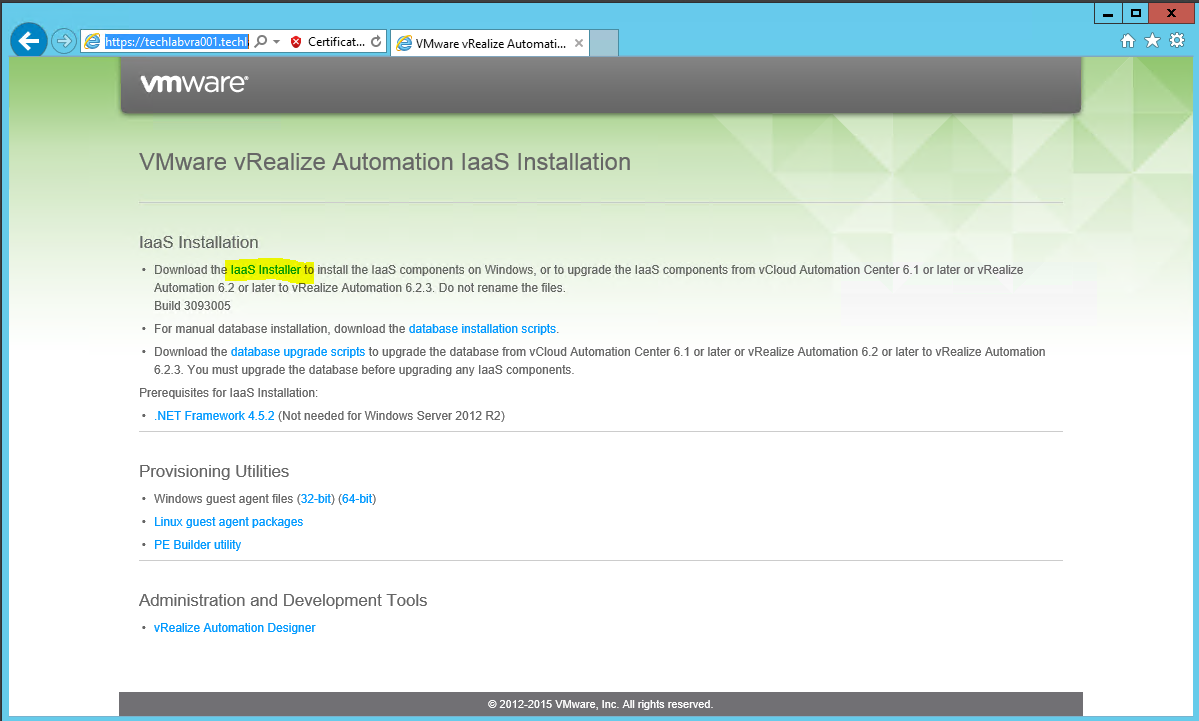
- Go to https://yourvRAserver.FQDN:5480/installer
- Download the IaaS installer
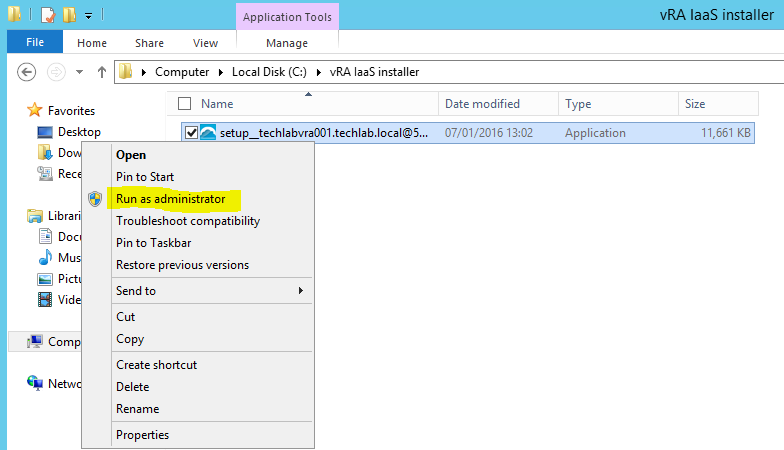
- Launch the installer from where you saved it and Run as Administrator
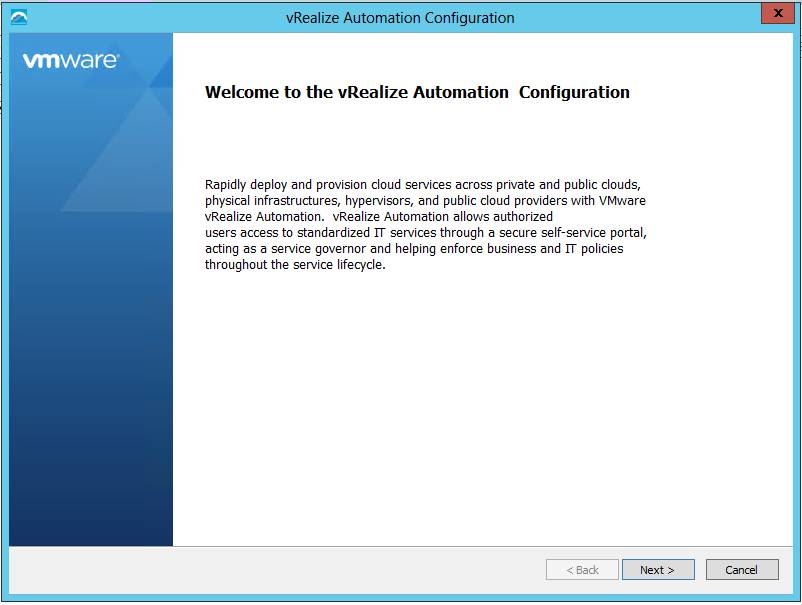
- Click Next
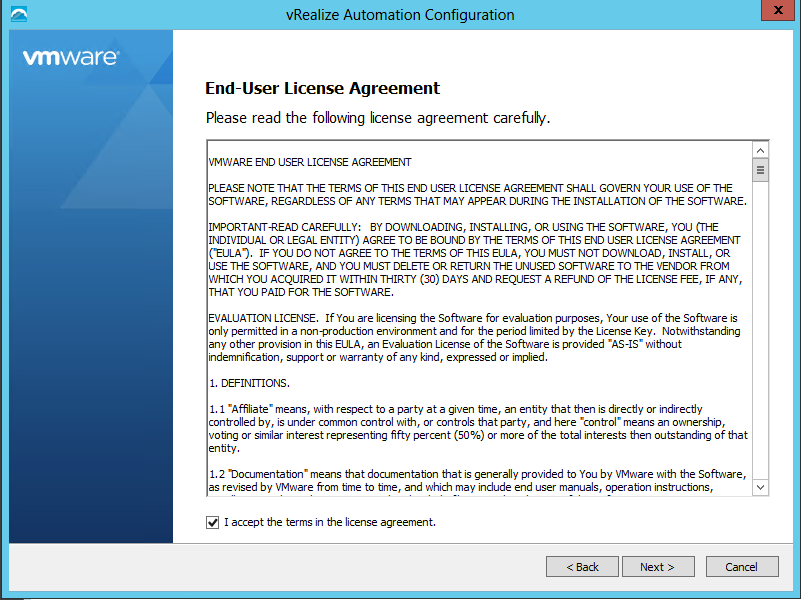
- Accept the License agreement
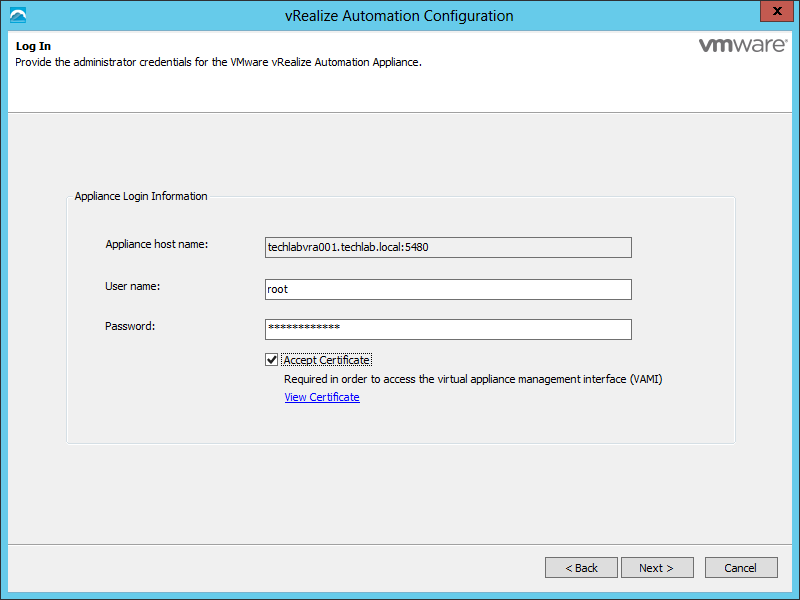
- Put in root and your password
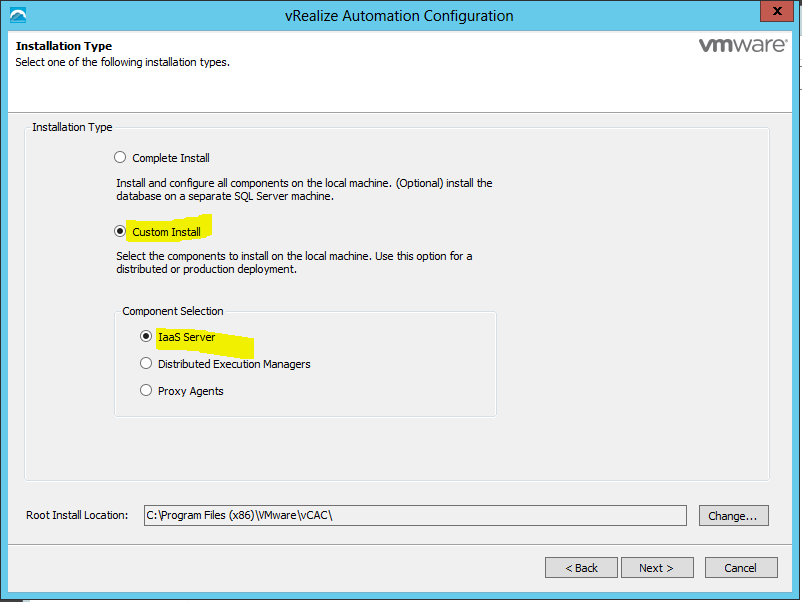
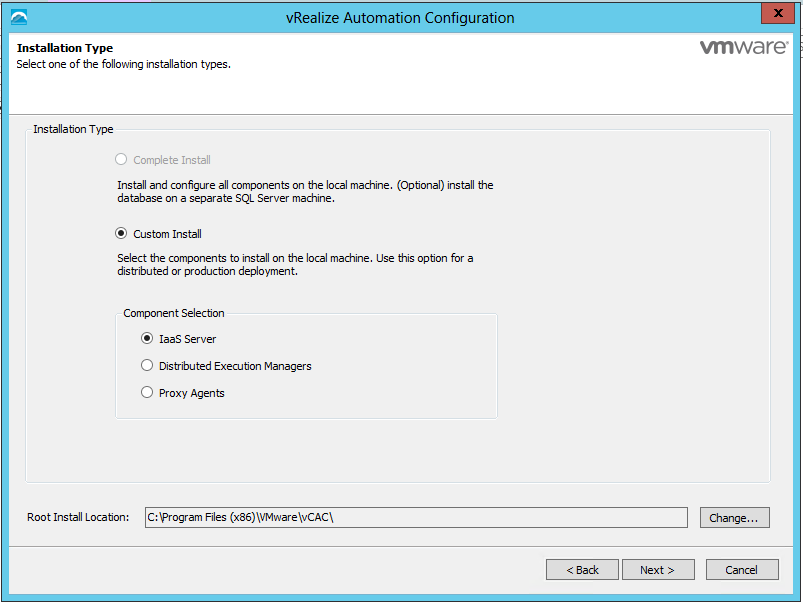
- Choose Custom Install
- Select IaaS Server
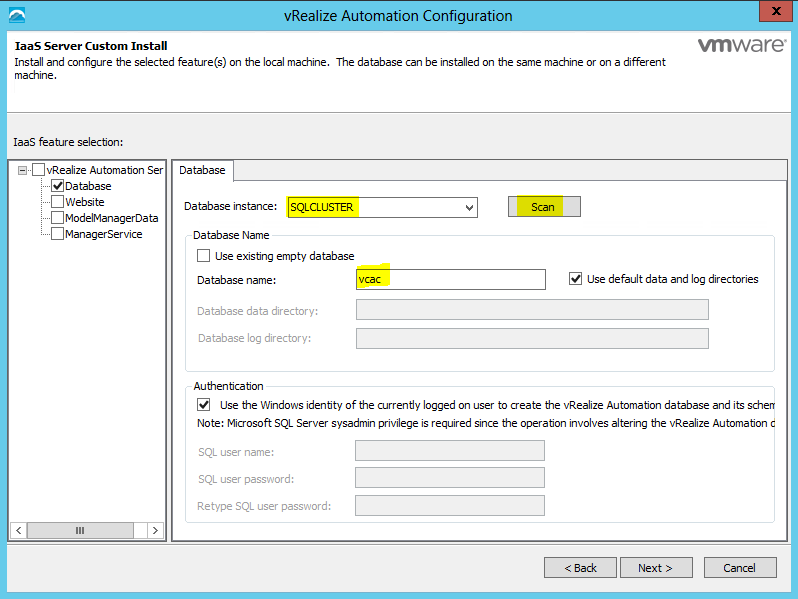
- Select the Database checkbox
- I have a Windows Server 2012 / SQL2012 cluster called SQLCLUSTER which was picked up when I put in my SQL server name and clicked Scan
- I then unticked Use existing empty database and called it vcac
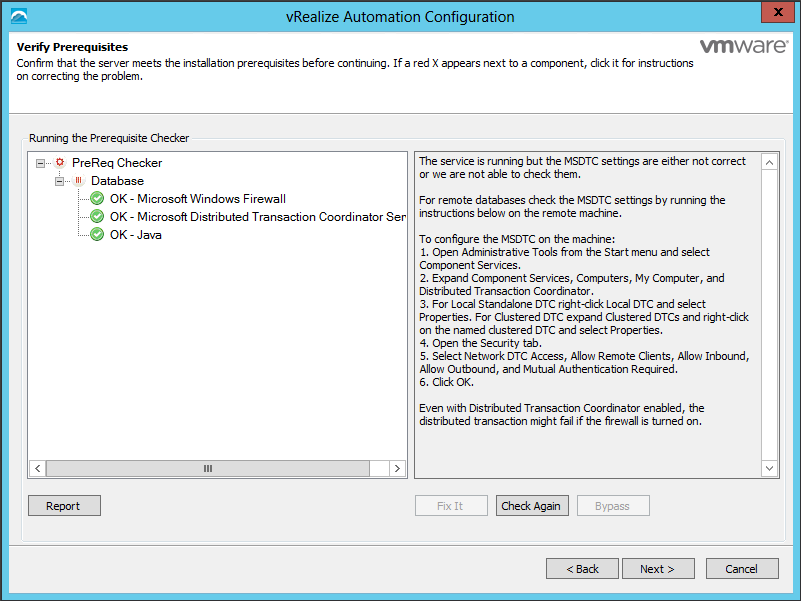
- Fix any warnings which appear in the Verify Pre-requisites box
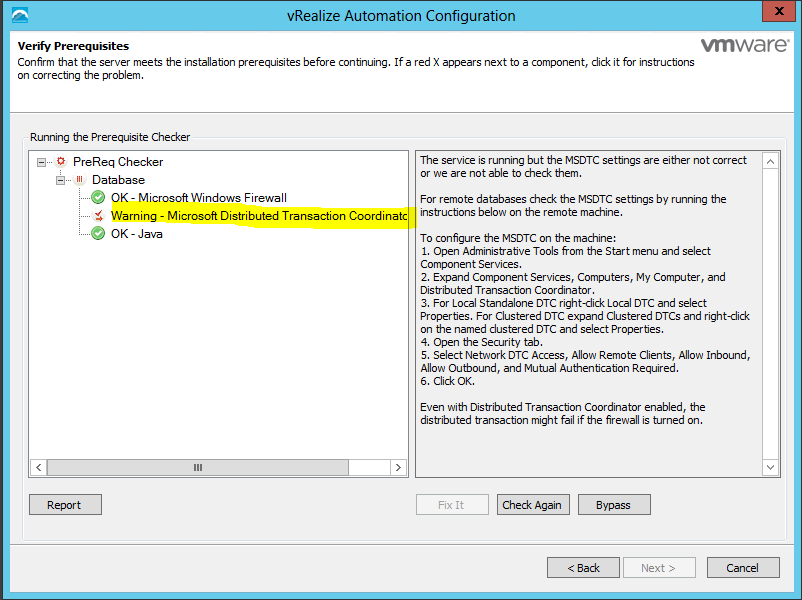
- Click Check again
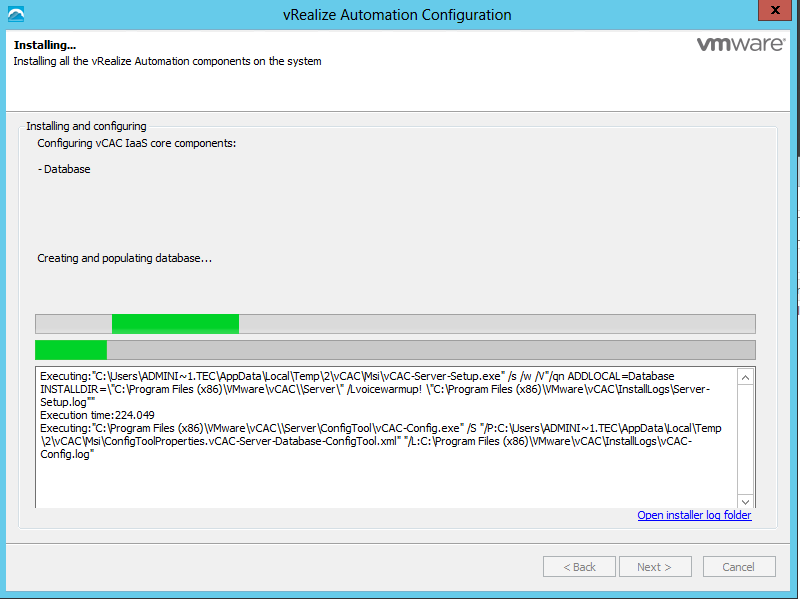
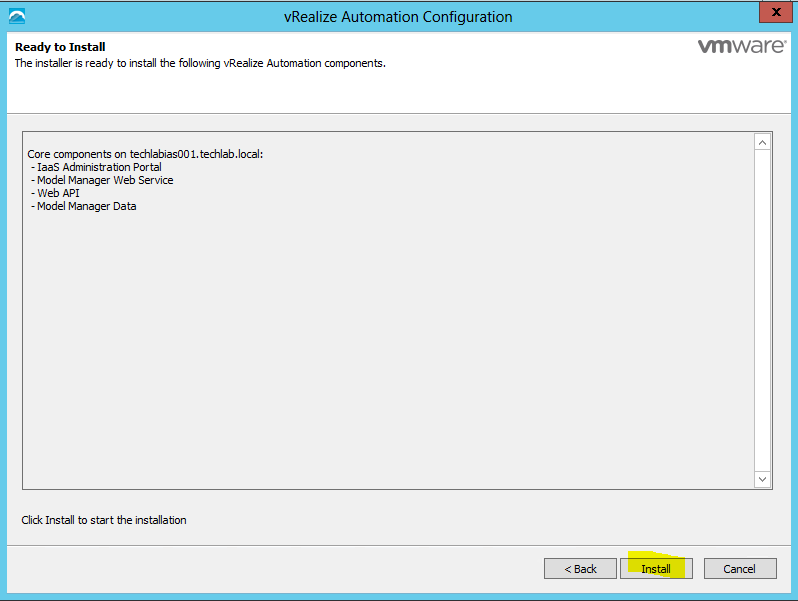
- Click Next and click Install
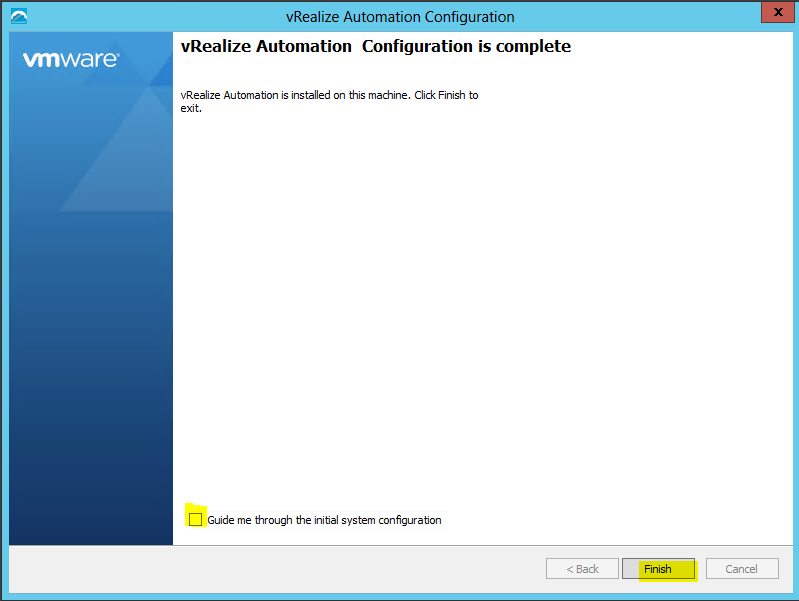
- Hopefully you should now see the below screen
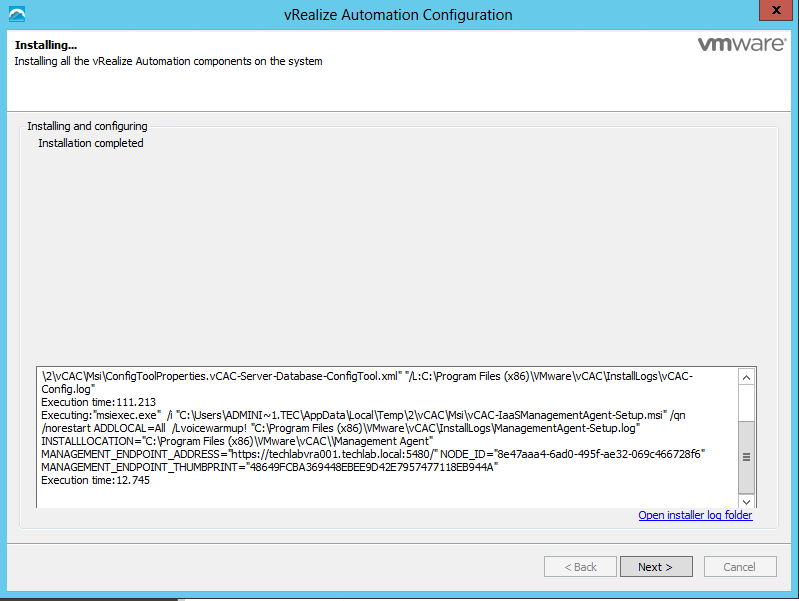
- Untick the box which says Guide me through the initial system configuration and click Finish
Installing the Primary IaaS Web and Model Manager Data Server
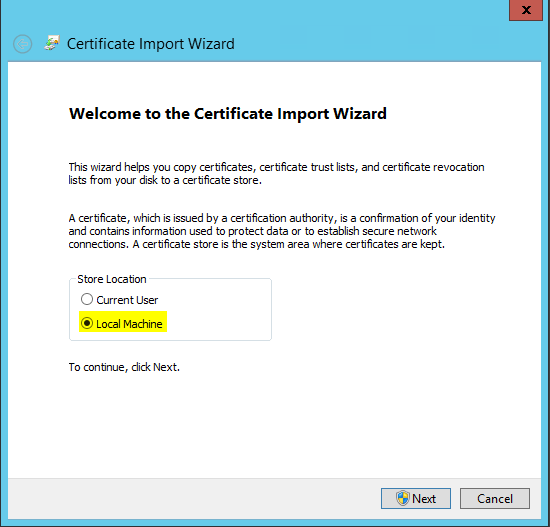
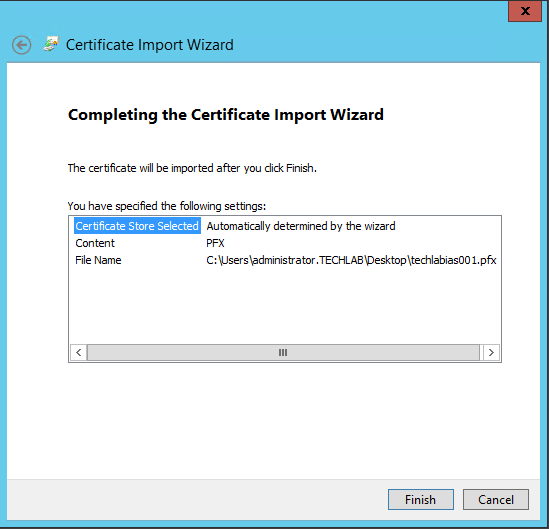
- If you haven’t already, import the certificate you previously created. This is the PFX cert
- Double click on the certificate
- Choose Local Machine
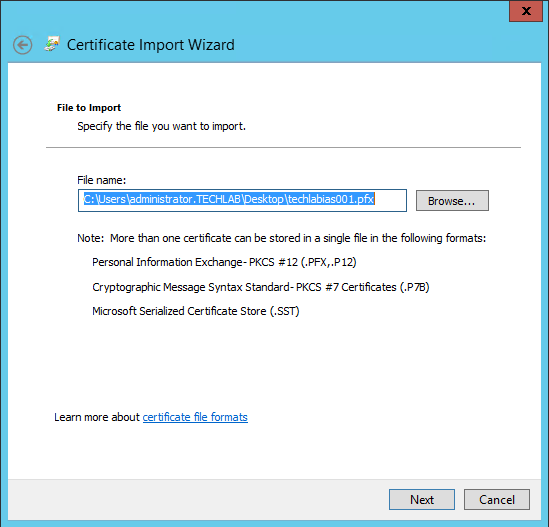
- Check the path to your cert file is correct
- Click Next
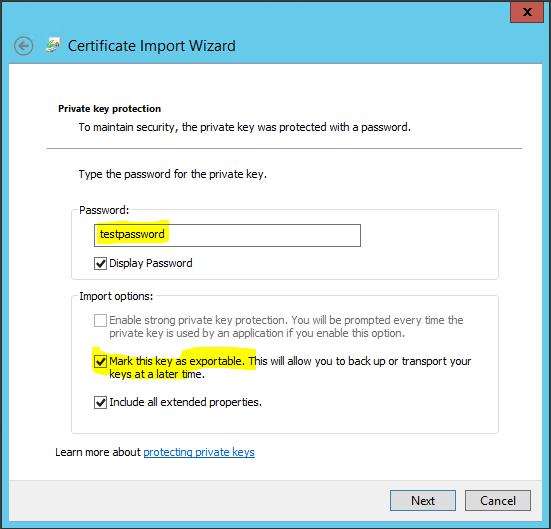
- Enter the password if you created one
- Select Mark this key as exportable
- Click Next
- Accept the default store
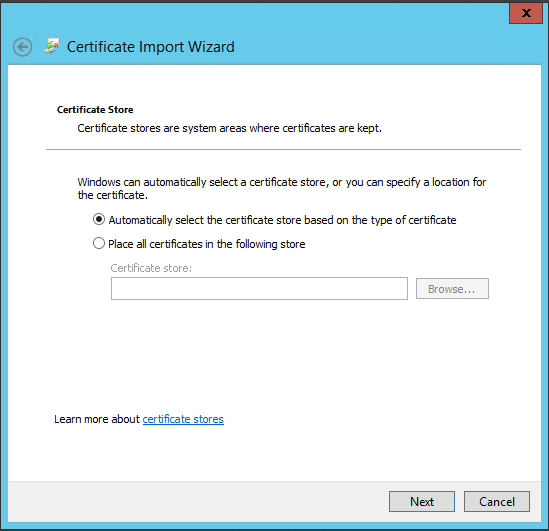
- Check the final box and click Finish
- Add certificate into the IIS Console under Server Certificates. It may already be there. Check 443 bindings are linked to your certificate
- Just double check in Local Security that System Cryptography: Use FIPS compliant algorithms is disabled
- Launch the IaaS installer as Administrator again
- Click Next, accept the license agreement put in the root username and password
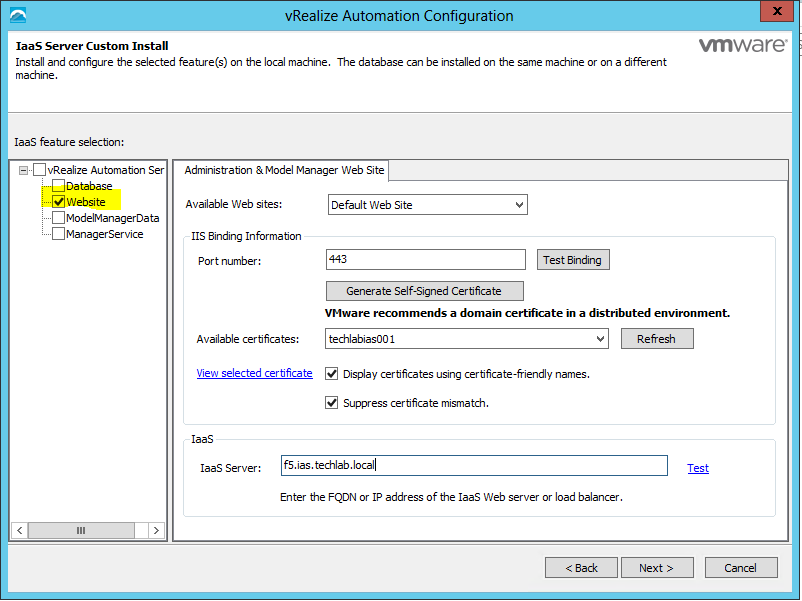
- Select Custom Install and IaaS server
- Select Website and ModelManagerData checkboxes
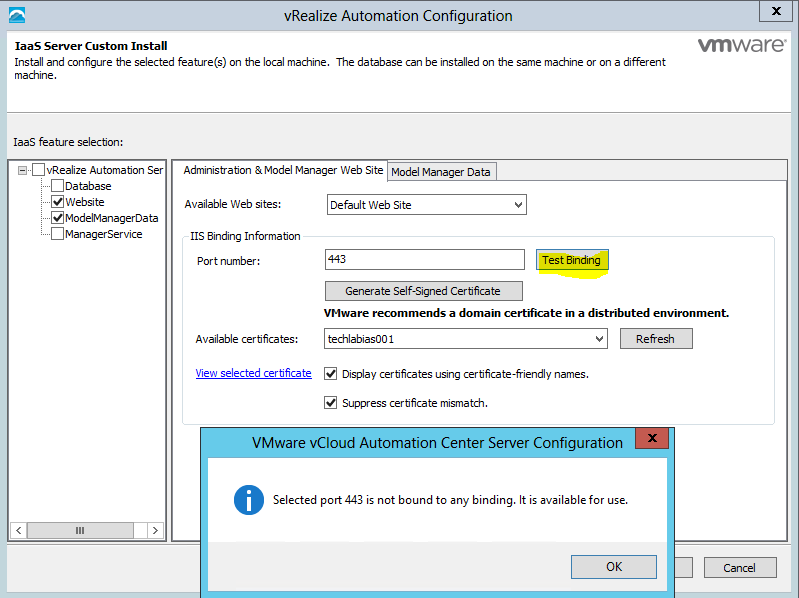
- On the Administration and Model Manager Website tab select the certificate that you previously imported
- Select the Suppress certificate mismatch box
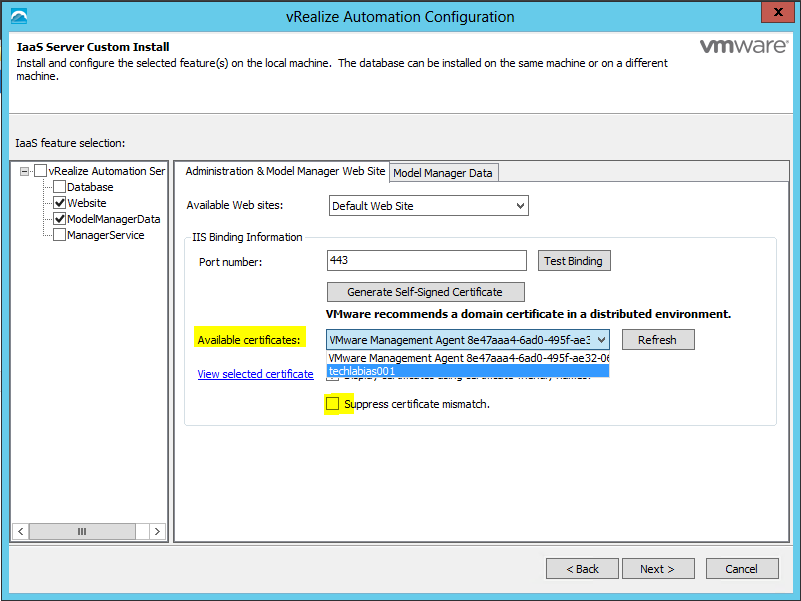
- You should get a message back when you click Test Binding
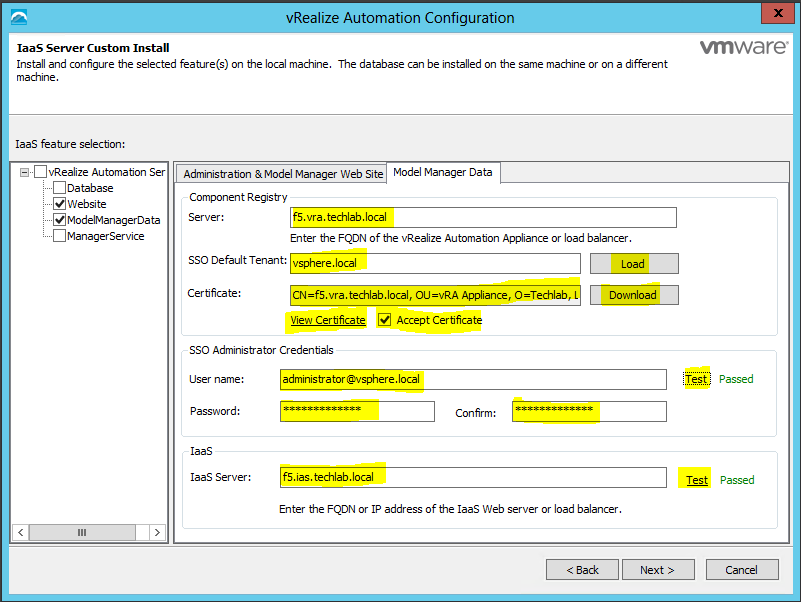
- Click on the Model Manager Data tab
- Enter the FQDN of the vRA appliance load balanced address. In my case f5.vra.techlab.local
- On SSO Default Tenant, click Load
- Under certificate click Download (This is the certificate which should be pre-created from my other blog and imported into IIS
- Click View Certificate and check it
- Add in all the rest of the details
- On the Verify pre-requisites screen, make sure everything is ticked green and fix any issues

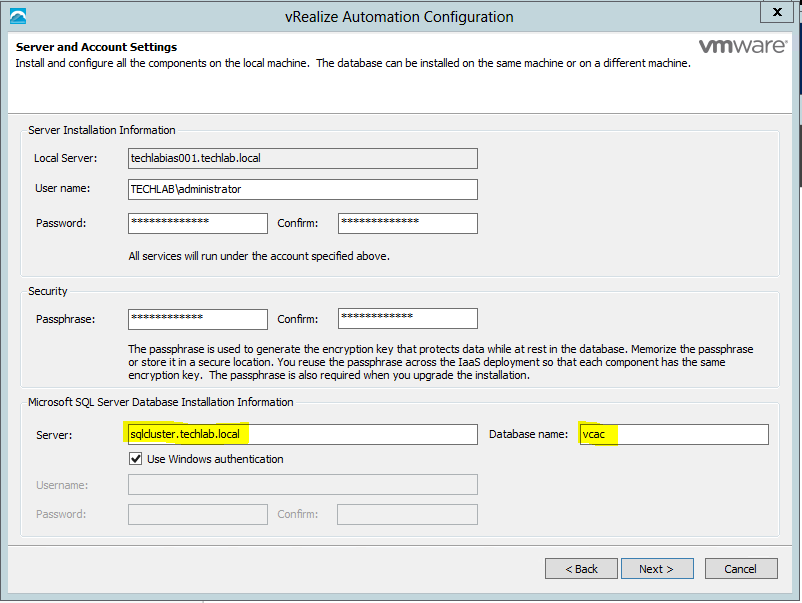
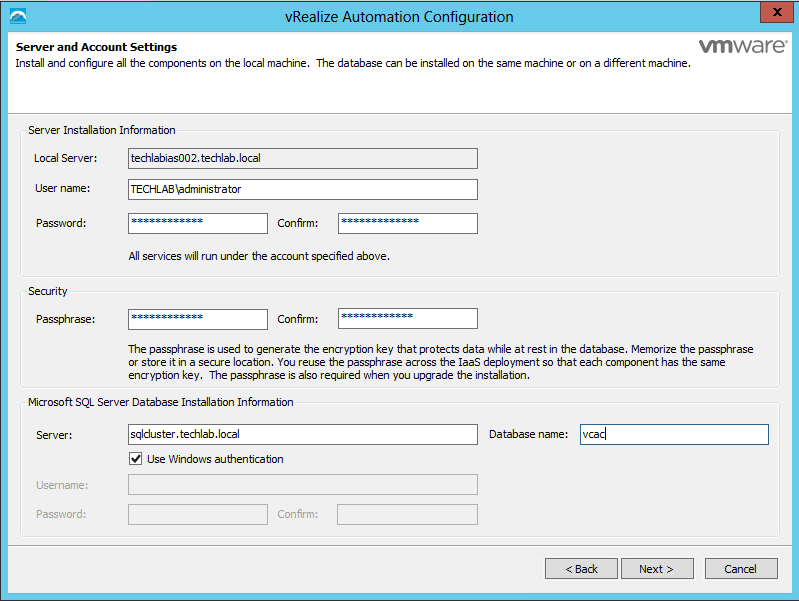
- Under Server and Account Settings put
- Passwords
- Passphrase
- SQL Servername and Database name
- You may get a message coming up about the user account needed adding to the Local Security Policy if you hadn’t added it there already
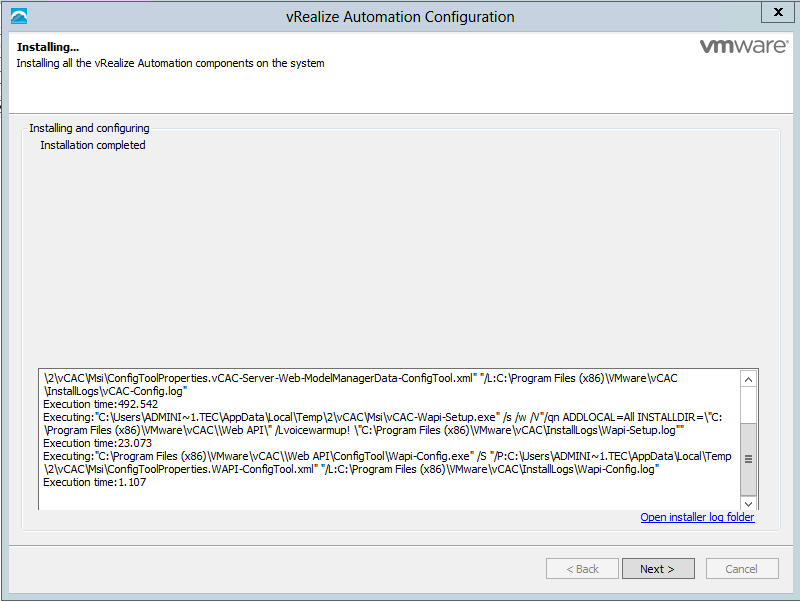
- Click Install
- It should start installing
- And hopefully say Completed
Useful Troubleshooting info
Installing IaaS server on the second Iaas Server
This procedure is exactly the same except as the above process. We just install the website component on the second server
- Don’t forget all the pre-requisites
- Don’t forget to import your certificate
- Start the installer
- Enter your root and password for the vRA appliance screen
- Enter your details below choosing just the website component
- Enter all the relevant details again
- Follow the next prompts to install and finish

