
Replacing vROps 6.4 self signed certificates
Certificate requirements – Click the link
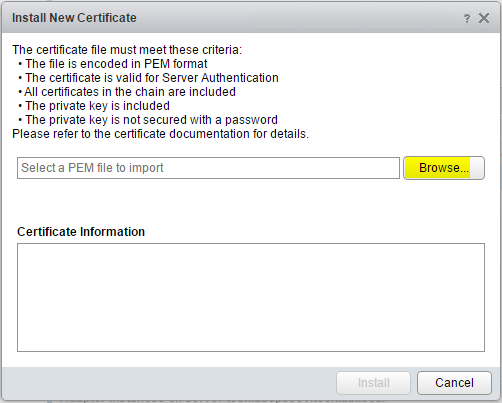
- File encoded in PEM format
- Certificate is valid for Server Authentication
- All certificates in the chain are included
- The private key is included (2048 bit RSA or higher)
- The private key is not secured with a password
VMware KB 2046591 Link – Click here
Step 1
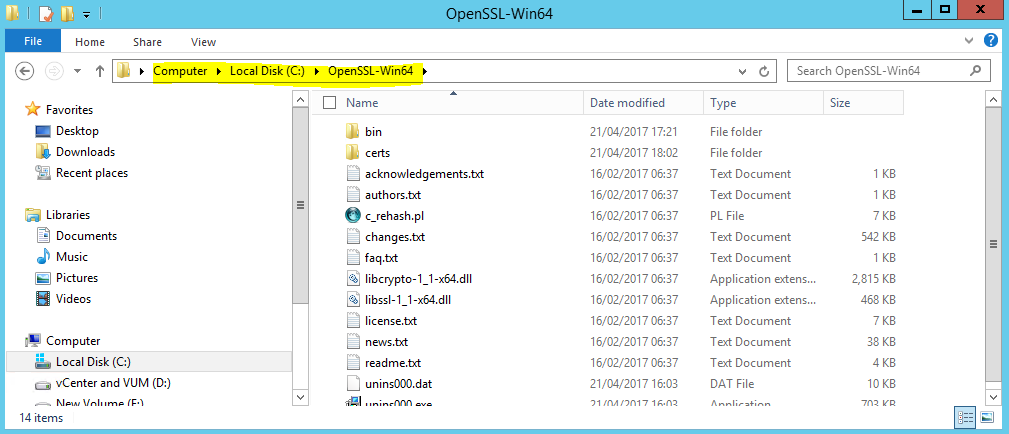
- To create the Certificate Request first download OpenSSL for Windows and install it in the default location – C:\OpenSSL-Win64
- Note: Path and name may be slightly different depending on the version
- I used Win64OpenSSL_Light-1_1_0e.exe
Step 2
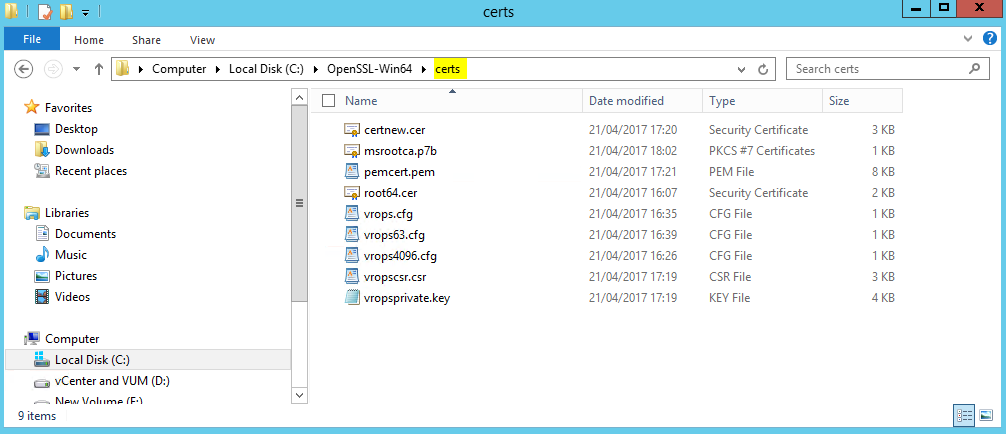
- Copy and paste the following into a text file and save as vrops.cfg in a folder called c:\OpenSSL-Win64\Certs. You will need to create the certs folder. You will be able to place other certs, keys and requests in here also
- Customize the bold fields.
[ req ]
default_md = sha512
default_bits = 4096
default_keyfile = vropsprivate.key
distinguished_name = req_distinguished_name
encrypt_key = no
prompt = no
string_mask = nombstr
req_extensions = v3_req
[ v3_req ]
basicConstraints = CA:FALSE
keyUsage = digitalSignature, keyEncipherment, dataEncipherment
extendedKeyUsage = serverAuth, clientAuth
subjectAltName = DNS: Loadbalancedfqdn, IP: Loadbalancedip, DNS: Loadbalancedshortname, DNS: FirstNodeFQDN, IP: FirstNodeip, DNS: FirstNodeShortname, DNS: SeondNodeFQDN, IP: SecondNodeip, DNS: SecondNodeShortName
[ req_distinguished_name ]
countryName = countryName
stateOrProvinceName = stateOrProvinceName
localityName = localityName
0.organizationName = organizationName
organizationalUnitName = organizationalUnitName
commonName = Loadbalancedfqdn
In my case I don’t have a load balancer. I just have a Master node, a Replica Node and a Remote Collector Node so it looks like this
[ req ]
default_md = sha512
default_bits = 4096
default_keyfile = vropsprivate.key
distinguished_name = req_distinguished_name
encrypt_key = no
prompt = no
string_mask = nombstr
req_extensions = v3_req
[ v3_req ]
basicConstraints = CA:FALSE
keyUsage = digitalSignature, keyEncipherment, dataEncipherment
extendedKeyUsage = serverAuth, clientAuth
subjectAltName = DNS: techlabops001.techlab.local, IP: 192.168.1.160, DNS: techlabops001, DNS: techlabops002.techlab.local, IP: 192.168.1.161, DNS: techlabops002, DNS: techlabops003.techlab.local, IP: 192.168.1.162, DNS: techlabops003
[ req_distinguished_name ]
countryName = UK
stateOrProvinceName = London
localityName = Norfolk
0.organizationName = Techlab
organizationalUnitName = vROps
commonName = techlabops001.techlab.local
Step 3
Open a command prompt and change directory to where OpenSSL is installed. You need to first generate a new key pair with a 2048 or 4096 key length. Leave this file in the path you specify here for later
openssl genrsa -out key_filename.key 4096
c:\openSSL\bin>openssl.exe genrsa -out c:\openSSL\certs\vropsprivate.key 4096

Step 4
Use the key to generate a certificate signing request by running this command. I have added -sha512 but this is optional
openssl req -new -key key_filename.key -out certificate_request.csr -config config_file.cfg
openssl req -new -key c:\certs\vropsprivate.key -out c:\certs\vropscsr.csr -config C:\OpenSSL\certs\vrops.cfg -sha512

Step 5
- Click Windows Start > Run, enter certtmpl.msc, and click OK.
- Follow the below link to create a certificate template (If you haven’t got one already)
vCSA (vCenter Server Appliance) – Part 4 – Deploy CA-signed certificates
Step 6
Submit the CSR file to your Certificate Authority (CA) to obtain a signed certificate
- Browse to your CA – https://servername/certsrv – Request a certificate. In my case I have a Microsoft CA installed on my Domain Controller
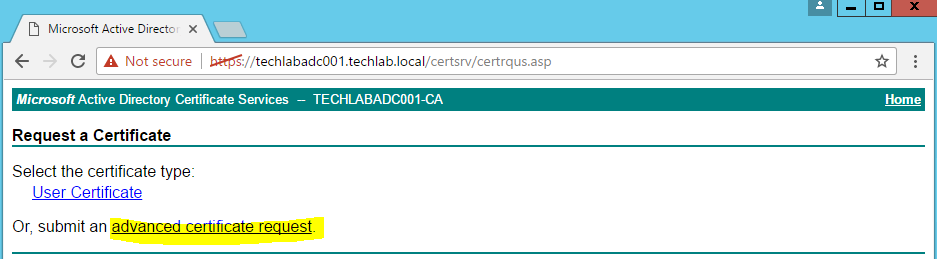
- Choose Request a Certificate
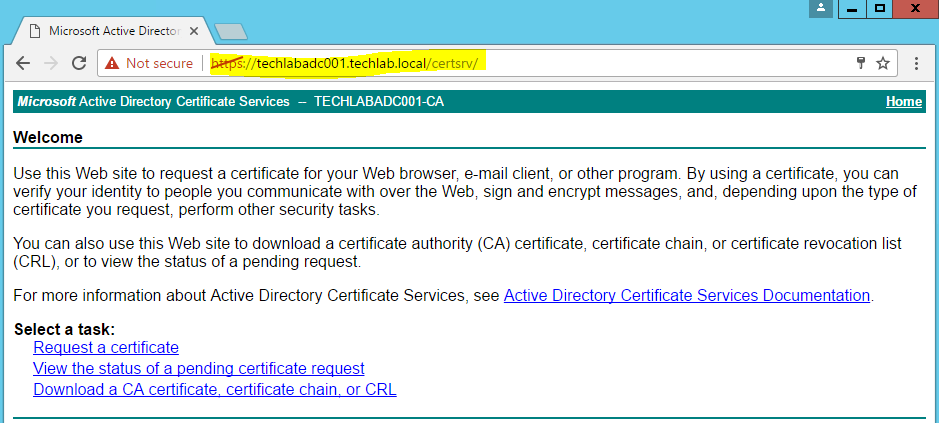
- Chose Request a Certificate
- Open the request file in a notepad and copy the contents into the request box, In my case this is the vropscsr.csr file.
- Select a certificate template that meets the requirement. In this case vROps Template
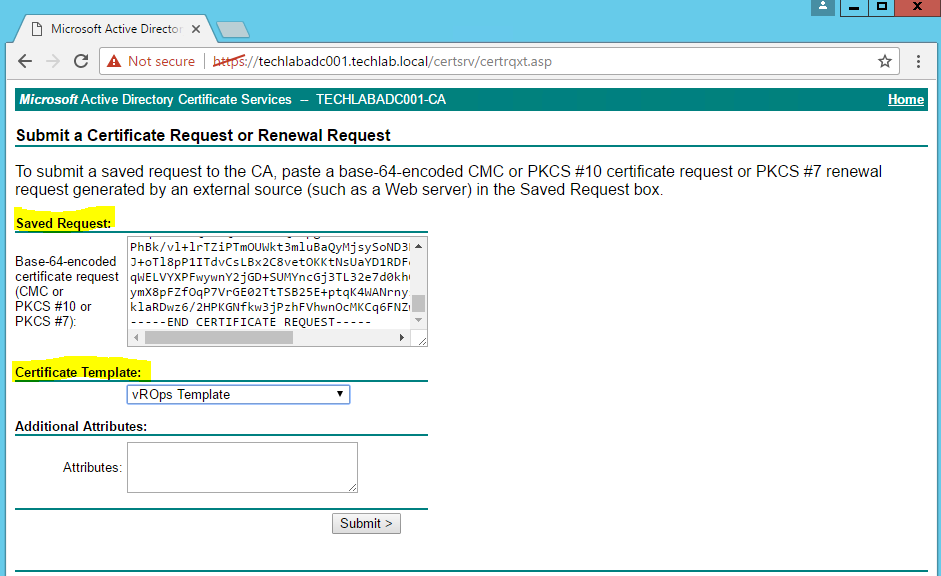
- Submit the request and download as Base 64 Encoded
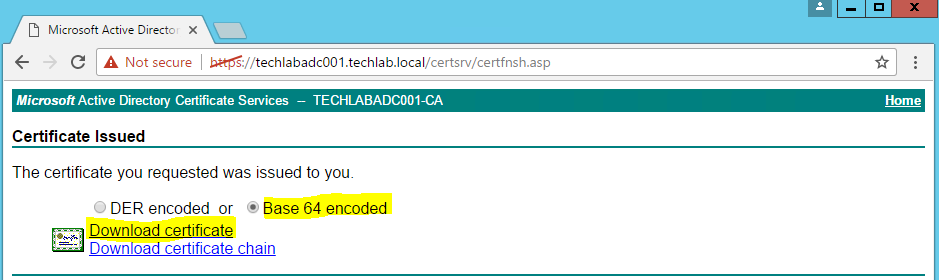
- Download certificate and save it locally to your machine as “certnew.cer”
Step 7
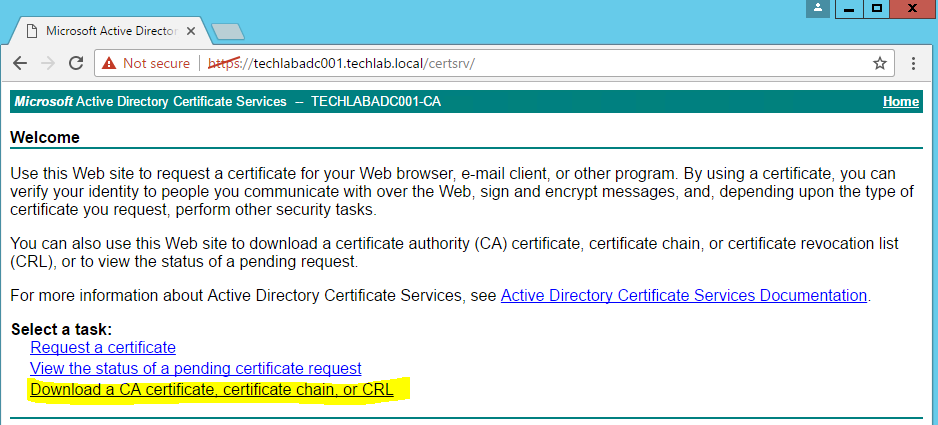
Now we need to download the certificate chain from our CA
- Browse to your CA – https://servername/certsrv
- Select Download a CA certificate, certificate chain or CRL
- Click Download CA certificate chain
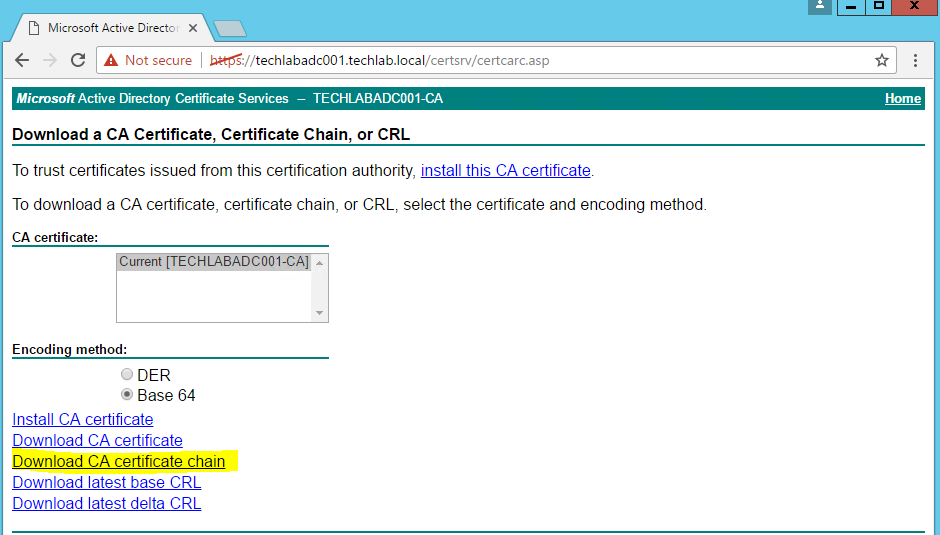
- It will download a certnew.p7b file or if it downloads a .cer file then use this
- Change the name to root64.p7b and Click Open or save it and then open it. The Certificate manager Console will open
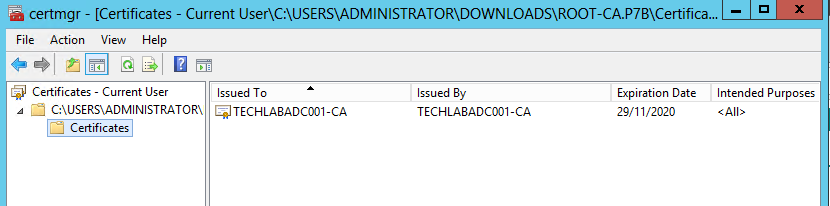
- We now need to extract the certificates for the root and all intermediate authorities in the certificate chain. For each CA, export the certificate to a file.
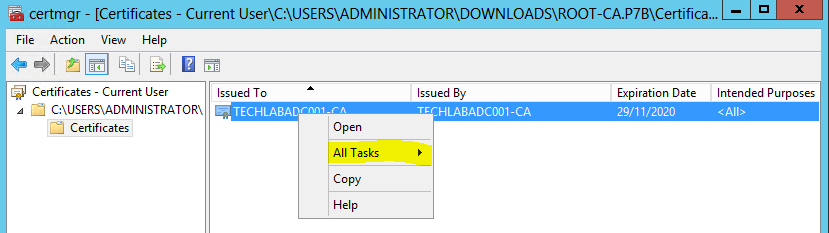
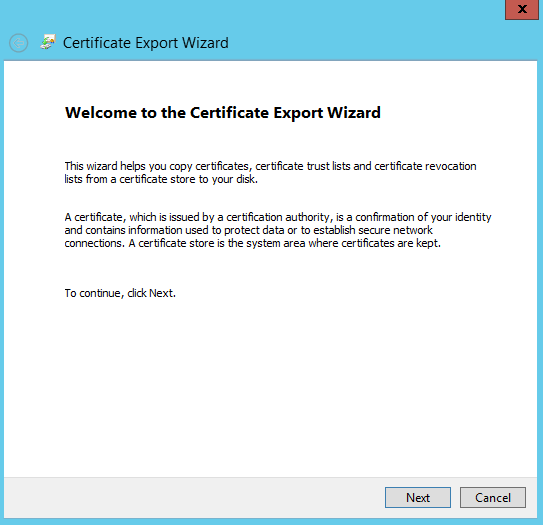
- Right click on the root certificate and select Export
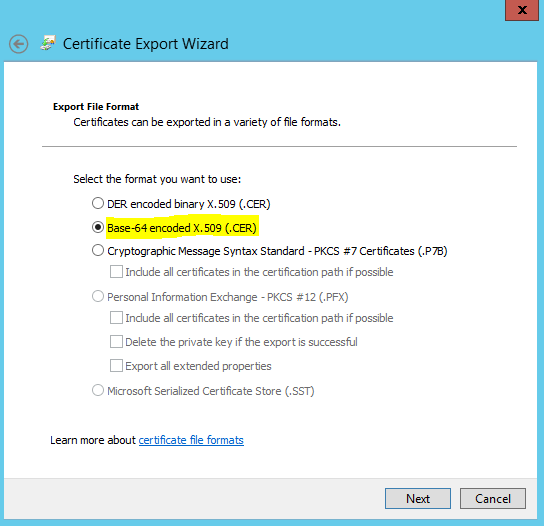
- In the export wizard, select Base-64 and save the file to the same folder as vrops.cfg. Do that for each authority!
- Once you receive the certificate you have all the components needed to create the required .pem certificate.
Note: The order of CA’s certs in the .PEM file: Private Key, Cert, Intermediate Cert and then Root Cert which can seen above and described below
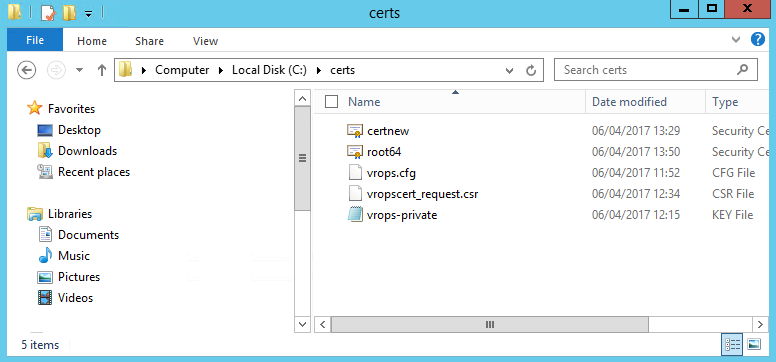
- Private Key = vropsprivate.key
- Cert = certnew.cer
- Intermediate Cert – I don’t have one
- Root CA – root64.cer
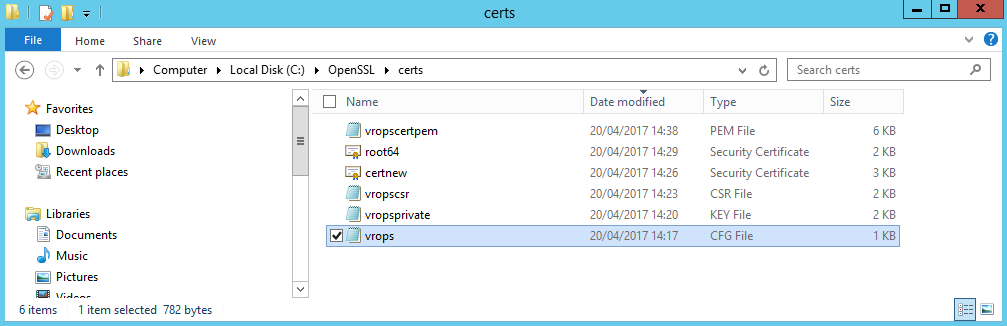
Step 8
- Check you have all your certs in C:\OpenSSL\Certs. Note I already have a .pem file from other testing so ignore this as you won’t have one yet.
Step 9
Next go back to SSL and generate the .pem certificate. Example below
type key_filename.key server_cert.cer cacerts.cer > multi_part.pem
- Change directory to where you saved your certificates
- Type the following (including the word type!)
type vropsprivate.key certnew.cer root64.cer > vrops.pem
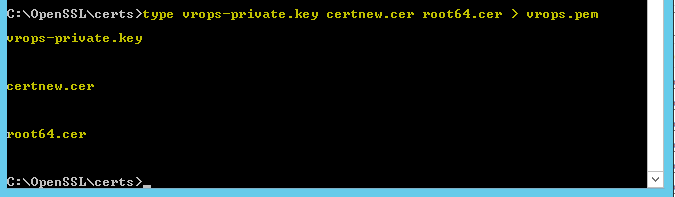
- You should now see your .pem file which in my case is vrops.pem
- If you open it, it will look something like this
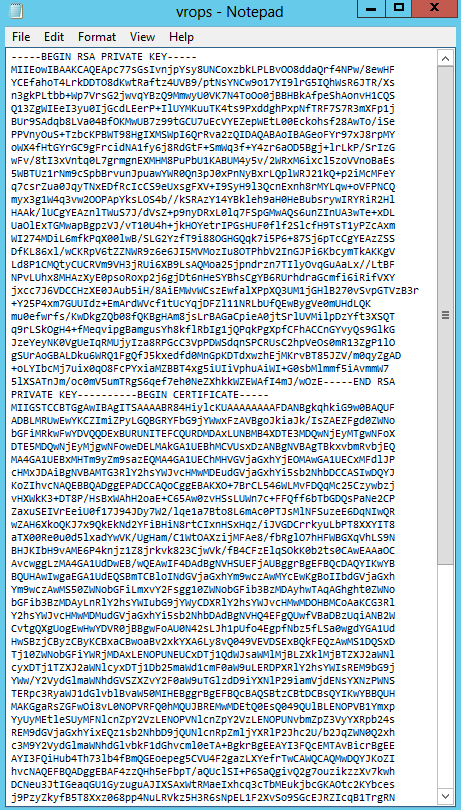
Step 10
We can now navigate to the vROps page and upload the .pem file into the system
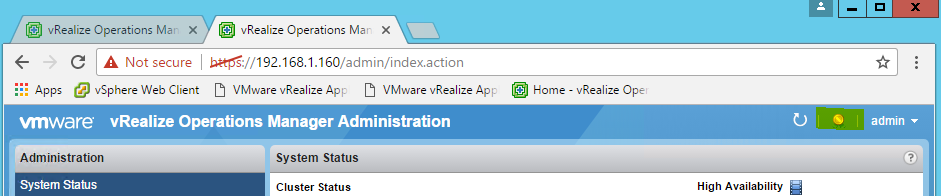
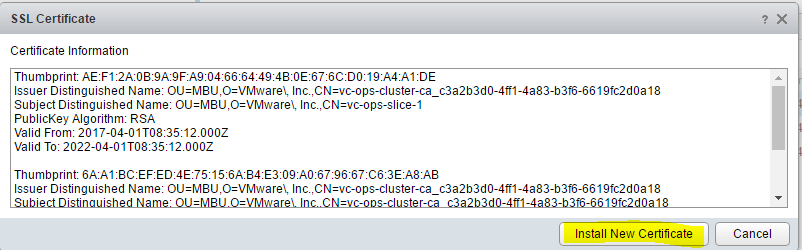
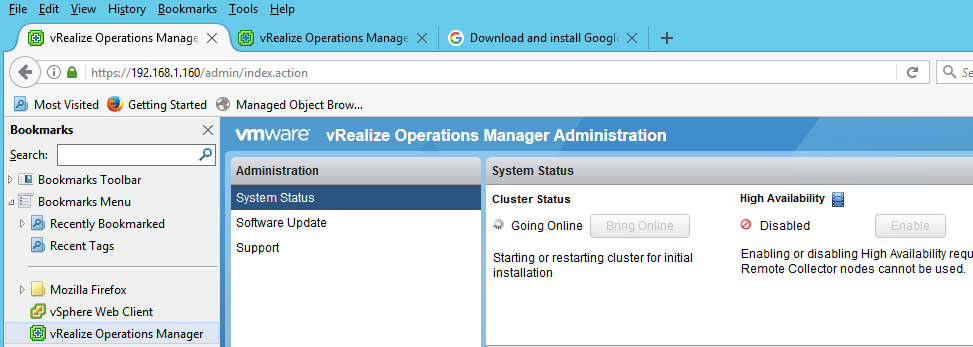
- You have to log in specifically to the small administration website (https://vrops-server/admin), and click on the small icon on the top right of the screen as seen below. Then you can choose to Install new certificate.
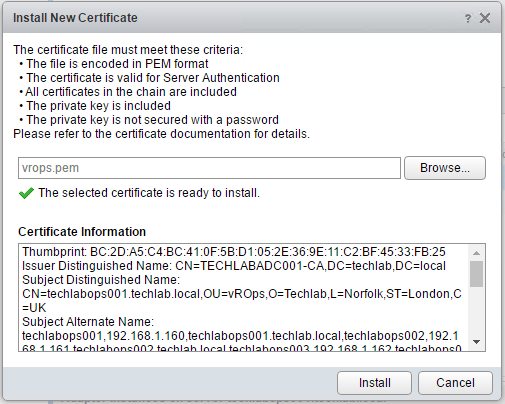
- When you click Install, you will be disconnected and reconnected. Better close the tab and reopen it to check that the custom certificate has been imported properly.
- You should be able to open the vROps web pages without any certificate errors 🙂 See the green lock on the Firefox browser.
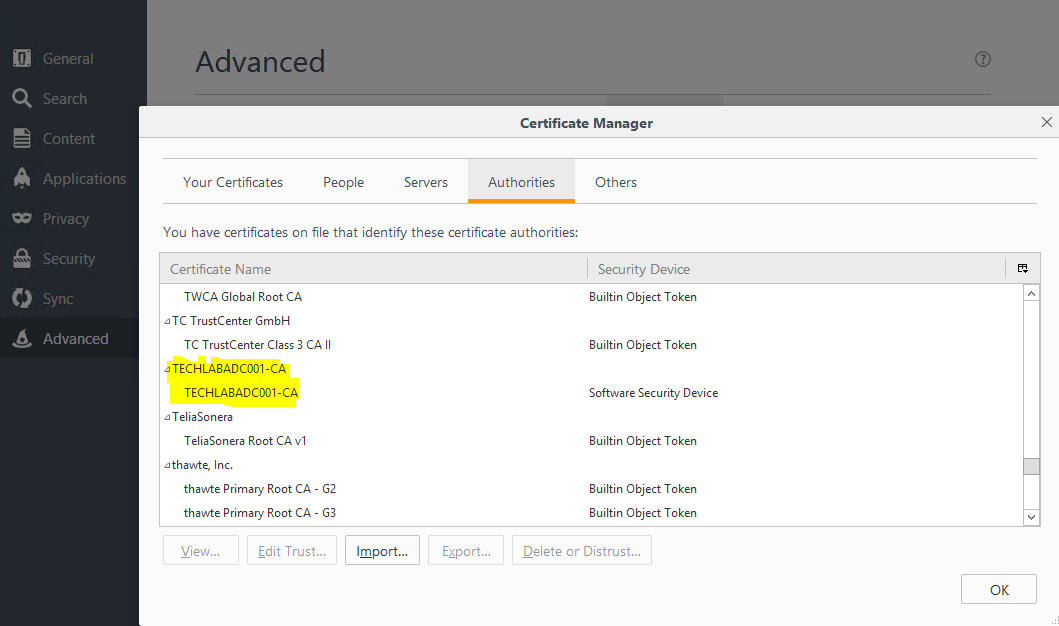
- If it is still saying it is insecure then you may have to import the root64.cer into the Firefox browser. Go to Options > Advanced > Certificates > View Certificates and import the root64.cer
- You can see my Microsoft CA Authority here which is now trusted
- Note: I couldn’t get this working in Chrome even after importing the root CA certificate. I think Google have locked down their websites for vulnerabilities in the SHA1 algorithm however I haven’t figured out a way to get around this yet
If you do have problems and cannot get into the vROps webpages for any reason, VMware has KB2144949 which will allow you to revert back to the default certificates.

